ppci documentation fileppci documentation, release 0.0.5 the ppci project is a compiler, assembler,...
TRANSCRIPT
ppci DocumentationRelease 0.0.5
Windel Bouwman
March 21, 2015

Contents
1 Table of contents 31.1 Command line tools . . . . . . . . . . . . . . . . . . . . . . . . . . . . . . . . . . . . . . . . . . . 31.2 C3 . . . . . . . . . . . . . . . . . . . . . . . . . . . . . . . . . . . . . . . . . . . . . . . . . . . . 41.3 Build system . . . . . . . . . . . . . . . . . . . . . . . . . . . . . . . . . . . . . . . . . . . . . . . 71.4 API . . . . . . . . . . . . . . . . . . . . . . . . . . . . . . . . . . . . . . . . . . . . . . . . . . . . 71.5 Utilities . . . . . . . . . . . . . . . . . . . . . . . . . . . . . . . . . . . . . . . . . . . . . . . . . . 91.6 Compiler design . . . . . . . . . . . . . . . . . . . . . . . . . . . . . . . . . . . . . . . . . . . . . 111.7 Development . . . . . . . . . . . . . . . . . . . . . . . . . . . . . . . . . . . . . . . . . . . . . . . 18
Bibliography 19
Python Module Index 21
i

ii
ppci Documentation, Release 0.0.5
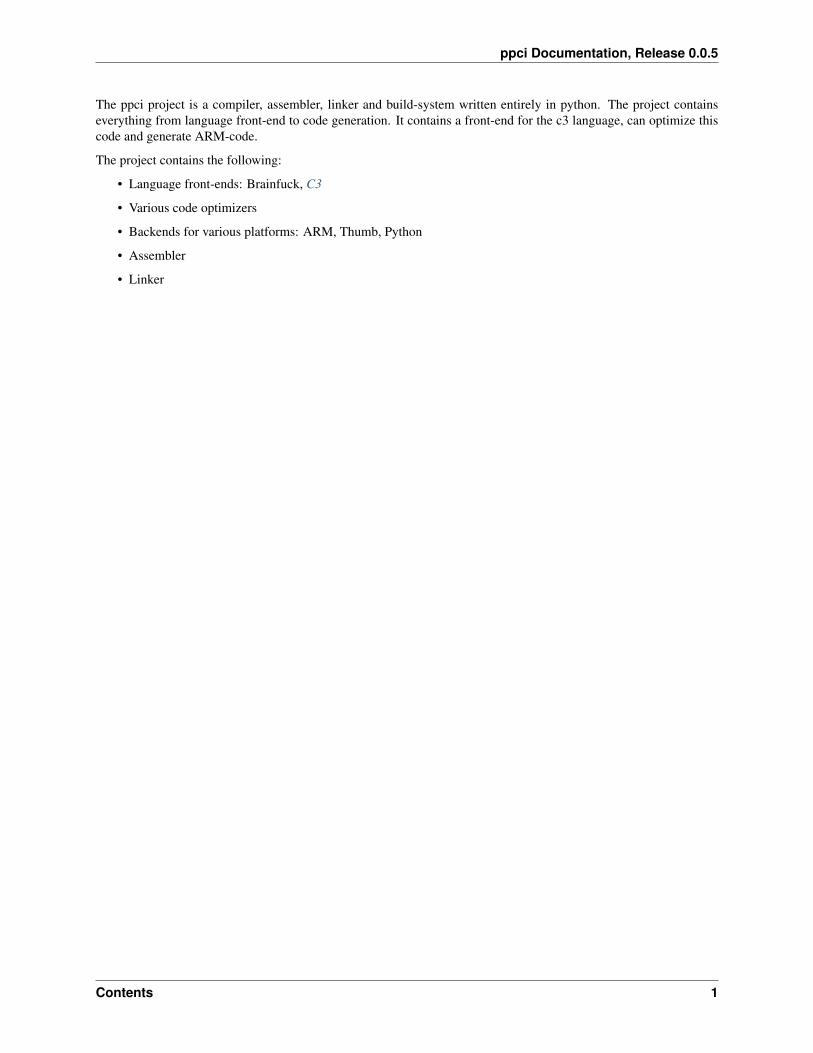
The ppci project is a compiler, assembler, linker and build-system written entirely in python. The project containseverything from language front-end to code generation. It contains a front-end for the c3 language, can optimize thiscode and generate ARM-code.
The project contains the following:
• Language front-ends: Brainfuck, C3
• Various code optimizers
• Backends for various platforms: ARM, Thumb, Python
• Assembler
• Linker
Contents 1

ppci Documentation, Release 0.0.5
2 Contents

CHAPTER 1
Table of contents
1.1 Command line tools
This section describes the usage of some commandline tools installed with ppci.
1.1.1 ppci-build.py
This command can be used to construct build files (see Build system).
Take for example the stm32f4 led project build file:
1 <project name="Examples" default="all">2 <import name="ppci.buildtasks" />3
4 <target name="all" depends="burn2">5 </target>6
7 <property name="src" value="src" />8 <property name="arch" value="arm"/>9
10 <target name="burn2">11 <assemble source="startup_stm32f4.asm" target="thumb"12 output="startup.o" />13 <compile target="thumb"14 sources="burn2.c3;arch.c3;../io.c3"15 includes="stm32f4xx.c3"16 output="burn2.o" />17 <link output="burn2.elf" layout="stm32f4.mmap"18 target="thumb"19 objects="startup.o;burn2.o" />20 <objcopy objectfile="burn2.elf"21 imagename="flash"22 format="hex"23 output="burn2.hex" />24 </target>25
26 </project>
To build this project, run ppci-build.py in the same directory:
$ cd test/data/stm32f4xx$ ppci-build.py
3
ppci Documentation, Release 0.0.5
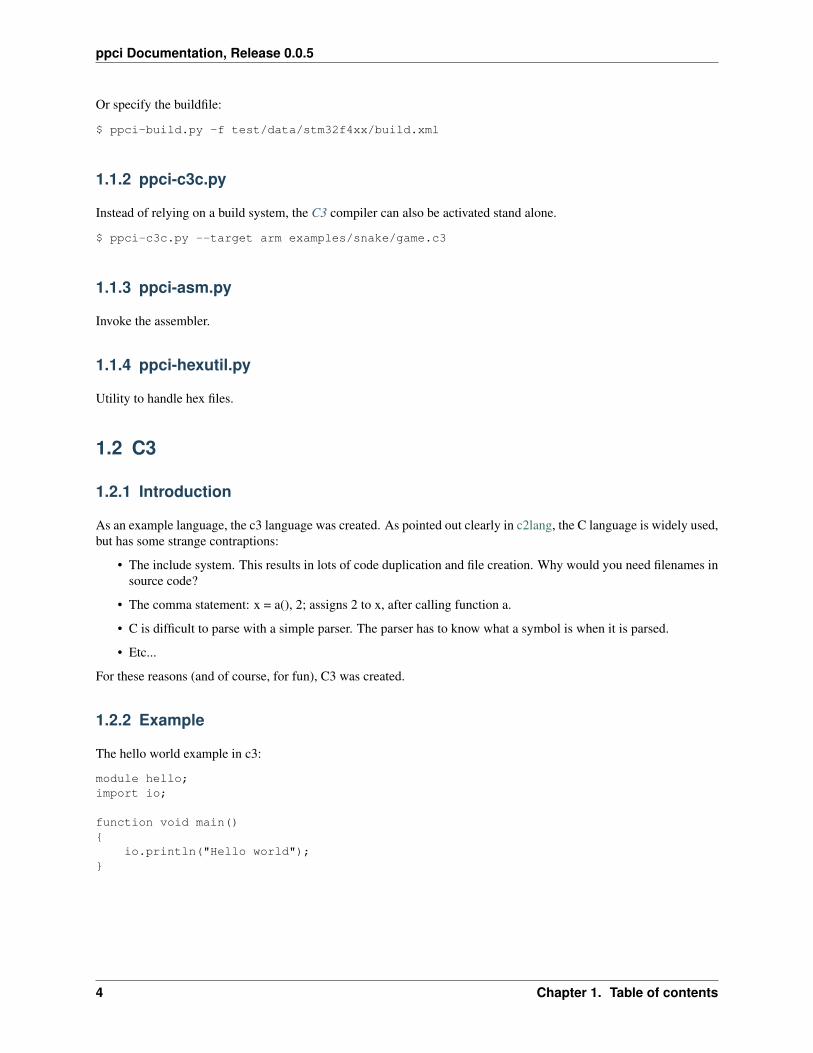
Or specify the buildfile:
$ ppci-build.py -f test/data/stm32f4xx/build.xml
1.1.2 ppci-c3c.py
Instead of relying on a build system, the C3 compiler can also be activated stand alone.
$ ppci-c3c.py --target arm examples/snake/game.c3
1.1.3 ppci-asm.py
Invoke the assembler.
1.1.4 ppci-hexutil.py
Utility to handle hex files.
1.2 C3
1.2.1 Introduction
As an example language, the c3 language was created. As pointed out clearly in c2lang, the C language is widely used,but has some strange contraptions:
• The include system. This results in lots of code duplication and file creation. Why would you need filenames insource code?
• The comma statement: x = a(), 2; assigns 2 to x, after calling function a.
• C is difficult to parse with a simple parser. The parser has to know what a symbol is when it is parsed.
• Etc...
For these reasons (and of course, for fun), C3 was created.
1.2.2 Example
The hello world example in c3:
module hello;import io;
function void main(){
io.println("Hello world");}
4 Chapter 1. Table of contents

ppci Documentation, Release 0.0.5
1.2.3 Language reference
Modules
Modules in C3 live in file, and can be defined in multiple files. Modules can import each other by using the importstatement.
For example:
pkg1.c3:
module pkg1;import pkg2;
pkg2.c3:
module pkg2;import pkg1;
Functions
Function can be defined by using the function keyword, followed by a type and the function name.
module example;
function void compute(){}
function void main(){
main();}
Variables
Variables require the var keyword, and can be either global are function local.
module example;
var int global_var;
function void compute(){
var int x = global_var + 13;global_var = 200 - x;
}
Types
Types can be specified when a variable is declared, and also typedeffed.
module example;var int number;var int* ptr_num;
1.2. C3 5
ppci Documentation, Release 0.0.5
type int* ptr_num_t;var ptr_num_t number2;
If statement
The following code example demonstrates the if statement. The else part is optional.
module example;
function void compute(int a){
var int b = 10;if (a > 100){
b += a;}
if (b > 50){
b += 1000;}else{
b = 2;}
}
While statement
The while statement can be used as follows:
module example;
function void compute(int a){
var int b = 10;while (b > a){
b -= 1;}
}
For statement
The for statement works like in C. The first item is initialized before the loop. The second is the condition for the loop.The third part is executed when one run of the loop is done.
module example;
function void compute(int a){
var int b = 0;for (b = 100; b > a; b -= 1){
// Do something here!
6 Chapter 1. Table of contents

ppci Documentation, Release 0.0.5
}}
1.3 Build system
It can be convenient to bundle a series of build steps into a script, for example a makefile. Instead of depending onmake, yet another build tool was created. The build specification is specified in xml. Much like msbuild and Ant.
A project can contain a build.xml file which describes how the project should be build. The name of the file can bebuild.xml or another filename. This file can than be given to ppci-build.py.
An example build file:
1 <project name="Snake" default="snake">2 <import name="ppci.buildtasks" />3
4 <target name="snake">5 <assemble source="lm3s6965/startup.asm" target="thumb"6 output="startup.o" />7 <compile target="thumb"8 sources="snake/main.c3;lm3s6965/bsp.c3;snake/io.c3;snake/game.c3"9 output="snake.o" />
10 <link output="snake.elf" layout="lm3s6965/memlayout.mmap"11 target="thumb"12 objects="startup.o;snake.o" />13 <objcopy objectfile="snake.elf" imagename="flash" format="bin"14 output="snake.bin" />15 </target>16
17 </project>
1.3.1 Projects
The root element of a build file is the project tag. This tag contains a name and optionally a default target attribute.When no target is given when building the project, the default target is selected.
1.3.2 Targets
Like make, targets can depend on eachother. Then one target is run, the build system makes sure to run dependingtargets first. Target elements contain a list of tasks to perform.
1.3.3 Tasks
The task elements are contained within target elements. Each task specifies a build action. For example the link tasktakes multiple object files and combines those into a merged object.
1.4 API
Instead of using the commandline, it is also possible to use the build functions of ppci via the buildfunctions.
1.3. Build system 7

ppci Documentation, Release 0.0.5
For example to assemble, compile, link and objcopy, code could look like:
1 from ppci.buildfunctions import assemble, c3compile, link, objcopy2
3 march = "thumb"4 o1 = assemble(’start.asm’, march)5 o2 = c3compile([’source_code.c3’], [], march)6 o3 = link([o2, o1], ’mem.ld’, march)7 objcopy(o3, ’code’, ’bin’, ’output.bin’)
1.4.1 buildfunctions module
This module contains a set of handy functions to invoke compilation, linking and assembling.
ppci.buildfunctions.assemble(source, target)Invoke the assembler on the given source, returns an object containing the output.
ppci.buildfunctions.bf2ir(source)Compile brainfuck source into ir code
ppci.buildfunctions.bfcompile(source, target, lst_file=None)Compile brainfuck source into binary format for the given target
ppci.buildfunctions.c3compile(sources, includes, target, lst_file=None)Compile a set of sources into binary format for the given target
ppci.buildfunctions.c3toir(sources, includes, target)Compile c3 sources to ir code using the includes and for the given target
ppci.buildfunctions.construct(buildfile, targets=())Construct the given buildfile. Raise task error if something goes wrong
ppci.buildfunctions.fix_file(f)Determine if argument is a file like object or make it so!
ppci.buildfunctions.fix_target(tg)Try to return an instance of the Target class
ppci.buildfunctions.get_compiler_rt_lib(target)Gets the runtime for the compiler. Returns an object with the compiler runtime for the given target
ppci.buildfunctions.ir_to_code(ir_modules, target, lst_file=None)Translate the given list of IR-modules into object code for the given target
ppci.buildfunctions.ir_to_python(ircode, f)Convert ir-code to python code
ppci.buildfunctions.link(objects, layout, target, lst_file=None, use_runtime=False)Links the iterable of objects into one using the given layout
ppci.buildfunctions.objcopy(obj, image_name, fmt, output_filename)Copy some parts of an object file to an output
ppci.buildfunctions.optimize(ircode, do_verify=False)Run a bag of tricks against the ir-code. This is an in-place operation!
8 Chapter 1. Table of contents
ppci Documentation, Release 0.0.5
1.5 Utilities
1.5.1 St link
Programming the stm32f4 discovery board.
Getting the example code
Change into your home directory and checkout the ppci source code:
$ cd ~$ mkdir HG$ cd HG$ hg clone https://bitbucket.org/windel/ppci
If everything went well, you now have the latest version of ppci checked out.
Building
Compiling the stm32f4xx example project using the compiler toolchain:
$ cd ~/HG/ppci/test/data/stm32f4xx$ zcc.py build
2014-08-15 12:40:15,640|INFO|taskrunner|Target sequence: [Target "burn2", Target "all"]2014-08-15 12:40:15,640|INFO|taskrunner|Target burn22014-08-15 12:40:15,640|INFO|taskrunner|Running Task "AssembleTask"2014-08-15 12:40:15,641|INFO|taskrunner|Running Task "C3cTask"2014-08-15 12:40:15,705|INFO|taskrunner|Running Task "LinkTask"2014-08-15 12:40:15,710|INFO|taskrunner|Running Task "ObjCopyTask"2014-08-15 12:40:15,711|INFO|taskrunner|Target all2014-08-15 12:40:15,711|INFO|taskrunner|Done!
$ ls -latrburn2.hex
Flashing
First inspect the hexfile you want to flash with the hexutil program:
$ hexutil.py info ~/HG/ppci/test/data/stm32f4xx/burn2.hexHexfile containing 408 bytesRegion at 0x08000000 of 408 bytes
To flash an application using the st-link V2 debugger, use the st-flash program:
$ st-flash.py hexwrite burn2.hexflashing Region at 0x08000000 of 408 bytes
1.5.2 Hexfile manipulation
class ppci.utils.hexfile.HexFileRepresents an intel hexfile
1.5. Utilities 9

ppci Documentation, Release 0.0.5
>>> from utils import HexFile>>> h = HexFile()>>> h.dump()Hexfile containing 0 bytes>>> h.addRegion(0, bytes([1,2,3]))>>> hHexfile containing 3 bytes
1.5.3 Yacc
// .. automodule:: yacc
1.5.4 Burg
Bottom up rewrite generator
This script takes as input a description of patterns and outputs a matcher class that can match trees given the patterns.
Patterns are specified as follows:
reg -> ADDI32(reg, reg) 2 (. add NT0 NT1 .)reg -> MULI32(reg, reg) 3 (. .)
or a multiply add:
reg -> ADDI32(MULI32(reg, reg), reg) 4 (. muladd $1, $2, $3 .)
The general specification pattern is:
[result] -> [tree] [cost] [template code]
Trees
A tree is described using parenthesis notation. For example a node X with three child nodes is described as:
X(a, b, b)
Trees can be nested:
X(Y(a, a), a)
The ‘a’ in the example above indicates an open connection to a next tree pattern.
In the example above ‘reg’ is a non-terminal. ADDI32 is a terminal. non-terminals cannot have child nodes. A specialcase occurs in this case:
reg -> rc
where ‘rc’ is a non-terminal. This is an example of a chain rule. Chain rules can be used to allow several variants ofnon-terminals.
The generated matcher uses dynamic programming to find the best match of the tree. This strategy consists of twosteps:
• label: During this phase the given tree is traversed in a bottom up way. each node is labelled with a possiblematching rule and the corresponding cost.
• select: In this step, the tree is traversed again, selecting at each point the cheapest way to get to the goal.
10 Chapter 1. Table of contents

ppci Documentation, Release 0.0.5
1.6 Compiler design
This chapter describes the design of the compiler. The compiler consists a frontend, mid-end and back-end. Thefrontend deals with source file parsing and semantics checking. The mid-end performs optimizations. This is optional.The back-end generates machine code. The front-end produces intermediate code. This is a simple representation ofthe source. The back-end can accept this kind of representation.
c3 source file c3 front end
mid end
IR-code
language X front endIR-code
back end for X86IR-code
back end for ARMIR-code
object file
1.6.1 C3 Front-end
For the front-end a recursive descent parser is created for the c3 language. This is a subset of the C language withsome additional features.
source text lexer parser code generation IR-code object
class ppci.c3.Lexer(diag)Generates a sequence of token from an input stream
class ppci.c3.Parser(diag)Parses sourcecode into an abstract syntax tree (AST)
class ppci.c3.CodeGenerator(diag)Generates intermediate (IR) code from a package. The entry function is ‘genModule’. The main task of thispart is to rewrite complex control structures, such as while and for loops into simple conditional jump state-ments. Also complex conditional statements are simplified. Such as ‘and’ and ‘or’ statements are rewritten inconditional jumps. And structured datatypes are rewritten.
Type checking is done in one run with code generation.
class ppci.c3.Builder(diag, target)Generates IR-code from c3 source. Reports errors to the diagnostics system.
1.6.2 Brainfuck frontend
The compiler has a front-end for the brainfuck language.
class ppci.bf.BrainFuckGeneratorBrainfuck is a language that is so simple, the entire front-end can be implemented in one pass.
1.6.3 IR-code
The intermediate representation (IR) of a program de-couples the front end from the backend of the compiler.
1.6. Compiler design 11

ppci Documentation, Release 0.0.5
See IR-code for details about all the available instructions.
IR-code
Front ends generate this IR-code. Backends transform it into machine code.
The IR-code is implemented in the ir package.
class ppci.ir.Module(name)Container unit for variables and functions.
class ppci.ir.Function(name, module=None)Represents a function.
class ppci.ir.Block(name, function=None)Uninterrupted sequence of instructions with a label at the start.
A block contains a sequence of statements.
class ppci.ir.Load(address, name, ty, volatile=False)Load a value from memory
class ppci.ir.Store(value, address, volatile=False)Store a value into memory
class ppci.ir.Const(value, name, ty)Represents a constant value
class ppci.ir.Binop(a, operation, b, name, ty)Generic binary operation
class ppci.ir.Call(function, arguments, name, ty)Call a function with some arguments
class ppci.ir.Jump(target)Jump statement to another block within the same function
class ppci.ir.CJump(a, cond, b, lab_yes, lab_no)Conditional jump to true or false labels.
1.6.4 Optimalization
The IR-code generated by the front-end can be optimized in many ways. The compiler does not have the best way tooptimize code, but instead has a bag of tricks it can use.
class ppci.transform.ModulePassBase class of all optimizing passes. Subclass this class to implement your own optimization pass
class ppci.mem2reg.Mem2RegPromotorTries to find alloc instructions only used by load and store instructions and replace them with values and phinodes
class ppci.transform.LoadAfterStorePassRemove load after store to the same location.
[x] = ab = [x]c = b + 2
transforms into:
12 Chapter 1. Table of contents

ppci Documentation, Release 0.0.5
[x] = ac = a + 2
class ppci.transform.DeleteUnusedInstructionsPassRemove unused variables from a block
class ppci.transform.RemoveAddZeroPassReplace additions with zero with the value itself. Replace multiplication by 1 with value itself.
class ppci.transform.CommonSubexpressionEliminationPassReplace common sub expressions with the previously defined one.
1.6.5 Back-end
The back-end is more complicated. There are several steps to be taken here.
1. Canonicalization
2. Tree creation
3. Instruction selection
4. register allocation
5. Instruction emission
6. TODO: Peep hole optimization?
Specification languages
Introduction
DRY
Do not repeat yourself (DRY). This is perhaps the most important idea to keep in mind when writing tools likeassemblers, disassemblers, linkers, debuggers and compiler code generators. Writing these tools can be a repetitiveand error prone task.
One way to achieve this is to to write a specification file for a specific processor and generate from this file the differenttools. The goal of a machine description file is to describe a file and generate tools like assemblers, disassemblers,linkers, debuggers and simulators.
1.6. Compiler design 13

ppci Documentation, Release 0.0.5
CPU specification
spec compiler
assembler compiler back-end simulator
Background
There are several existing languages to describe machines in a Domain Specific Language (DSL). Examples of theseare:
• Tablegen (llvm)
• cgen (gnu)
• LISA (Aachen)
• nML (Berlin)
• SLED (Specifying representations of machine instructions (norman ramsey and Mary F. Fernandez)) [sled]
Concepts to use in this language:
• Single stream of instructions
• State stored in memory
• Pipelining
• Instruction semantics
Optionally a description in terms of compiler code generation can be attached to this. But perhaps this clutters thedescription too much and we need to put it elsewhere.
The description language can help to expand these descriptions by expanding the permutations.
Example specifications
For a complete overview of ADL (Architecture Description Language) see [overview].
14 Chapter 1. Table of contents

ppci Documentation, Release 0.0.5
llvmdef IMUL64rr : RI<0xAF, MRMSrcReg, (outs GR64:$dst),
(ins GR64:$src1, GR64:$src2),"imul{q}\t{$src2, $dst|$dst, $src2}",[(set GR64:$dst, EFLAGS,
(X86smul_flag GR64:$src1, GR64:$src2))],IIC_IMUL64_RR>,
TB;
LISA<insn> BC{
<decode>{%ID: {0x7495, 0x0483}%cond_code: { %OPCODE1 & 0x7F }%dest_address: { %OPCODE2 }
}<schedule>{BC1(PF, w:ebus_addr, w:pc) |BC2(PF, w:pc), BC3(IF) |BC4(ID) |<if> (condition[cond_code]){
BC5(AC) |BC6(PF), BC7(ID), BC8(RE) |BC9(EX)
}<else>{
k:NOP(IF), BC10(AC, w:pc) |BC11(PF), BC12(ID), BC13(RE) |k:NOP(ID), BC14(EX) |k:NOP(ID), k:NOP(AC) |k:NOP(AC), k:NOP(RE) |k:NOP(RE), k:NOP(EX) |k:NOP(EX)
}}<operate>{BC1.control: { ebus_addr = pc++; }BC2.control: { ir = mem[ebus_addr]; pc++ }BC10.control: { pc = (%OPCODE2) }
}}
SLEDpatterns
nullary is any of [ HALT NEG COM SHL SHR READ WRT NEWL NOOP TRA NOTR ],which is op = 0 & adr = { 0 to 10 }
constructorsIMULb Eaddr is (grp3.Eb; Eaddr) & IMUL.AL.eAX
1.6. Compiler design 15

ppci Documentation, Release 0.0.5
nMLtype word = card(16)type absa = card(9)type disp = int(4)type off = int(6)mem PC[1,word]mem R[16,word]mem M[65536,word]var L1[1,word]var L2[1,word]var L3[1,word]mode register(i:card(4)) = R[i]
syntax = format(”R%s”, i)image = format(”%4b”, i)
mode memory = ind | post | absmode ind(r:register, d:disp) = M[r+d]
update = {}syntax = format(”@%s(%d)”, r.syntax, d)image = format(”0%4b%4b0”, r.image, d)
mode post(r:register, d:disp) = M[r+d]update = { r = r + 1; }syntax = format(”@%s++(%d)”, r.syntax, d)image = format(”0%4b%4b1”, r.image, d)
mode abs(a : absa) = M[a]update = {}syntax = format(”%d”, a)image = format(”1%9b”, a)
op instruction( i : instr )syntax = i.syntaximage = i.imageaction = {PC = PC + 1;i.action;
}op instr = move | alu | jumpop move(lore:card(1), r:register, m:memory)
syntax = format(”MOVE%d %s %s”, lore, r.syntax, m.syntax)image = format(”0%1b%4b%10b”, lore, r.image, m.image)action = {if ( lore ) then r = m;else m = r;endif;m.update;
}op alu(s1:register, s2:register, d:reg, a:aluop)
syntax = format(”%s %s %s %s”, a.syntax, s1.syntax, s2.syntax, d.syntax)image = format(”10%4b%4b%4b%2b”, s1.image, s2.image, d.image, a.image)action = {L1 = s1; L2 = s2; a.action; d = L3;
}op jump(s1:register, s2:register, o:off)
syntax = format(”JUMP %s %s %d”, s1.syntax, s2.syntax, o)image = format(”11%4b%4b%6b”, s1.image, s2.image, o)action = {if ( s1 >= S2 ) then PC = PC + o;endif;}
op aluop = and | add | sub | shift;
16 Chapter 1. Table of contents
ppci Documentation, Release 0.0.5
op and() syntax = ”and” image = ”00” action = { L3 = L1 & L2; }op add() syntax = ”add” image = ”10” action = { L3 = L1 + L2; }op sub() syntax = ”sub” image = ”01” action = { L3 = L1 - L2; }
Design
The following information must be captured in the specification file:
• Assembly textual representation
• Binary representation
• Link relocations
• Mapping from compiler back-end
• Effects of instruction (semantics)
Code generator
Target independent code generator part. The target is provided when the generator is created.
Canonicalize
During this phase, the IR-code is made simpler. Also unsupported operations are rewritten into function calls. Forexample soft floating point is introduced here.
Tree building
From IR-code a tree is generated which can be used to select instructions. The process of instruction selection ispreceeded by the creation of a selection dag (directed acyclic graph). The dagger take ir-code as input and producessuch a dag for instruction selection.
Instruction selection
The instruction selection phase takes care of scheduling and instruction selection. The output of this phase is a oneframe per function with a flat list of abstract machine instructions.
To select instruction, a tree rewrite system is used. This is also called bottom up rewrite generator (BURG). Seepyburg.
Register allocation
The selected instructions are used to select correct registers.
class ppci.codegen.registerallocator.RegisterAllocatorTarget independent register allocator.
Algorithm is iterated register coalescing by Appel and George.
Chaitin’s algorithm: remove all nodes with less than K neighbours. These nodes can be colored when addedback.
The process consists of the following steps:
1.6. Compiler design 17
ppci Documentation, Release 0.0.5
•build interference graph from the instruction list
•remove low degree non move related nodes.
•(optional) coalesc registers to remove redundant moves
•(optional) spill registers
•select registers
TODO: Implement different register classes
code emission
Code is emitted using the outputstream class. The assembler and compiler use this class to emit instructions to. Thestream can output to object file or to a logger.
class ppci.binutils.outstream.OutputStreamInterface to generator code with.
1.7 Development
This chapter descibes how to develop on ppci.
1.7.1 Communication
Join the #ppci irc channel on freenode!
1.7.2 Running the testsuite
To run the unit tests with the compiler, use pytest:
$ pytest -v test/
Or use the unittest module:
$ python -m unittest discover -s test
In order to test ppci versus different versions of python, tox is used. To run tox, simply run in the root directory:
$ tox
1.7.3 Building the docs
The docs can be build locally by using sphinx. Make sure that ppci is on your PYTHONPATH
$ export PYTHONPATH=your_ppci_root$ cd docs$ sphinx-build -b html . build
18 Chapter 1. Table of contents

Bibliography
[sled] http://www.cs.tufts.edu/~nr/toolkit/
[overview] http://esl.cise.ufl.edu/Publications/iee05.pdf
19

ppci Documentation, Release 0.0.5
20 Bibliography

Python Module Index
pppci.buildfunctions, 8ppci.codegen.codegen, 17ppci.irdag, 17ppci.pyburg, 10
21

ppci Documentation, Release 0.0.5
22 Python Module Index

Index
Aassemble() (in module ppci.buildfunctions), 8
Bbf2ir() (in module ppci.buildfunctions), 8bfcompile() (in module ppci.buildfunctions), 8Binop (class in ppci.ir), 12Block (class in ppci.ir), 12BrainFuckGenerator (class in ppci.bf), 11Builder (class in ppci.c3), 11
Cc3compile() (in module ppci.buildfunctions), 8c3toir() (in module ppci.buildfunctions), 8Call (class in ppci.ir), 12CJump (class in ppci.ir), 12CodeGenerator (class in ppci.c3), 11CommonSubexpressionEliminationPass (class in
ppci.transform), 13Const (class in ppci.ir), 12construct() (in module ppci.buildfunctions), 8
DDeleteUnusedInstructionsPass (class in ppci.transform),
13
Ffix_file() (in module ppci.buildfunctions), 8fix_target() (in module ppci.buildfunctions), 8Function (class in ppci.ir), 12
Gget_compiler_rt_lib() (in module ppci.buildfunctions), 8
HHexFile (class in ppci.utils.hexfile), 9
Iir_to_code() (in module ppci.buildfunctions), 8
ir_to_python() (in module ppci.buildfunctions), 8
JJump (class in ppci.ir), 12
LLexer (class in ppci.c3), 11link() (in module ppci.buildfunctions), 8Load (class in ppci.ir), 12LoadAfterStorePass (class in ppci.transform), 12
MMem2RegPromotor (class in ppci.mem2reg), 12Module (class in ppci.ir), 12ModulePass (class in ppci.transform), 12
Oobjcopy() (in module ppci.buildfunctions), 8optimize() (in module ppci.buildfunctions), 8OutputStream (class in ppci.binutils.outstream), 18
PParser (class in ppci.c3), 11ppci.buildfunctions (module), 8ppci.codegen.codegen (module), 17ppci.irdag (module), 17ppci.pyburg (module), 10
RRegisterAllocator (class in
ppci.codegen.registerallocator), 17RemoveAddZeroPass (class in ppci.transform), 13
SStore (class in ppci.ir), 12
23