photoclass
TRANSCRIPT
Digital Photo Class
Today we will learn how to take digital photos out of your camera and share them
with your family, friends & co-workers.
HBPL Digital Photo Class
Class Goal
• In today's class every participant will establish one online photo album AND email one photo to someone else.
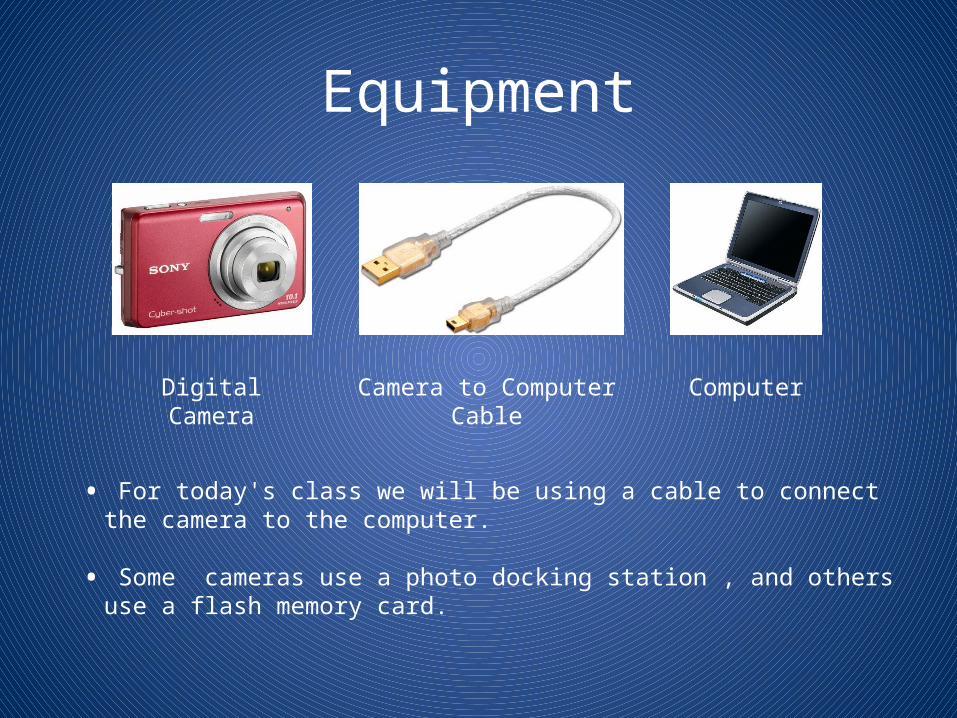
Equipment
Digital Camera Camera to Computer Cable Computer
• For today's class we will be using a cable to connect the camera to the computer.
• Some cameras use a photo docking station , and others use a flash memory card.
Let’s get started…
• First turn your camera on, if there are no pictures in your camera, have someone in the class take a picture of you with your camera.
• Turn your camera off.• Turn on your computer, (if not already on.)• Plug the cable into the camera.• Plug the cable into the computer.• Turn the camera on.
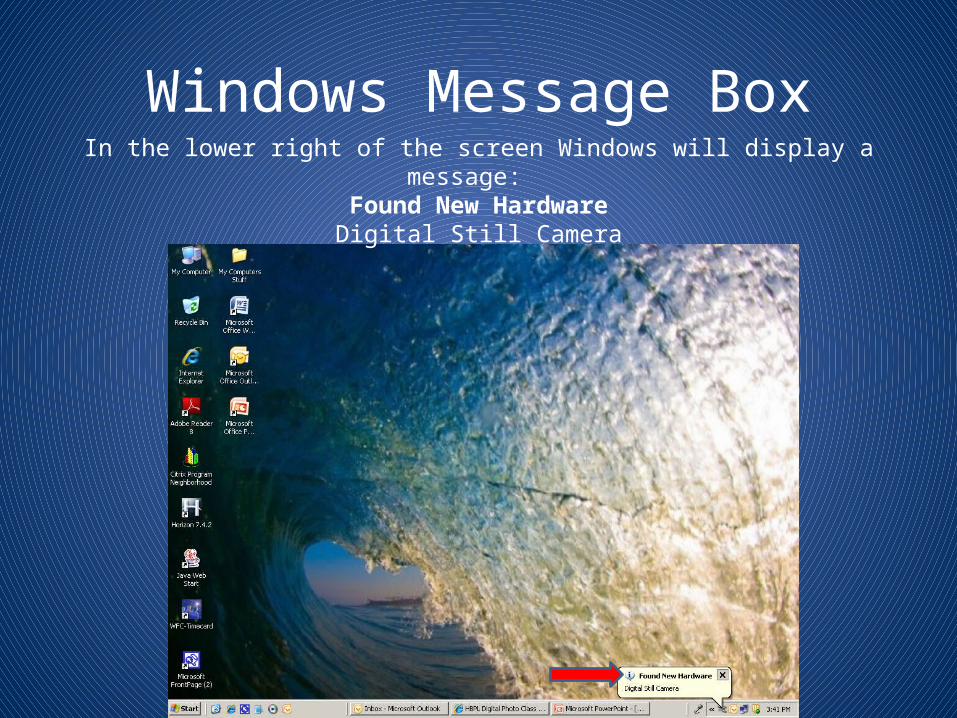
Windows Message BoxIn the lower right of the screen Windows will display a message:
Found New HardwareDigital Still Camera
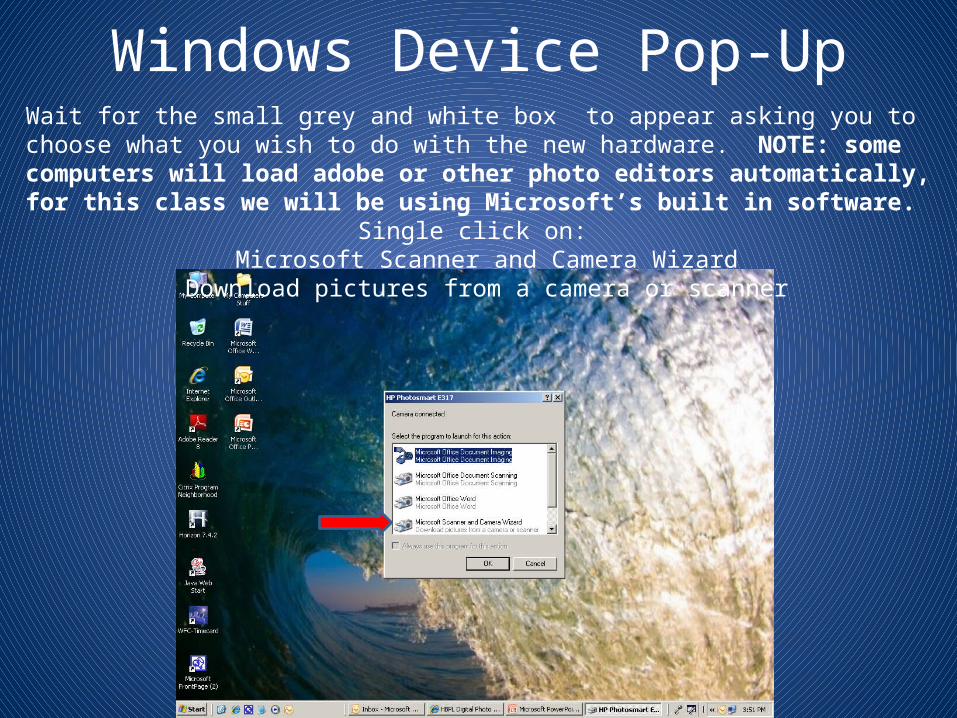
Windows Device Pop-UpWait for the small grey and white box to appear asking you to choose what you wish to do with the new hardware. NOTE: some computers will load adobe or other photo editors automatically, for this class we will be using Microsoft’s built in software.
Single click on: Microsoft Scanner and Camera Wizard
Download pictures from a camera or scanner
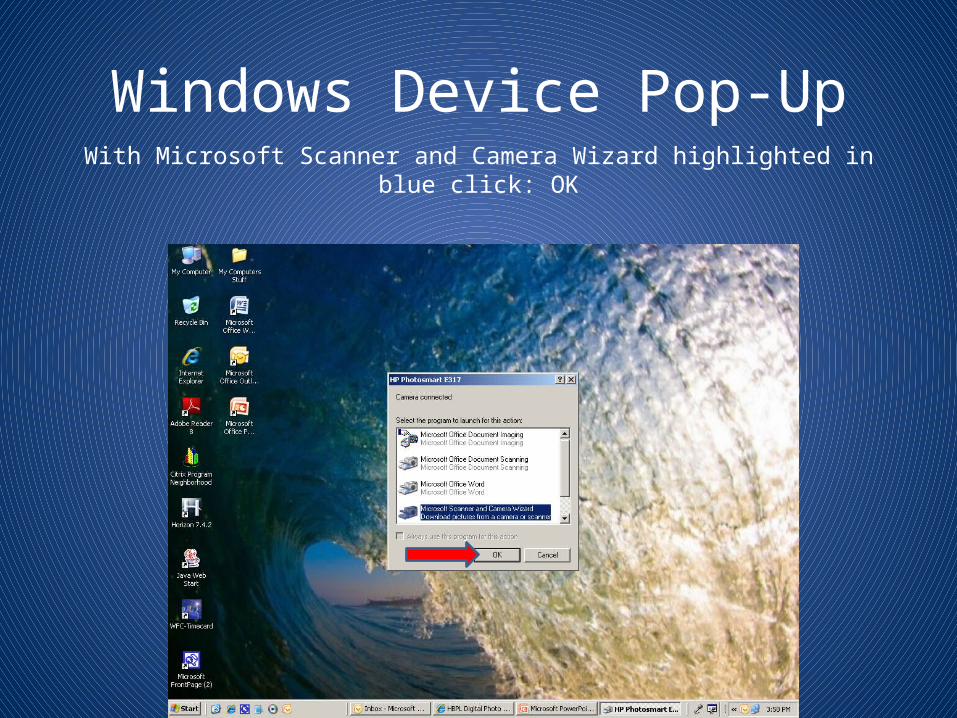
Windows Device Pop-UpWith Microsoft Scanner and Camera Wizard highlighted in blue click: OK
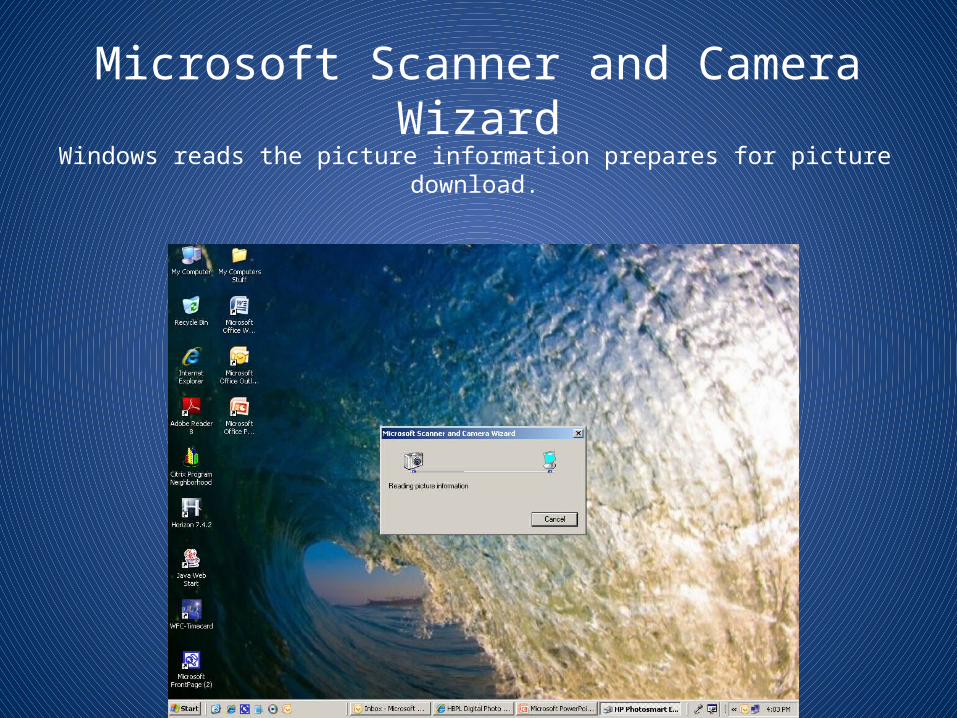
Microsoft Scanner and Camera WizardWindows reads the picture information prepares for picture download.
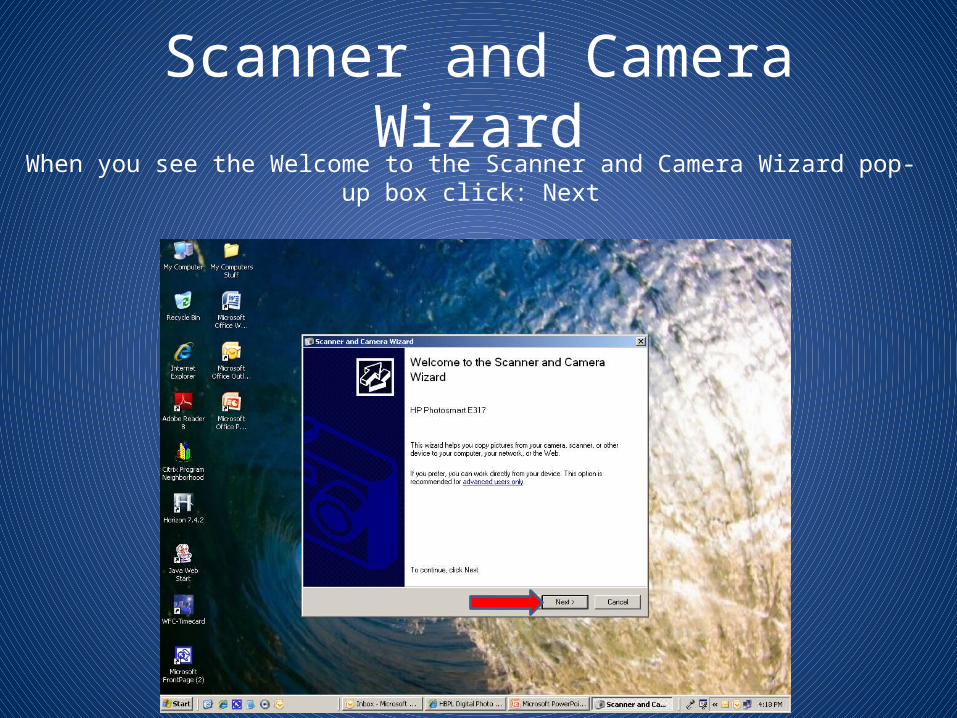
Scanner and Camera WizardWhen you see the Welcome to the Scanner and Camera Wizard pop-up box click: Next
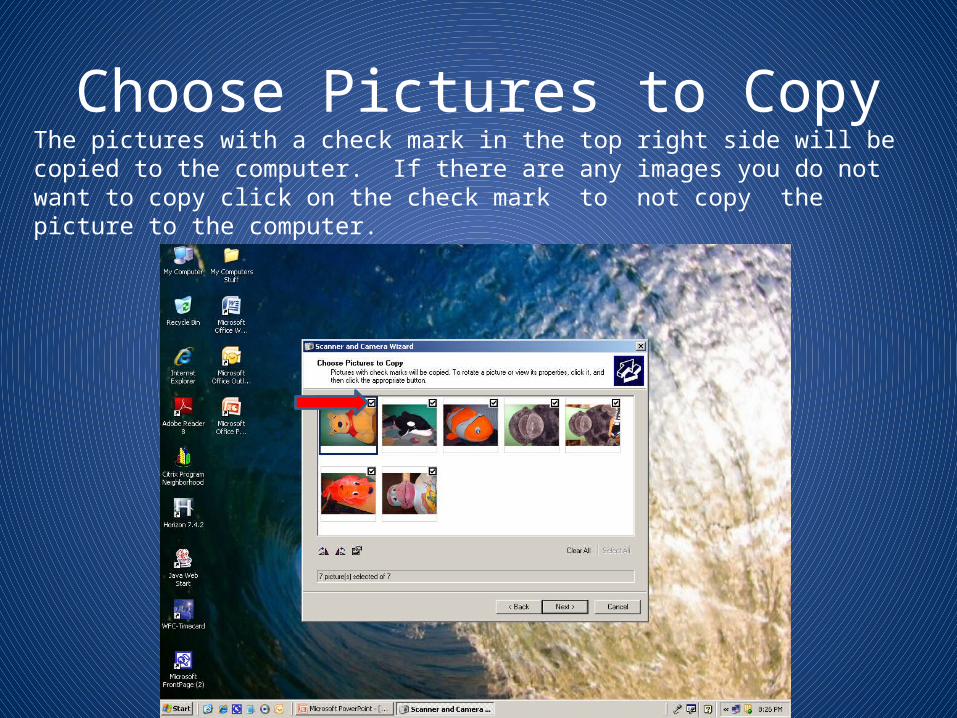
Choose Pictures to CopyThe pictures with a check mark in the top right side will be copied to the computer. If there are any images you do not want to copy click on the check mark to not copy the picture to the computer.
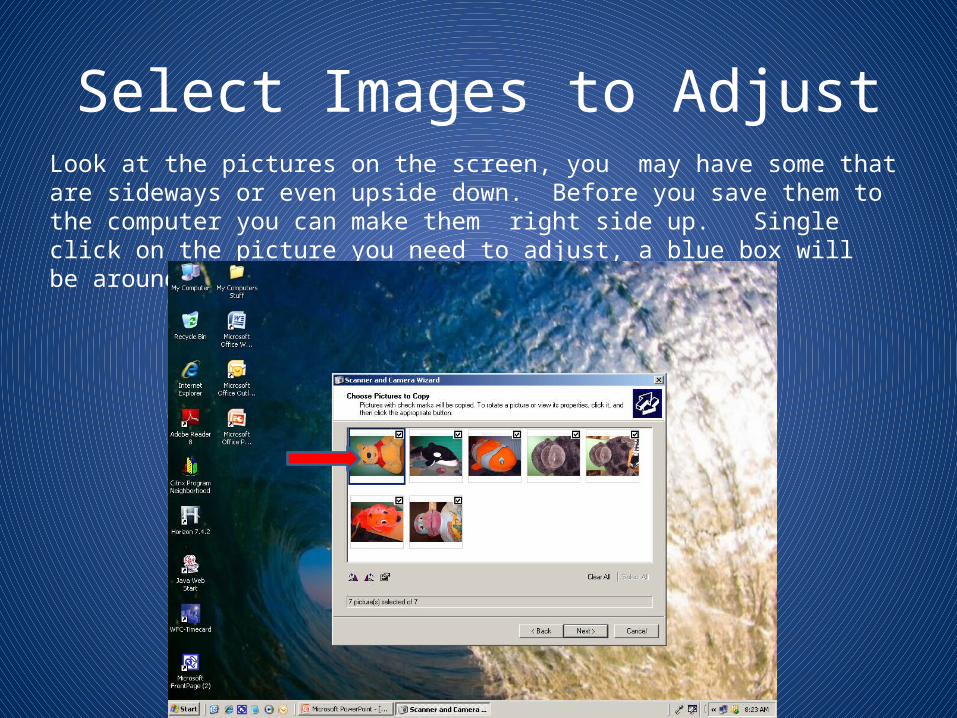
Select Images to AdjustLook at the pictures on the screen, you may have some that are sideways or even upside down. Before you save them to the computer you can make them right side up. Single click on the picture you need to adjust, a blue box will be around the picture.
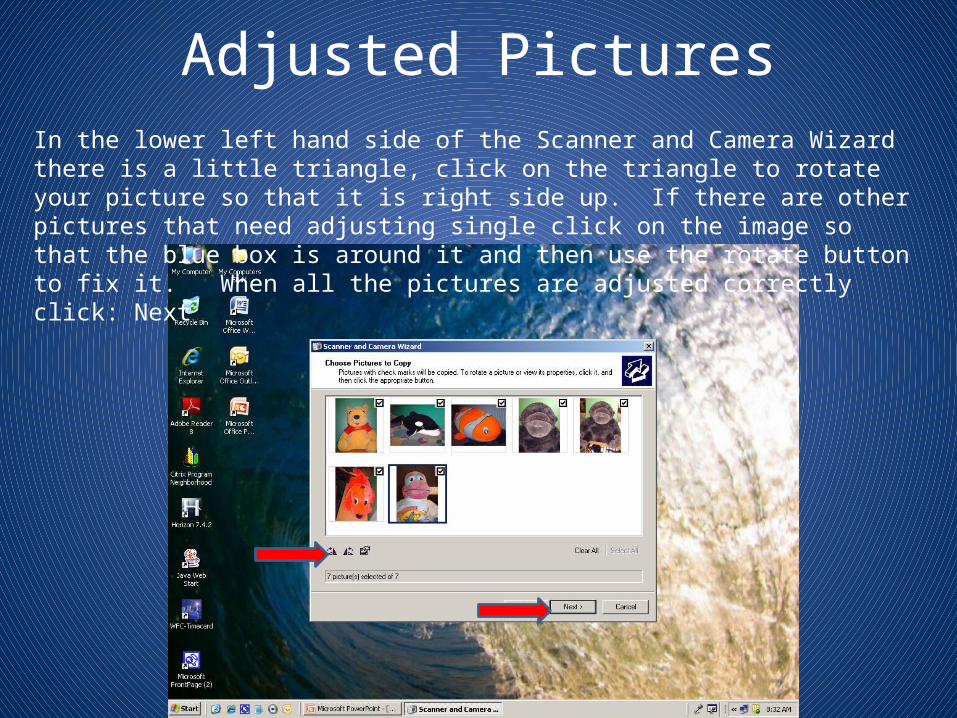
Adjusted PicturesIn the lower left hand side of the Scanner and Camera Wizard there is a little triangle, click on the triangle to rotate your picture so that it is right side up. If there are other pictures that need adjusting single click on the image so that the blue box is around it and then use the rotate button to fix it. When all the pictures are adjusted correctly click: Next
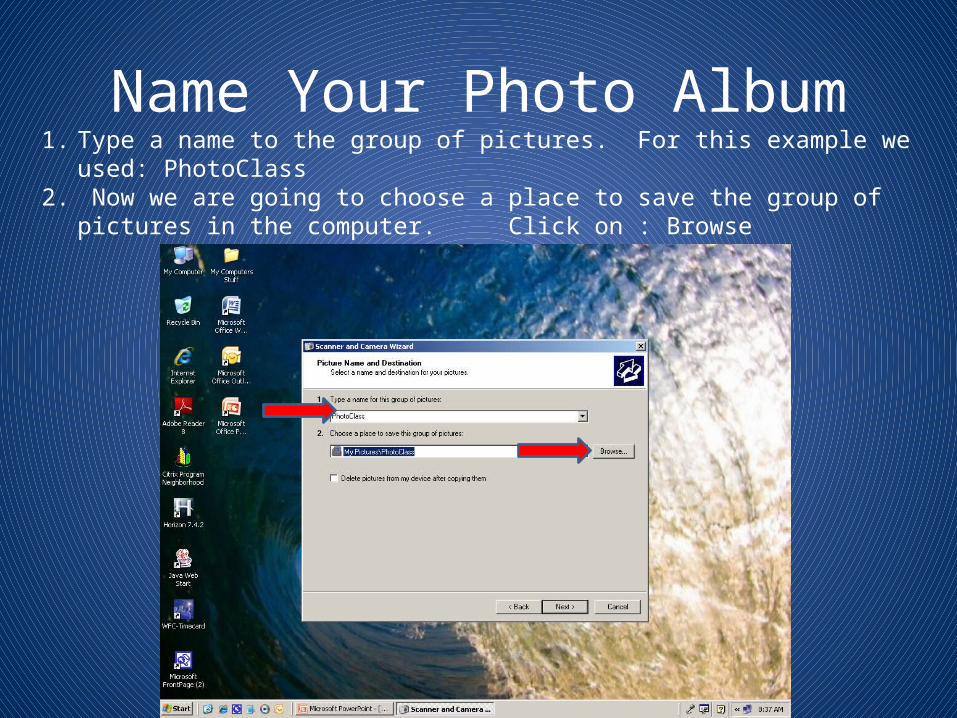
Name Your Photo Album1. Type a name to the group of pictures. For this example we used: PhotoClass2. Now we are going to choose a place to save the group of pictures in the computer.
Click on : Browse
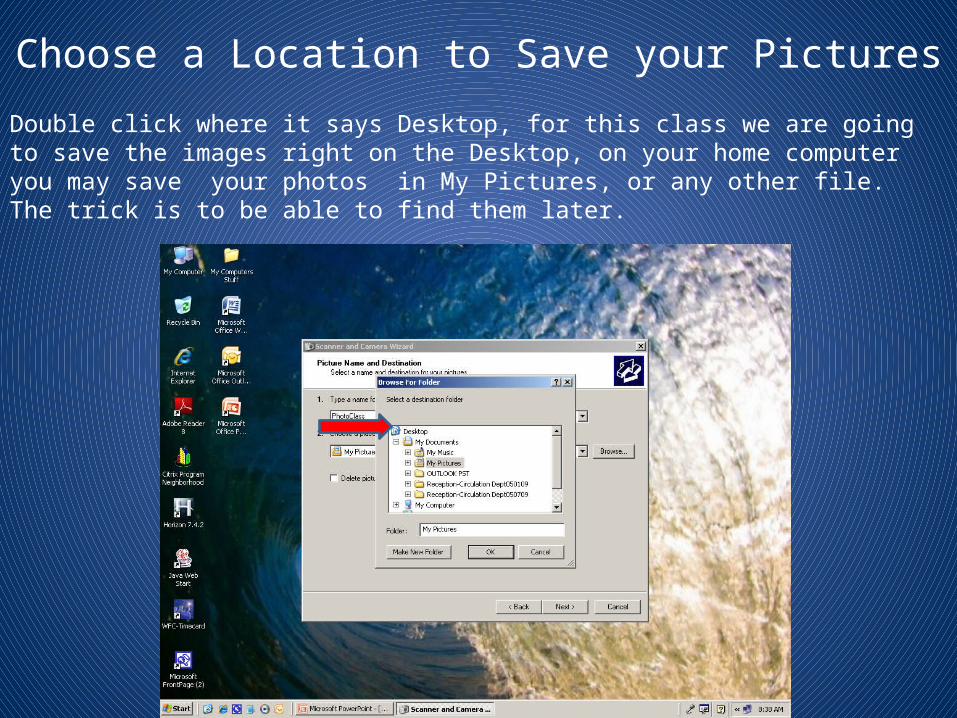
Choose a Location to Save your PicturesDouble click where it says Desktop, for this class we are going to save the images right on the Desktop, on your home computer you may save your photos in My Pictures, or any other file. The trick is to be able to find them later.
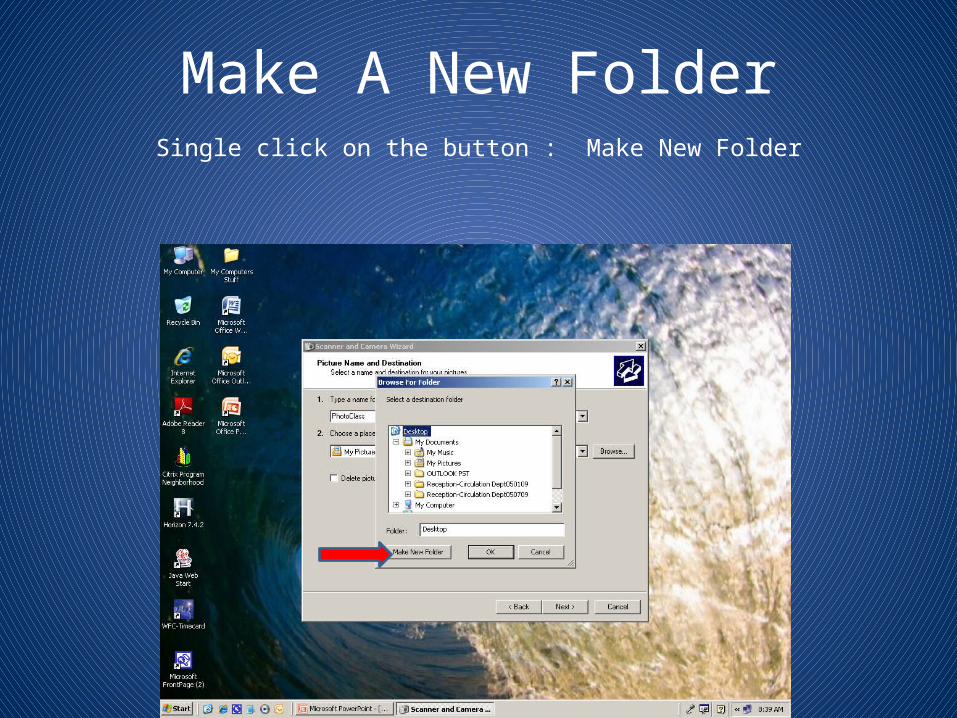
Make A New FolderSingle click on the button : Make New Folder
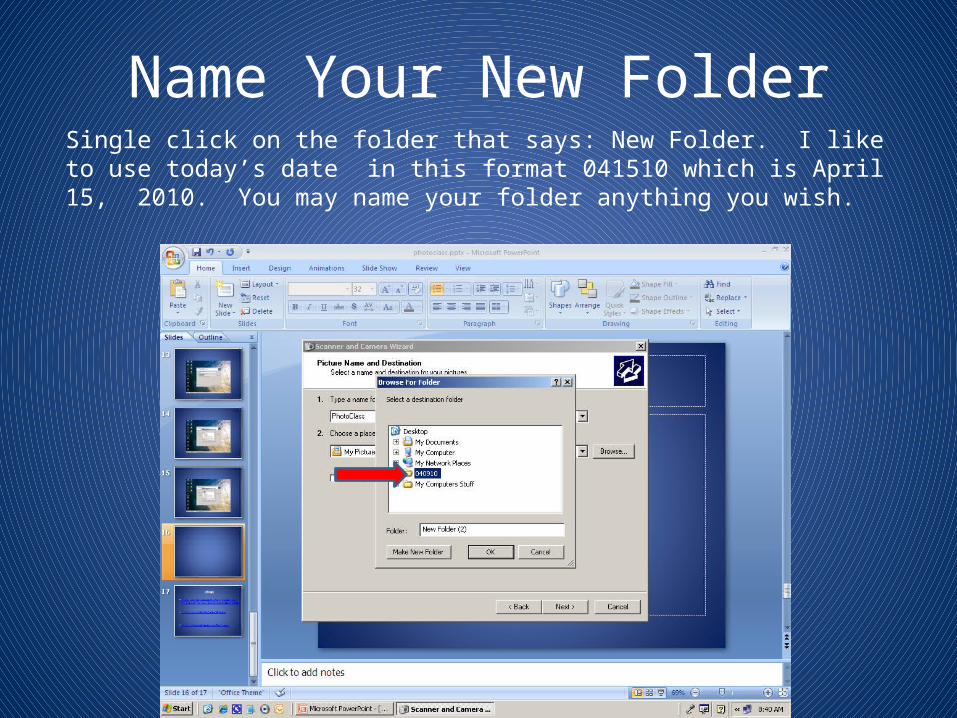
Name Your New FolderSingle click on the folder that says: New Folder. I like to use today’s date in this format 041510 which is April 15, 2010. You may name your folder anything you wish.
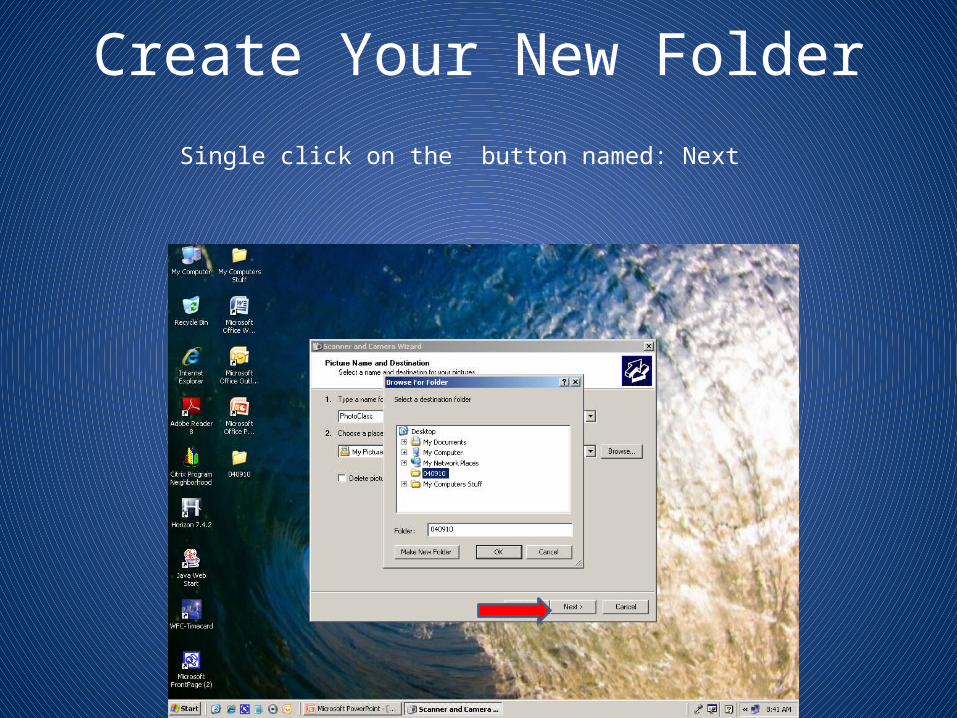
Create Your New FolderSingle click on the button named: Next
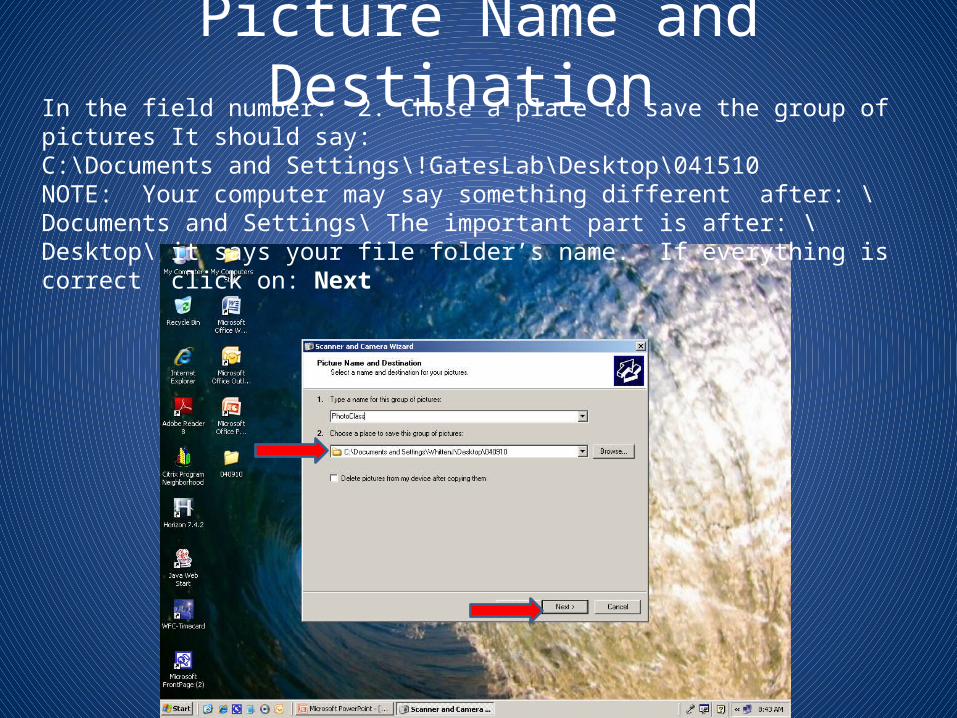
Picture Name and Destination In the field number: 2. Chose a place to save the group of pictures It should say:C:\Documents and Settings\!GatesLab\Desktop\041510NOTE: Your computer may say something different after: \Documents and Settings\ The important part is after: \Desktop\ it says your file folder’s name. If everything is correct click on: Next
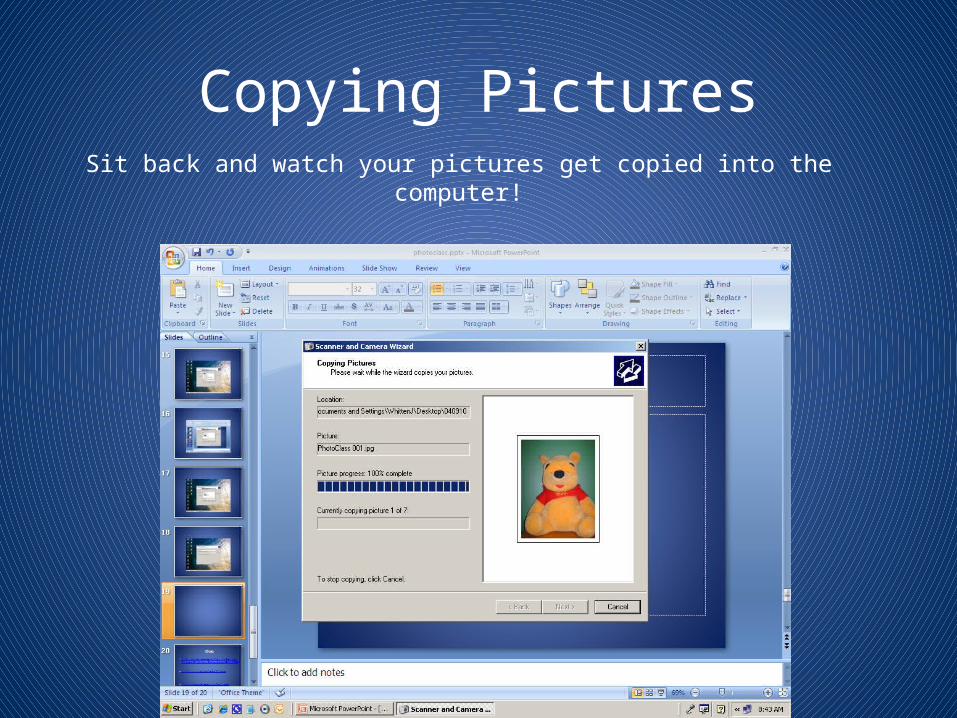
Copying PicturesSit back and watch your pictures get copied into the computer!
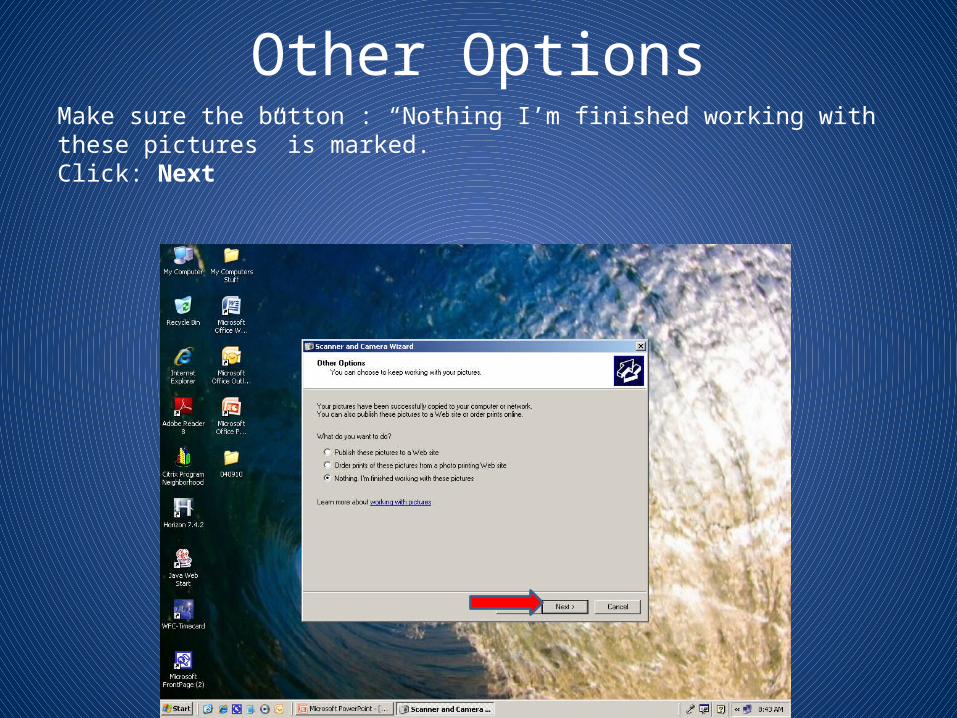
Other OptionsMake sure the button : “Nothing I’m finished working with these pictures” is marked.Click: Next
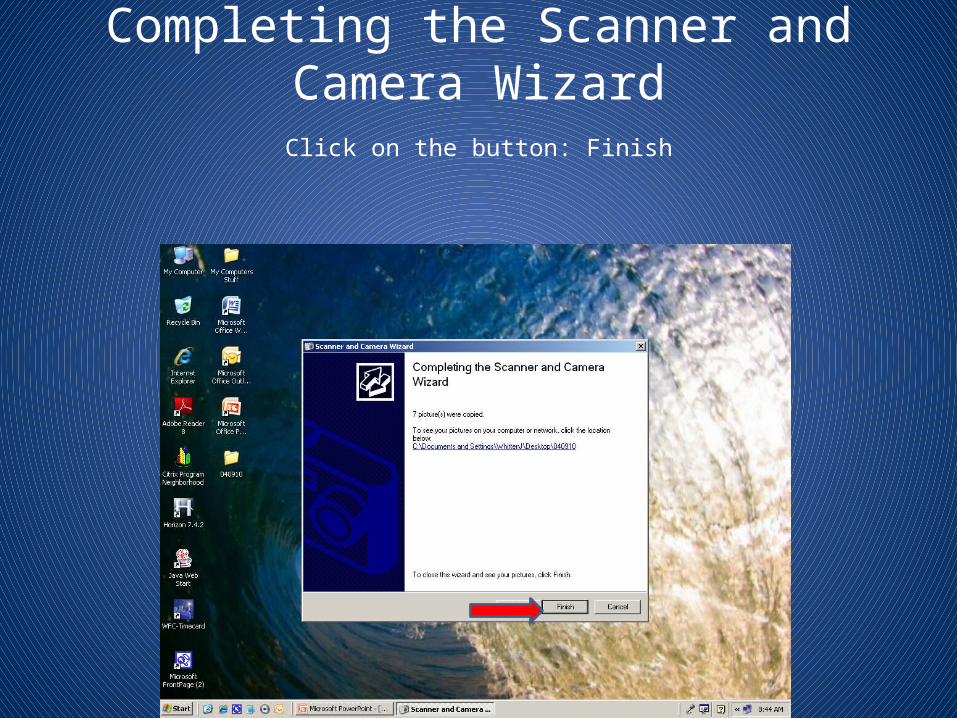
Completing the Scanner and Camera Wizard
Click on the button: Finish
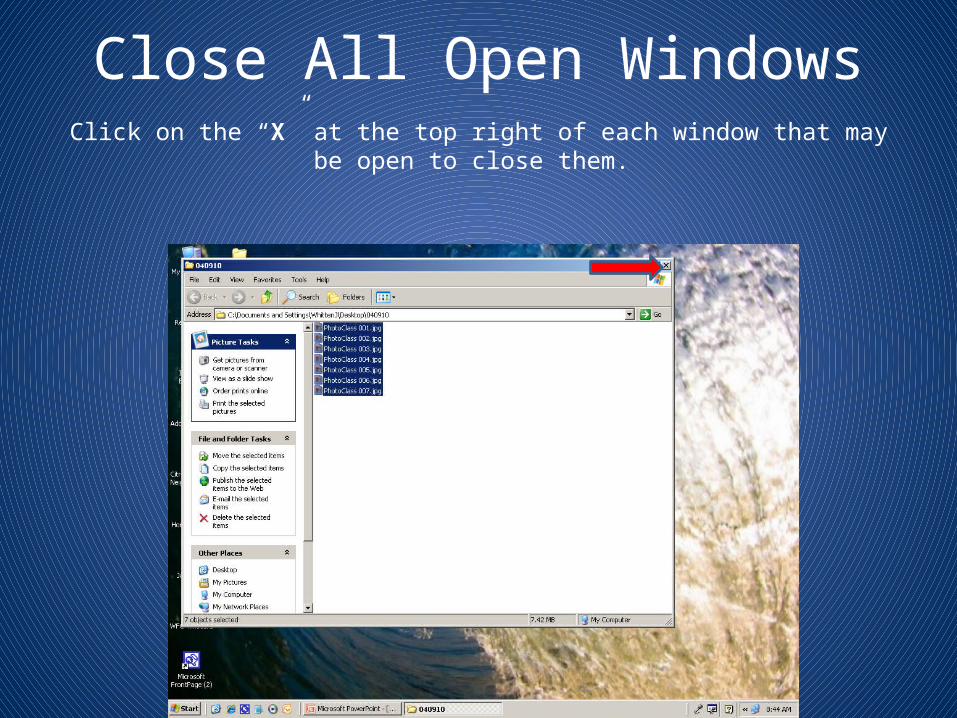
Close All Open WindowsClick on the “X” at the top right of each window that may be open to close them.
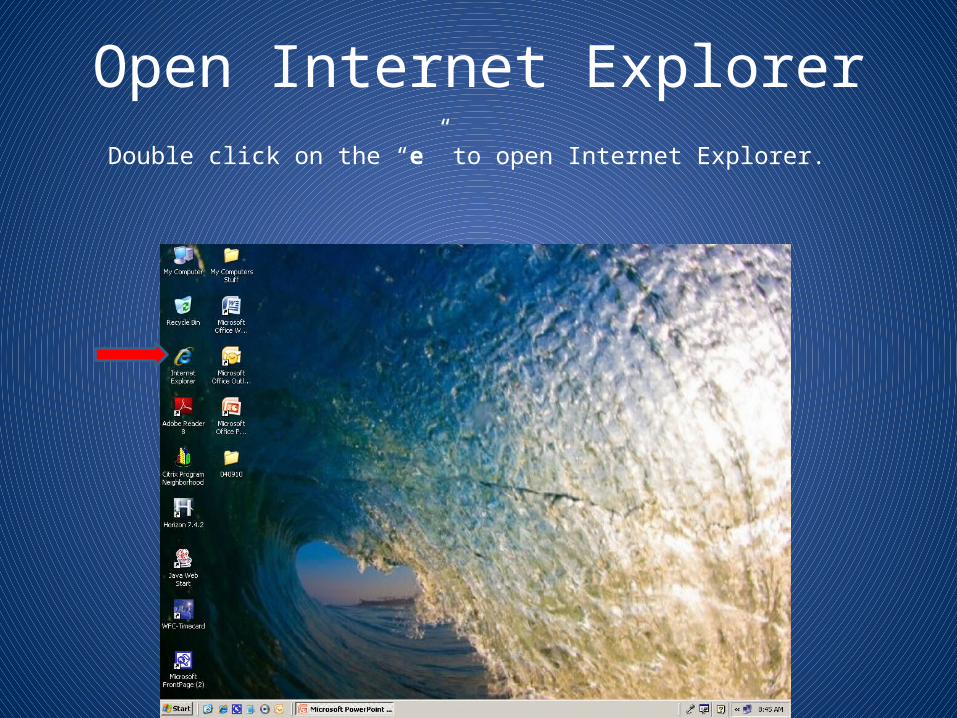
Open Internet ExplorerDouble click on the “e” to open Internet Explorer.

Open Shutterfly.comFor today's class we will be using Shutterfly to create a photo album and email a picture to somebody. First, in the browser window type in: www.shutterfly.com then press: Enter
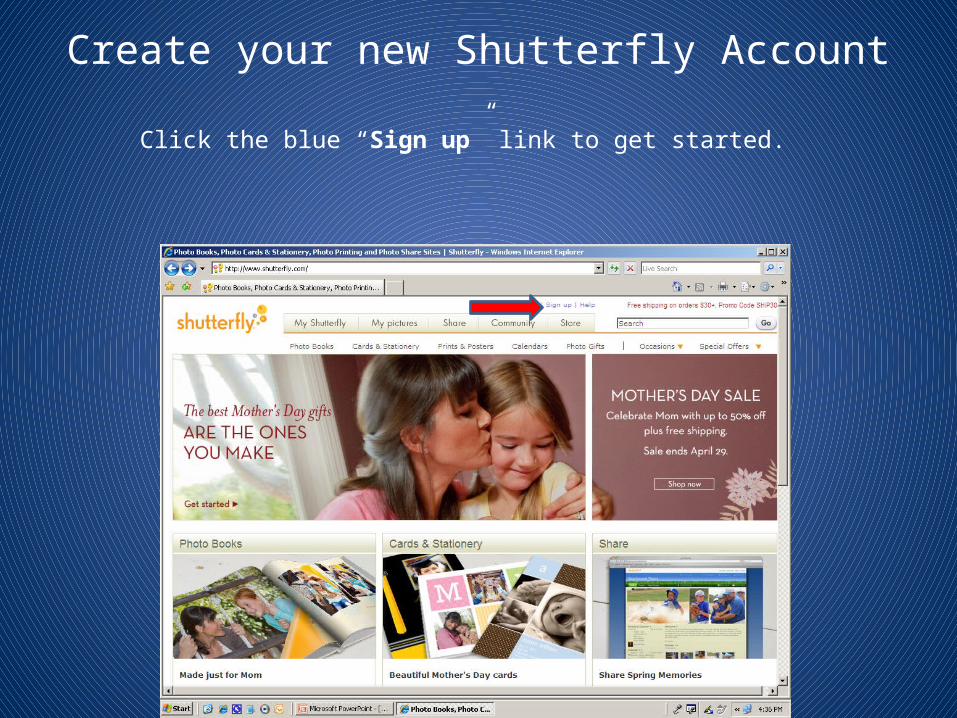
Create your new Shutterfly AccountClick the blue “Sign up” link to get started.
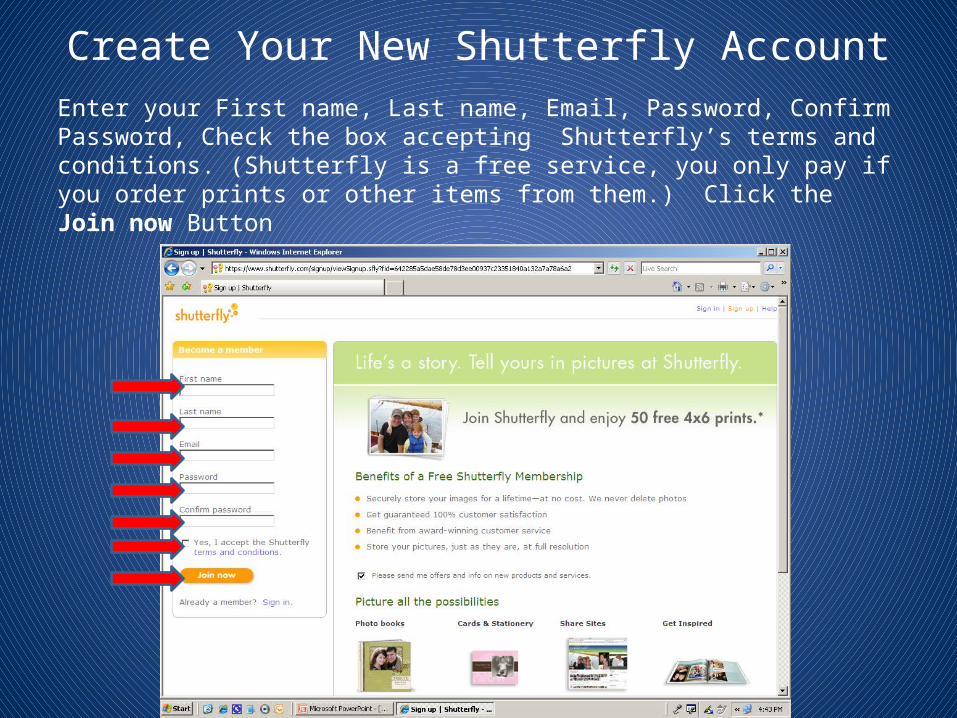
Create Your New Shutterfly AccountEnter your First name, Last name, Email, Password, Confirm Password, Check the box accepting Shutterfly’s terms and conditions. (Shutterfly is a free service, you only pay if you order prints or other items from them.) Click the Join now Button

Uploading Pictures to ShutterflyClick the button: Upload
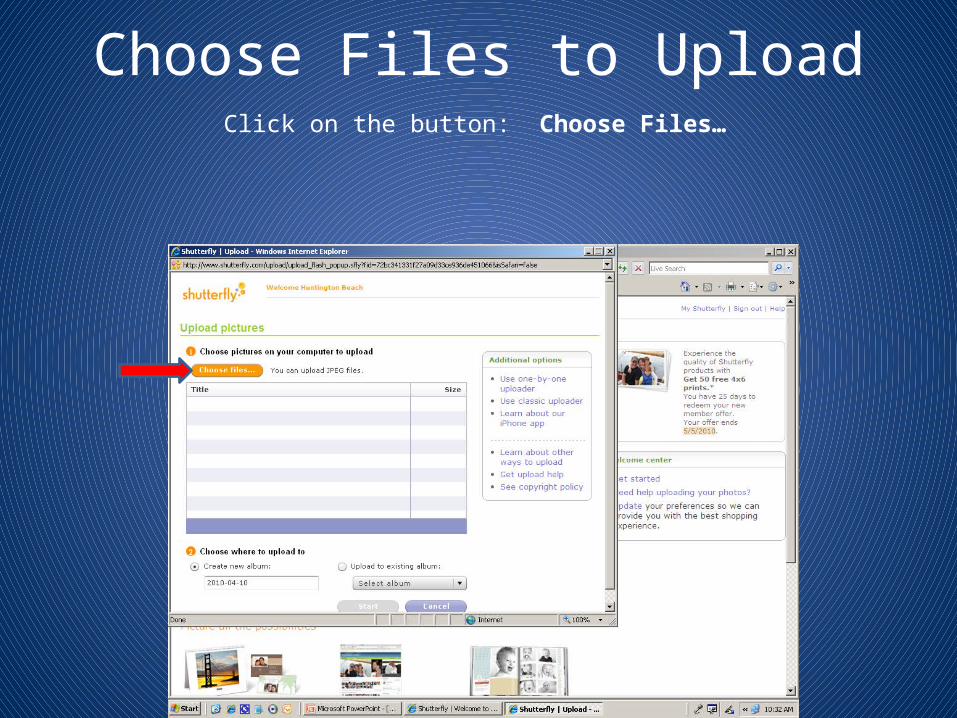
Choose Files to UploadClick on the button: Choose Files…
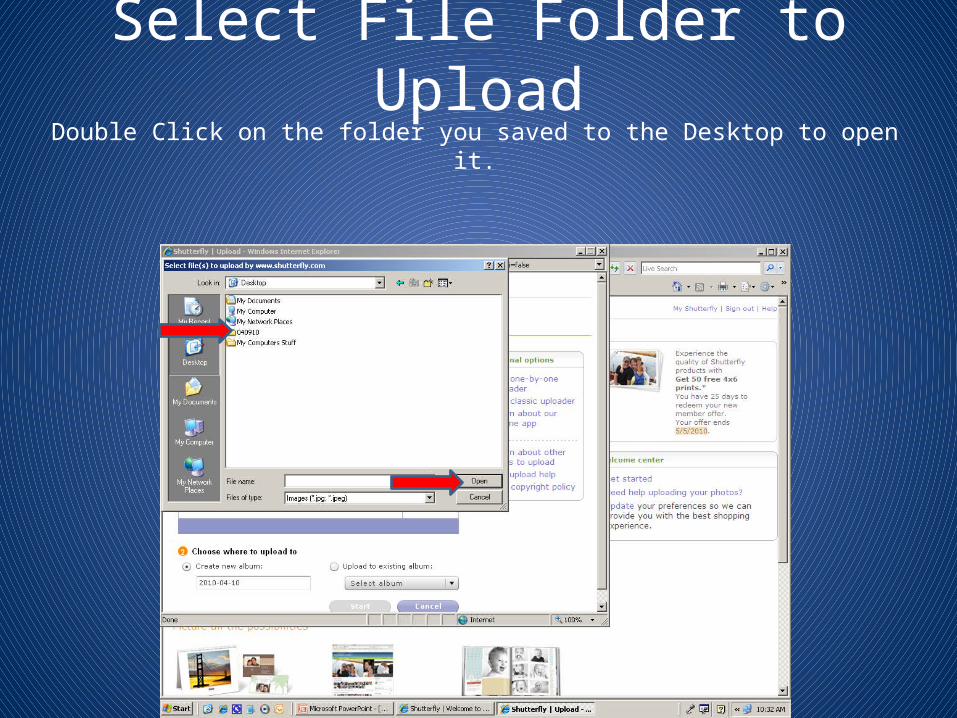
Select File Folder to UploadDouble Click on the folder you saved to the Desktop to open it.
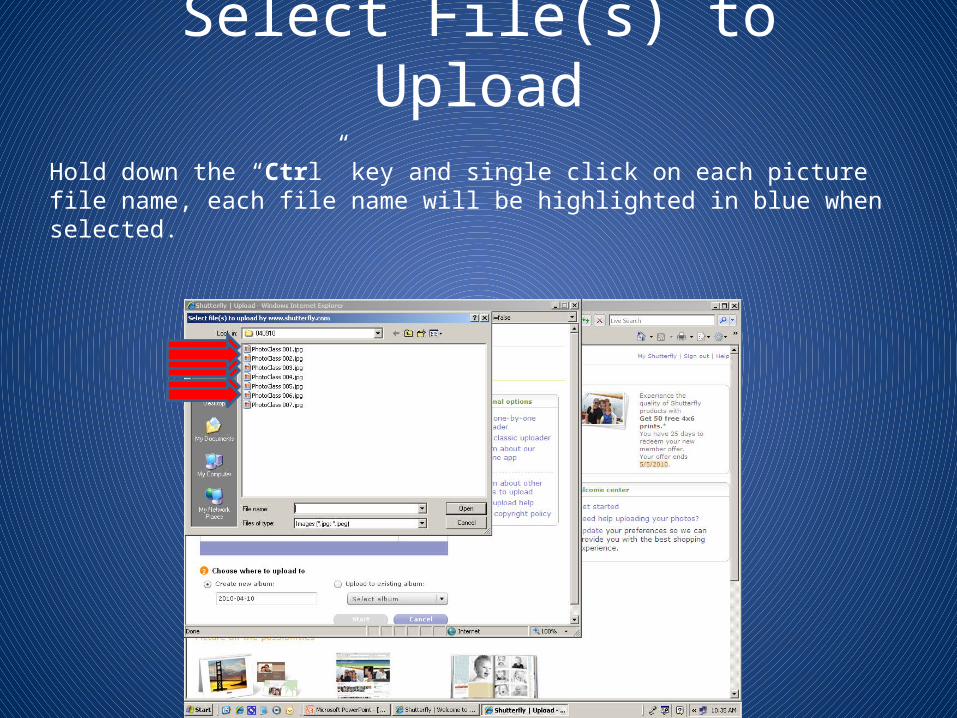
Select File(s) to Upload
Hold down the “Ctrl” key and single click on each picture file name, each file name will be highlighted in blue when selected.
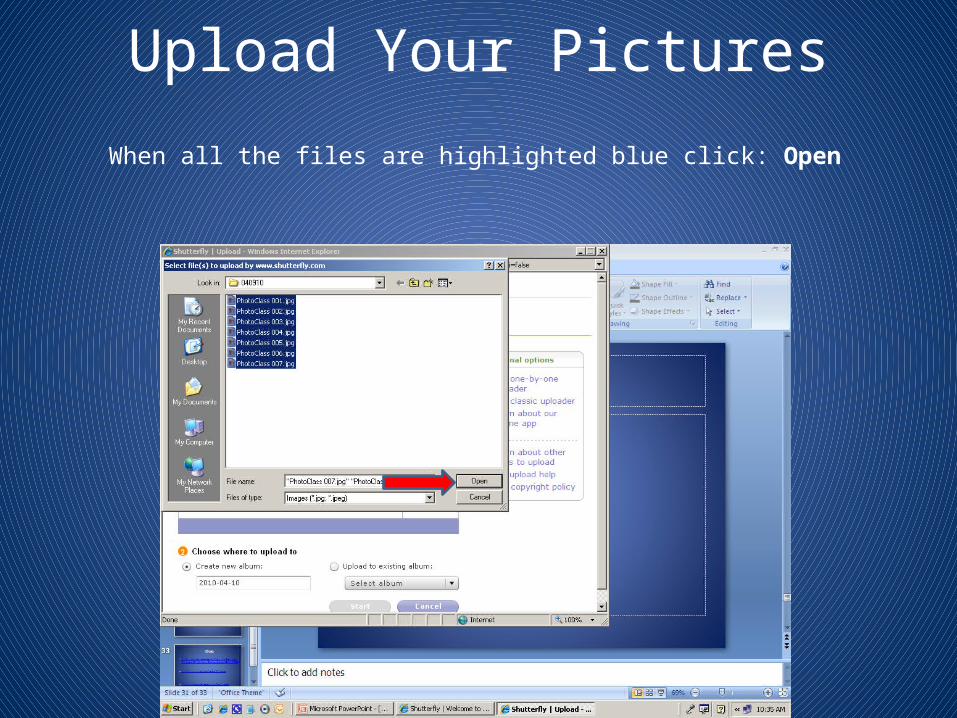
Upload Your Pictures
When all the files are highlighted blue click: Open
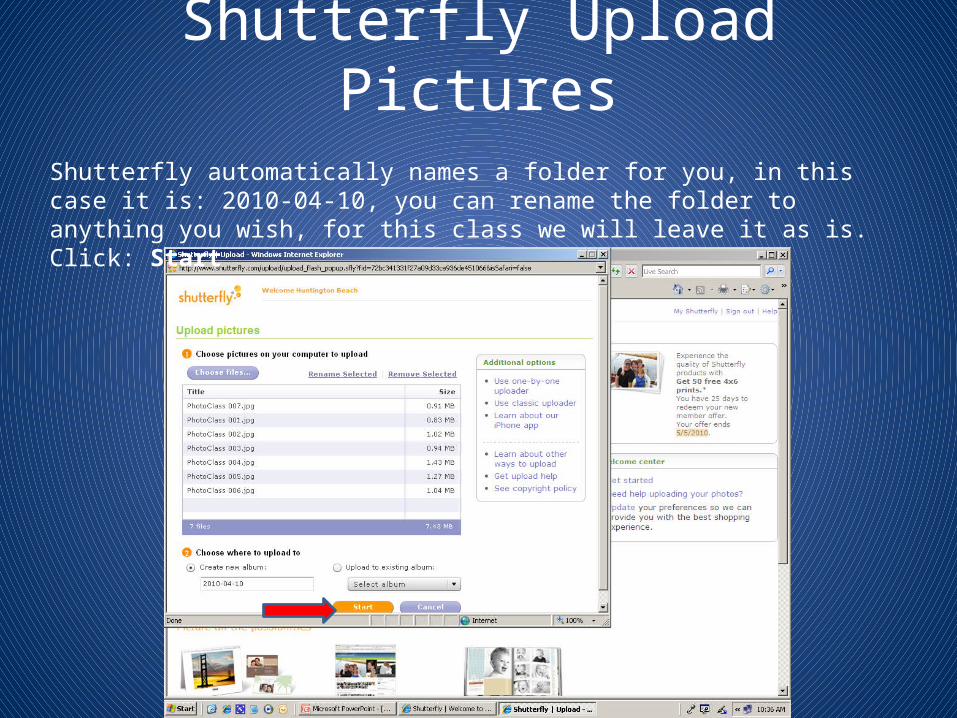
Shutterfly Upload Pictures
Shutterfly automatically names a folder for you, in this case it is: 2010-04-10, you can rename the folder to anything you wish, for this class we will leave it as is. Click: Start
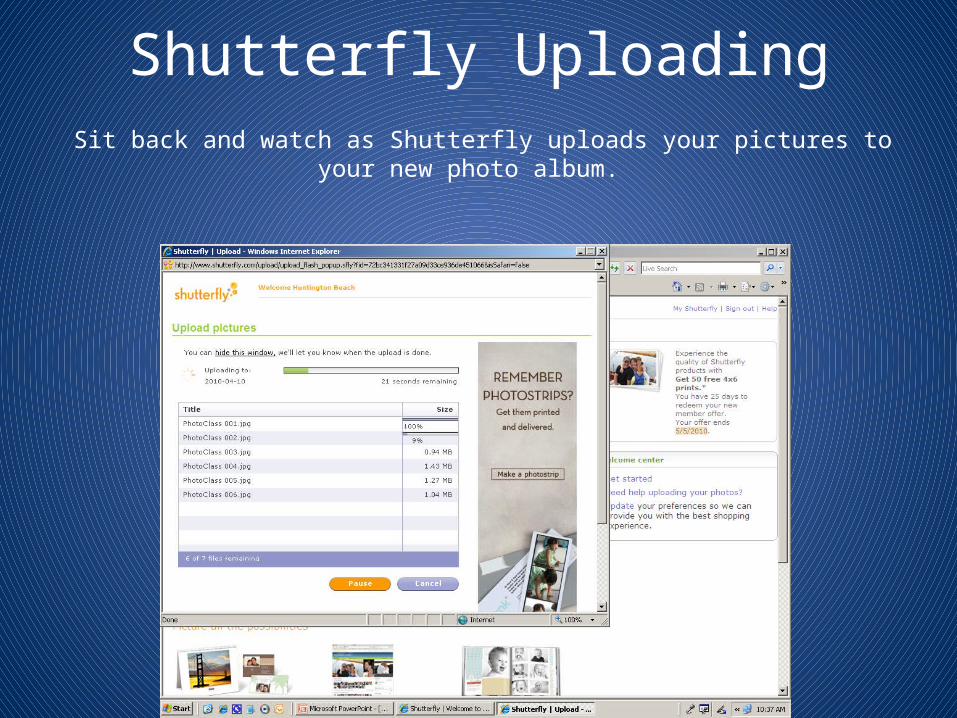
Shutterfly UploadingSit back and watch as Shutterfly uploads your pictures to your new photo album.
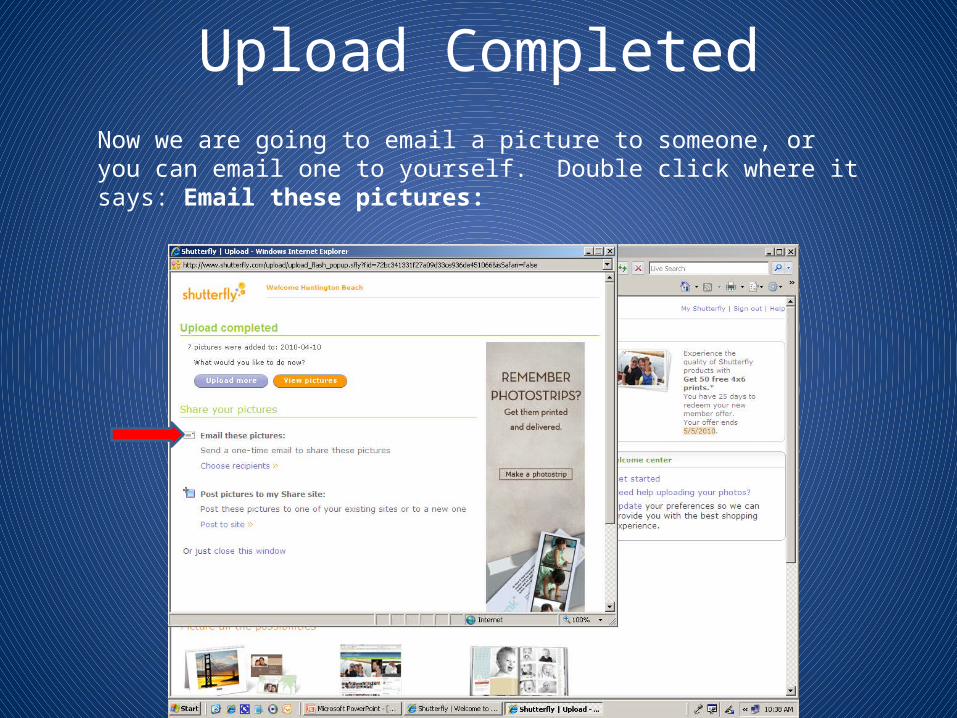
Upload CompletedNow we are going to email a picture to someone, or you can email one to yourself. Double click where it says: Email these pictures:
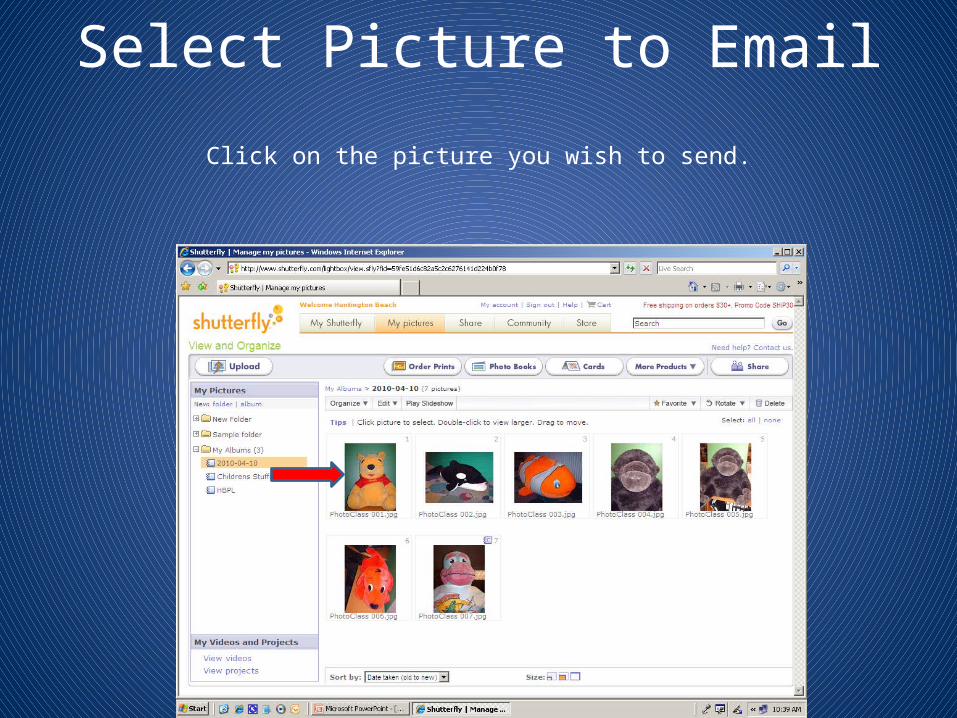
Select Picture to Email
Click on the picture you wish to send.
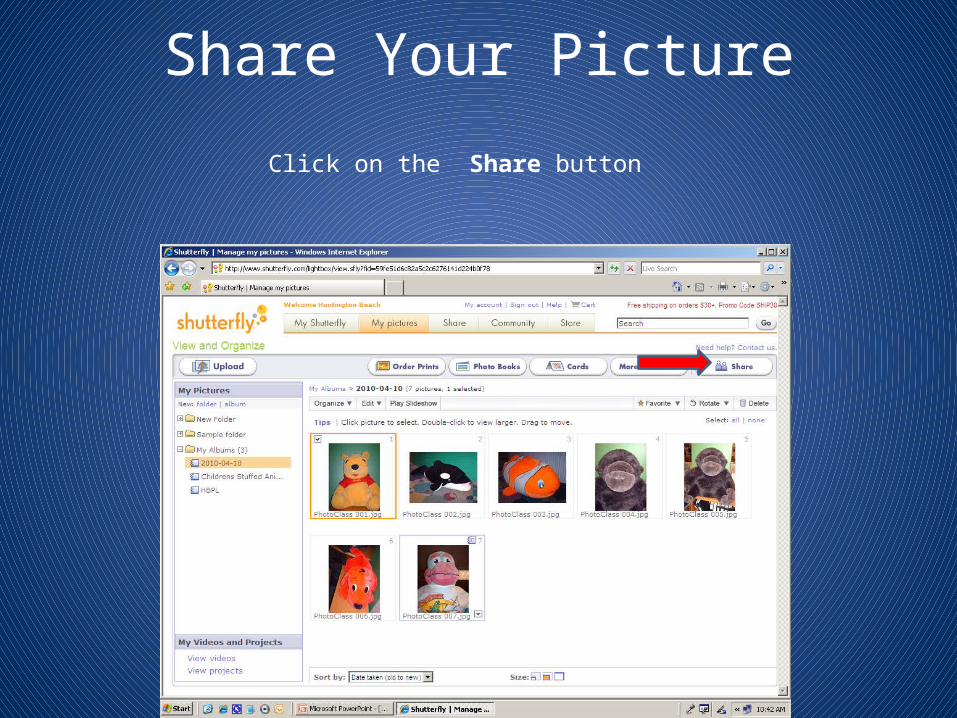
Share Your Picture
Click on the Share button
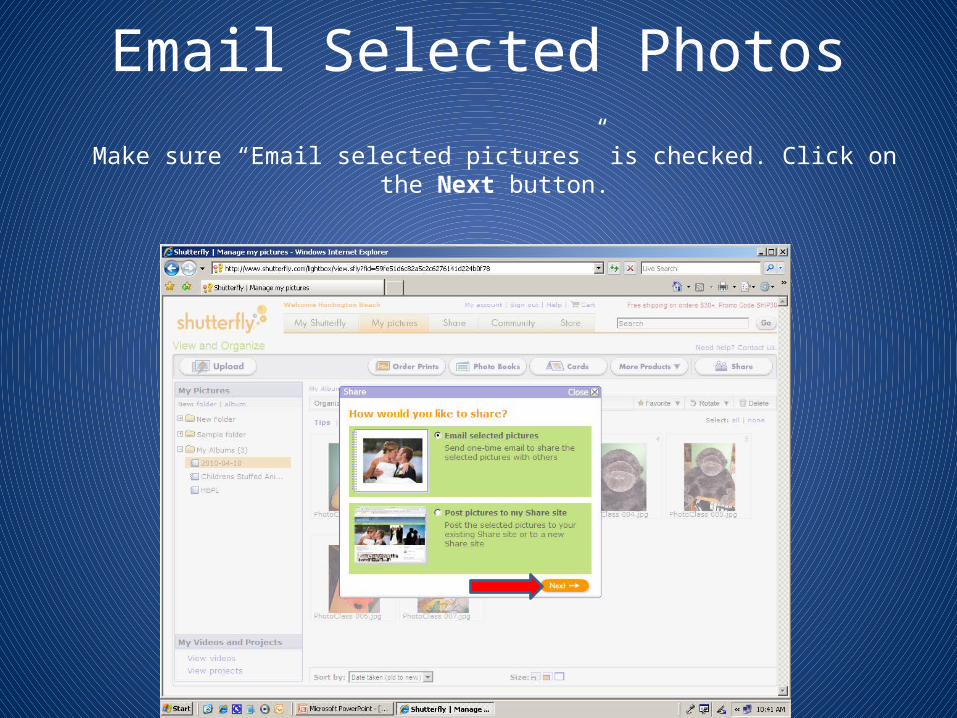
Email Selected Photos
Make sure “Email selected pictures” is checked. Click on the Next button.
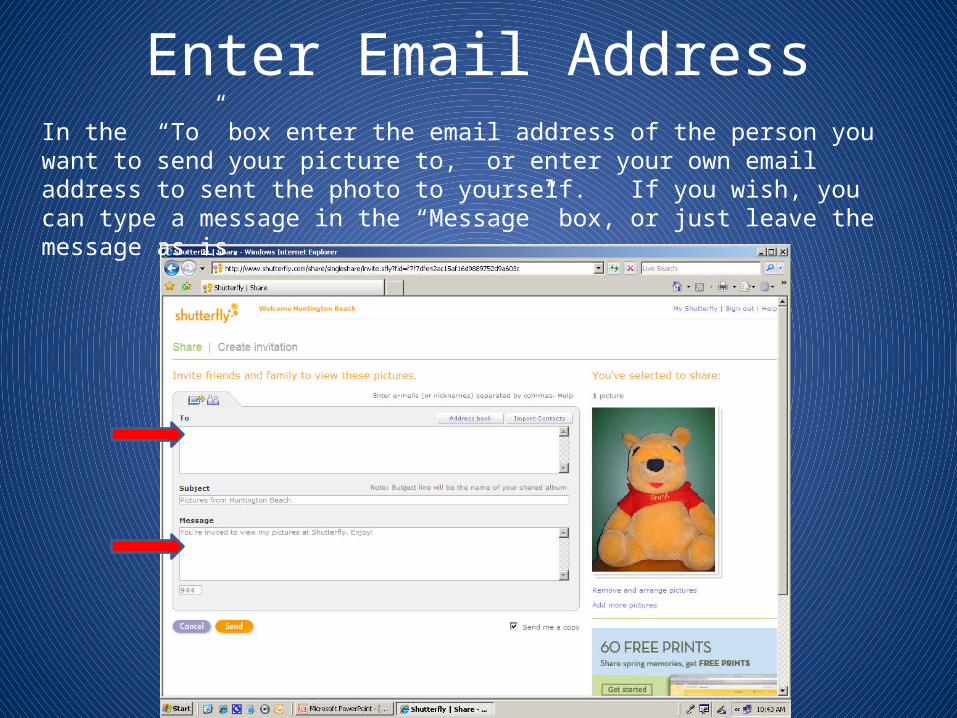
Enter Email AddressIn the “To” box enter the email address of the person you want to send your picture to, or enter your own email address to sent the photo to yourself. If you wish, you can type a message in the “Message” box, or just leave the message as is.
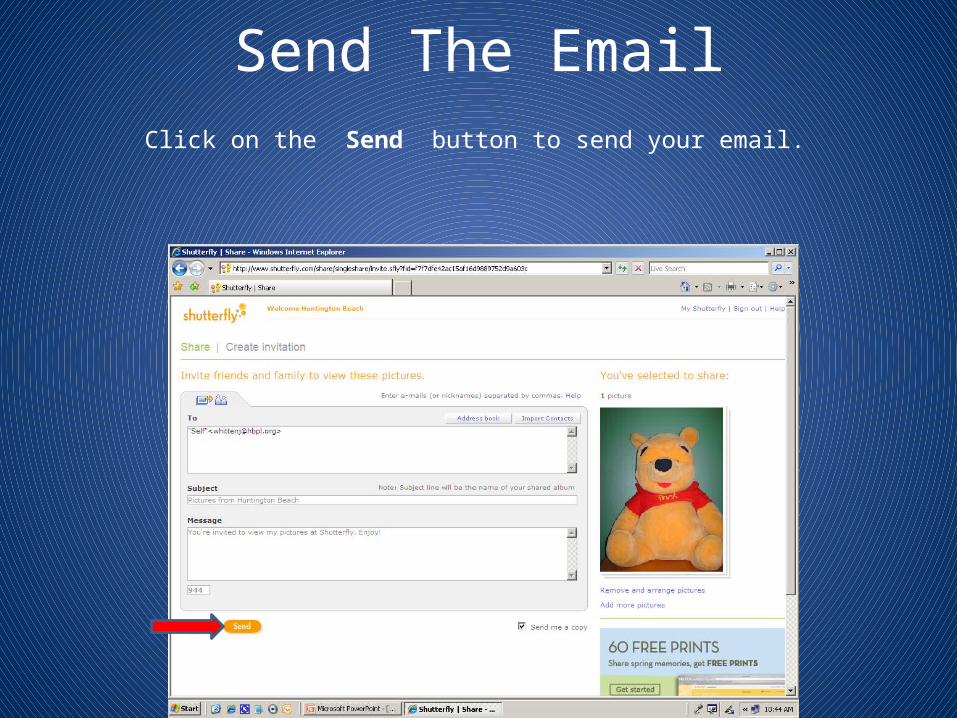
Send The EmailClick on the Send button to send your email.
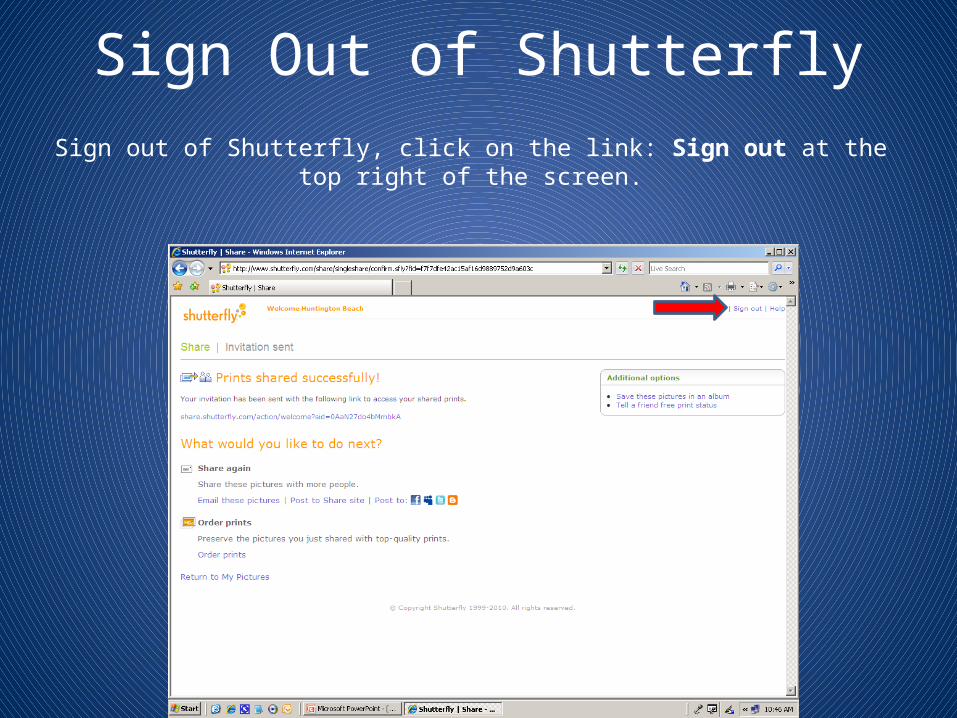
Sign Out of ShutterflySign out of Shutterfly, click on the link: Sign out at the top right of the screen.
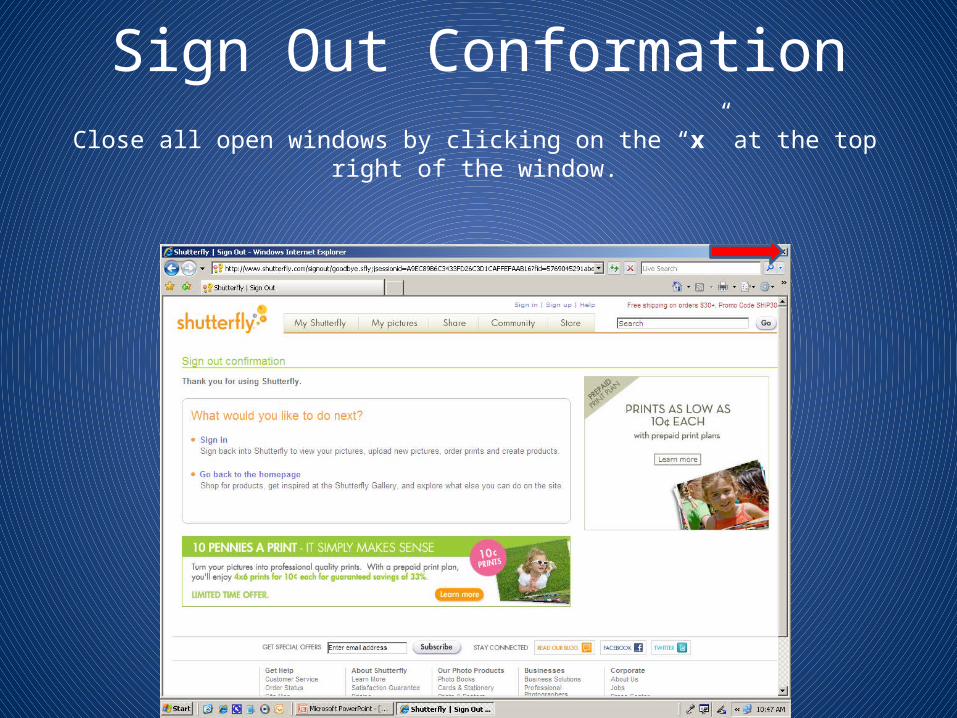
Sign Out ConformationClose all open windows by clicking on the “x” at the top right of the window.
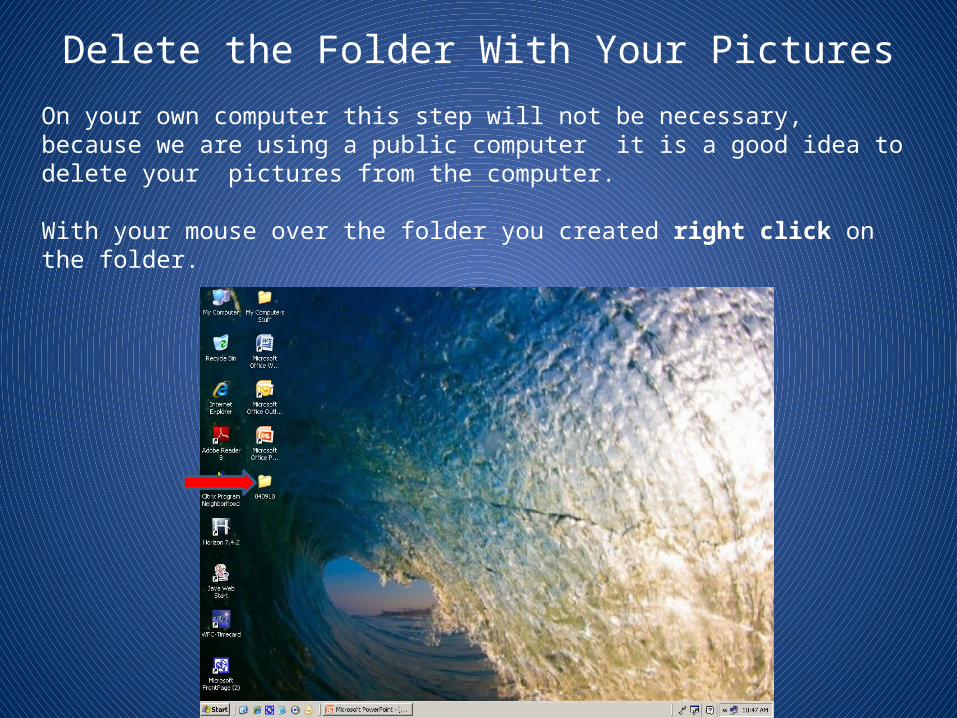
Delete the Folder With Your PicturesOn your own computer this step will not be necessary, because we are using a public computer it is a good idea to delete your pictures from the computer.
With your mouse over the folder you created right click on the folder.
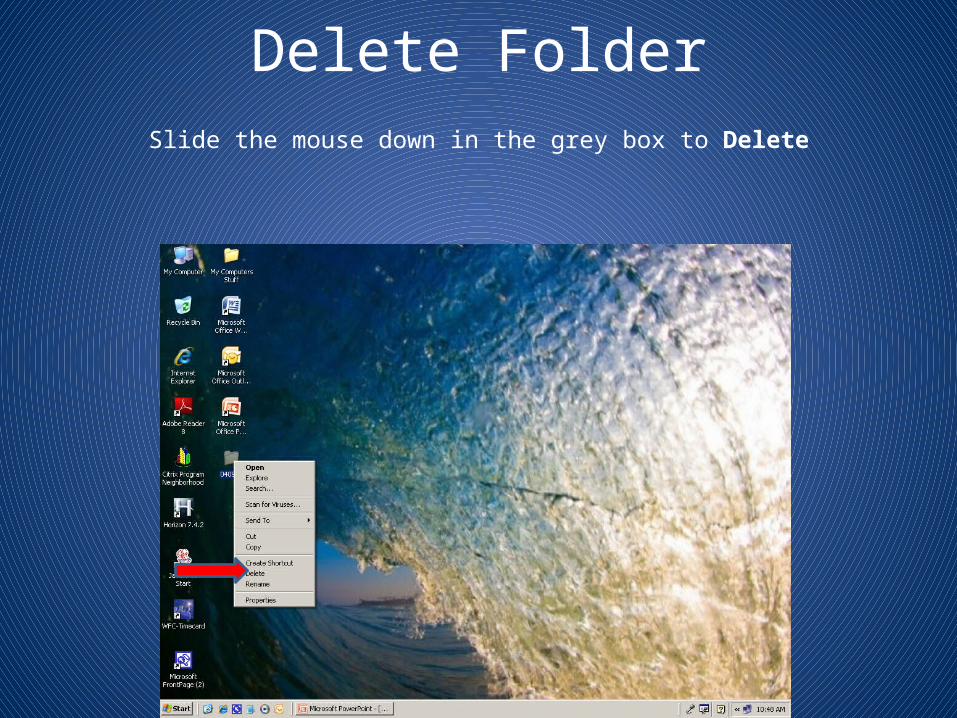
Delete FolderSlide the mouse down in the grey box to Delete
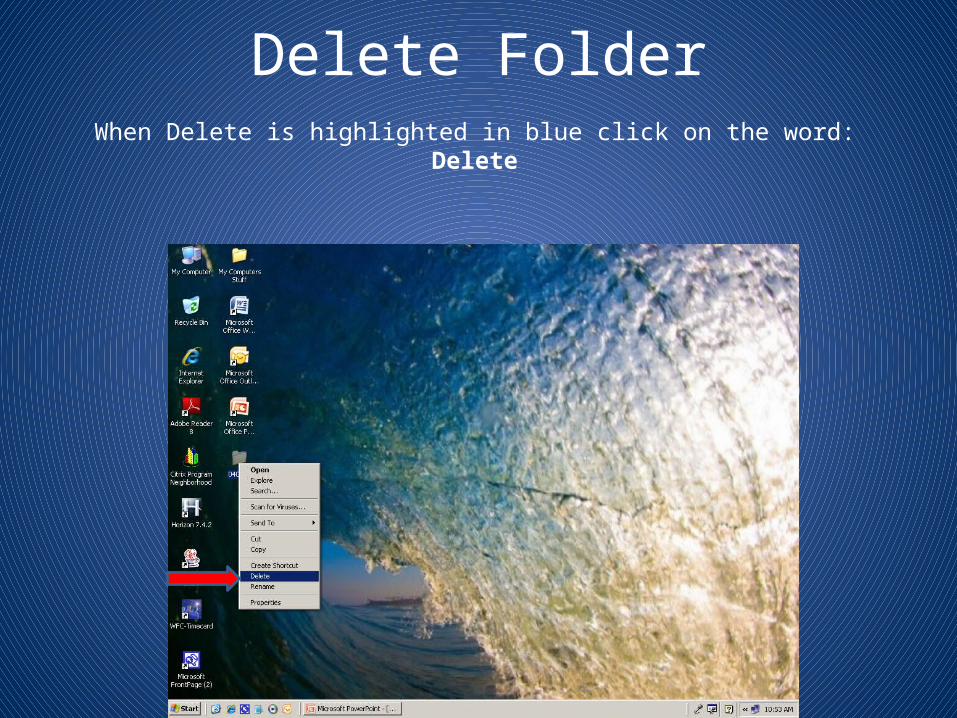
Delete FolderWhen Delete is highlighted in blue click on the word: Delete
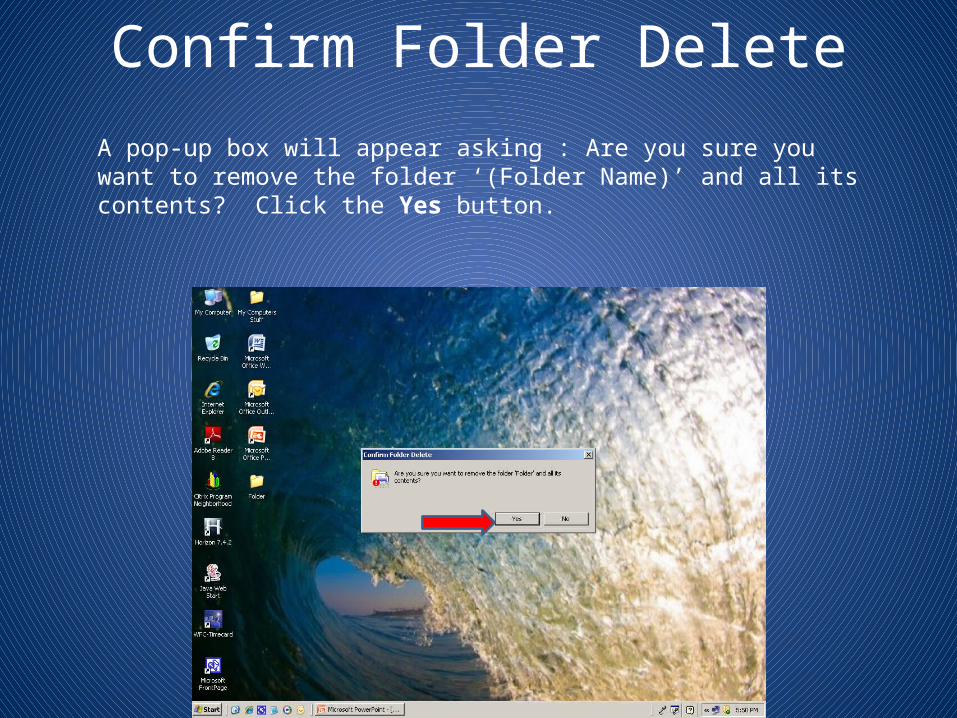
Confirm Folder DeleteA pop-up box will appear asking : Are you sure you want to remove the folder ‘(Folder Name)’ and all its contents? Click the Yes button.
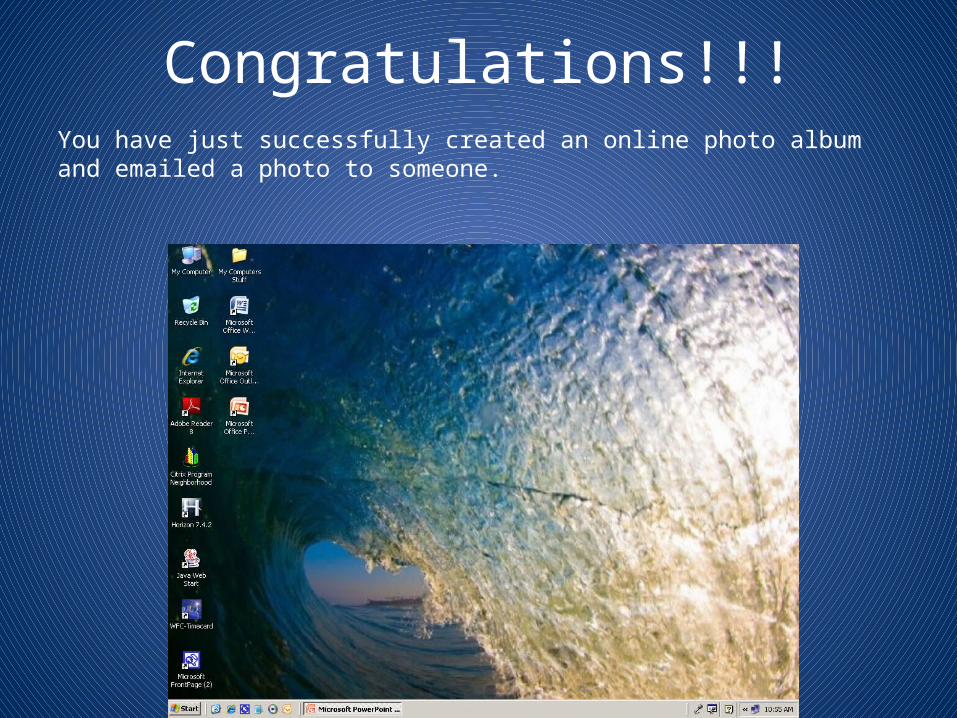
Congratulations!!!You have just successfully created an online photo album and emailed a photo to someone.