pedometer project 1 mr. michaud / mobile app
TRANSCRIPT

Pedometer Project 1 Mr. Michaud / www.nebomusic.net
Mobile App Design Project Pedometer Using Accelerometer Sensor Description: The Android Phone has a three direction accelerometer sensor that reads the change in speed along three axis (x, y, and z). Programs using the accelerometer read this information to give the phones orientation in space or the phones change in speed and direction. In addition, the gravity type for the phone can be changed based on gravitational pull on different heavenly bodies (Earth, moon, Mars, Jupiter . . .). Satellite companies have experimented with using Android device based CPU’s and programming to control Satellite guidance systems. (http://www.tgdaily.com/mobility-brief/69359-android-in-space-satellite-controlled-using-nexus-one) Image of Acceleration Values:
This Application will use the Accelerometer to display the X, Y, and Z values and use the Y value to calculate and count the steps a user takes while carrying the phone in their pocket. The App will also have a SeekBar object to set the sensitivity of the change in values on the Y Axis during a step or shake.

Pedometer Project 2 Mr. Michaud / www.nebomusic.net
Phase 1: Create the App Project Process:
1. Start Eclipse and select New Project -> “Android Application Project” 2. Fill out the fields with the following:
a. Application Name: Pedometer b. Project name: Pedometer c. Package name: com.example.pedometer
3. Click Next 4. Click Next at the Configure Project Screen 5. Click Next at the Configure Launcher Screen 6. Click Next at the Create Activity Screen 7. Fill out the following fields in the New Blank Activity Screen
a. Activity Name: Pedometer b. LayoutName: activity_pedometer c. Navigation Type: None
8. Click “Finish”
Pedometer Project 3 Mr. Michaud / www.nebomusic.net
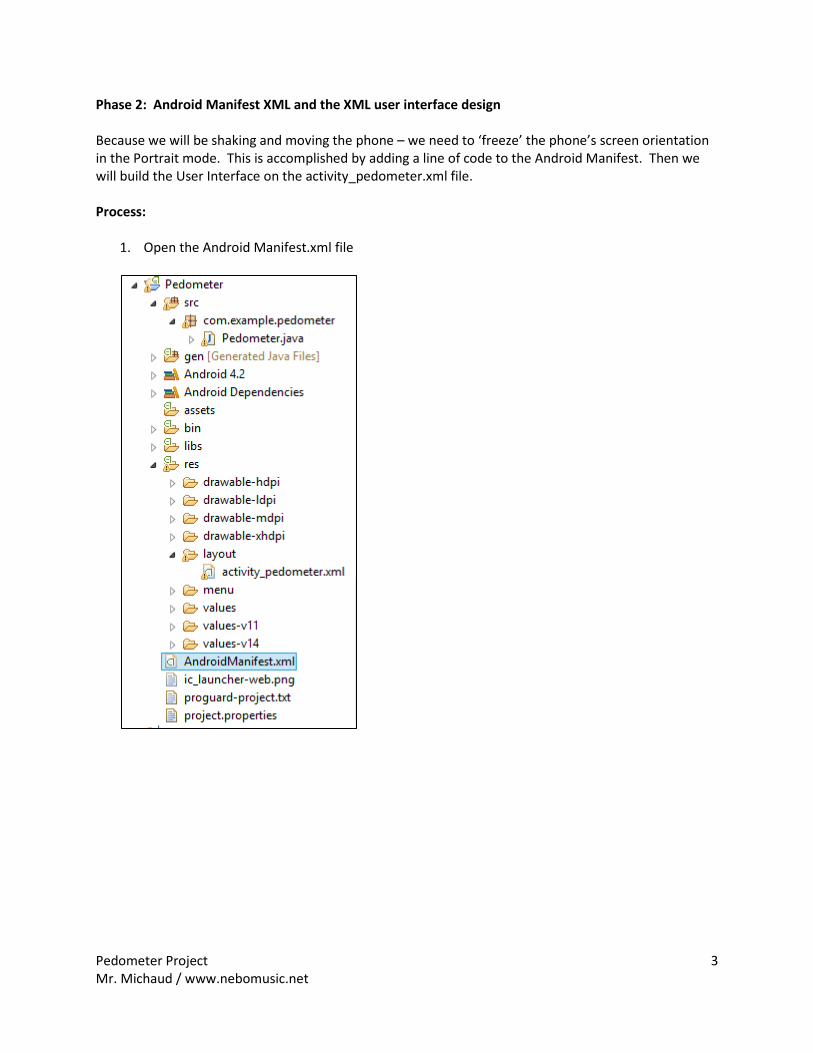
Phase 2: Android Manifest XML and the XML user interface design Because we will be shaking and moving the phone – we need to ‘freeze’ the phone’s screen orientation in the Portrait mode. This is accomplished by adding a line of code to the Android Manifest. Then we will build the User Interface on the activity_pedometer.xml file. Process:
1. Open the Android Manifest.xml file

Pedometer Project 4 Mr. Michaud / www.nebomusic.net
2. Modify the existing code and insert the screen orientation setting at Line 19 inside the <activity
tag with the code:

Pedometer Project 5 Mr. Michaud / www.nebomusic.net
3. We will now design the User interface. The objects and locations within the user interface are
shown below:

Pedometer Project 6 Mr. Michaud / www.nebomusic.net
4. Open the activity_pedometer.xml file
5. Start the XML file with a Table Layout Tag:

Pedometer Project 7 Mr. Michaud / www.nebomusic.net
6. In Table Row 1 we will have three TextView objects to display the X, Y, and Z values from the
Accelerometer Sensor. Write the code for TableRow 1

Pedometer Project 8 Mr. Michaud / www.nebomusic.net
7. In Table Row 2 we will place the Reset Button that will call the method ‘resetSteps’ to reset the
step counter.
8. In Table Row Three we will have a Large TextView object that will display the Steps Centered
horizontally, vertically, and in a large font size.

Pedometer Project 9 Mr. Michaud / www.nebomusic.net
9. In Table Row Four we will have a SeekBar object that we will use to set the threshold value
10. In Table Row 5 we will have a TextView object to display the threshold. We will also close out
the TableLayout object and finish the XML

Pedometer Project 10 Mr. Michaud / www.nebomusic.net
11. The User Interface should look like this:

Pedometer Project 11 Mr. Michaud / www.nebomusic.net
Phase 3: Writing the Code for the Pedometer Class
The Pedometer Class will create the model to display the accelerometer X, Y, and Z data, have a Sensor Listener to read the Accelerometer, and have the algorithm to detect steps using the threshold value. Process:
1. Write the import statements for the Android Classes used within the Pedometer Class
Note! You can skip this step and ‘include’ the imports as you write the code. When an error occurs, hover over the error and select ‘Import ‘ (Usually the first suggestion from Eclipse)

Pedometer Project 12 Mr. Michaud / www.nebomusic.net
2. Define the Fields for the Pedometer Class

Pedometer Project 13 Mr. Michaud / www.nebomusic.net
3. Start the onCreate() method by attaching the fields to the XML User Interface objects
4. Finish writing the onCreate() method by initializing the values for the seekBar, threshold, and
the values used to calculate the steps

Pedometer Project 14 Mr. Michaud / www.nebomusic.net
5. The onCreateOptionsMenu is included by default. Leave this method as written by Eclipse.
6. Write the enableAccelerometerListening() function to enable Accelerometer and register the
listener.
7. Begin the Event handler for the Accelerometer. This is an inner class
8. Write the onSensorChanged method. This holds the majority of the logic and flow for the App.
The values are gathered from the event object and displayed. A conditional statement compared the previous and current acceleration to the threshold to count the steps.

Pedometer Project 15 Mr. Michaud / www.nebomusic.net
9. Finish the SensorEventListener with a required method and close with a bracket and semicolon
10. Write the resetSteps() method. The resetButton calls this method when clicked to reset the
step counter and the display.
11. Finish the Pedometer class with a private class OnSeekBarChangeListener. This Listener reacted
to changes to the SeekBar, adjusting the threshold value used by the SensorEventListener. The Pedometer class is finished with a bracket at line 163.

Pedometer Project 16 Mr. Michaud / www.nebomusic.net
12. Save and Test your App! Experiment to see how accurate the App counts steps.

Pedometer Project 17 Mr. Michaud / www.nebomusic.net
13. Improvements you can make!
a. Add sounds to the App to give an aural cue every time a step is recorded. b. Change the User interface to add more colors and interest. c. Create a better algorithm to count steps more accurately. d. Combine with the GPS Sensor to record distance traveled. e. Add a function to Count Calories based on Number of steps and weight of User.