step 1 - introducing the master artist -...
TRANSCRIPT

Step 1 - Introducing the Master Artist: Slideshow Guide MOTIVATION BEGIN READING HERE
Do you like to go to the movies? Before the main feature is shown, there is often a preview of coming attractions. It’s fun to see what’s coming in the future, and we look forward to it. Do you like selecting what you think you will enjoy? Well, today you are invited to our preview of coming attractions! You are going to have a special program this year called “Meet the Masters.” Your special preview today will let you see and hear what it’s all about. Meet the Masters is an art program, and in this special program, you will be introduced to the life and art of master artists. Another name for master artist is famous artist. To help you understand how you will meet these master artists, I need your help. I know your name is __________, but that won’t be your name for long. I’m going to magically turn you into someone else! (DRESS CHILD IN BEARD AND HAT) Now you are the famous master artist, Vincent van Gogh. Vincent liked to paint at night, and he lived before there was electricity. So he cleverly came up with an idea that would give him light close-up to his paintings. But there was a big problem with this idea. He would get so busy with his artwork that he would forget that his candles were burning down, and his hat could catch on fire! Would you like to see what the real Vincent van Gogh looked like? Do you think he will look like our pretend van Gogh? Let’s find out! - Click Start Lesson To Begin 1. SLIDE – VAN GOGH (GOE) SELF-PORTRAIT Meet the real Vincent van Gogh. How do you think he was feeling when he painted this picture of himself? Show me with your face (PANTOMINE HAPPY SMILING FACE, SAD TIRED FACE) When you meet him next time we’re together, you will learn all about his unhappy and unusual life. Thank you for being our pretend van Gogh today. Good-bye Vincent! (CHILD TAKES OFF PROPS)
Click Next To Change Slide

MEET THE MASTERS PREVIEW – AGES 5 – 7 | ONLINE EDITION
2. SLIDE – MONET (moe-NAY) IN HIS FLOATING STUDIO Have you ever thought that an artist floats around in a boat while painting? Claude Monet is the French artist you see here in his floating studio. When we investigate his life and art, you will find out why he found it necessary to paint on a boat. Do you think it could be quite bumpy? (YES) Vincent van Gogh and Claude Monet are just two of the very interesting and talented master artists you will enjoy meeting. Let’s quickly sneak a peek at the other artists you will meet. - Click Next To Change Slide 3. SLIDE - MARY CASSATT (kuh-SAHT) - Click Next To Change Slide 4. SLIDE - WINSLOW HOMER - Click Next To Change Slide 5. SLIDE - PIET MONDRIAN (Peet MON-dre-ahn) - Click Next To Change Slide 6. SLIDE - PABLO PICASSO (PAW-Blow pee-KAH-soe) As you can see, our master artists all looked very different from each other and were from different countries. But these famous artists did have something very important in common. They saw things in a different way and noticed things others didn’t. Art also helps us look at things in a new and surprising way, just like the master artists.
Click Next To Change Slide
7. SLIDE – IN THE MOWING (HOMER) For instance, when we study art, we begin to notice the way the sun gives everything a golden glow on a warm afternoon. Would you like to be with these children, right now, in this field? (YES) I agree! - Click Next To Change Slide 8. SLIDE – STARRY NIGHT (VAN GOGH) We begin to see how the stars shimmer and seem to explode in the night sky. Do you like to look at the stars at night? Most of the time it makes us feel relaxed and sleepy, like “Twinkle, Twinkle Little Star.” But our artist, van Gogh, shows us a much different way of looking at stars in this painting. Pick up your paintbrushes (PANTOMINE FOR CHILDREN IN THE AIR) Look at the way he swirls the stars this way and that. And he uses short, little dots and dashes all over the sky. Can you try that too? Now let’s put our paintbrushes down. - Click Next To Change Slide 9. SLIDE – NEW YORK CITY (MONDRIAN)
2 MEET THE MASTERS PREVIEW– Ages 5 – 7 | MeetTheMasters Online Edition

MEET THE MASTERS PREVIEW – AGES 5 – 7 | ONLINE EDITION
We notice that lines and colors really seem to move and say something to us. This art will definitely seem more to you than simple lines and colors after we learn more about it. Look carefully and decide, does this painting remind you of waves breaking on the beach or of a busy city? (CITY) The title of this painting is “New York City.” Isn’t it interesting that only lines and colored squares said that to you? - Click Next To Change Slide 10. SLIDE – RIGHT BRAIN The left side of the brain works when we read, when we do math, and even when we say our names. Did you know there is another side of our brain that gets very lazy, because we rarely use it? It’s our right side, and it’s the side that lets us pretend we are a princess or an astronaut. It’s the side that works when we enjoy painting with our favorite colors. Well, here’s the chance for that lazy right side of our brain to get some exercise! Meet the Masters will invite that right side of your brain to come out and be heard! I think you’ll be surprised at what hidden talents you’ll discover! Let’s look at one of the many things in art your right brain will notice. - Click Next To Change Slide 11. SLIDE – TEXTURE If you could touch the things you see here, would anything feel smooth? (EGGS) Point to it. (EGGS) Good! What part would feel prickly? (STRAW) Excellent! You will find out how texture plays an important part in art. TEXTURE is a new art word for you. Each time I’ll have new art words for you to learn. How many of you have ever touched a frog? Does a frog have texture? (YES) But we can feel texture with our eyes without touching something, can’t we? (YES) I’m going to show you two paintings. Which painting, #1 or #2, lets you feel the most texture with your eyes? - Click Next To Change Slide 12. SLIDE – PEACH TREES IN BLOOM
This first one, or the next one. - Click Next To Change Slide 13. SLIDE - CLASSICAL HEAD That is right. #1 is filled with texture! Do you think van Gogh is the artist who painted this masterpiece? (YES) You are right! - Click Next To Change Slide 14. SLIDE – TREE You will investigate how lines create a picture of beauty. You’ll discover the secrets of line, and use them in many different ways in your artwork. - Click Next To Change Slide
3 MEET THE MASTERS PREVIEW– Ages 5 – 7 | MeetTheMasters Online Edition

MEET THE MASTERS PREVIEW – AGES 5 – 7 | ONLINE EDITION
15. SLIDE – COLOR CHART Do you have a favorite color? Did you know you probably chose that color because of the way it makes you feel? Does the color yellow make you feel happy or sad? (HAPPY) What color makes you feel quiet? Our master artists chose colors by the way they made them feel, just like you. I have a color question for you to answer. Which of the two next paintings make you feel cool and restful…?
Click Next To Change Slide 16. SLIDE – RED VINEYARD This first one? Or the second? - Click Next To Change Slide 17. SLIDE - BRIDGE OVER POOL OF WATER LILIES Yes, #2 makes us feel that way because of the cool greens and blues. Color is powerful, and our master artists were geniuses at using it. After you have been introduced to our artists, you will enjoy another fun part of Meet the Masters. Do you enjoy art projects? Many different kinds of activities have been planned for you, and I know you’ll enjoy them! Remember Mary Cassatt, our female master artist? Most of her artwork was done with the media of chalk pastels that give a soft, beautiful look. You too will use pastels to do your artwork. (SHOW BOX OF CHALK PASTELS) These are oil pastels, (HOLD UP BOX) and they produce beautiful, deep, rich colors. Most of our master artists painted with oil paints that come in tubes. These oil pastels are like having oil paints in a stick. They produce wonderful vibrant colors. (SHOW PAINTBRUSH) I’m sure you have painted before, but this year you will learn the best way to get the most from painting. You will also experience painting with something other than a paintbrush, and it’s not your fingers, either. That will be a surprise. Since you are going to be an artist this year, you will make a special folder called a portfolio in which to keep the art projects you complete. Portfolios come in all sizes. Do you know what a palette is? A palette is where an artist puts his paints. You will be making a portfolio soon, and you will decorate your portfolio with a palette. On the palette will be the name of each master artist you will meet this year. And guess who will be the most important artist’s name on your palette? Your own name! You will discover so much about yourself as an artist! The next section in this notebook contains the Learning Packet. These pages have been designed to help your young artists learn valuable art principles and techniques used by the Master Artists. Allow your child to use a pencil or crayon to work through this section for each artist unit. Some supervision may be necessary. These pages are reproducible within your immediate family.
4 MEET THE MASTERS PREVIEW– Ages 5 – 7 | MeetTheMasters Online Edition

MEET THE MASTERS PREVIEW – AGES 5 – 7 | ONLINE EDITION
When Complete,
click Back To Units
5 MEET THE MASTERS PREVIEW– Ages 5 – 7 | MeetTheMasters Online Edition

MEET THE MASTERS PREVIEW – AGES 5 – 7 | ONLINE EDITION
Step 2 - Learning From: Worksheets
Learning to Look Carefully When you look carefully you see things other people don’t see. There are at least two ways to look at something. Here are some examples: Is there grey side inside or outside? Some things look right, but they aren’t no matter how you look at them. Which grey circle seems bigger? Is it? Which line seems longer?
6 MEET THE MASTERS PREVIEW– Ages 5 – 7 | MeetTheMasters Online Edition
MEET THE MASTERS PREVIEW – AGES 5 – 7 | ONLINE EDITION
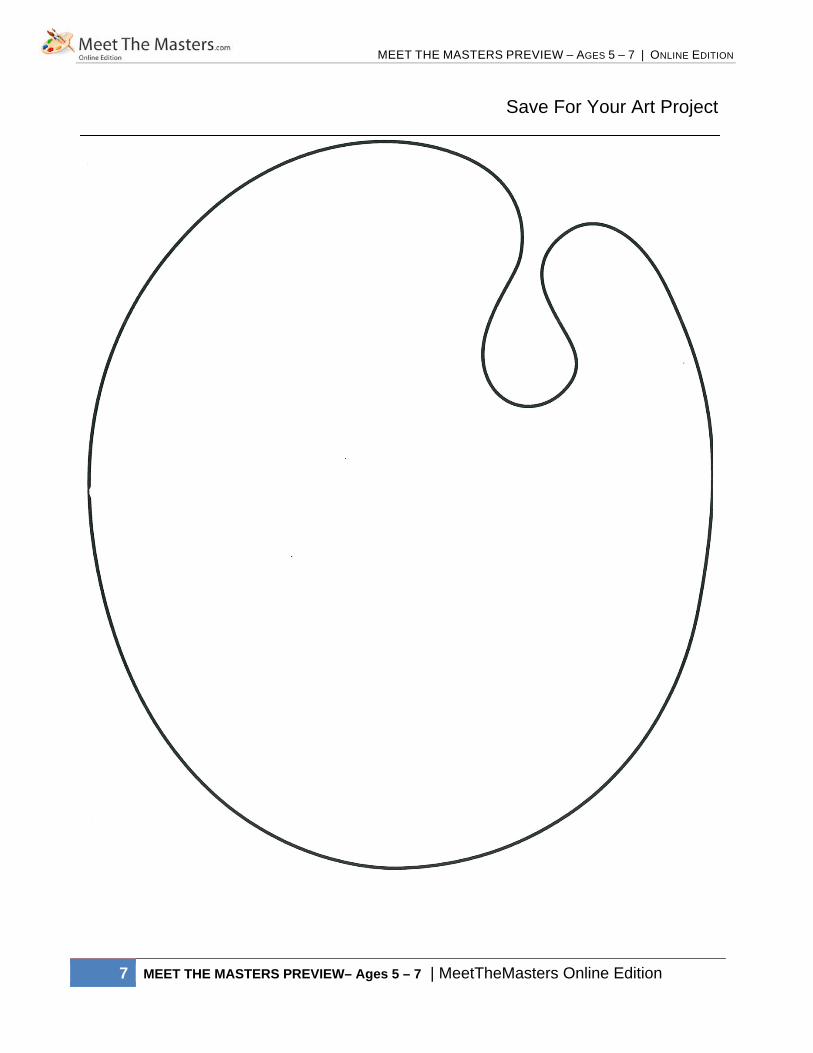
Save For Your Art Project
7 MEET THE MASTERS PREVIEW– Ages 5 – 7 | MeetTheMasters Online Edition

MEET THE MASTERS PREVIEW – AGES 5 – 7 | ONLINE EDITION
8 MEET THE MASTERS PREVIEW– Ages 5 – 7 | MeetTheMasters Online Edition
Step 3 - Working With: Art Activity Instructions PORTFOLIOS Ages 5-7 TECHNIQUE Portfolio Construction EMPHASIS Routine for future projects
VOCABULARY Portfolio, palette, designed SUGGESTED MUSIC Classical
MATERIALS FOR INSTRUCTOR AND CHILDREN Two - 12" x 18" sheets of construction paper (in a variety of colors) One - 6" x 18" piece construction paper (in a variety of colors) Two - 6" x 12" pieces of construction paper (in a variety of colors) Crayons, markers or colored pencils (for instructor only) Scissors and glue A copy of the printed palette from the Learning Packet for each student (page 9) PREPARATION Place your demonstration papers where they can be easily seen. Put your crayons, scissors, and markers nearby. Save the portfolio you make in your demonstration for the demo projects you will construct throughout the year. SET-UP [ 5 minutes ] Distribute the following materials for each child: PAPER: Two 12" x 18" construction paper, one 6" x 18" construction paper, two 6" x 12" Construction paper
ORIENTATION [ 5 minutes ] Let’s look at the Learning Packets together. Did you guess that the circles and the lines are the same size? They are, aren’t they? Sometimes our eyes can be tricked! When we study art, we learn to look carefully and not let our eyes be deceived! DEMONSTRATION AND ACTIVITY Today you will be making a PORTFOLIO. What is a portfolio? (A FOLDER FOR CARRYING ARTWORK) What do you think you might find in an artist’s portfolio? You might find paintings, drawings, and sketches in an artist’s portfolio. We are going to make our own portfolios to hold our artwork for the year. You will get to decide how it will look. You will be the designer so take your time to plan and work carefully.

MEET THE MASTERS PREVIEW – AGES 5 – 7 | ONLINE EDITION
DESIGN YOUR PALETTE On your work space you have a copy of a PALETTE. What do artists do with their palettes? (THEY ARRANGE PAINT FOR MIXING) Instead of paint colors, your palettes have the names of the artists you will learn about this year. 1. Use a crayon to add your name to the palette because you are the most important artist you will learn about this year! 2. Color the palette without using any pictures. Use colored lines, patterns, or shapes but not pictures! 3. Try to keep the artists’ names easy to read. 4. Take your time and work carefully. CUT OUT YOUR PALETTE Remember: Take your time and cut carefully! CONSTRUCTING THE PORTFOLIO 1. Pick up the long strip of construction paper. Fold it in half lengthwise. Hold the fold, and use your scissors to cut an interesting, wavy and straight design along the edge. (Encourage only a 1" width.) Do not cut through the fold. 2. Repeat this step with the two shorter strips. 3. When all three decorative strips are cut, students should attach them as binding edges of the portfolio. Use glue or glue sticks to do this.
4. Put the two large pieces of construction paper on your work space. Use the two shorter pieces to attach the sides. Use the long piece to attach the bottom. 5. Center the palette and glue it to one side of the portfolio. 6. Optional: Laminating will help these last much longer! Now that you have designed and made your portfolio, you are ready to be an artist. The next time we Meet the Masters you will be introduced to a fascinating master artist and do a fun and beautiful project. And where will we store that artwork? That’s right. In your portfolio!
This Concludes The Preview Lesson.
9 MEET THE MASTERS PREVIEW– Ages 5 – 7 | MeetTheMasters Online Edition