panasonic kv-s1025c scanner installation...
TRANSCRIPT
Panasonic KV-S1025c
Scanner Installation
Instructions
For Vista & XP Users
It is understood that users should have a basic knowledge of computers and terminology
If you presently use the
Panasonic RTIV software
to scan your reports, skip
to page #29
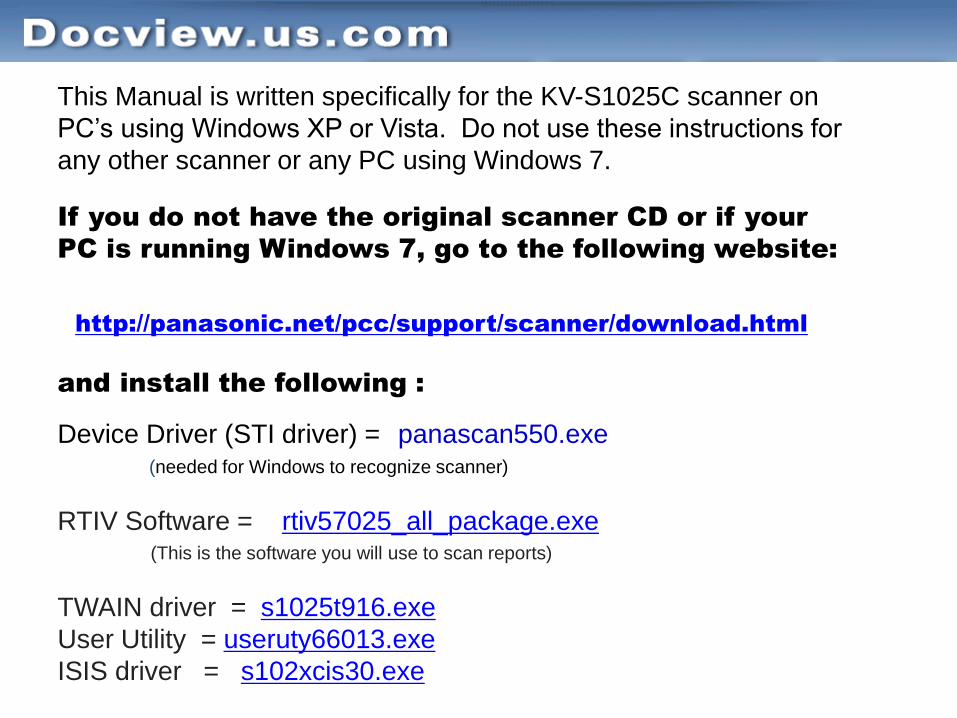
This Manual is written specifically for the KV-S1025C scanner on
PC’s using Windows XP or Vista. Do not use these instructions for
any other scanner or any PC using Windows 7.
If you do not have the original scanner CD or if your
PC is running Windows 7, go to the following website:
http://panasonic.net/pcc/support/scanner/download.html
and install the following :
Device Driver (STI driver) = panascan550.exe (needed for Windows to recognize scanner)
RTIV Software = rtiv57025_all_package.exe
(This is the software you will use to scan reports)
TWAIN driver = s1025t916.exe
User Utility = useruty66013.exe
ISIS driver = s102xcis30.exe
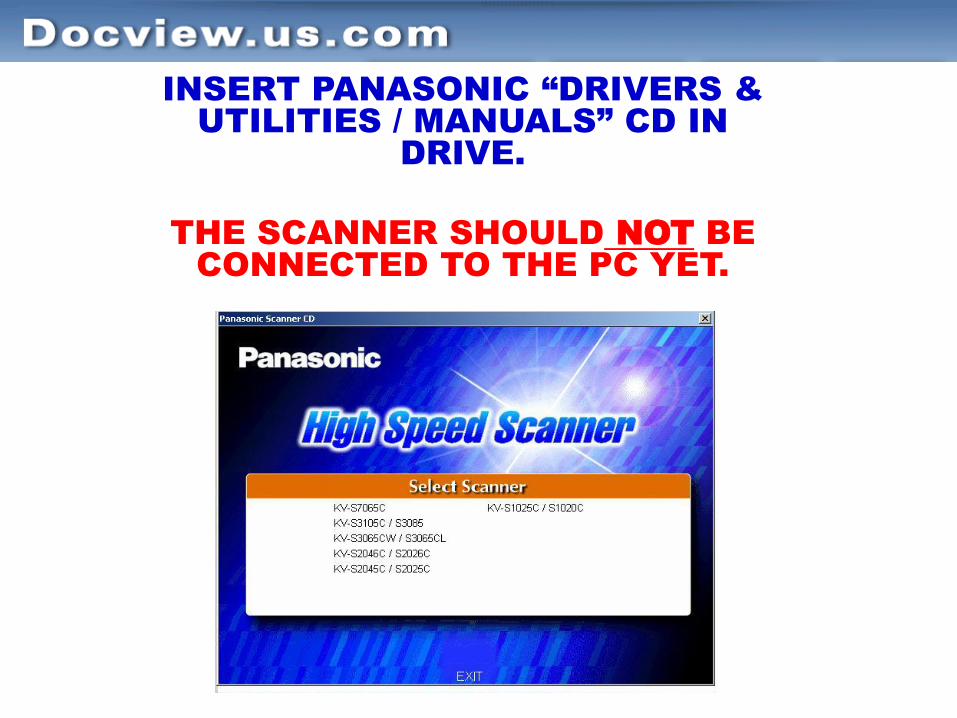
INSERT PANASONIC “DRIVERS &
UTILITIES / MANUALS” CD IN
DRIVE.
THE SCANNER SHOULD NOT BE
CONNECTED TO THE PC YET.
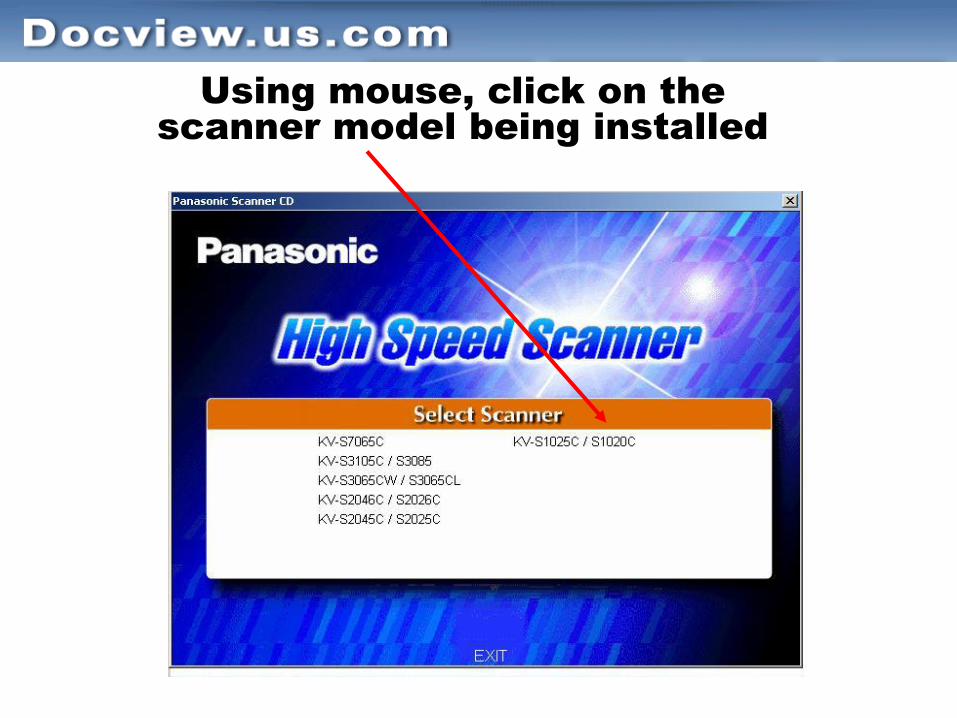
Using mouse, click on the
scanner model being installed
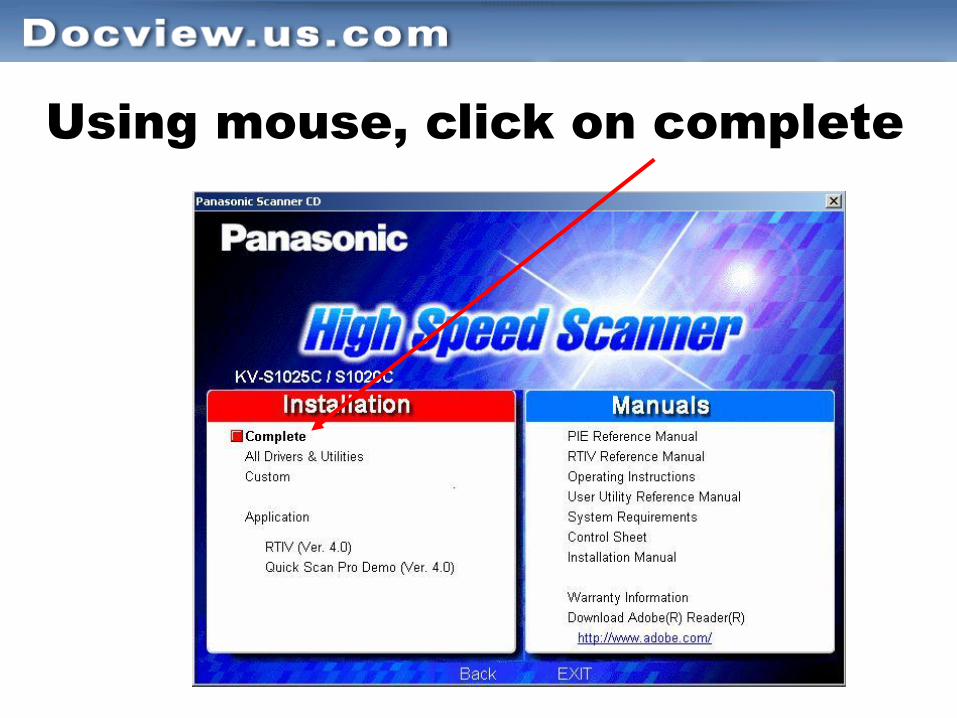
Using mouse, click on complete
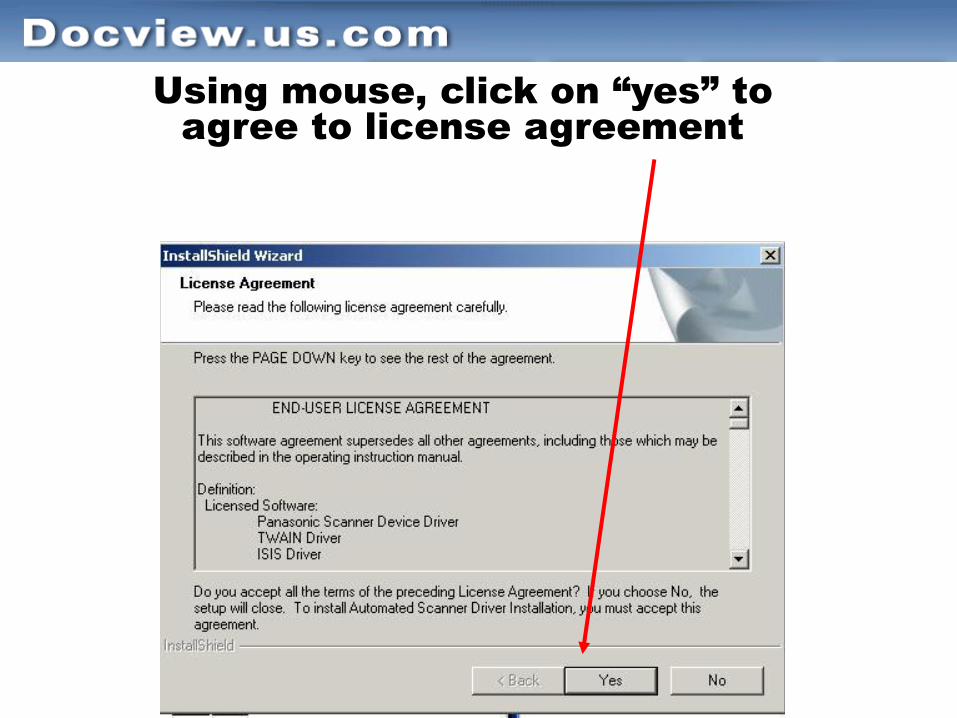
Using mouse, click on “yes” to
agree to license agreement
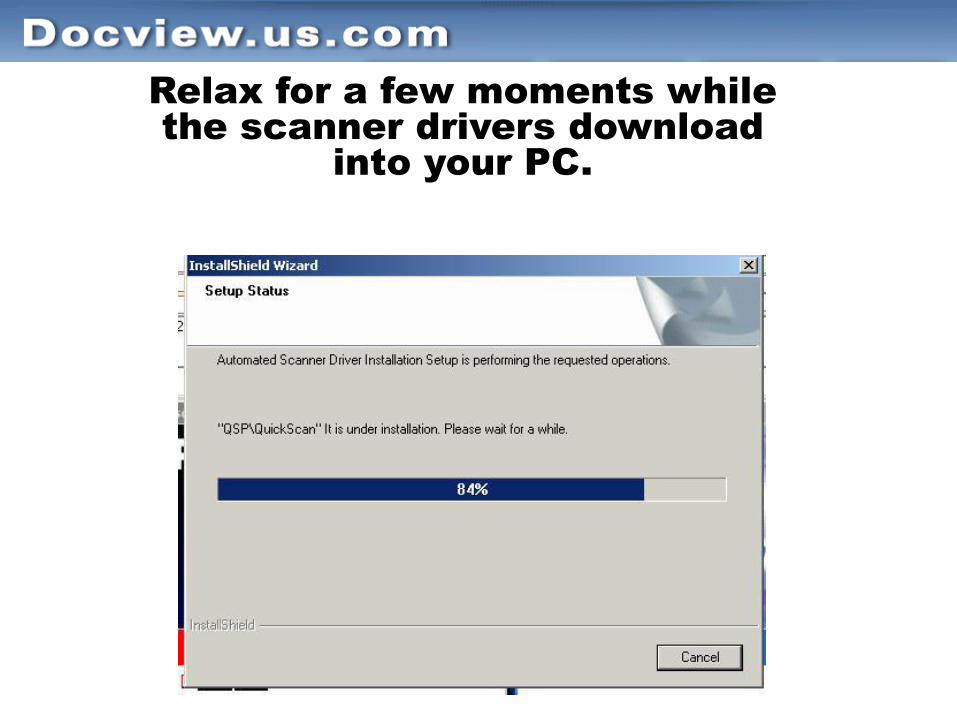
Relax for a few moments while
the scanner drivers download
into your PC.
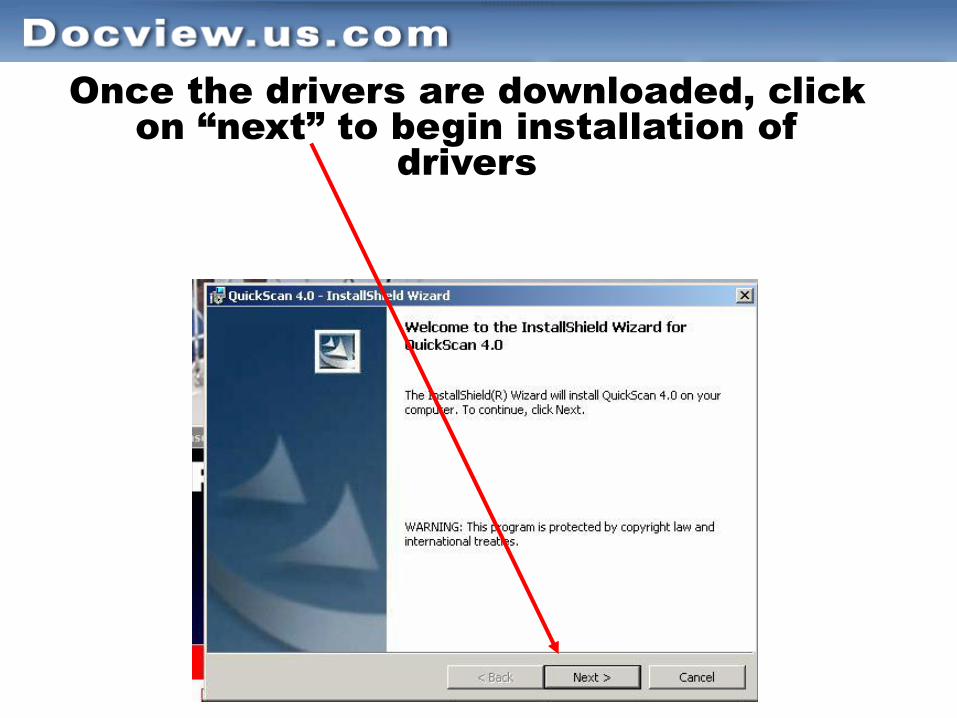
Once the drivers are downloaded, click
on “next” to begin installation of
drivers
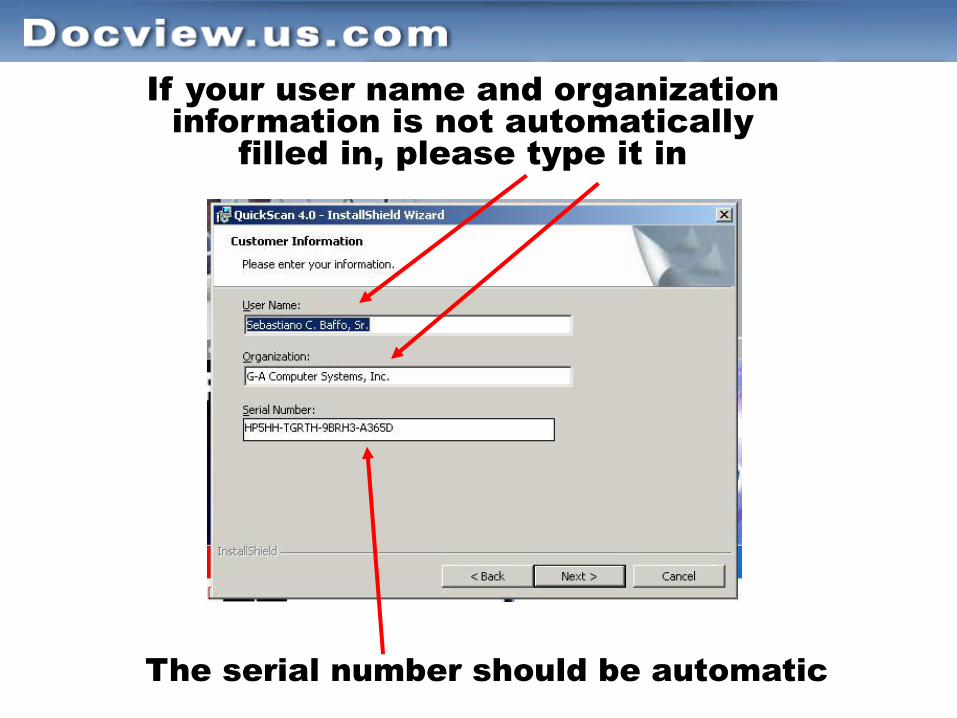
If your user name and organization
information is not automatically
filled in, please type it in
The serial number should be automatic
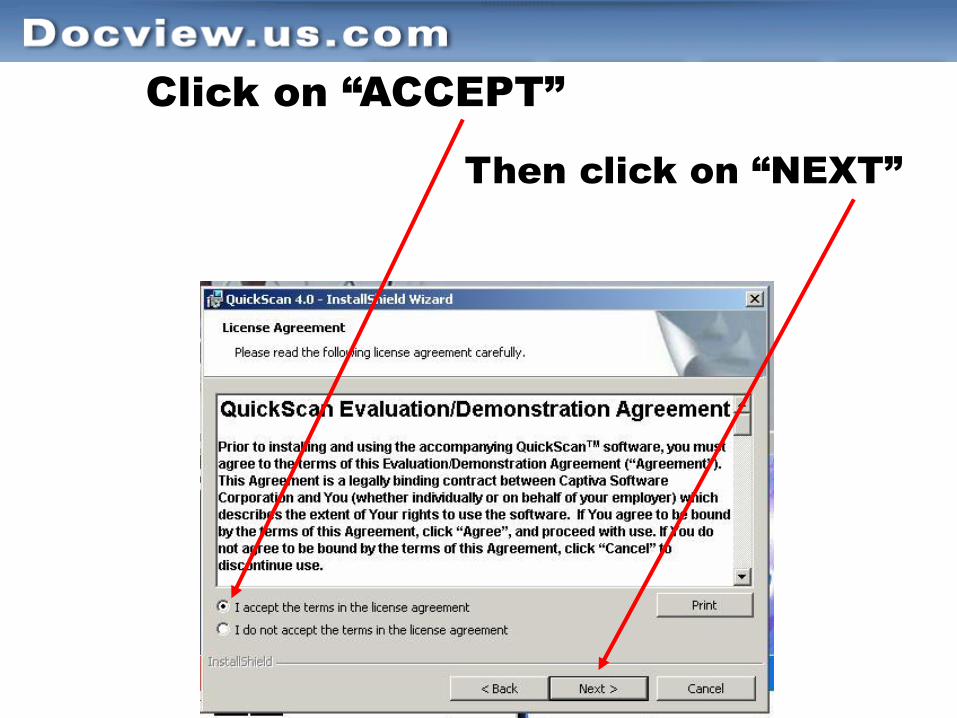
Click on “ACCEPT”
Then click on “NEXT”

Click on “COMPLETE”
Then Click on NEXT
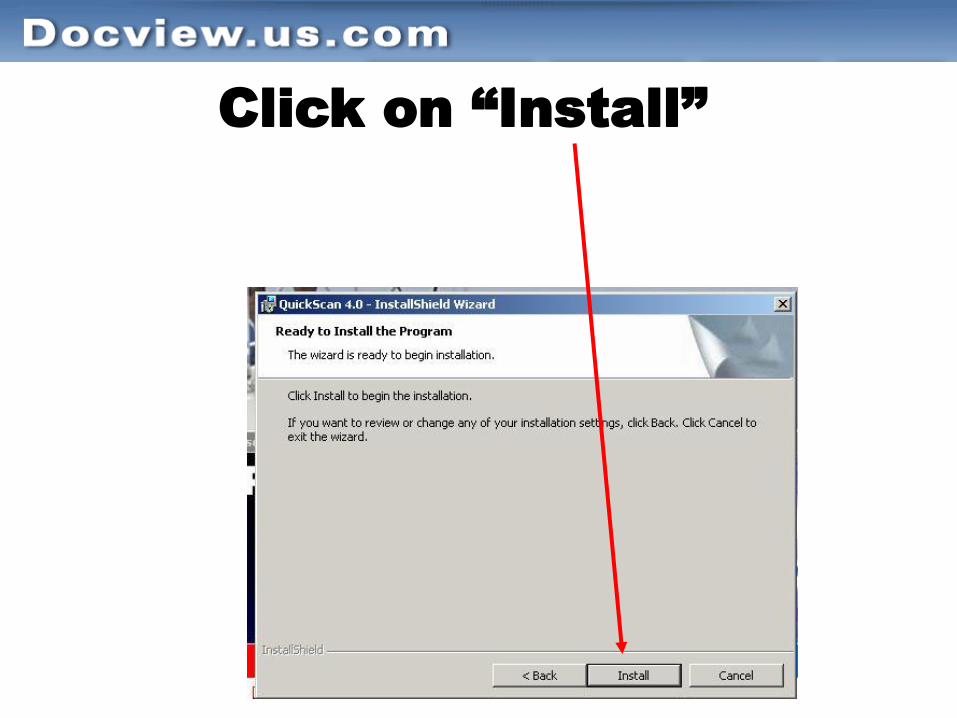
Click on “Install”
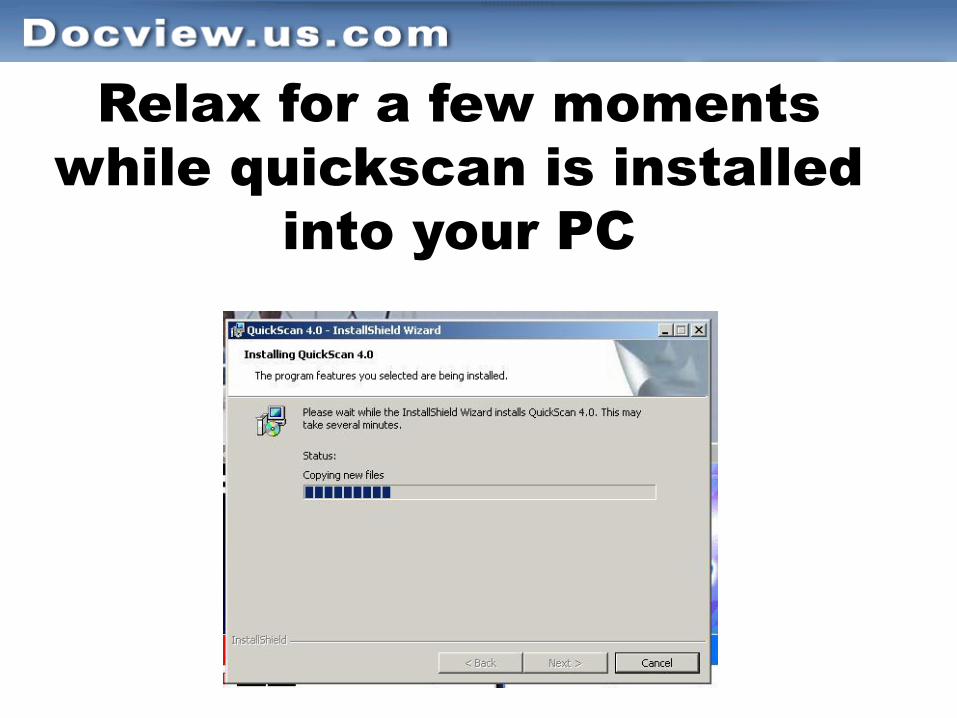
Relax for a few moments
while quickscan is installed
into your PC
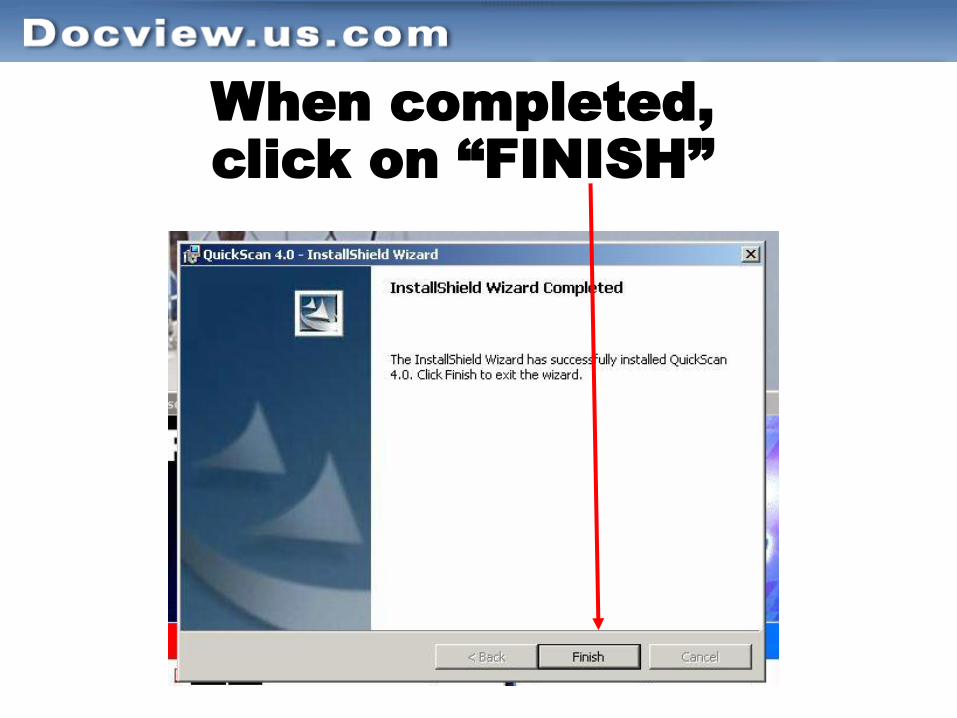
When completed,
click on “FINISH”
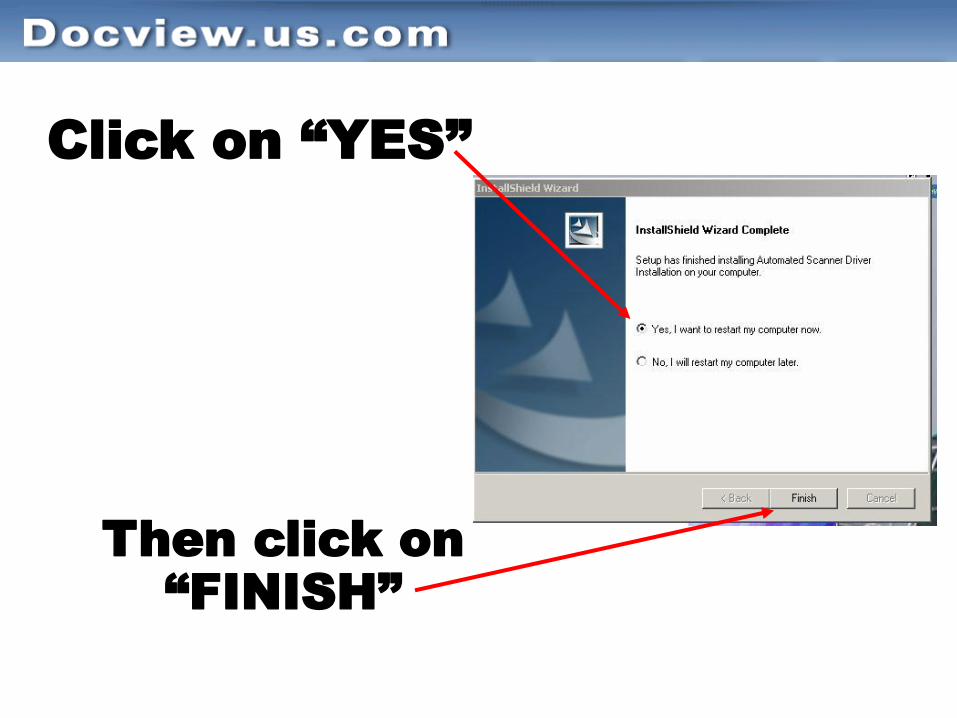
Click on “YES”
Then click on
“FINISH”
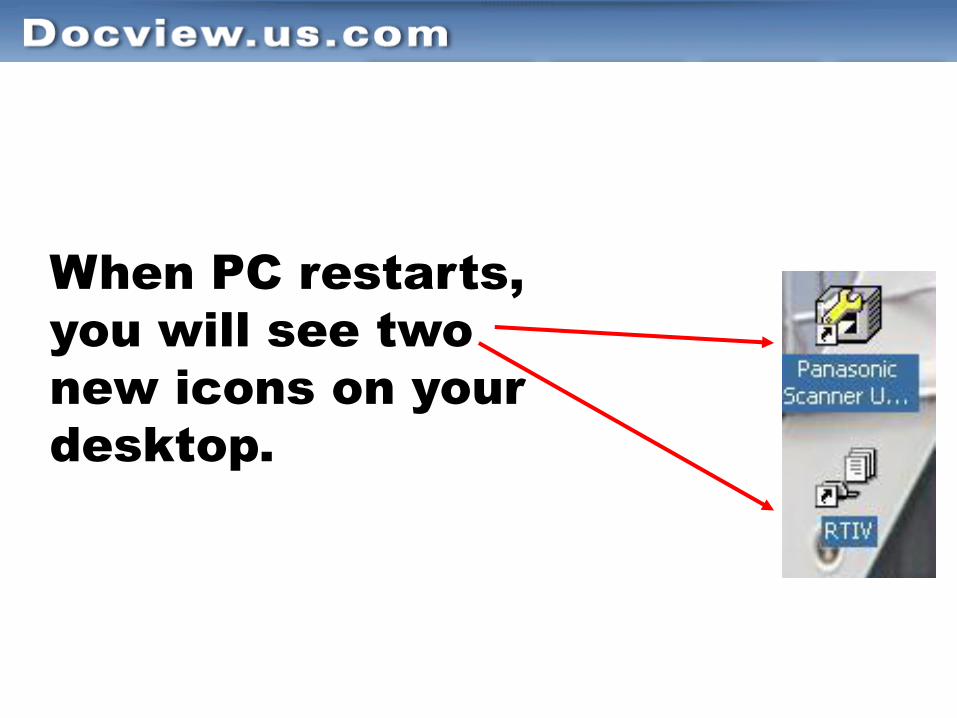
When PC restarts,
you will see two
new icons on your
desktop.
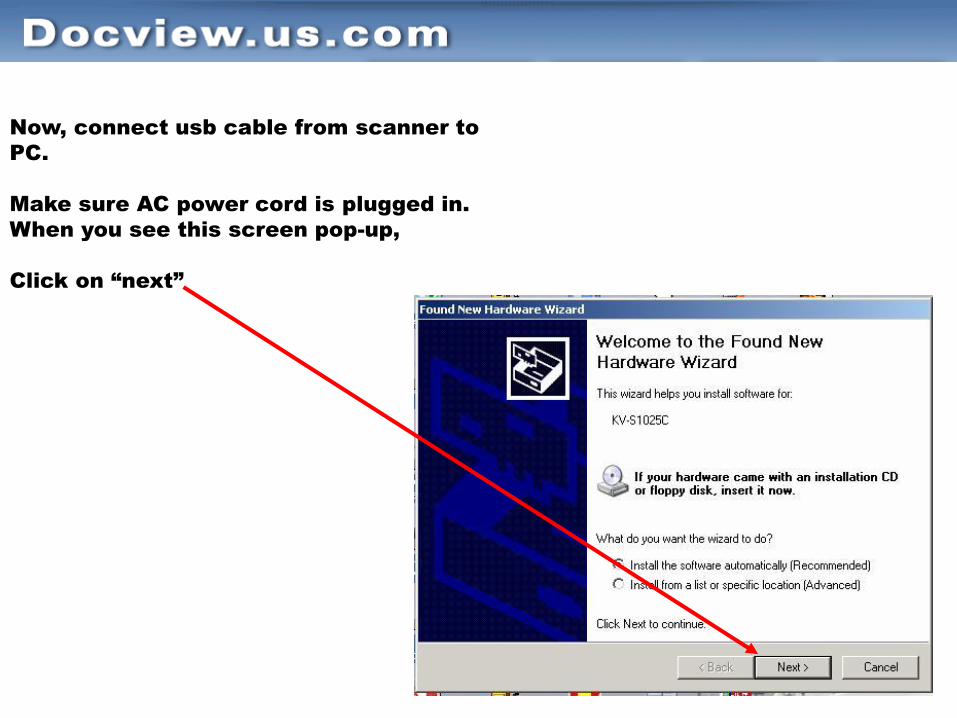
Now, connect usb cable from scanner to
PC.
Make sure AC power cord is plugged in.
When you see this screen pop-up,
Click on “next”
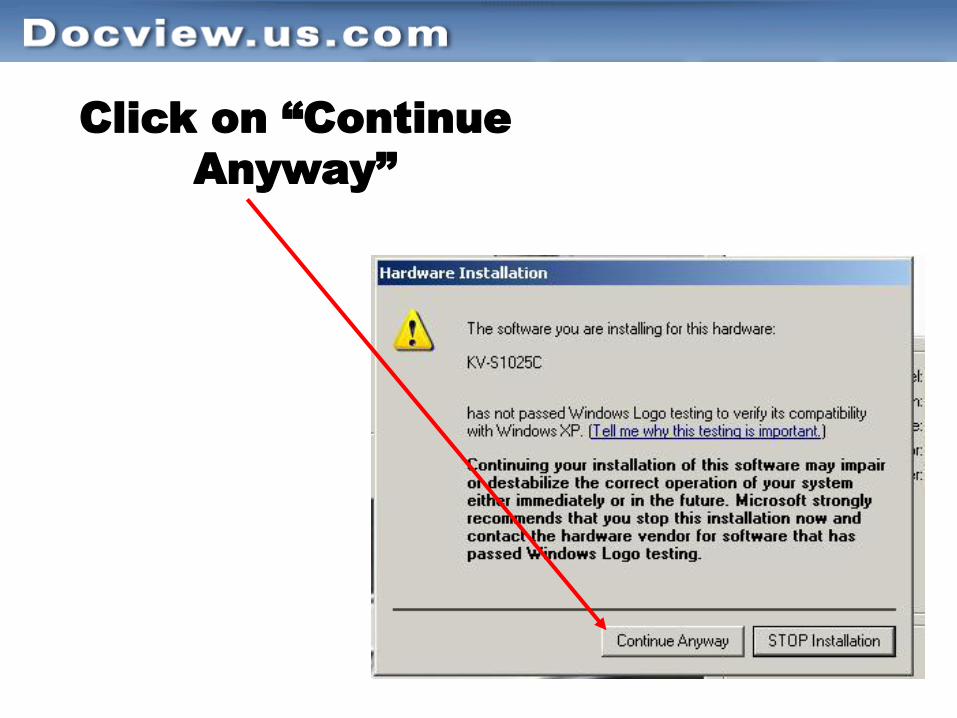
Click on “Continue
Anyway”
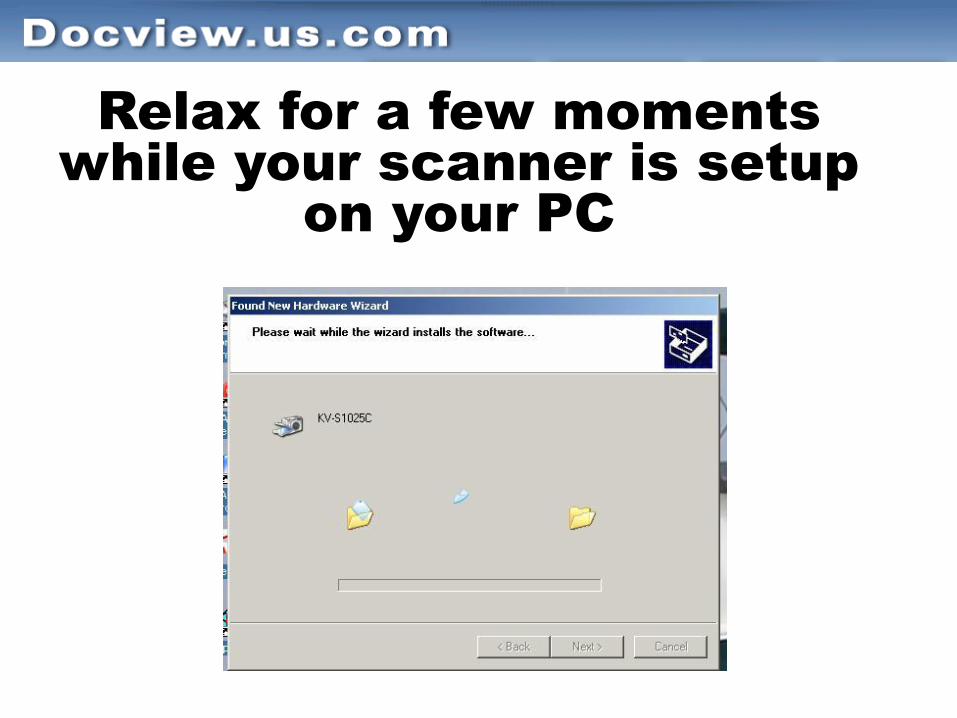
Relax for a few moments
while your scanner is setup
on your PC
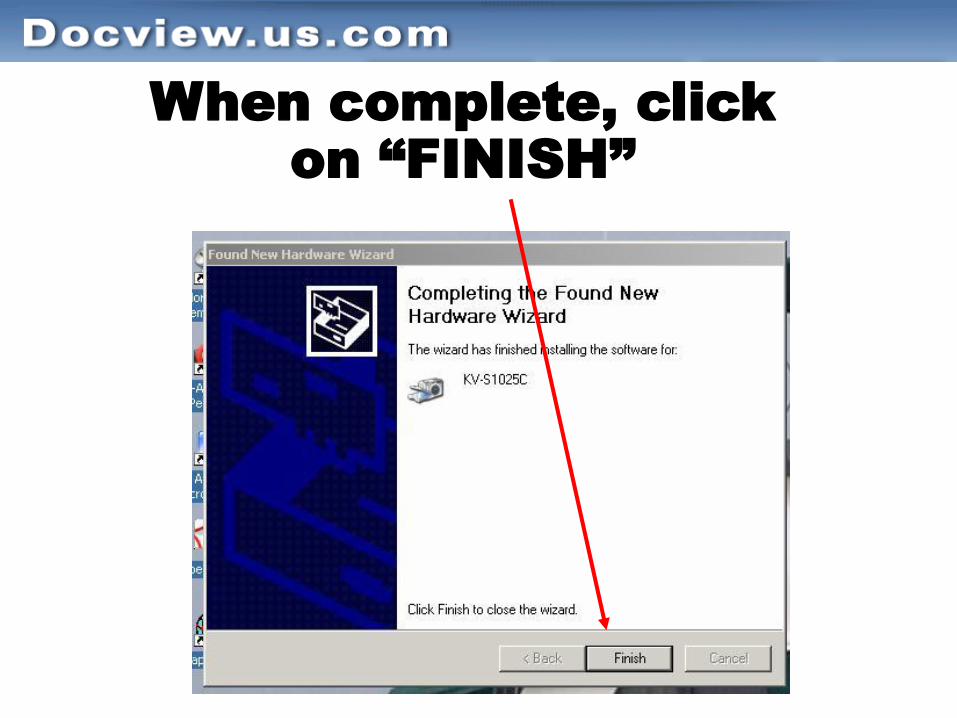
When complete, click
on “FINISH”

Go to your
desktop and
choose
“Panasonic
Scanner Utility”
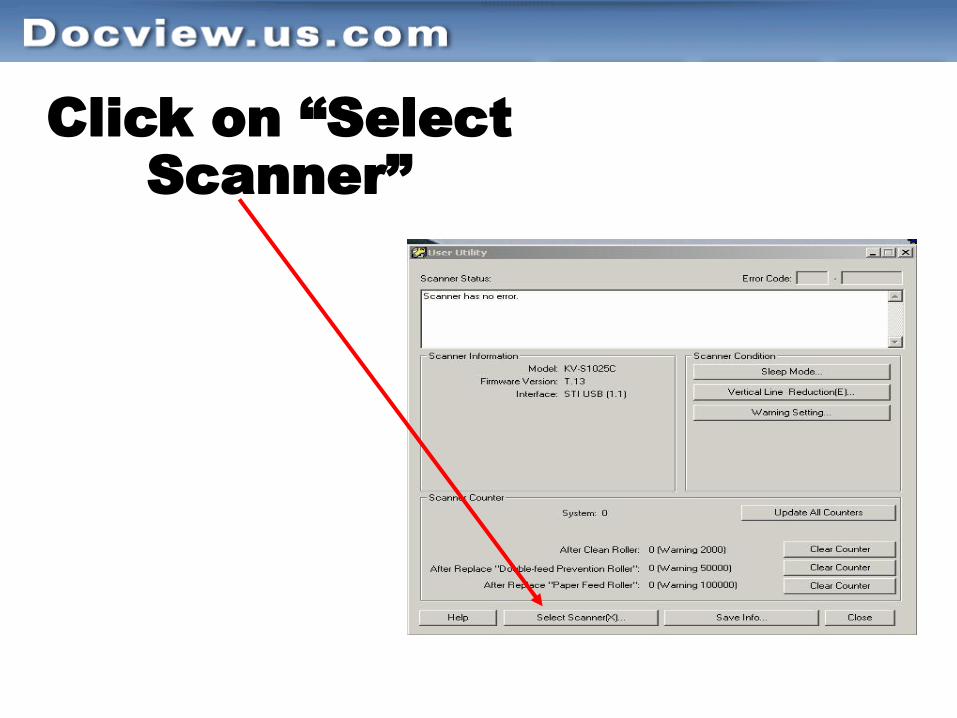
Click on “Select
Scanner”
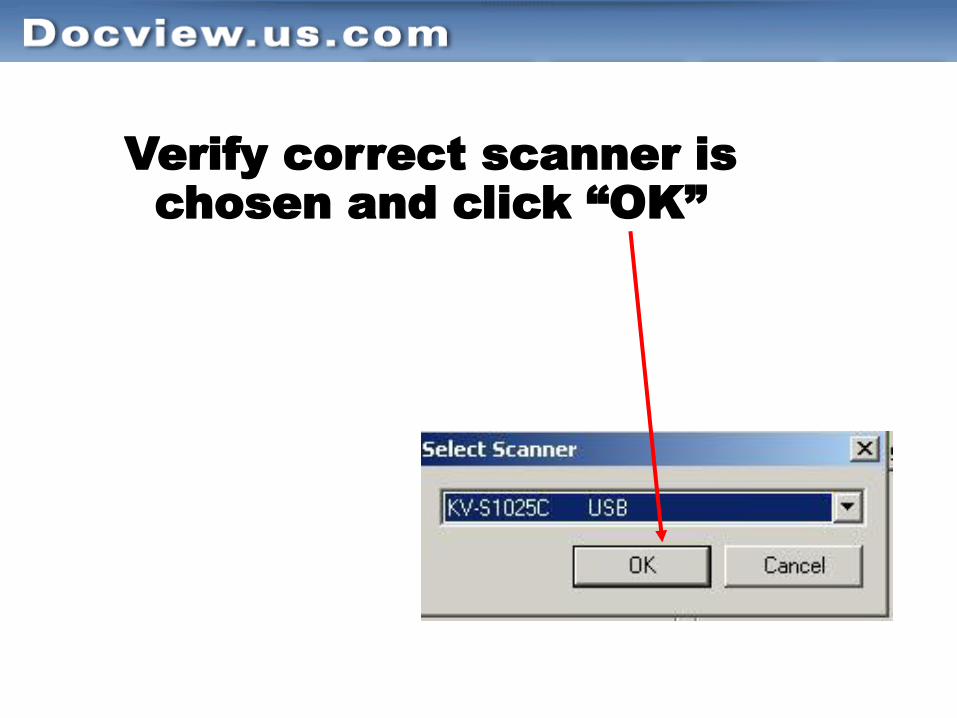
Verify correct scanner is
chosen and click “OK”
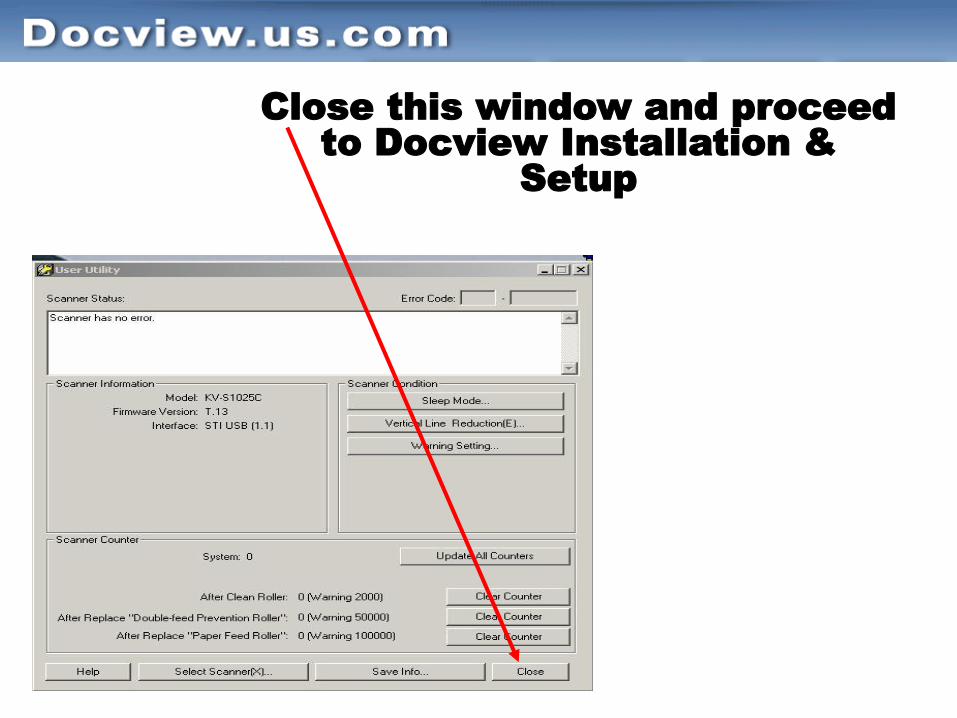
Close this window and proceed
to Docview Installation &
Setup
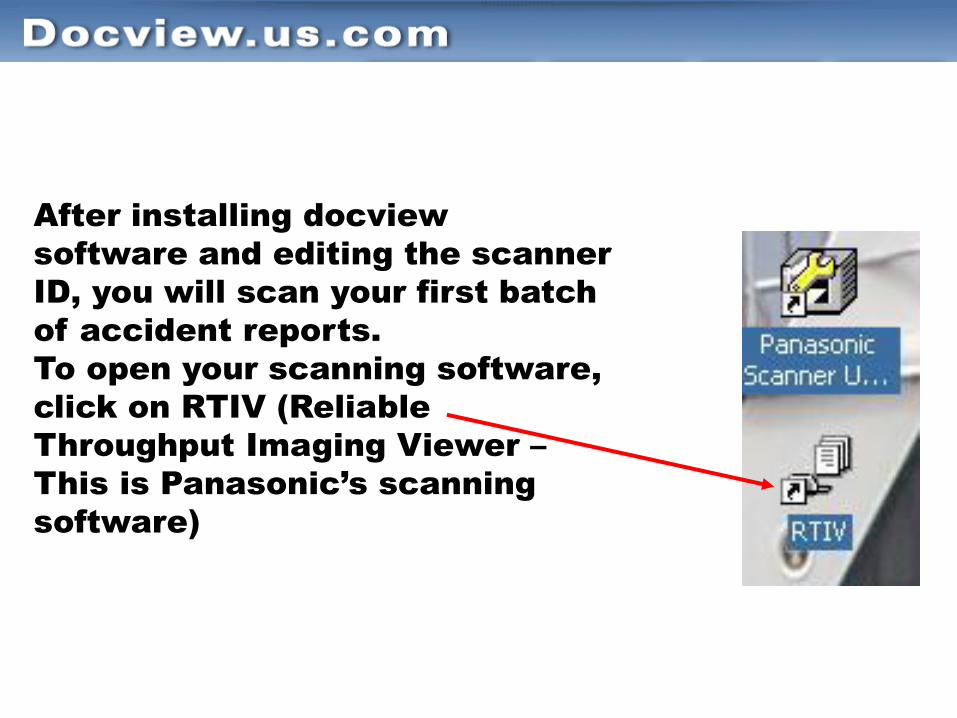
After installing docview
software and editing the scanner
ID, you will scan your first batch
of accident reports.
To open your scanning software,
click on RTIV (Reliable
Throughput Imaging Viewer –
This is Panasonic’s scanning
software)
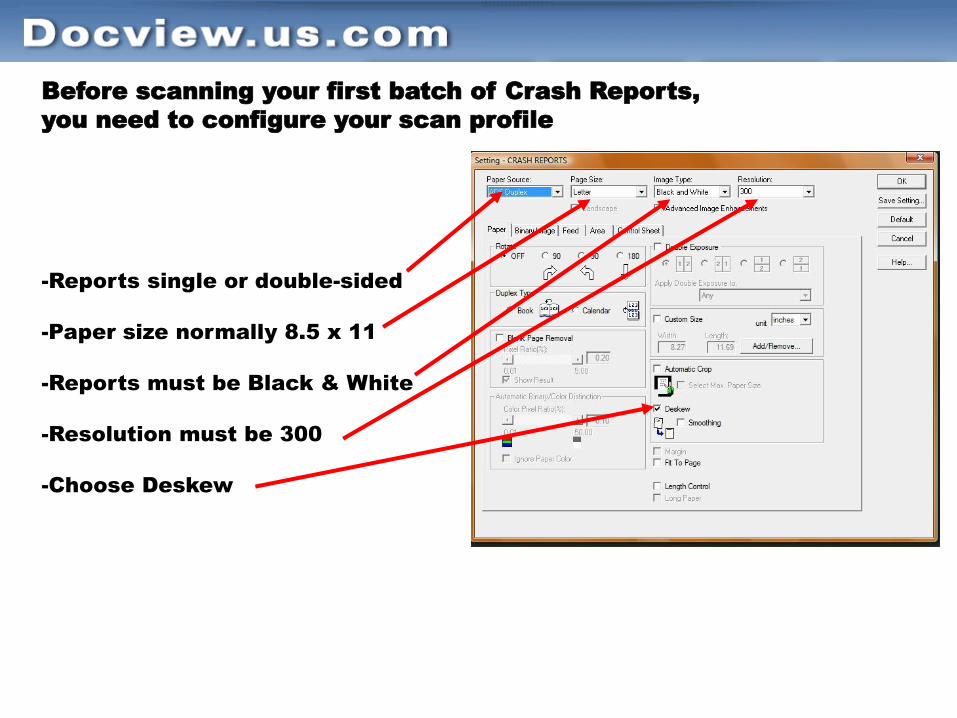
Before scanning your first batch of Crash Reports,
you need to configure your scan profile
-Reports single or double-sided
-Paper size normally 8.5 x 11
-Reports must be Black & White
-Resolution must be 300
-Choose Deskew
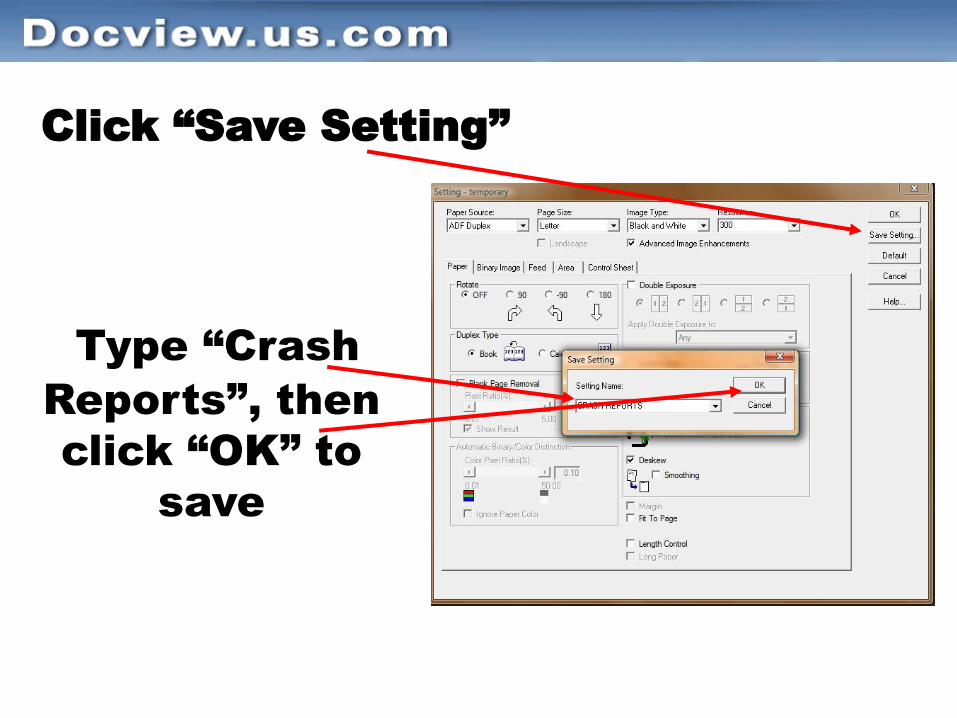
Click “Save Setting”
Type “Crash
Reports”, then
click “OK” to
save
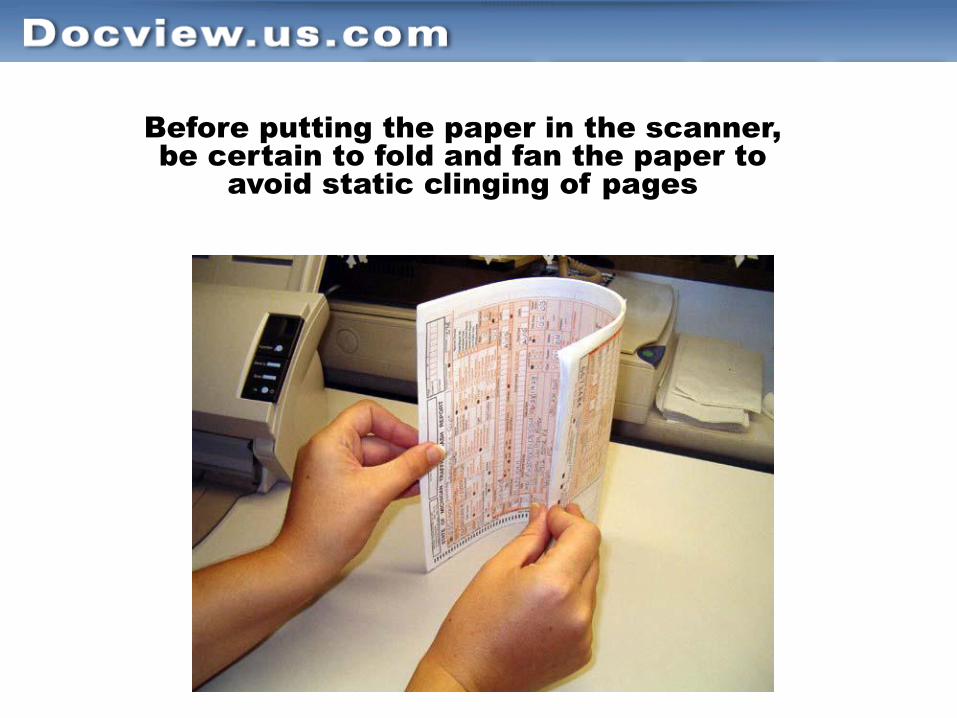
Before putting the paper in the scanner,
be certain to fold and fan the paper to
avoid static clinging of pages
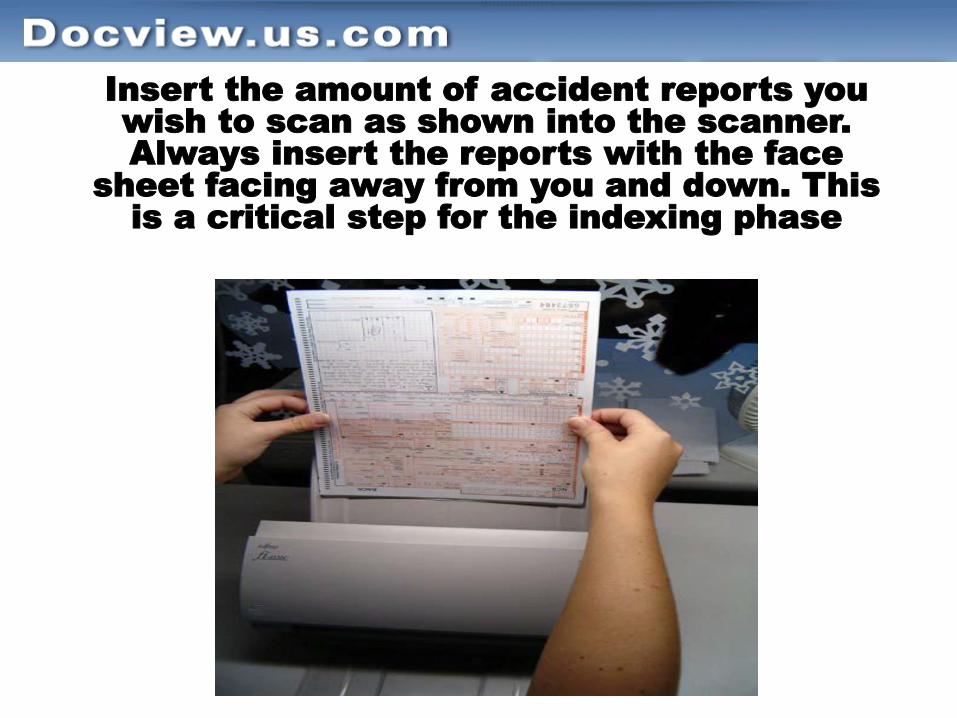
Insert the amount of accident reports you
wish to scan as shown into the scanner.
Always insert the reports with the face
sheet facing away from you and down. This
is a critical step for the indexing phase
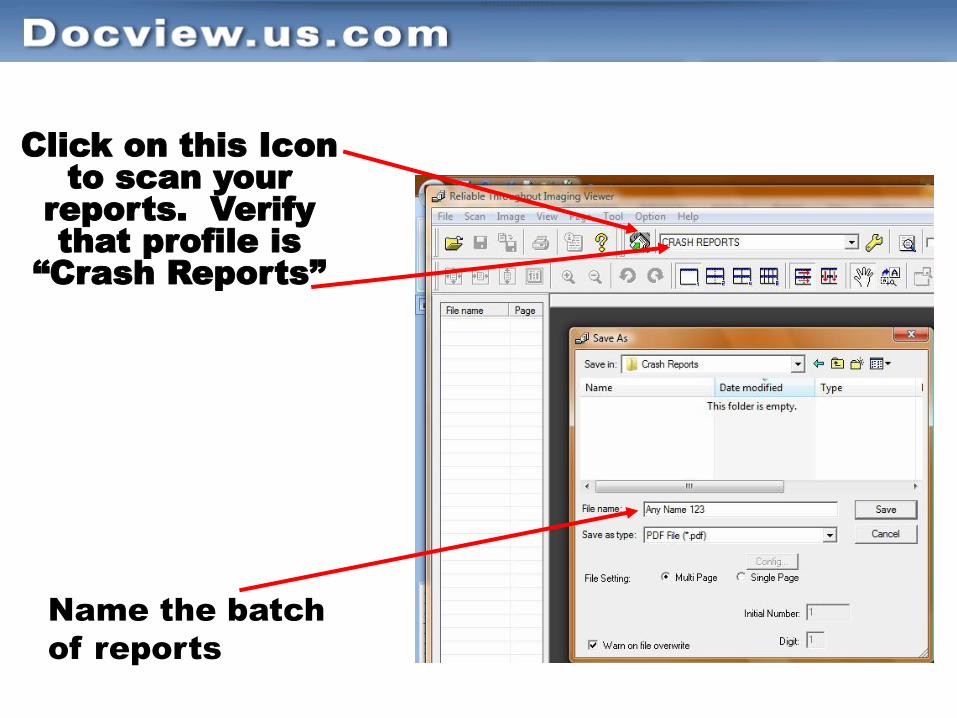
Click on this Icon
to scan your
reports. Verify
that profile is
“Crash Reports”
Name the batch
of reports
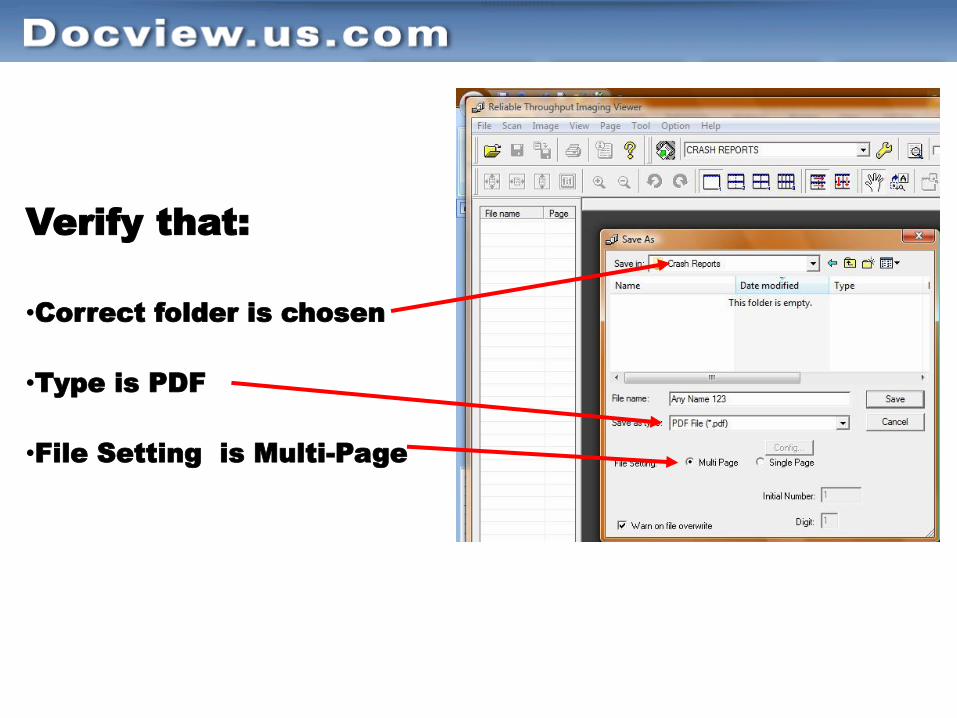
Verify that:
•Correct folder is chosen
•Type is PDF
•File Setting is Multi-Page
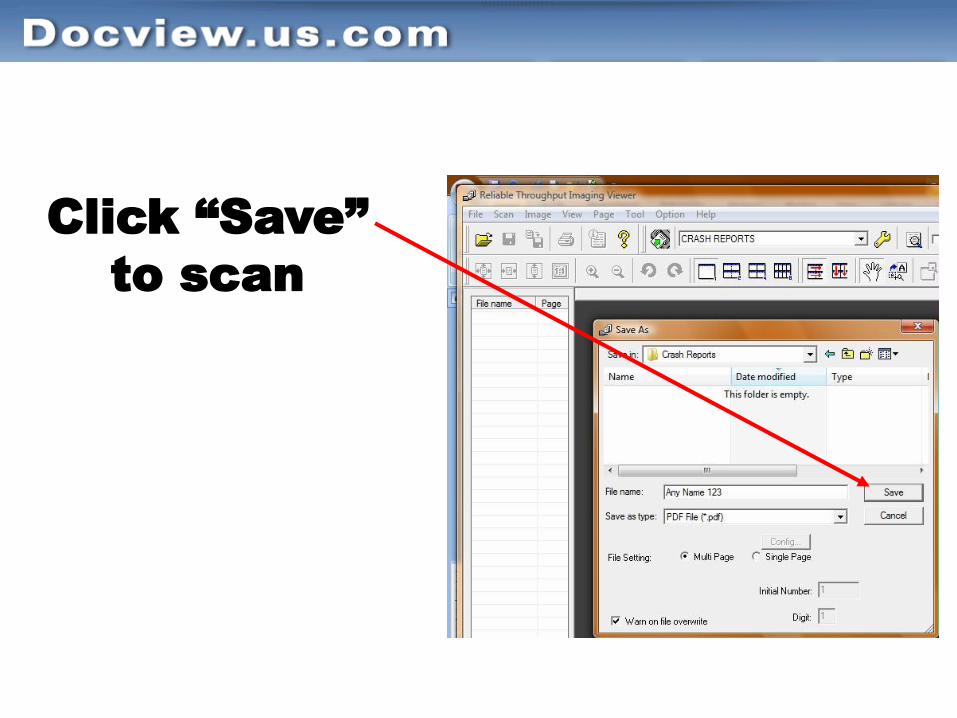
Click “Save”
to scan

When finished, close the
program by clicking on the red
“X” at top right
You may now go to the
docview report upload if
manually uploading.
If your agency uploads
automatically, you are
done.
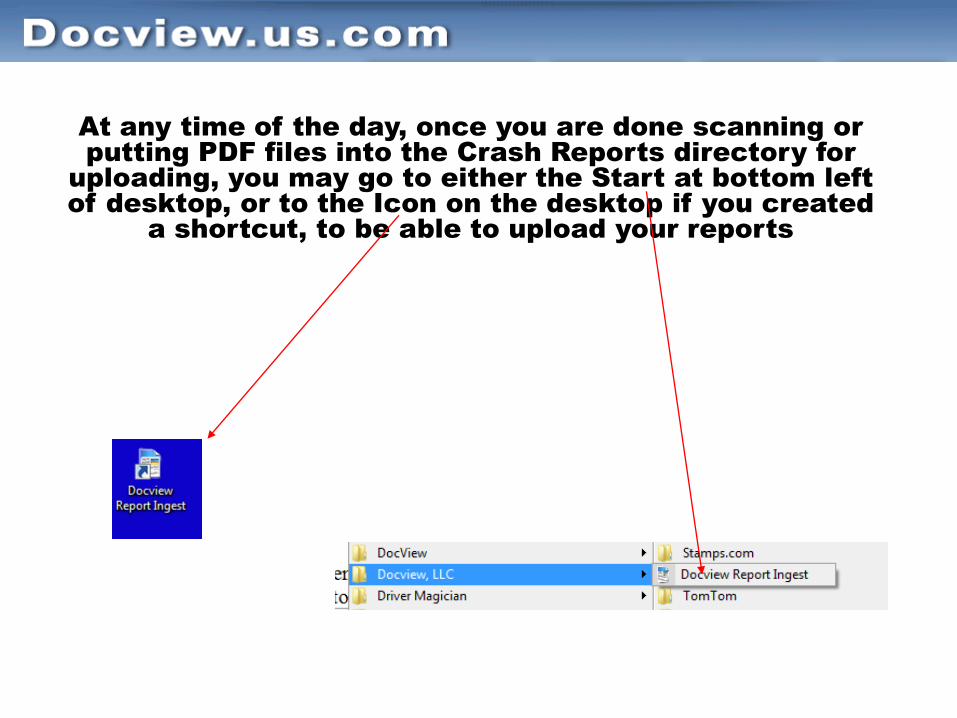
At any time of the day, once you are done scanning or
putting PDF files into the Crash Reports directory for
uploading, you may go to either the Start at bottom left
of desktop, or to the Icon on the desktop if you created
a shortcut, to be able to upload your reports
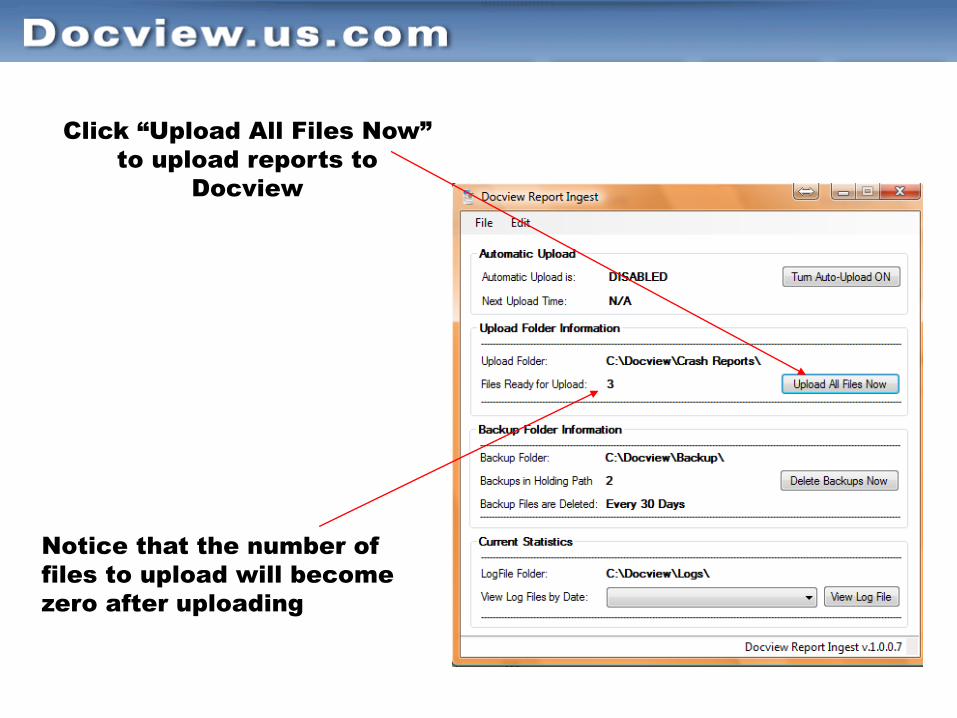
Click “Upload All Files Now”
to upload reports to
Docview
Notice that the number of
files to upload will become
zero after uploading
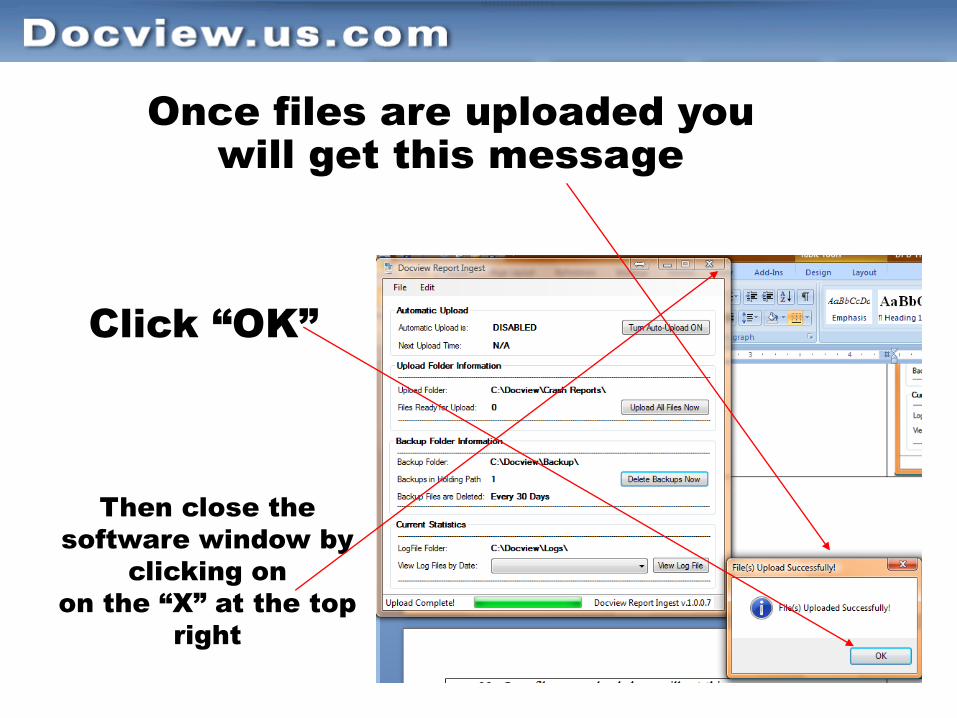
Once files are uploaded you
will get this message
Click “OK”
Then close the
software window by
clicking on
on the “X” at the top
right
Thank You!
If you have any questions, please
call Chuck Baffo at 586-532-5555
or
call Docview’s main office at 866-394-0832