pa scanning
DESCRIPTION
pa to scanTRANSCRIPT
2. Select scanner settingsHere are some common terms to help you select the setting most appropriate for you.
Bitonal• : two-tone black and white scans, suitable for printed and handwritten text.
Palette• : the range of gray tones or colors in an image.
Grayscale• : a palette of up to 256 gray tones, best for black and white photographs. Grayscale may capture music and handwriting details better than bitonal scans.
Color• : a palette of 256 to thousands of color tones, used for photographs, maps, dia-grams, illustrations and other documents.
Resolution• : finely spaced detail, a measure of a sharpness of an image.
Dots per inch (DPI) or pixels per inch (PPI)• : a measure of how many dots of color or shading are contained within one inch, which affects the image resolution. The more dots packed into an inch, the finer the image and the larger the file size. The terms DPI and PPI are often used interchangeably.
This overview provides basic considerations and steps to help you scan your documents and photos. Please read your scanner’s manual for more specific information.
Scanning Your Personal Collections
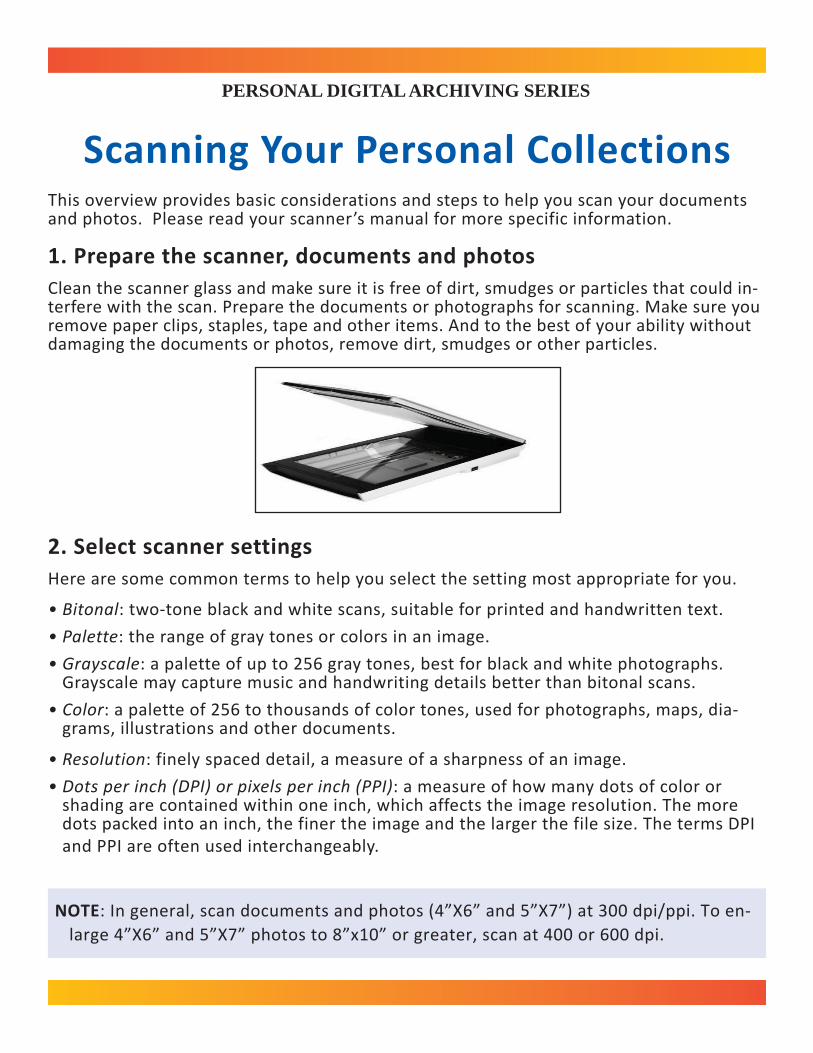
1. Prepare the scanner, documents and photosClean the scanner glass and make sure it is free of dirt, smudges or particles that could in-terfere with the scan. Prepare the documents or photographs for scanning. Make sure you remove paper clips, staples, tape and other items. And to the best of your ability without damaging the documents or photos, remove dirt, smudges or other particles.
PERSONAL DIGITAL ARCHIVING SERIES
NOTE: In general, scan documents and photos (4”X6” and 5”X7”) at 300 dpi/ppi. To en-large 4”X6” and 5”X7” photos to 8”x10” or greater, scan at 400 or 600 dpi.

3. Scan and saveAfter previewing or scanning the image, you may have a choice of “save” options.
- Bitonal: Save as “group IV compressed” TIFF files.
- Grayscale: Save as standard JPEG (.jpg) files at medium quality.
- Color: If you are offered the option to save a scan as a low-, medium- or high-quality JPEG, save as medium-quality JPEG unless you want to re-print the photo, in which case use the high-quality JPEG setting. Use this setting also for 8”x10” enlargements.
You can also save documents as PDF files.
4. Access and storageOnce you’ve scanned your documents and photos, make sure that you can access them. Here are a few helpful tips for storage and access.
Organize the scanned images
• Give scanned photos descriptive file names to help you identify them, such as “0915201-wedding.jpg” (using a “yyyymmdd” date-structure). Create your own naming system but be consistent.
Example of a folder-within-folder directory/folder structure:
\My Documents
\Family
\ophelia_ wedding
20100914-Rehearsal-001.jpg
20100915-Ceremony-001.jpg
Create backup copies and store them in different places
• Create at least two copies of your collection. Save one on your computer and save other copies on CDs, portable hard drives, thumb drives or online storage.
• Store copies in different locations, as far apart as practical. If disaster strikes one lo-cation, remote copies of your collection should be safe. About every five to seven years transfer your scans to a current storage medium.
SLIDES
Slide trays are available for flatbed scanners.
Standalone slide scanners are also available.
Because slides are smaller than prints, scan at a higher dpi/ppi rate, around 1900 dpi.
• Create and organize a folder-within-folder structure on your computer in which to store the files.