outlook 2013 lesson 2 overview presentation
TRANSCRIPT
FastCourse Series
Lesson 2: Working with Email

2
Learning Objectives
After studying this lesson, you will be able to:
Set email options
Send messages
Handle incoming messages
Organize messages

Getting Started with Outlook Email
Sources for email accounts
Internet service provider (ISP)
Company/corporate email servers
Webmail: Outlook.com, Gmail, Yahoo!
Email settings required
User information
Server information
Logon information
3

4
Getting Started with Outlook Email
Display the Account Settings dialog box
Set up a new account
Found in
Backstage
view

Sending Messages
All email addresses follow the same format.
No spaces allowed in an email address
Username and domain name separated with @
5
Username Domain name

Sending Messages
Separate multiple recipients’ email addresses in the
same box with semicolons.
6
Cc: Sends a carbon
copy to recipients
Bcc: Sends a blind
copy to recipients
Bcc field
recipients
cannot be seen
by others
Previously
learned email
list

7
Sending Messages
The Email Signature
dialog box
Use signatures to save time
Set default signatures

8
Attach Files to Messages
New Attachment
Reminder window
Attach other files to your messages
Attached file

9
Sending Messages
Check spelling before sending
Right-click on a
potential spelling
error to display
options.
Spell Check dialog box

Handling Incoming Messages
Set option to check for messages automatically
10
Set interval for
automatic send/receive
here.

Handling Incoming Messages
Messages appear in the Contents pane with icons next
to them.
11
Paperclip
indicates an
attachment.
Blue line
indicates a
message
not yet
read.
Handling Incoming Messages
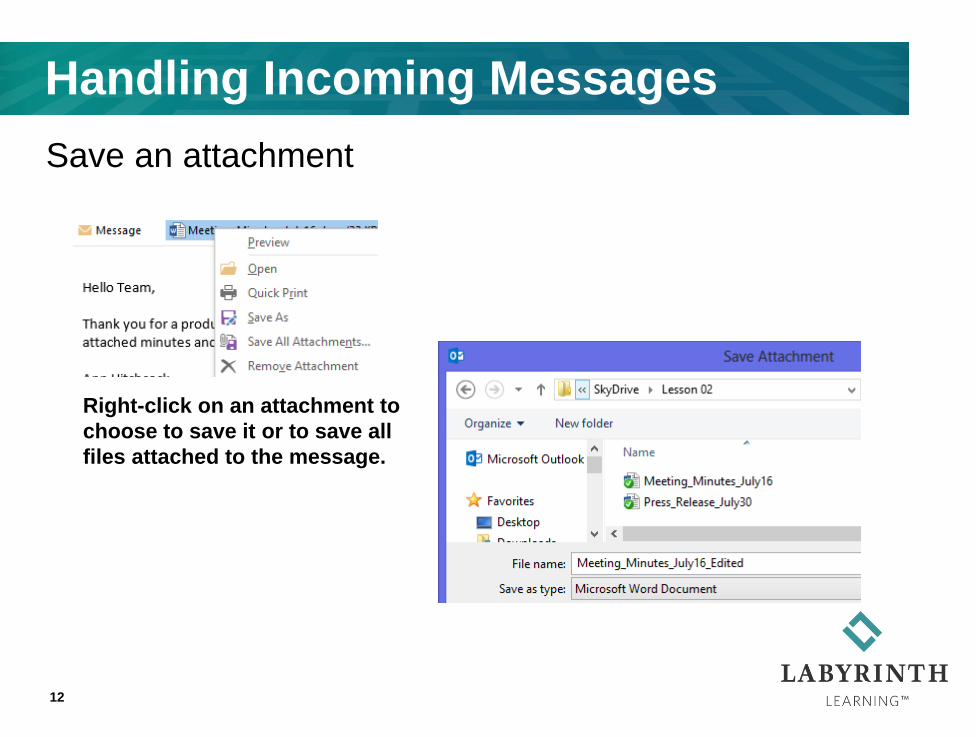
Save an attachment
12
Right-click on an attachment to
choose to save it or to save all
files attached to the message.

Handling Incoming Messages
Reply automatically adds the sender’s email address
to the To box.
Reply to All automatically sends to all the original
recipients.
13
RE: appears in front of
the subject text.

Handling Incoming Messages
Forwarding a message sends a copy of it to the
addressees.
Attachments are forwarded with the message.
14
FW: appears in front of
the subject text.
Handling Incoming Messages
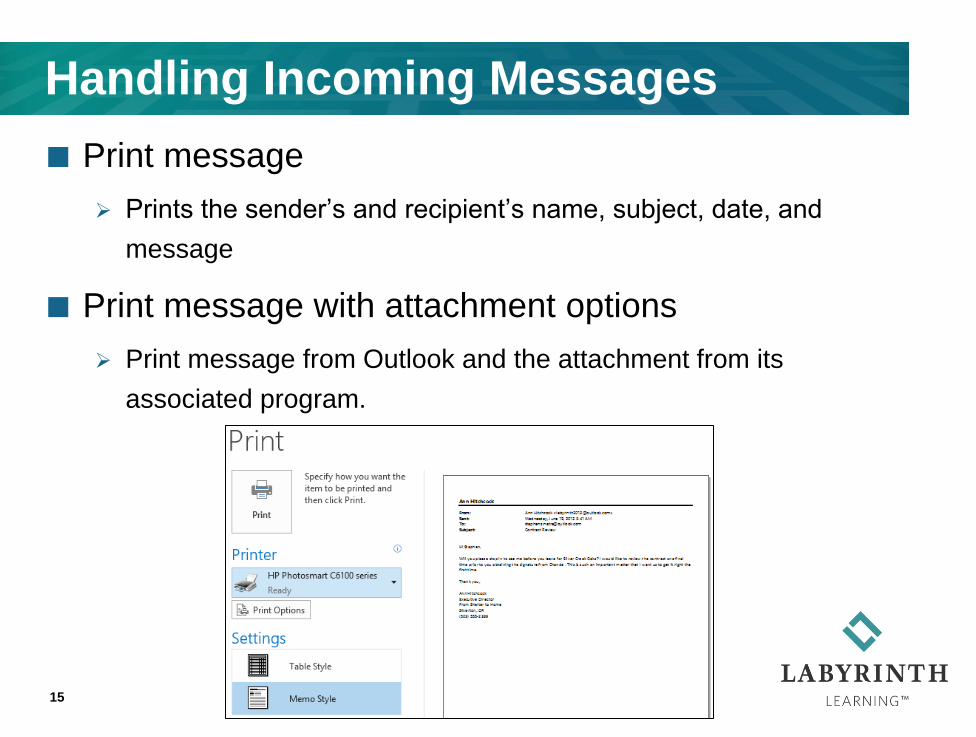
Print message
Prints the sender’s and recipient’s name, subject, date, and
message
Print message with attachment options
Print message from Outlook and the attachment from its
associated program.
15
Organizing Your Messages
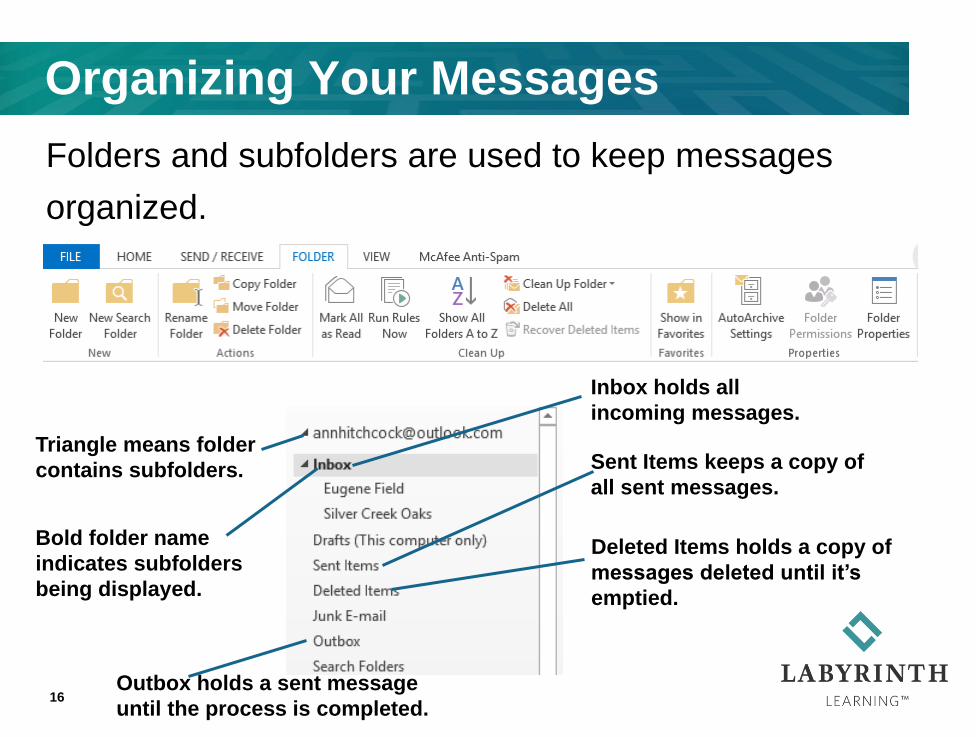
Folders and subfolders are used to keep messages
organized.
16
Inbox holds all
incoming messages.
Outbox holds a sent message
until the process is completed.
Sent Items keeps a copy of
all sent messages.
Deleted Items holds a copy of
messages deleted until it’s
emptied.
Triangle means folder
contains subfolders.
Bold folder name
indicates subfolders
being displayed.

Organizing Your Messages
Move a message to a folder
Two methods:
Drag the messages over the desired folder.
Choose Home > Move > Move.
Select multiple messages to move
Hold down the [Ctrl] key and click on individual
messages.
Hold down the [Shift] key, click on the first message,
and then click on the last message to select the entire
group.
17

Organizing Your Messages
Create rules
18
Organizing Your Messages
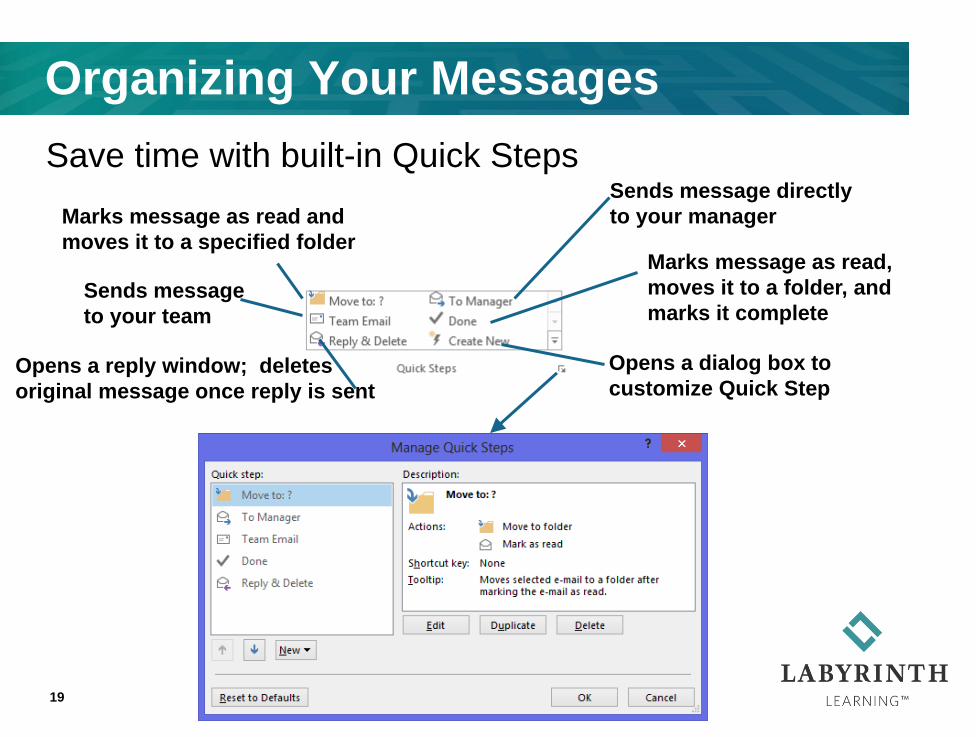
Save time with built-in Quick Steps
19
Opens a dialog box to
customize Quick Step
Marks message as read,
moves it to a folder, and
marks it complete
Sends message directly
to your manager
Opens a reply window; deletes
original message once reply is sent
Sends message
to your team
Marks message as read and
moves it to a specified folder
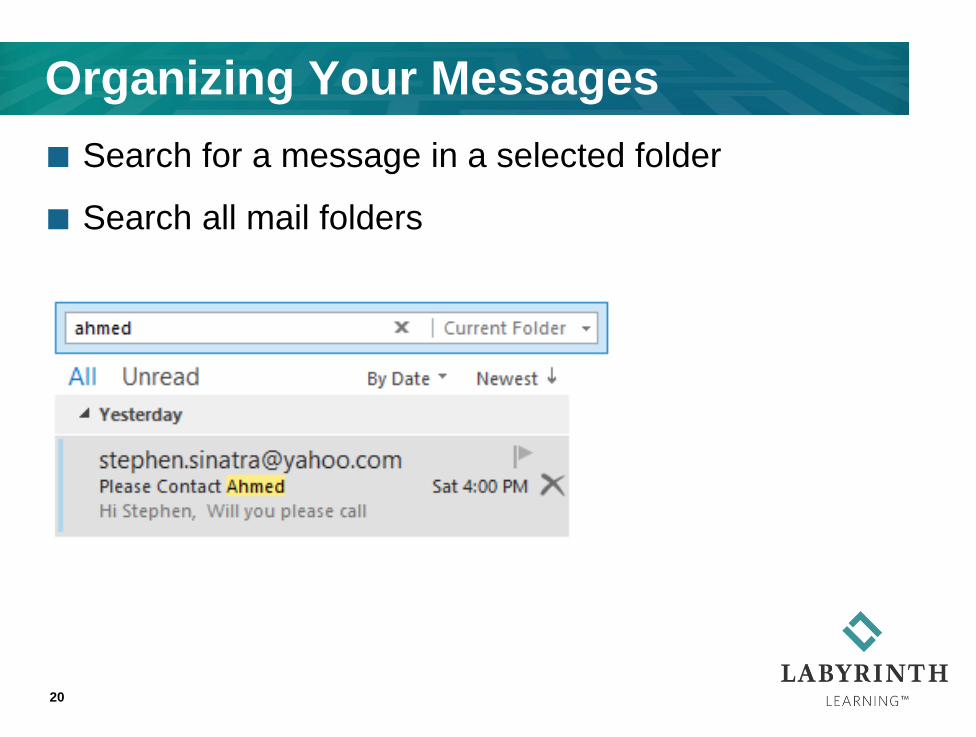
Organizing Your Messages
Search for a message in a selected folder
Search all mail folders
20
Organizing Your Messages
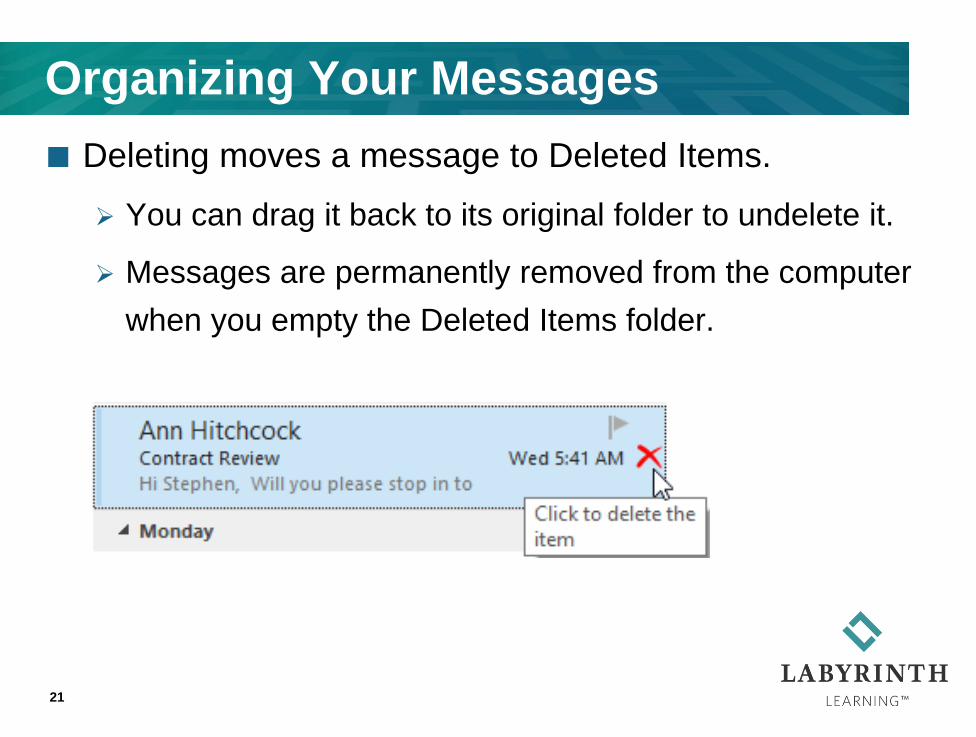
Deleting moves a message to Deleted Items.
You can drag it back to its original folder to undelete it.
Messages are permanently removed from the computer
when you empty the Deleted Items folder.
21

Organizing Your Messages
Sorting messages in a folder
22

FastCourse Series
Lesson 2: Working with Email