organic microgreens - manage
TRANSCRIPT

1
राष्ट्रीय कृषि षिस्तार प्रबधं ससं्थान (मनैजे) (कृषि एिं ककसान कल् याण मंत्रालय, भारत सरकार का एक स् िाय त संठनन)
National Institute of Agricultural Extension Management (MANAGE) (An Autonomous Organization of Ministry of Agriculture & Farmers Welfare, Govt. of India)
Rajendranagar, Hyderabad – 500 030, Telangana, India &
College of Community Science
Acharya N.G Ranga Agricultural University,
Guntur, Andhra Pradesh
Edited by Dr. Veenita Kumari, Deputy Director (Gender studies)
Dr M.S Chaitanya Kumari, Professor, CCSc, ANGRAU
Compiled by
Ms. N. Pallavi, Ms. S.Hari Padmaja Priyanka, Ms. A. Rupa Sowjanaya
Interns of B.Sc. (Hons.) College of Community Science, Guntur, ANGRAU
ORGANIC MICROGREENS

2
S.No Particulars
1 Introduction
2 Difference between sprouts and microgreens
3 Importance of Microgreens
4 How to grow microgreens at home
5 Steps in cultivation
6 Health benefits of microgreens
7 Nutritive Values of Microgreens
8 Microgreen recipes
CONTENTSS
3
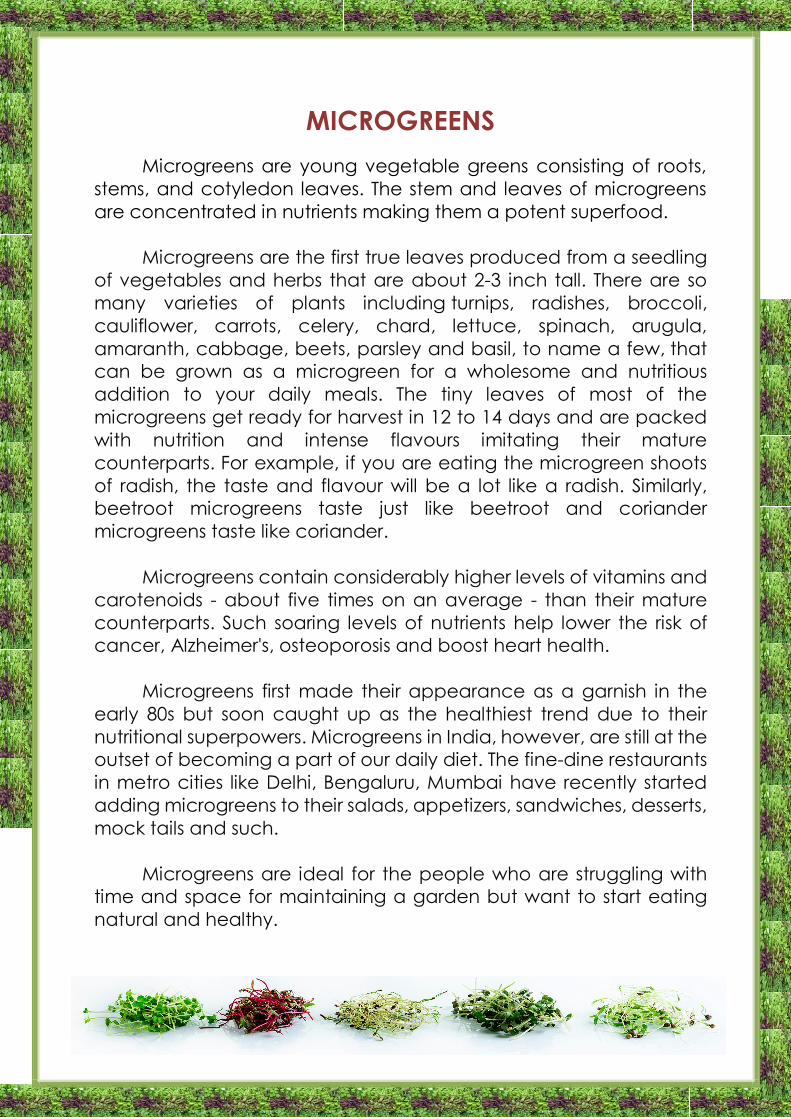
MICROGREENS
Microgreens are young vegetable greens consisting of roots,
stems, and cotyledon leaves. The stem and leaves of microgreens
are concentrated in nutrients making them a potent superfood.
Microgreens are the first true leaves produced from a seedling
of vegetables and herbs that are about 2-3 inch tall. There are so
many varieties of plants including turnips, radishes, broccoli,
cauliflower, carrots, celery, chard, lettuce, spinach, arugula,
amaranth, cabbage, beets, parsley and basil, to name a few, that
can be grown as a microgreen for a wholesome and nutritious
addition to your daily meals. The tiny leaves of most of the
microgreens get ready for harvest in 12 to 14 days and are packed
with nutrition and intense flavours imitating their mature
counterparts. For example, if you are eating the microgreen shoots
of radish, the taste and flavour will be a lot like a radish. Similarly,
beetroot microgreens taste just like beetroot and coriander
microgreens taste like coriander.
Microgreens contain considerably higher levels of vitamins and
carotenoids - about five times on an average - than their mature
counterparts. Such soaring levels of nutrients help lower the risk of
cancer, Alzheimer's, osteoporosis and boost heart health.
Microgreens first made their appearance as a garnish in the
early 80s but soon caught up as the healthiest trend due to their
nutritional superpowers. Microgreens in India, however, are still at the
outset of becoming a part of our daily diet. The fine-dine restaurants
in metro cities like Delhi, Bengaluru, Mumbai have recently started
adding microgreens to their salads, appetizers, sandwiches, desserts,
mock tails and such.
Microgreens are ideal for the people who are struggling with
time and space for maintaining a garden but want to start eating
natural and healthy.

4
Difference between sprouts and microgreens
Sprouts are simply seeds that have germinated while
microgreens undergo a different planting and growth process that
allows them to grow fully developed stems and leaves, allowing
them to possess a significantly rich nutritional composition than
sprouts. Sprouts are harvested within 2-5 days whereas, microgreens
are harvested between 7-21 days depending on the type of
vegetable.
Microgreens are much healthier, has more nutritional value and
enhanced taste than sprouts as they are concentrated with
enzymes, flavonoids and natural flavour. The potential for bacteria
growth is much lower in micro greens than in comparison to sprouts.
Microgreens require slightly less warm and humid conditions than
sprouts do, and only the leaf and stem are consumed.
Microgreen have three basic parts
1. a central stem
2. cotyledon leaf or leaves
3. first pair of true leaves
Importance of Microgreens:
1. Easy to Grow:
Microgreens are incredibly easy to grow due since they are
harvested at the first true leaf stage and can be grown
effortlessly on a sunny windowsill.
2. Quick to harvest:
Microgreens get ready to eat in just two weeks.
3. Packed with flavours:
Though microgreens are tiny, the concentration of flavours
makes them a favourite of chefs and food lovers around the
world.
4. Loaded with nutrients:
5
Microgreens have a higher concentration of nutrients than
mature vegetables and herbs. Some microgreen varieties are
having up to 40 times more nutrition than grown vegetables.
How to grow microgreens at home
Microgreen Seeds:
Microgreens cannot be grown from regular seeds, one should
use microgreen seeds only.
Potting Soil:
Planting Soil works the best and it should not contain any
chemical or pesticide quantities, in order to grow microgreens
organic and healthy.
Pot/Tray:
A container to grow microgreens can be a seed or regular
planting pot or a vessel with 4-5 inches deep.
Light Source:
Microgreens require an essential amount of sunlight /natural
light for at least 3-4 hours a day. A bright windowsill or a balcony
that receives sunlight will be a good spot for the plant.
Water:
Water is a necessary element for Microgreens. The soil being
used is to be kept moist at all times. A hand sprinkler works best for
the plant, due to its micro outlets that do not let open a huge
downpour of water.
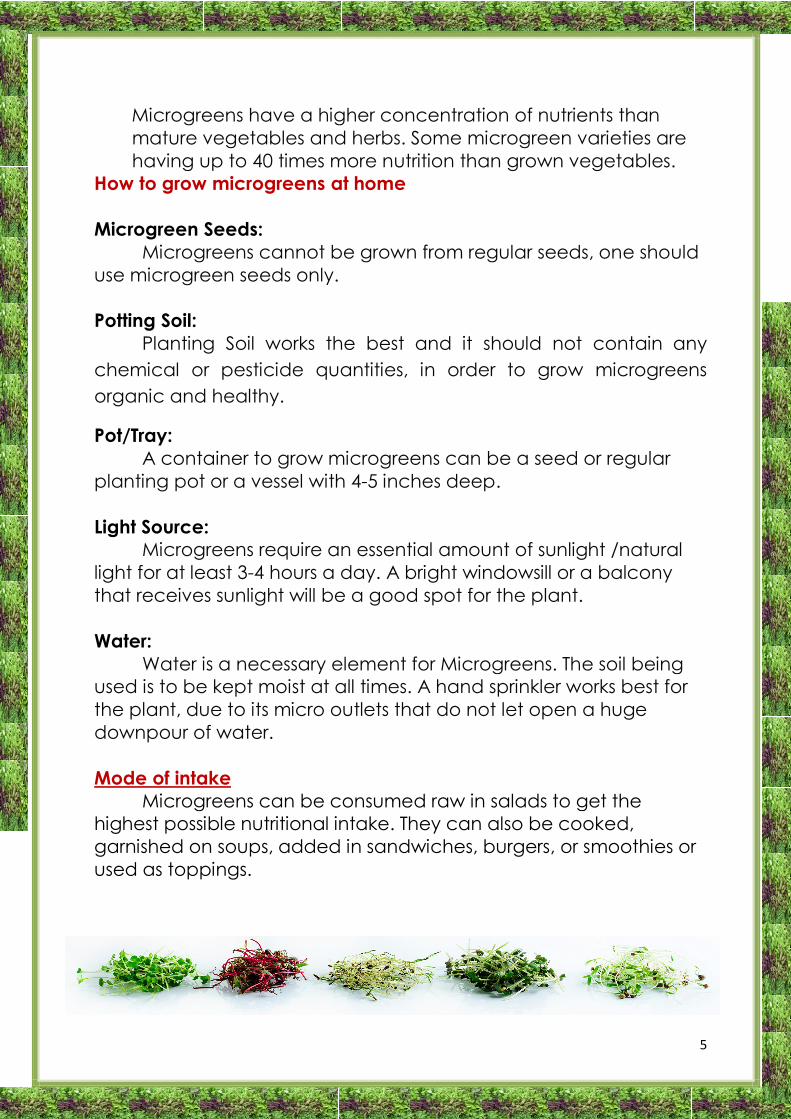
Mode of intake
Microgreens can be consumed raw in salads to get the
highest possible nutritional intake. They can also be cooked,
garnished on soups, added in sandwiches, burgers, or smoothies or
used as toppings.
6
Steps in cultivation of fresh, flavoursome and healthy microgreens:
1. Filling the tray/container with soil. Since the roots of Microgreens
do not reach that deep, 3-4 inches soil height should be good
enough.
2. Sow the seed: Microgreen seeds are to be spread on the soil
surface. The spacing between the seeds does not need to be
completely even, so hand sprinkling works fine.
3. Cover the seeds: cover with a very thin layer of soil and gently pat
the surface in order to make the seeds settle well in the container.
4. Damp the soil: Spray enough water over the soil surface in order
to make the surface completely moist, but do not flood it with
water.
5. Place the container at room temperature: keep the container for
about two days until germination occurs. Then choose a sunny
spot to place the plant, where it receives a good amount of
sunlight for at least 3-4 hours in a day.
6. Sprinkle water twice: sprinkle the water over the growing greens,
twice a day. In 3-4 days’ time, small leaves grow over the soil with
little shoots at the bottom.
7. Harvesting Microgreens Once the plants are 2-3 inches taller, they
are ready to be harvested. Cut the microgreens with a pair of
scissors or a sharp knife and cut the Microgreens, holding them
vertically, from just over the roots.
8. Washing: wash the harvested microgreens with cold running water
and use it in a meal. Microgreens provide the best of nutrition
when consumed fresh, right after the harvest. Dry them after
washing and store in a paper wrap in the refrigerator.

7

8
Health Benefits of Microgreens
Eating vegetables is linked to a lower risk of many diseases as they
contain high amounts of vitamins, minerals and beneficial plant
compounds which may reduce the risk of the following diseases:
Heart disease: Microgreens are a rich source of polyphenols, a
class of antioxidants linked to a lower risk of heart disease.
Studies show that microgreens may lower triglyceride and
“bad” LDL cholesterol levels.
Alzheimer’s disease: Antioxidant-rich foods, including those
containing high amounts of polyphenols, may be linked to a
lower risk of Alzheimer’s disease.
Diabetes: Antioxidants may help reduce the type of stress that
can prevent sugar from properly entering cells. In lab studies,
fenugreek microgreens appeared to enhance cellular sugar
uptake by 25–44%.
Certain cancers: Antioxidant-rich fruits and vegetables,
especially those rich in polyphenols, may lower the risk of
various types of cancer. Polyphenol-rich microgreens may be
expected to have similar effects
Chronic Disease: Inflammation is a major indicator of disease
in the body. Microgreens and vegetable intake in general is
shown to reduce inflammation markers as well as lower the risk
of several types of cancer.

9
Most Popular Variety of Microgreens:
Cauliflower, broccoli, cabbage, radish, carrot, garlic onion,
Amaranths, beetroot, spinach, melon cucumber and squash.
Cereals such as rice, oats, wheat, corn and barely, as well as
legumes like chickpeas, beans and lentils.
They are varied in taste, which can range from neutral to spicy slightly
sour or even bitter, depending on variety.
Rainbow of Microgreens:
Fruits and vegetables are available in different colors.
Microgreens of different colors represent different healthy
compounds called phytochemicals, as well as other micronutrients.
Red vegetables contain lycopene, which is a powerful
antioxidant.
Orange and yellow vegetables contain carotenoids like beta
carotene and lutein, which the body converts into vitamin A.
Blue and purple vegetables
contain anthocyanin which can
help protect cells from damage.
Green vegetables contain a wide
range of different phyto
chemicals including saponins,
indoles, and carotenoids.
Brown and white vegetables like garlic contain allicin which
has antibacterial properties.
Nutritive Values of Microgreens
Many fresh plants products provide vitamins, minerals and fiber.
These nutrients can help with:
1. Preventing a range of diseases.
2. Managing weight
3. Boosting both mental and physical health well-being.
10
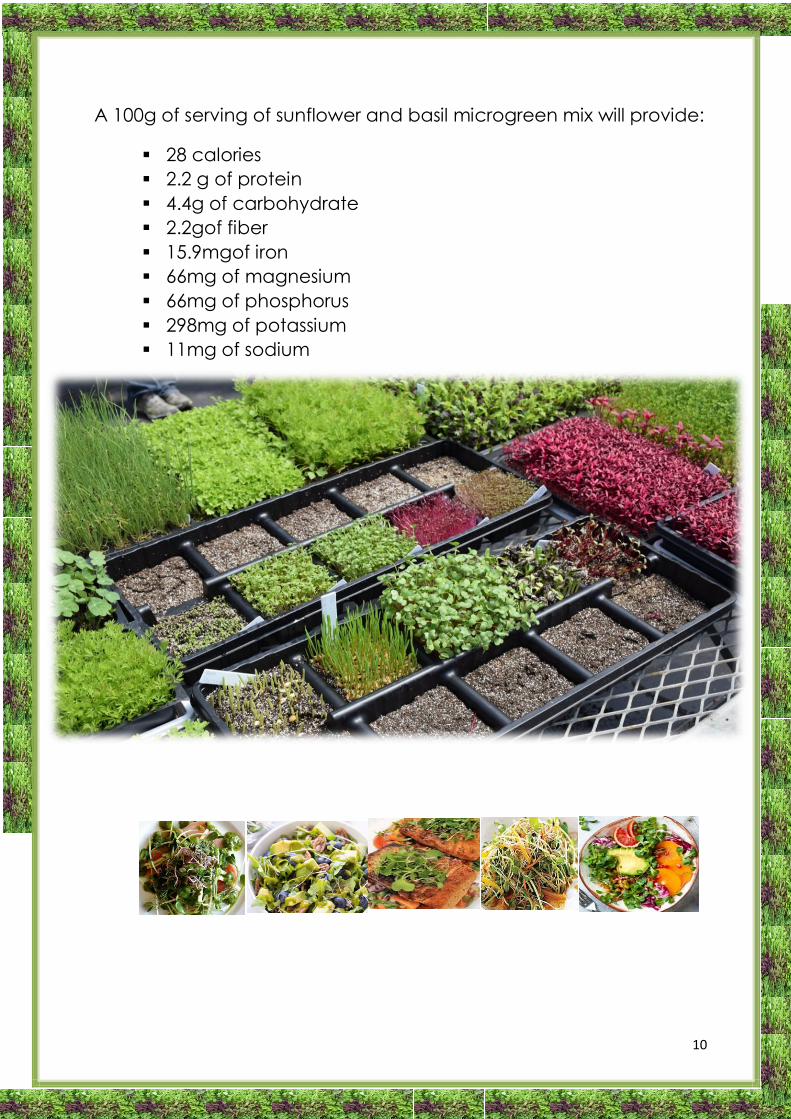
A 100g of serving of sunflower and basil microgreen mix will provide:
28 calories
2.2 g of protein
4.4g of carbohydrate
2.2gof fiber
15.9mgof iron
66mg of magnesium
66mg of phosphorus
298mg of potassium
11mg of sodium
11
RECIPES
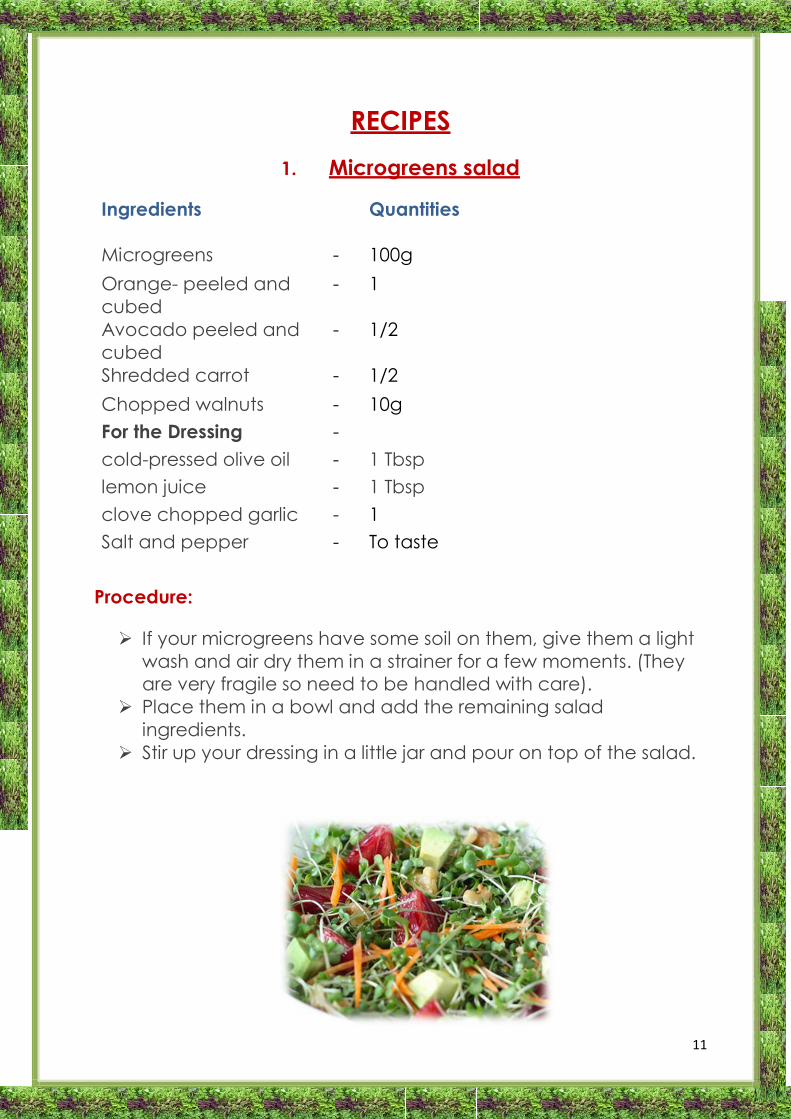
1. Microgreens salad
Ingredients Quantities
Microgreens - 100g
Orange- peeled and
cubed
- 1
Avocado peeled and
cubed
- 1/2
Shredded carrot - 1/2
Chopped walnuts - 10g
For the Dressing -
cold-pressed olive oil - 1 Tbsp
lemon juice - 1 Tbsp
clove chopped garlic - 1
Salt and pepper - To taste
Procedure:
If your microgreens have some soil on them, give them a light
wash and air dry them in a strainer for a few moments. (They
are very fragile so need to be handled with care).
Place them in a bowl and add the remaining salad
ingredients.
Stir up your dressing in a little jar and pour on top of the salad.

12
2. Green peas and mint soup:
Ingredients Quantities
Green peas - 15Og
Butter - 15g
Salt - To taste
Milk - 125ml
Black pepper powder - 2.5g
Mint leaves powder - 5g
Procedure;
Heat the butter in a non-stick pan, add the onions and sauté on
a medium flame for a few minutes.
Add the green peas, 1 ½ cups of water and salt and bring to a
boil.
Simmer for 15 minutes or till the peas are cooked
Cool and blend in a mixer to a smooth puree and keep a side.
Combine ½ cup of water and ½ cup of milk in a broad non-stick
pan, add the prepared green pea puree, mix well and cook on
a medium flame for 3 to 4 minutes while stirring occasionally
Add the pepper, mint leaves, mix well and cook on medium
flame for 1 to 2 minutes, while stirring occasionally.
3. Amaranth Dal
Ingredients Quantities
Moong dal - 100g
Amaranths leaves - 50g
Turmeric - 2.5g
Coriander powder - 2.5g
Cumin powder - 2.5g
Vegetable oil - 15g
Cumin seeds - 5g

13
Salt - To taste
Chilli powder - 2g
Tomato - 10
Procedure:-
Chop the amaranth leaves finely and place in a pressure cooker
along with moong dal and turmeric add enough water to cover
by about an inch bring to a boil cover, and cook until tender
adding more water if needed .
Add the dal along with the amaranth leaves bring to a boil and
lower heat to a simmer add water if the dal is too thick let the
dal simmer for about 5 minutes.
Heat the oil when it shimmers add cumin seed, stir for few
seconds then add the garlic.
Sauté for 30 seconds, then add tomato. Let the tomatoes cook
down until they are pulpy.
Add cumin and coriander powder red chilli powder.
Add the dal along with the amaranth leaves bring to a boil and
lower heat to a simmer add water if the dal is too thick let the dal
simmer for about 5 minutes.

14
4. Mustard Green Dal
Ingredients Quantities
Mustard leaves - 50g
Spinach - 25g
Dal - 25g
Salt - to taste
Garlic cloves - 15g
Cumin seeds - 5g
Tamarind seed - 5g
Red chilli powder - 3g
Green chilli - 5g
Procedure:-
First wash mustard greens, spinach and dal thoroughly with fresh
water and pressure cook them for at least 4 to 5 long whistles.
Then for seasoning, heat 2 tbsp of oil in a pan and add green
chilies cumin seeds, garlic cloves. Fry them till the garlic changes
its colour to light brown.
Now add the cooked dal along with mustard greens and
spinach in to the pan. Mix it well.
Then add salt, red chilli powder and tamarind paste to it.
15
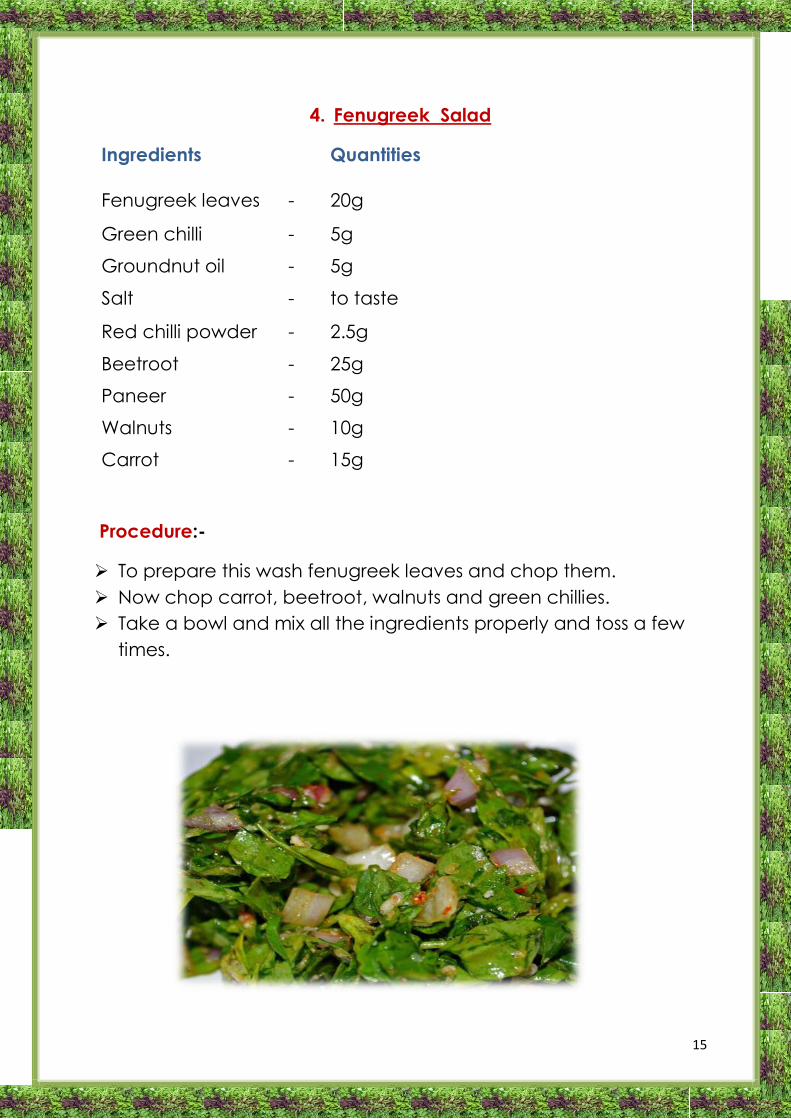
4. Fenugreek Salad
Ingredients Quantities
Fenugreek leaves - 20g
Green chilli - 5g
Groundnut oil - 5g
Salt - to taste
Red chilli powder - 2.5g
Beetroot - 25g
Paneer - 50g
Walnuts - 10g
Carrot - 15g
Procedure:-
To prepare this wash fenugreek leaves and chop them.
Now chop carrot, beetroot, walnuts and green chillies.
Take a bowl and mix all the ingredients properly and toss a few
times.