openwhisk lab
TRANSCRIPT

DeveloperConnect
OpenWhisk Exercise

2
Introduction This workshop will demonstrate some of the capabilities of the OpenWhisk open source project that is deployed on IBM Bluemix. OpenWhisk is a cloud-first distributed event-based programming service. It provides a programming model to upload event handlers to a cloud service, and register the handlers to respond to various events. Applications built on a platform such as OpenWhisk are designed to take advantage of a so-called “serverless architecture.” They offer key benefits in the form of automatic scale and finer grained billing models. This workshop will show you how to create functions – or actions in OpenWhisk parlance – to execute logic in response to events – or triggers – such as database modifications, timers, and other external changes. In order to complete this workshop, you will need a Bluemix account that has access to OpenWhisk. Please use the space provided to write down the email and password that you will be using with the workshop. Note: You can either use your own account or you can use the provided workshop account.
Email: ________________________________
Password: ________________________________
Build and deploy an event-driven application using the OpenWhisk platform
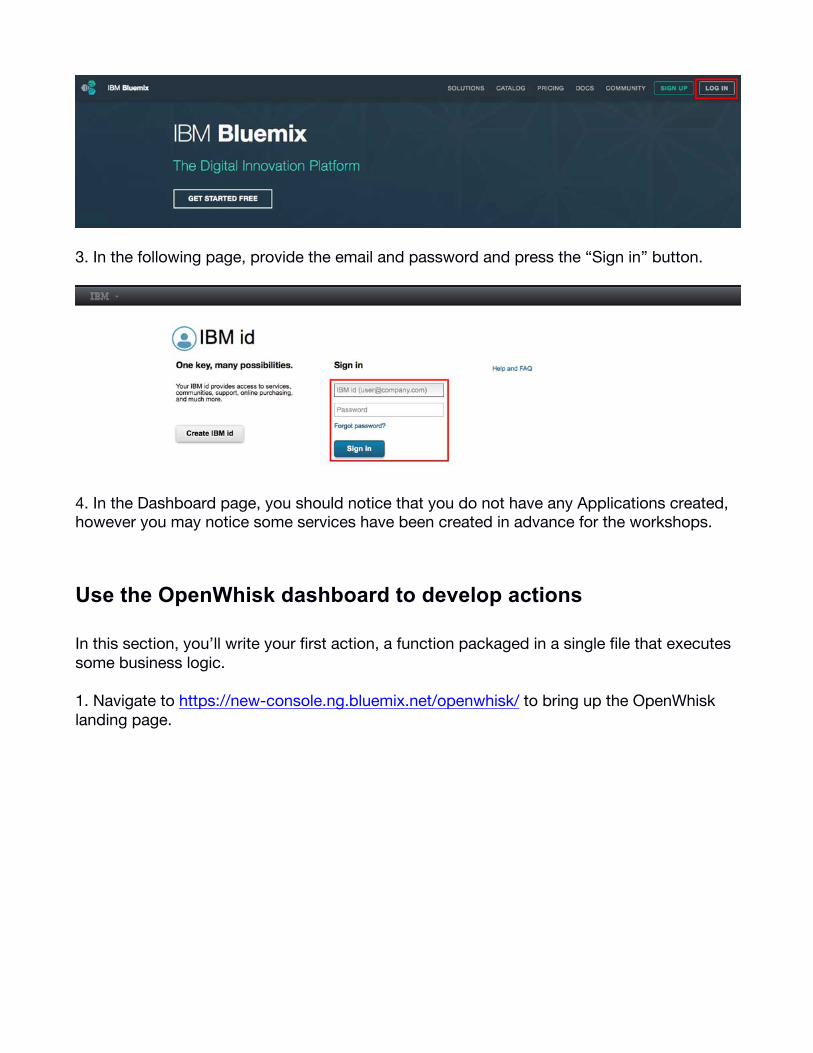
Log into Bluemix 1. Using your browser, go to the Bluemix website at https://bluemix.net 2. Press the “LOG IN” button located at the top right hand corner of the page.
3
3. In the following page, provide the email and password and press the “Sign in” button.
4. In the Dashboard page, you should notice that you do not have any Applications created, however you may notice some services have been created in advance for the workshops.
Use the OpenWhisk dashboard to develop actions In this section, you’ll write your first action, a function packaged in a single file that executes some business logic. 1. Navigate to https://new-console.ng.bluemix.net/openwhisk/ to bring up the OpenWhisk landing page.

4
2. Click the “Develop” button. This will bring up the web IDE where you can create actions which represent your business logic. JavaScript is the default language, but you can also use Python, Swift, Java, and Docker.
3. Click the “Create An Action” button.

5
4. This will bring up a view where you can set the name and programming language. We’ll just accept the default, Node.js version 6 and give it a name: “sample-application” then click “Create Action”.
5. The web IDE will open with the skeleton of an OpenWhisk action. All OpenWhisk actions must include a “main” function that take a single argument containing context information. Click the “Run This Action” button above the code.

6
6. You’ll now be shown a window to provide the context information to the action that represents the object passed in as the params value. Leave the value as it is, and click the “Run With This Value” button.
7. This will show the “Invocation Console” providing various details around the execution of the Action. Note the “Completed in” (execution time) as well as the “Billed for” values. Actions written for the OpenWhisk platform are only billed for the time they actually execute, which can be a more attractive option than reserving resources by the gigabyte/hour or day as in other forms of cloud computing.
7
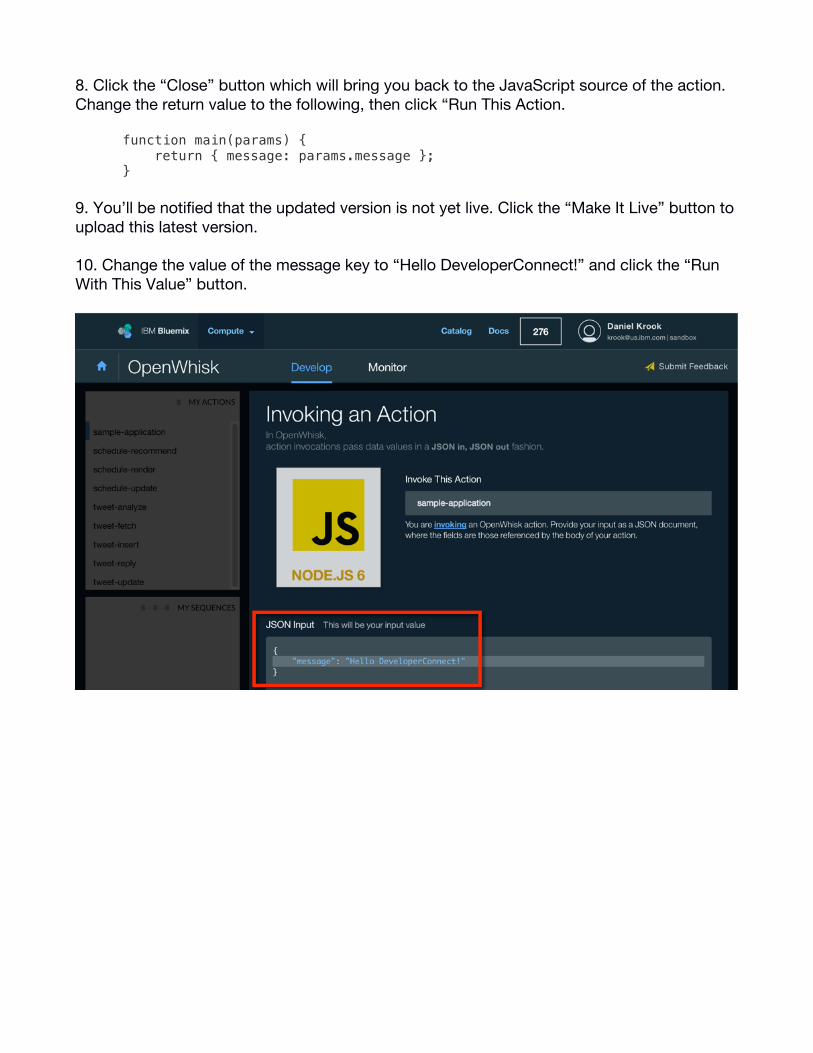
8. Click the “Close” button which will bring you back to the JavaScript source of the action. Change the return value to the following, then click “Run This Action.
function main(params) { return { message: params.message }; }
9. You’ll be notified that the updated version is not yet live. Click the “Make It Live” button to upload this latest version. 10. Change the value of the message key to “Hello DeveloperConnect!” and click the “Run With This Value” button.

8
11. You’ll now see another result in the Invocation Console from executing the action again.
Use the OpenWhisk dashboard to monitor actions In this section you’ll explore the monitoring dashboard that provides logs and historical data about your action executions. 1. Click the “Monitor” tab next to the “Develop” tab that you used to enter the web IDE at the start of this lab. 2. This brings up a dashboard with the history of actions executed, their degree of success over time, and deeper details into the execution of the actions.

9
3. Click on the green arrow next to the two “sample-application” invocations in the right pane. This will display stack traces and other important debugging information as you develop more complex applications, such as those that tie several actions together into a sequence or which are not invoked manually, as we have been doing with the Develop console.

10
Use the dashboard to create an alarm triggered action In this section, you’ll set up an event feed for your action. Instead of invoking them manually, we’ll create a trigger that invokes them on a schedule (every 20 seconds) using the web IDE. 1. Click the “Develop” tab to get you back to the web IDE. Update the “sample-application” with this new main function and click the button at the bottom to “Make It Live”. function main(params) { var date = new Date(); var now = (date.getHours() + ":" + date.getMinutes() + ":" + date.getSeconds()); console.log("Invoked at: " + now); return { message: "Invoked at: " + now }; } 2. The “Make It Live” button will now become an “Automate This Action – Create a Rule” button. Click that button and select the “Periodic – Alarm-based triggers” tile in the resulting screen. 3. Click the “New Alarm +” tile, then pick “Cron” on the following screen, and enter this cron syntax: */30 * * * * *
4. Name the trigger “every-30-seconds” and click the “Create Periodic Trigger” button and click the “Next” button. You’ll now see confirmation that the alarm feed is linked to your action. Click “This Looks Good”. Save the rule and click “Done”.

11

12
5. Click the “Monitor” tab and let’s see our actions invoked every 30 seconds.
6. By default, the alarm will run 1,000 times so disable it after you’re done testing. Click back to the “Develop” tab, and find the alarm in the bottom right pane. Hover over the alarm and click the trash can icon.

13
Install the OpenWhisk command line tool So far you’ve seen the powerful tooling that the Bluemix hosted implementation of OpenWhisk provides. But you can also use the open source command line interface tool to interact with OpenWhisk running on Bluemix or any other host where OpenWhisk may be installed. 1. Navigate back to https://new-console.ng.bluemix.net/openwhisk/ to bring up the OpenWhisk landing page. 2. Click the “Use the CLI” link. This will bring up three steps to download the command line tool. You can install this CLI onto your workstation, or if you prefer, onto a separate virtual machine. 3. Once you have downloaded the CLI for your platform, open a terminal window to run the “wsk” executable. Set your OpenWhisk Namespace and Authorization Key by copying it from this page and running it in your terminal. 4. Finally, run the “whisk action invoke” command to execute the test action. If that works, you’re ready for the next step.
Use the OpenWhisk CLI to create an alarm triggered action This next section will introduce you to triggers and how they can be mapped to actions using rules. These steps will create an alarm trigger – similar to a cron job – that invokes an action every 20 seconds. 1. Create an action that we will invoke from the trigger by entering the following JavaScript into a file called “handler.js”. function main(params) { var date = new Date(); var now = (date.getHours() + ":" + date.getMinutes() + ":" + date.getSeconds()); console.log("Invoked at: " + now); return { message: "Invoked at: " + now }; } 2. Upload the file to OpenWhisk $ wsk action create handler handler.js 3. Invoke the action manually $ wsk action invoke --blocking handler

14
4. Create an alarm trigger to invoke the action every 20 seconds (this will run 1,000 times by default, so we’ll specify a maximum of 9 invocations just for testing). $ wsk trigger create every-20-seconds \ --feed /whisk.system/alarms/alarm \ --param cron '*/20 * * * * *' \ --param maxTriggers 9 5. Create a rule to map the trigger to the rule and enable it $ wsk rule create --enable invoke-periodically every-20-seconds handler 6. Poll the logs to see the output until you see an activation for “handler”. $ wsk activation poll 7. Hit CTRL-C to stop polling the log and get the details on that particular activation. $ wsk activation get [activation id from above]
Continue to iterate on your actions, triggers, and rules You can now extend the application or create new actions, triggers, and rules. You might also want to explore a few sample applications to see serverless architectures in action. James Thomas has a list of some of the compelling IoT, bot, and microservices available on his “Awesome OpenWhisk” page: http://bit.ly/awe-ow

15