onyx® software for superior printing workflow authorized use only – all rights reserved reporting...
TRANSCRIPT
Reporting WorkflowReporting Workflow
Ink Usage Calculation and Reporting
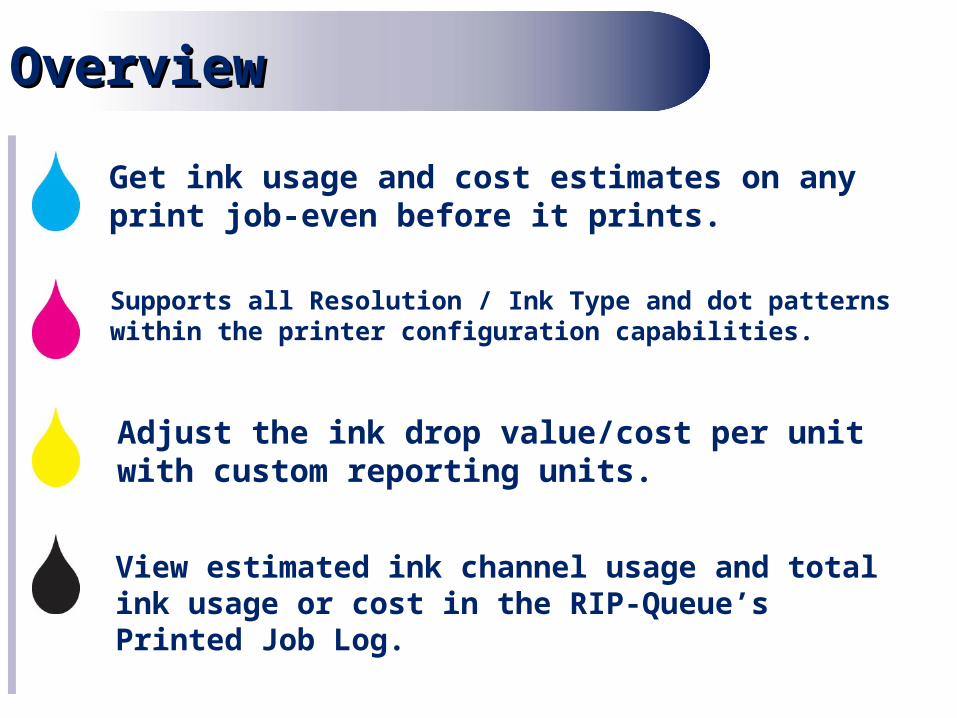
OverviewOverview
Get ink usage and cost estimates on any print job-even before it prints.
Supports all Resolution / Ink Type and dot patterns within the printer configuration capabilities.
Adjust the ink drop value/cost per unit with custom reporting units.
View estimated ink channel usage and total ink usage or cost in the RIP-Queue’s Printed Job Log.
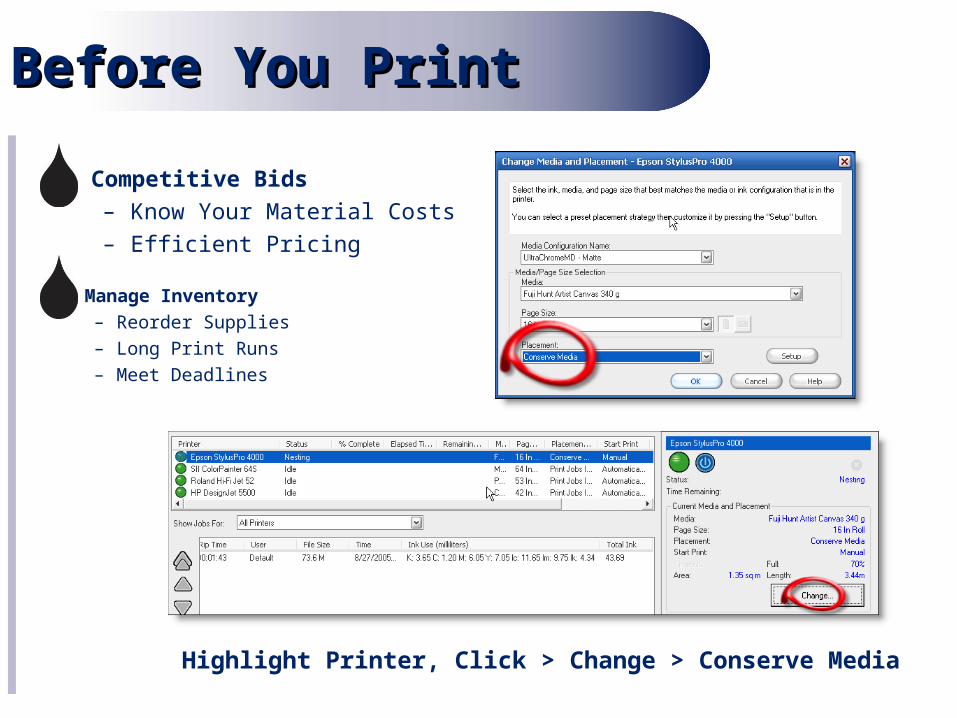
Before You PrintBefore You Print
Highlight Printer, Click > Change > Conserve Media
• Manage Inventory– Reorder Supplies– Long Print Runs– Meet Deadlines
• Competitive Bids– Know Your Material Costs– Efficient Pricing
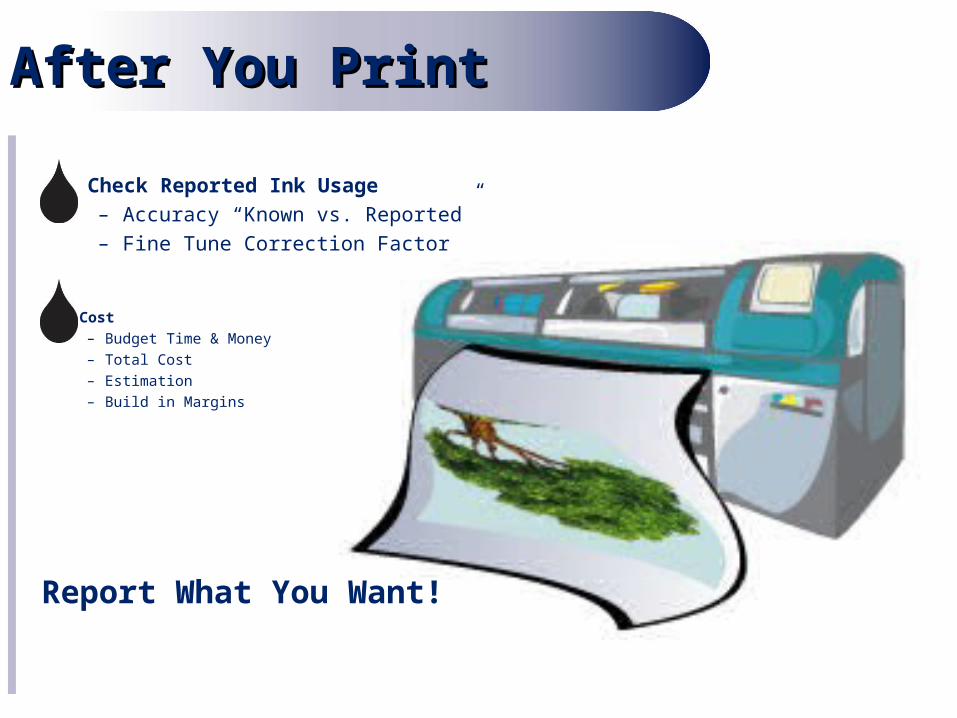
• Check Reported Ink Usage– Accuracy “Known vs. Reported”– Fine Tune Correction Factor
After You PrintAfter You Print
• Cost– Budget Time & Money – Total Cost– Estimation– Build in Margins
Report What You Want!

Configure Quick SetConfigure Quick Set
Report the Total Ink in NUMERIC values for use with your EXCEL data sheets by configuring ONLY the Quick Set!Saves Time Editing Data Sheet
Advanced Button > Output Tab > Calculate Ink Usage
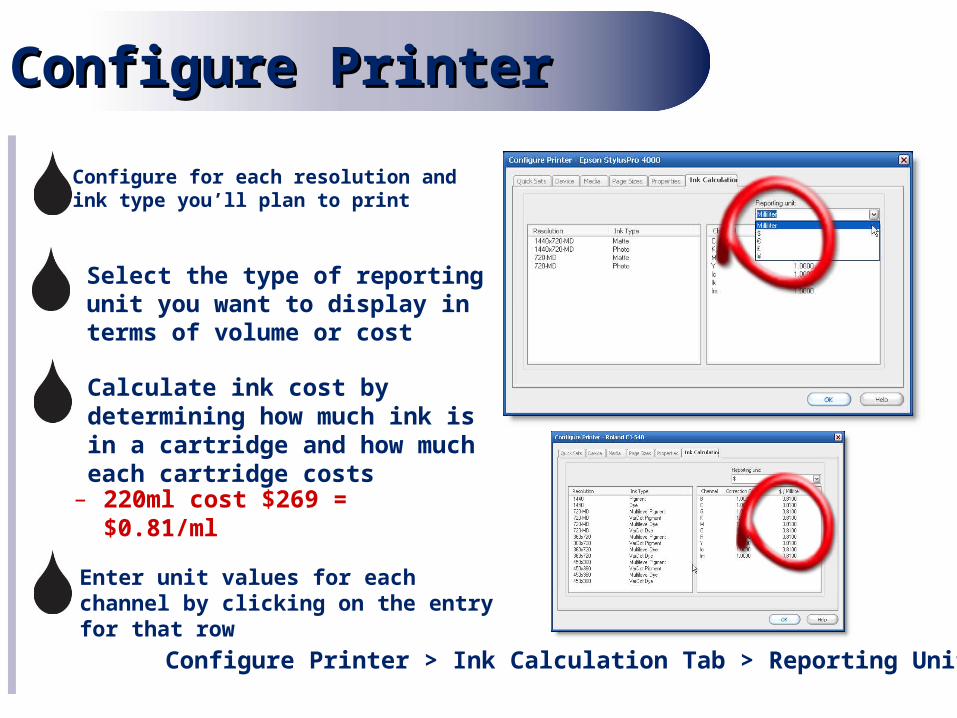
Configure PrinterConfigure Printer
Configure Printer > Ink Calculation Tab > Reporting Unit
– Select the type of reporting unit you want to display in terms of volume or cost
– Configure for each resolution and ink type you’ll plan to print
– Calculate ink cost by determining how much ink is in a cartridge and how much each cartridge costs
– Enter unit values for each channel by clicking on the entry for that row
– 220ml cost $269 = $0.81/ml
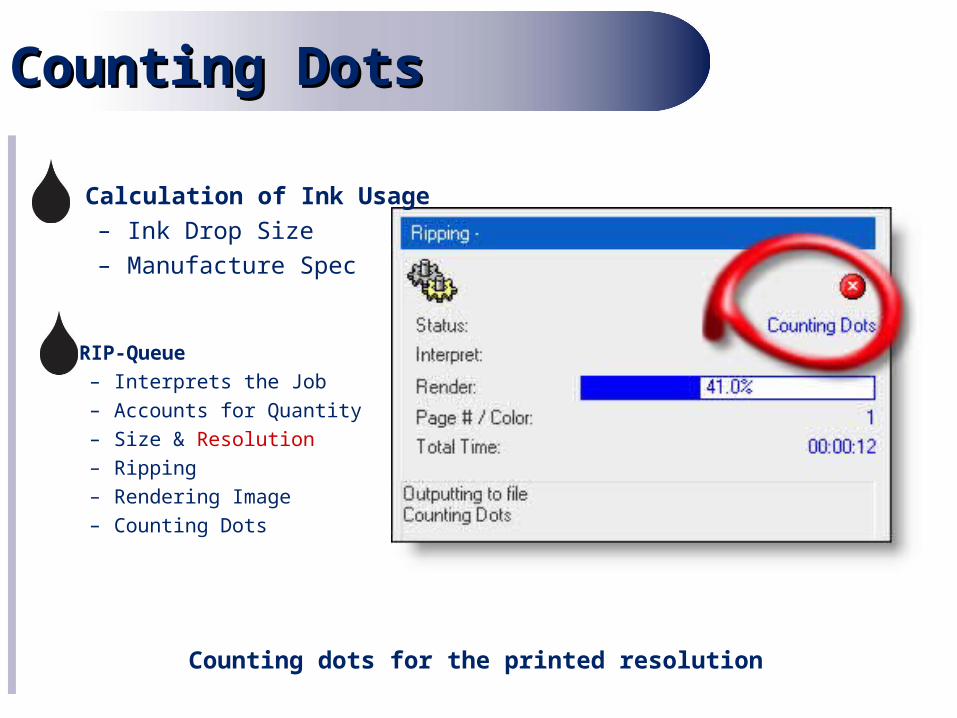
Counting DotsCounting Dots
• Calculation of Ink Usage– Ink Drop Size– Manufacture Spec
• RIP-Queue– Interprets the Job– Accounts for Quantity– Size & Resolution– Ripping– Rendering Image– Counting Dots
Counting dots for the printed resolution
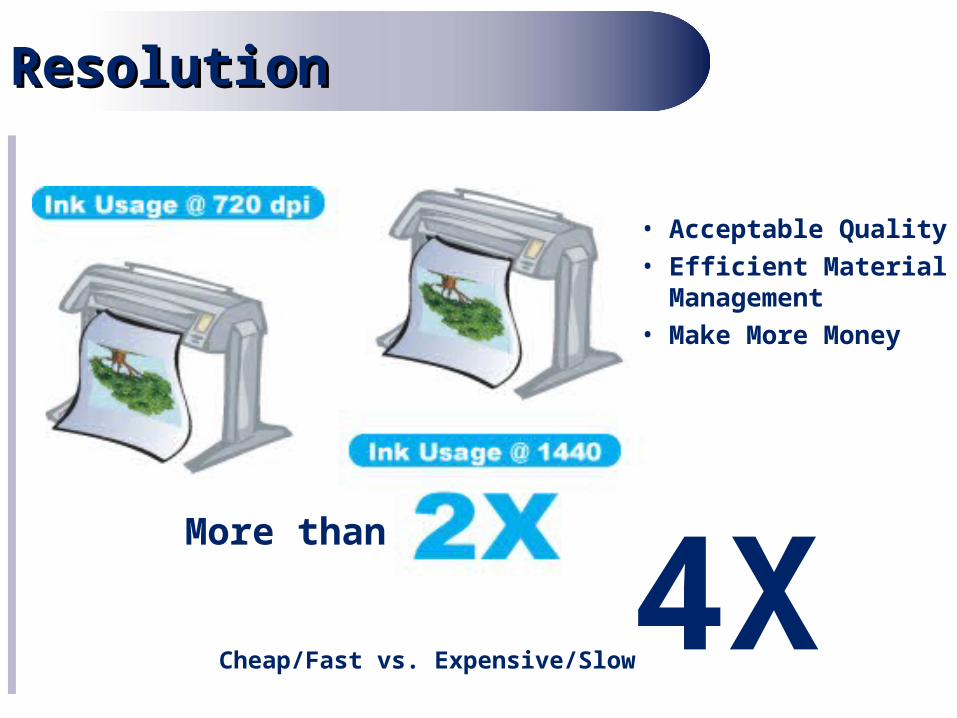
ResolutionResolution
4XMore than
• Acceptable Quality
• Efficient Material Management
• Make More Money
Cheap/Fast vs. Expensive/Slow
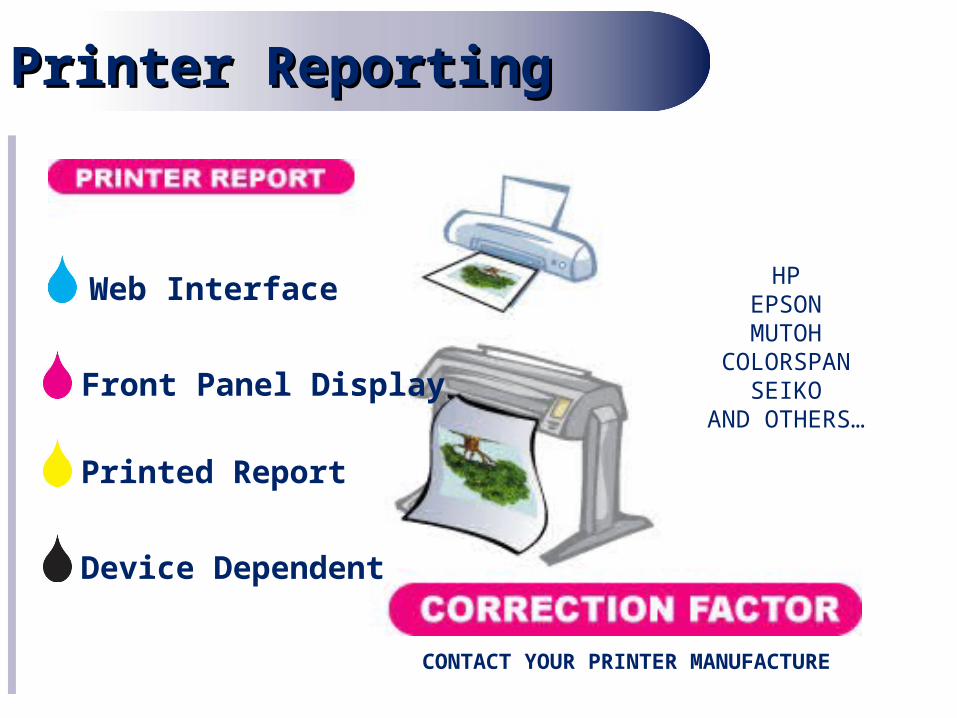
Printer ReportingPrinter Reporting
Front Panel Display
Device Dependent
Printed Report
HPEPSONMUTOH
COLORSPANSEIKO
AND OTHERS…
CONTACT YOUR PRINTER MANUFACTURE
Web Interface
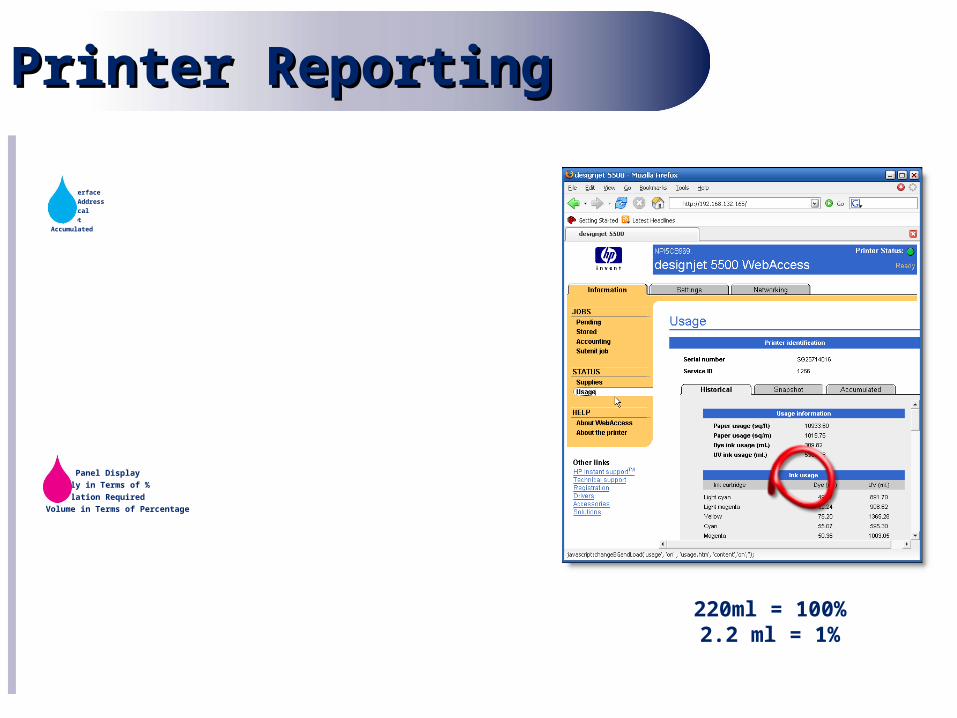
Printer ReportingPrinter Reporting
Front Panel DisplayUsually in Terms of %Calculation RequiredVolume in Terms of Percentage
Web InterfaceTCP/IP AddressHistoricalSnapshotAccumulated
220ml = 100%2.2 ml = 1%
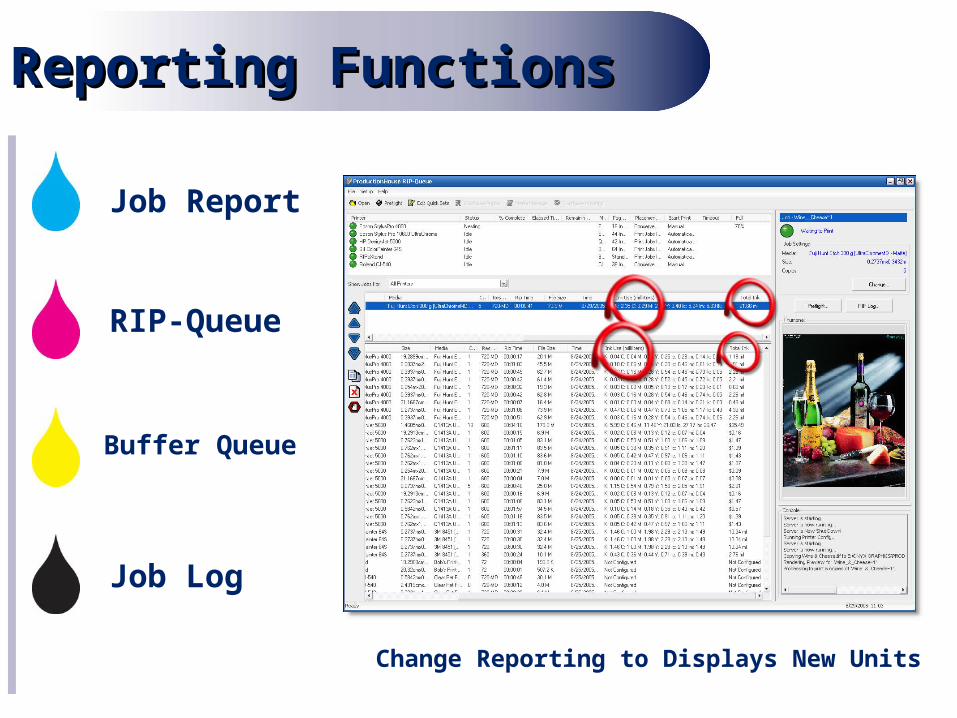
Reporting FunctionsReporting Functions
Job Report
RIP-Queue
Buffer Queue
Job Log
Change Reporting to Displays New Units
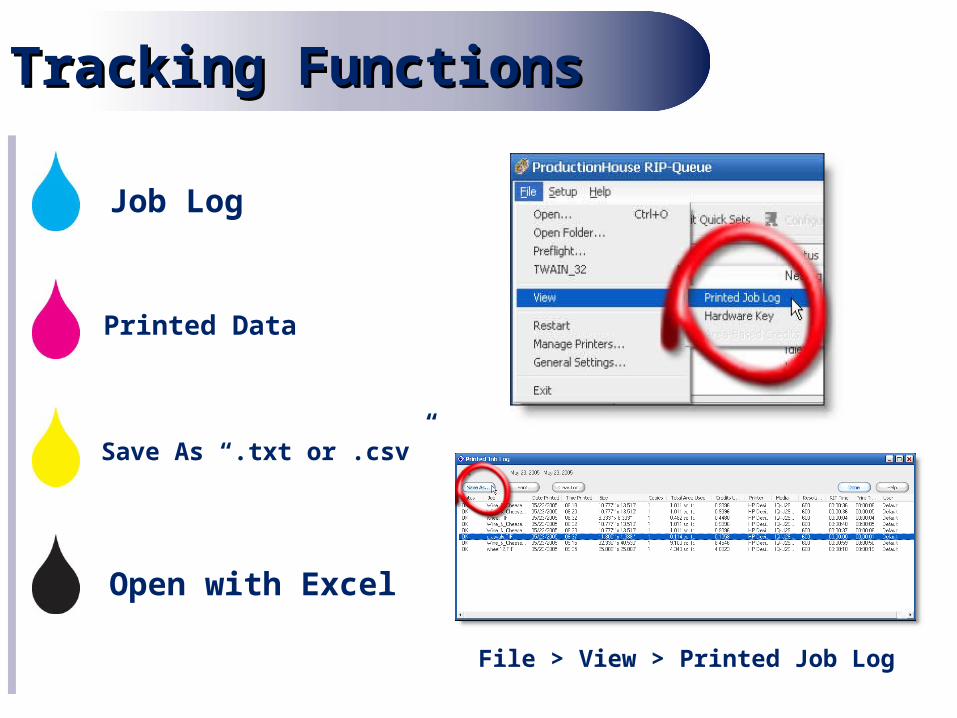
Tracking FunctionsTracking Functions
Job Log
Printed Data
Save As “.txt or .csv”
Open with Excel
File > View > Printed Job Log

RIP Log Data in ExcelRIP Log Data in Excel
Open “.csv” in Excel
Remove Unwanted Data
Format Data Sheet
AutoSum Column
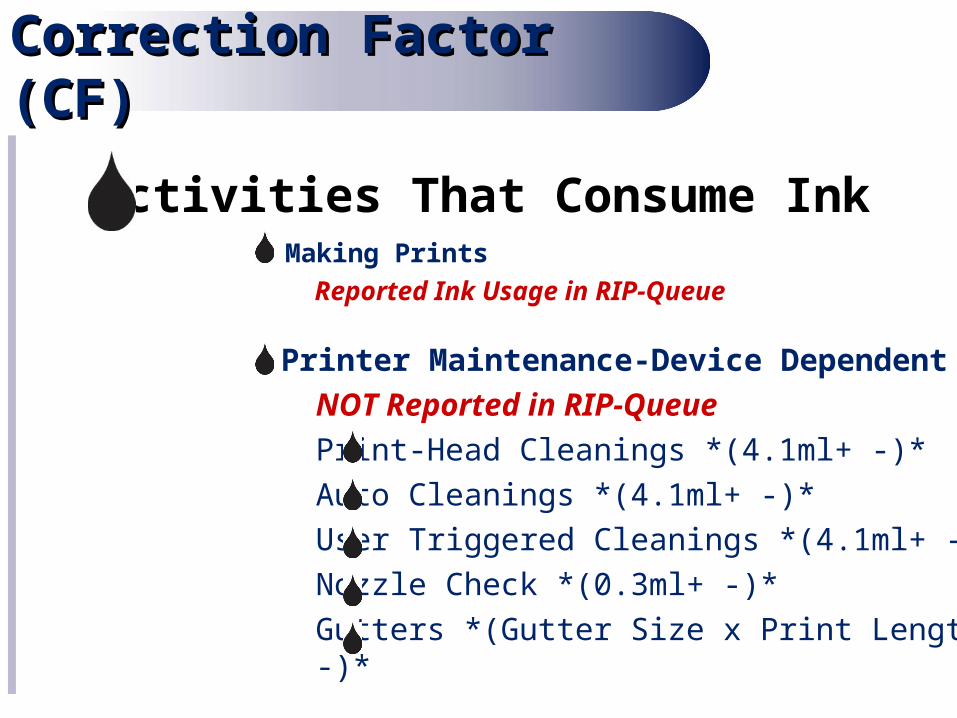
Correction Factor Correction Factor (CF)(CF)
Activities That Consume InkMaking Prints
Reported Ink Usage in RIP-Queue
Printer Maintenance-Device DependentNOT Reported in RIP-Queue
Print-Head Cleanings *(4.1ml+ -)*Auto Cleanings *(4.1ml+ -)*User Triggered Cleanings *(4.1ml+ -)*Nozzle Check *(0.3ml+ -)*Gutters *(Gutter Size x Print Length+
-)*
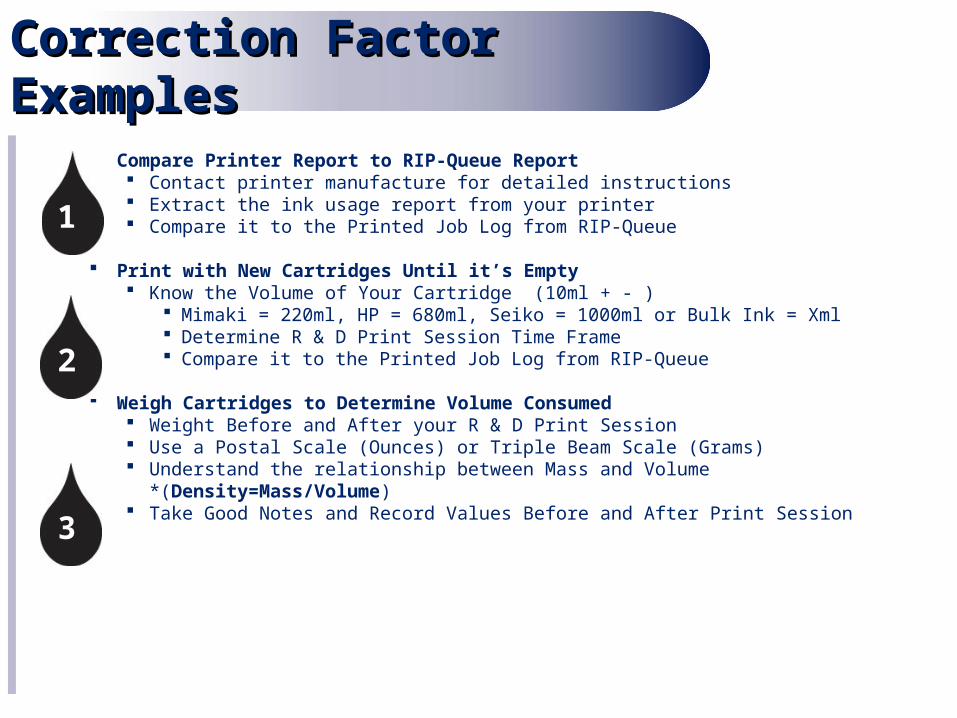
Compare Printer Report to RIP-Queue Report Contact printer manufacture for detailed instructions Extract the ink usage report from your printer Compare it to the Printed Job Log from RIP-Queue
Print with New Cartridges Until it’s Empty Know the Volume of Your Cartridge (10ml + - )
Mimaki = 220ml, HP = 680ml, Seiko = 1000ml or Bulk Ink = Xml Determine R & D Print Session Time Frame Compare it to the Printed Job Log from RIP-Queue
Weigh Cartridges to Determine Volume Consumed Weight Before and After your R & D Print Session Use a Postal Scale (Ounces) or Triple Beam Scale (Grams) Understand the relationship between Mass and Volume
*(Density=Mass/Volume) Take Good Notes and Record Values Before and After Print Session
Correction Factor Correction Factor ExamplesExamples
1
2
3
Fine Tune Correction Fine Tune Correction FactorFactor
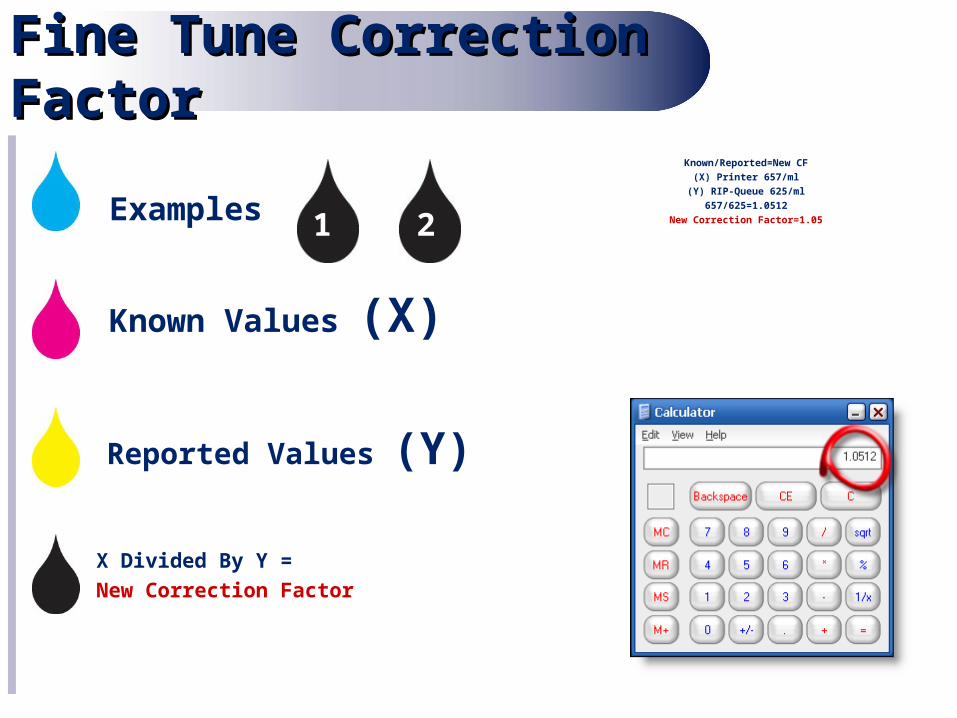
Known Values (X)
Reported Values (Y)
X Divided By Y = New Correction Factor
Examples
Known/Reported=New CF(X) Printer 657/ml
(Y) RIP-Queue 625/ml657/625=1.0512
New Correction Factor=1.051 2
Units of Units of MeasurementsMeasurements
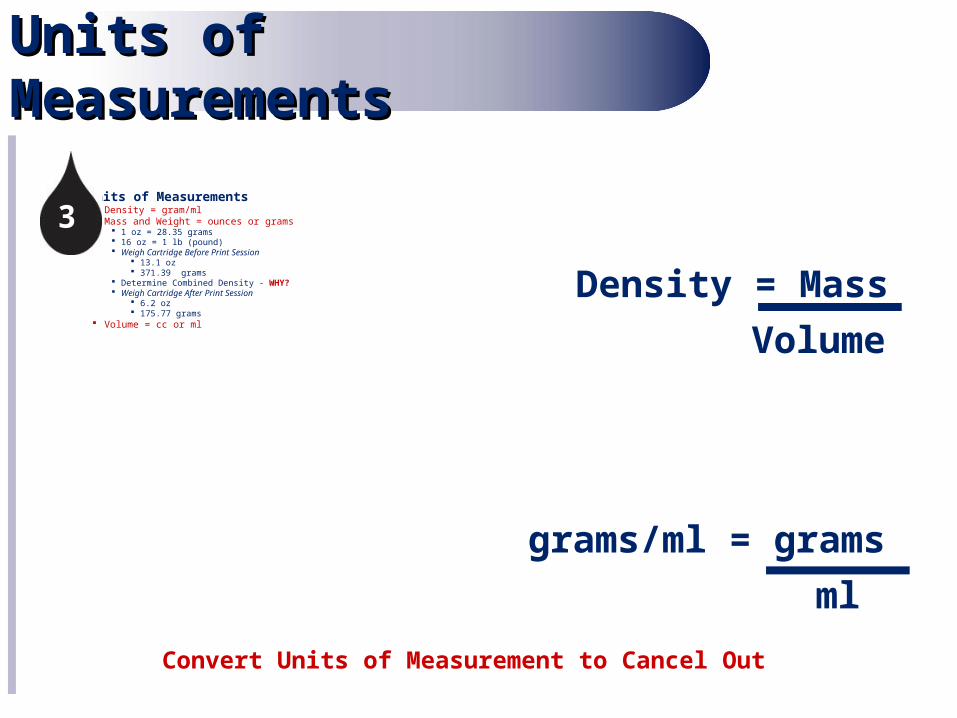
Units of Measurements Density = gram/ml Mass and Weight = ounces or grams
1 oz = 28.35 grams 16 oz = 1 lb (pound) Weigh Cartridge Before Print Session
13.1 oz 371.39 grams
Determine Combined Density - WHY? Weigh Cartridge After Print Session
6.2 oz 175.77 grams
Volume = cc or ml
3
Volume
Density = Mass
ml
grams/ml = grams
Convert Units of Measurement to Cancel Out
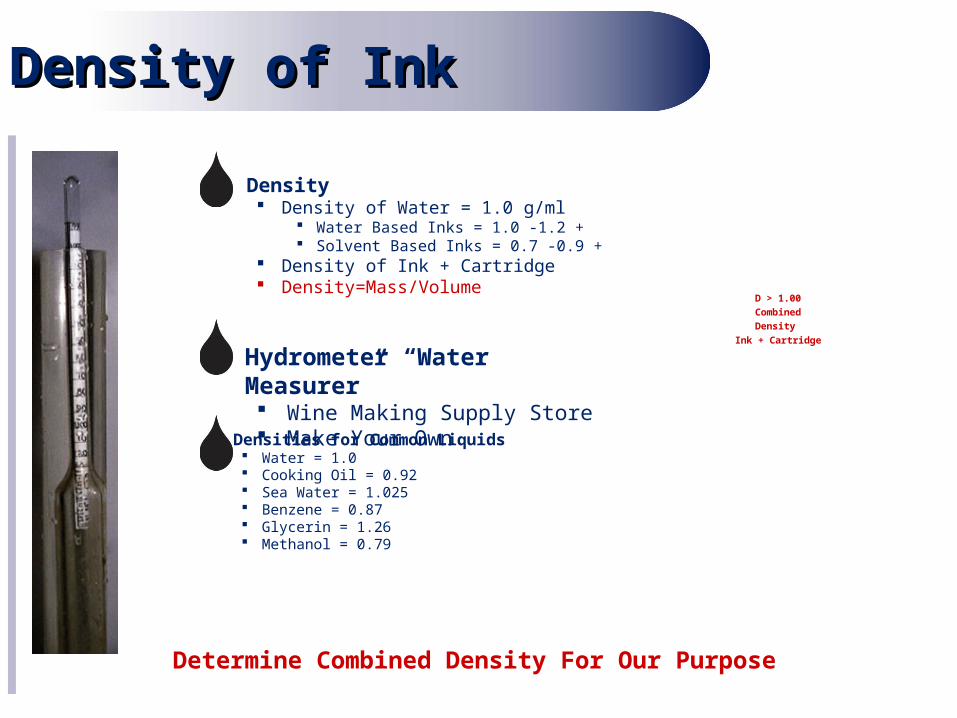
Hydrometer “Water Measurer” Wine Making Supply Store Make Your Own Densities for Common Liquids
Water = 1.0 Cooking Oil = 0.92 Sea Water = 1.025 Benzene = 0.87 Glycerin = 1.26 Methanol = 0.79
Density of InkDensity of Ink
Density Density of Water = 1.0 g/ml
Water Based Inks = 1.0 -1.2 + Solvent Based Inks = 0.7 -0.9 +
Density of Ink + Cartridge Density=Mass/Volume D > 1.00
CombinedDensity
Ink + Cartridge
Determine Combined Density For Our Purpose
CalculationsCalculations
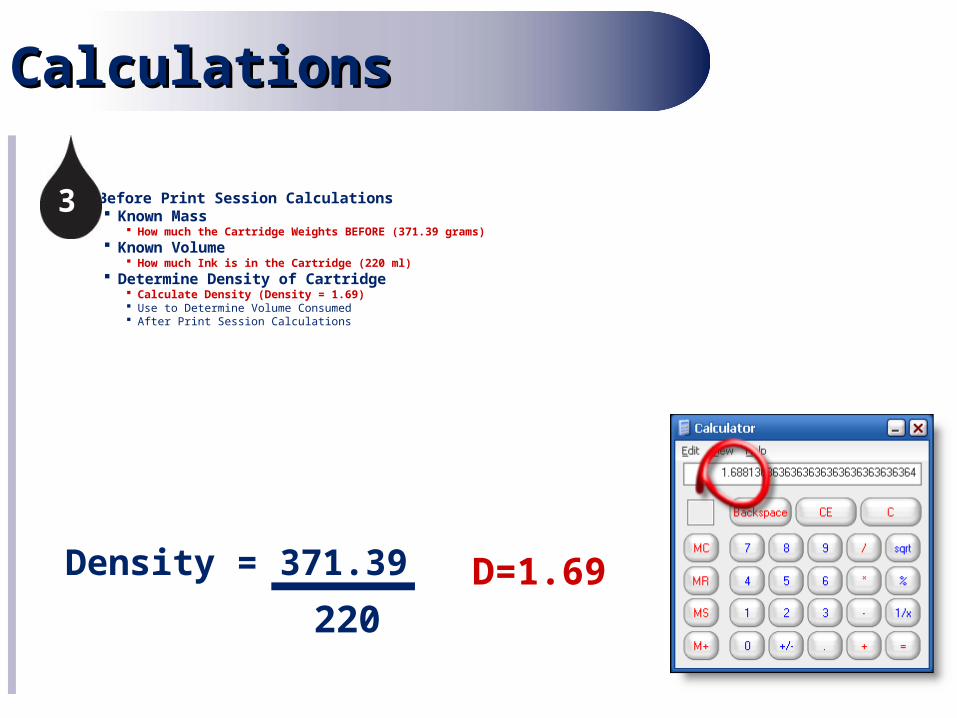
Before Print Session Calculations Known Mass
How much the Cartridge Weights BEFORE (371.39 grams) Known Volume
How much Ink is in the Cartridge (220 ml) Determine Density of Cartridge
Calculate Density (Density = 1.69) Use to Determine Volume Consumed After Print Session Calculations
3
220
Density = 371.39 D=1.69
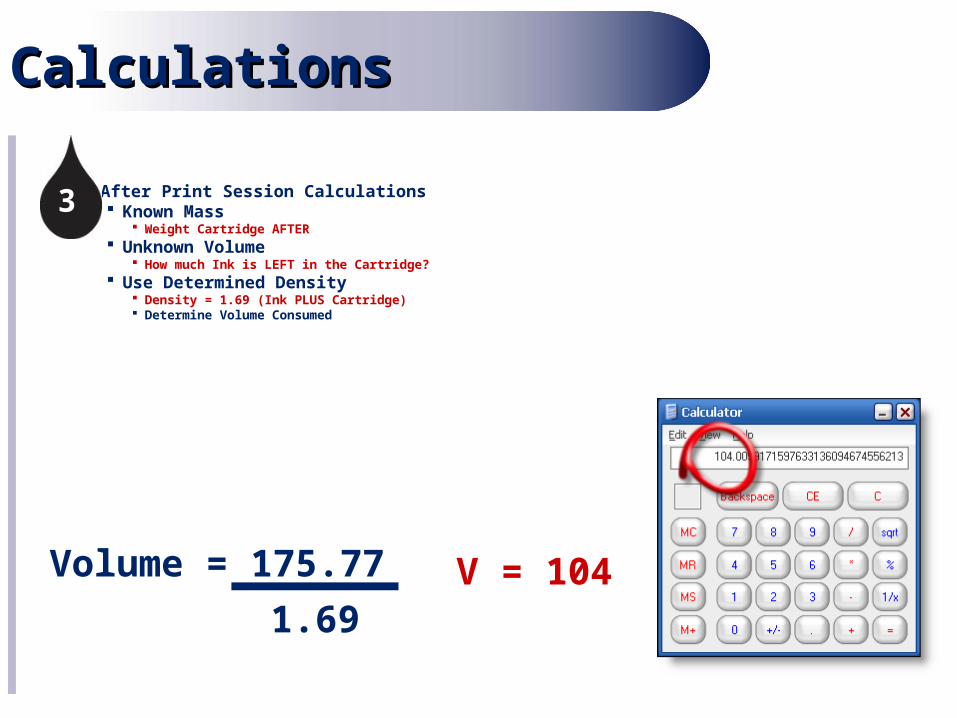
After Print Session Calculations Known Mass
Weight Cartridge AFTER Unknown Volume
How much Ink is LEFT in the Cartridge? Use Determined Density
Density = 1.69 (Ink PLUS Cartridge) Determine Volume Consumed
CalculationsCalculations
3
1.69
Volume = 175.77 V = 104
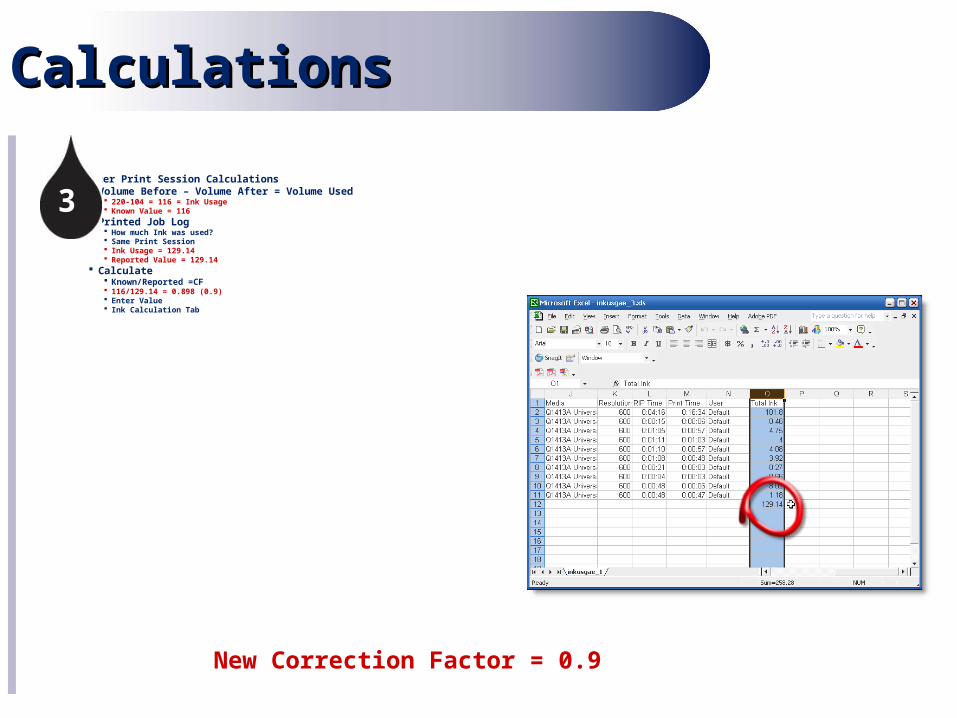
After Print Session Calculations Volume Before – Volume After = Volume Used
220-104 = 116 = Ink Usage Known Value = 116
Printed Job Log How much Ink was used? Same Print Session Ink Usage = 129.14 Reported Value = 129.14
Calculate Known/Reported =CF 116/129.14 = 0.898 (0.9) Enter Value Ink Calculation Tab
CalculationsCalculations
3
New Correction Factor = 0.9
New Correction New Correction FactorFactor
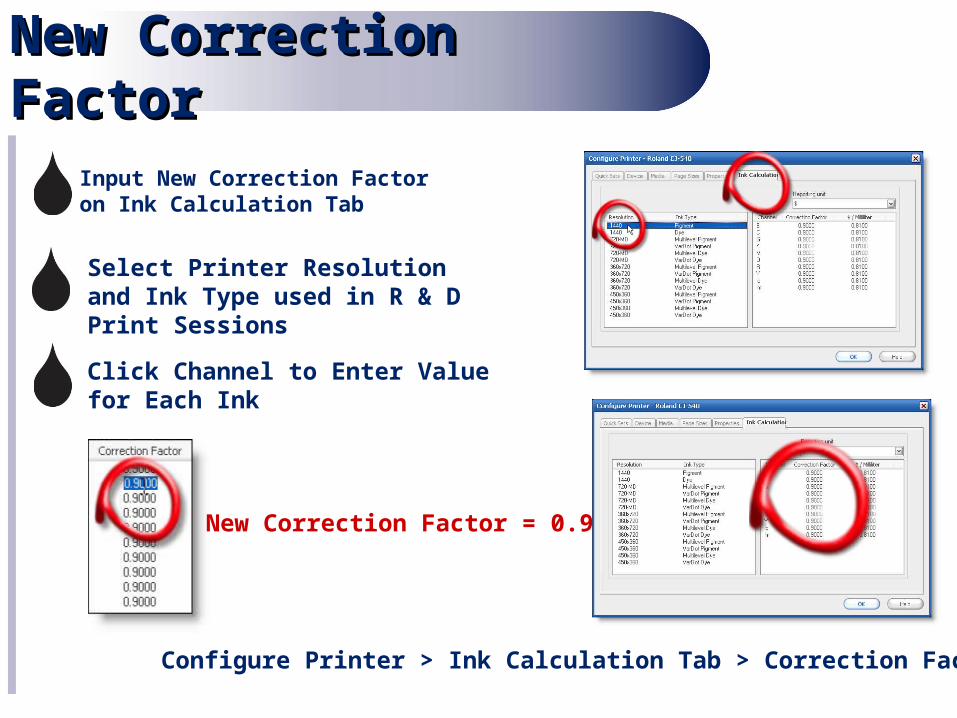
Configure Printer > Ink Calculation Tab > Correction Factor
– Select Printer Resolution and Ink Type used in R & D Print Sessions
– Input New Correction Factor on Ink Calculation Tab
– Click Channel to Enter Value for Each Ink
New Correction Factor = 0.9
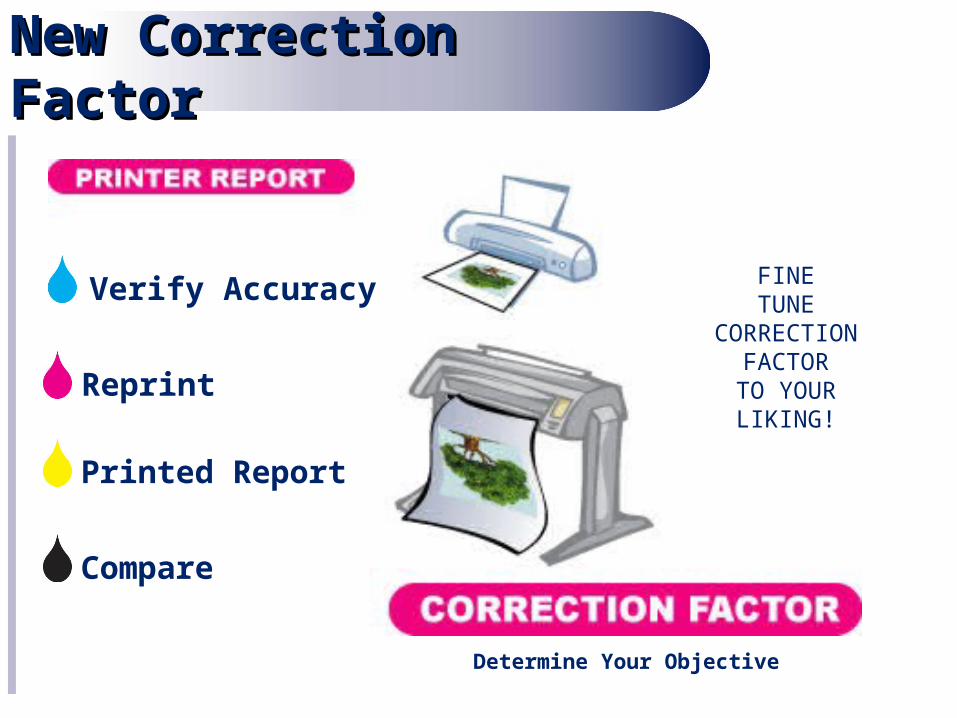
New Correction New Correction FactorFactor
Reprint
Compare
Printed Report
FINETUNE
CORRECTION FACTORTO YOURLIKING!
Determine Your Objective
Verify Accuracy
RecapRecap
Bid More Competitively and Use Correction Factor to Build in Cost and Fine Tune Reporting
Manage Wholesale and Retail Costs While Comparing Printer Production Capabilities
Adjust How You Report Information and Change Reporting Options to Suit Your Needs
Utilize Printed Job Log to Capture Your Print Production and Ink Usage Data
Configure a Quick Set > Advanced Button > Output Tab > Calculate Ink Usage
Configure a Printer > Ink Calculation Tab > Reporting Units > > > Print Now!
Configure Printer > Ink Calculation Tab > Correction Factor
Configure these before you print or your reporting will display “Not Configured”
RecapRecap
Questions?Questions?

Thank You for Joining!Thank You for Joining!
www.onyxgfx.comwww.onyxgfx.com
Contact Your ONYX RepresentativeContact Your ONYX Representative [email protected]@onyxgfx.com