multiple computers locked for long periods of time often...
TRANSCRIPT


• Multiple computers locked for long periods of time
• Often just a handful of students
• All computers running Ansys CFX or Fluent
• Often randomly rebooted by
other students and/or staff
• Cannot get a computer when
you need it
• Can lose results when you do
Image credit: John Zaitseff, UNSW

“High performance computing is
used to solve real-world problems
of significant scale or detail across a
diverse range of disciplines including
physics, biology, chemistry,
geosciences, climate sciences,
engineering and many others.”
— Intersect Australia http://www.intersect.org.au/content/time-fast-computing
Image credit: IBM Blue Gene P supercomputer, Argonne National Laboratory
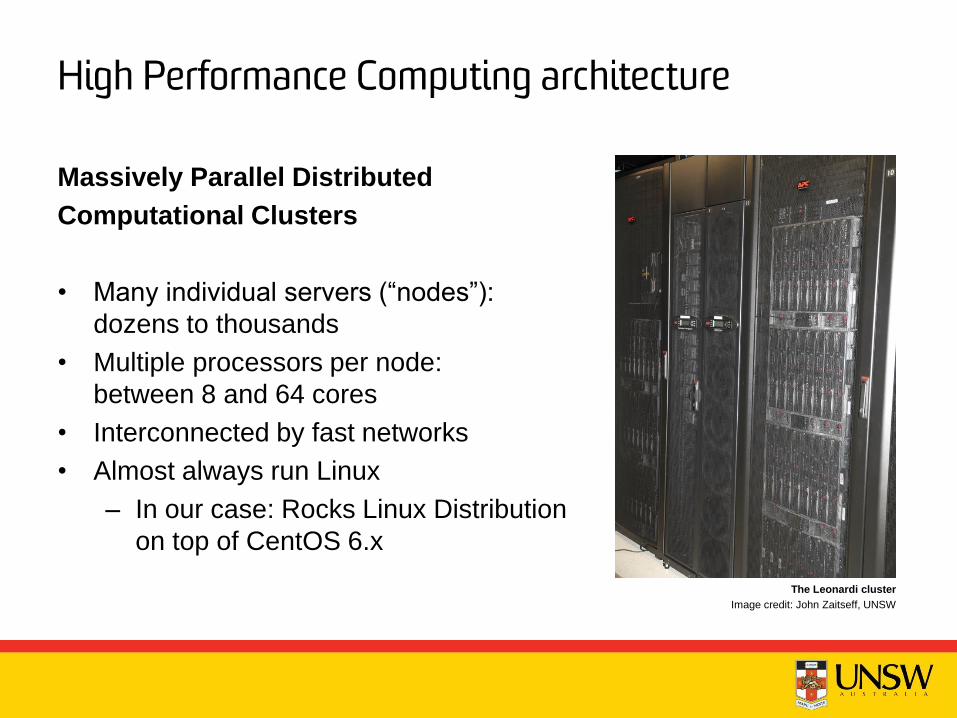
Massively Parallel Distributed
Computational Clusters
• Many individual servers (“nodes”):
dozens to thousands
• Multiple processors per node:
between 8 and 64 cores
• Interconnected by fast networks
• Almost always run Linux
– In our case: Rocks Linux Distribution
on top of CentOS 6.x
The Leonardi cluster
Image credit: John Zaitseff, UNSW

Head Node Storage Node
Internal Network Switch
Com
pute
Node 1
Com
pute
Node 2
Com
pute
Node 3
Com
pute
Node 4
Com
pute
Node n
Internet
Chassis 1
Co
mp
ute
No
de
1-1
Co
mp
ute
No
de
1-2
Co
mp
ute
No
de
1-3
Co
mp
ute
No
de
1-4
Co
mp
ute
No
de
1-n
Chassis m
Co
mp
ute
No
de
m-1
Co
mp
ute
No
de
m-2
Co
mp
ute
No
de
m-3
Co
mp
ute
No
de
m-4
Co
mp
ute
No
de
m-n

• The Newton cluster
– For undergraduate students, postgraduates and staff
– MECH9620, MECH4100, MMAN4010, MMAN4020, MMAN4410,
AERO4110 and AERO4120 students already have an account!
• The Trentino cluster
– For postgraduate students
and staff
– By application
• The Leonardi cluster
– For postgraduate students
and staff
– By application UNSW R1 Data Centre
Image credit: John Zaitseff, UNSW

• 10 × Dell R415 server nodes
– Head node: newton
– Compute nodes: newton01 to newton09
• 160 × AMD Opteron 4386 3.1GHz processor cores
– Two physical processors per node
– Eight CPU cores per processor
– Only four floating-point units per processor
• 320 GB of main memory (32 GB per node)
• 12 TB of storage: 6 × 3 TB drives in RAID 6
• 1Gb Ethernet network interconnect
http://cfdlab.unsw.wikispaces.net/
The Newton cluster
Image credit: John Zaitseff, UNSW

• 16 × Dell R815 server nodes
– Head node: trentino
– Compute nodes: trentino01 to trentino15
• 1024 × AMD Opteron 6272 2.1GHz processor cores
– Four physical processors per node
– Sixteen CPU cores per processor
– Only eight floating-point units per processor
• 2048 GB of main memory (128 GB per node)
• 30 TB of storage: 12 × 3 TB drives in RAID 6
• 4×1Gb Ethernet network interconnect
http://cfdlab.unsw.wikispaces.net/
The Trentino cluster
Image credit: John Zaitseff, UNSW
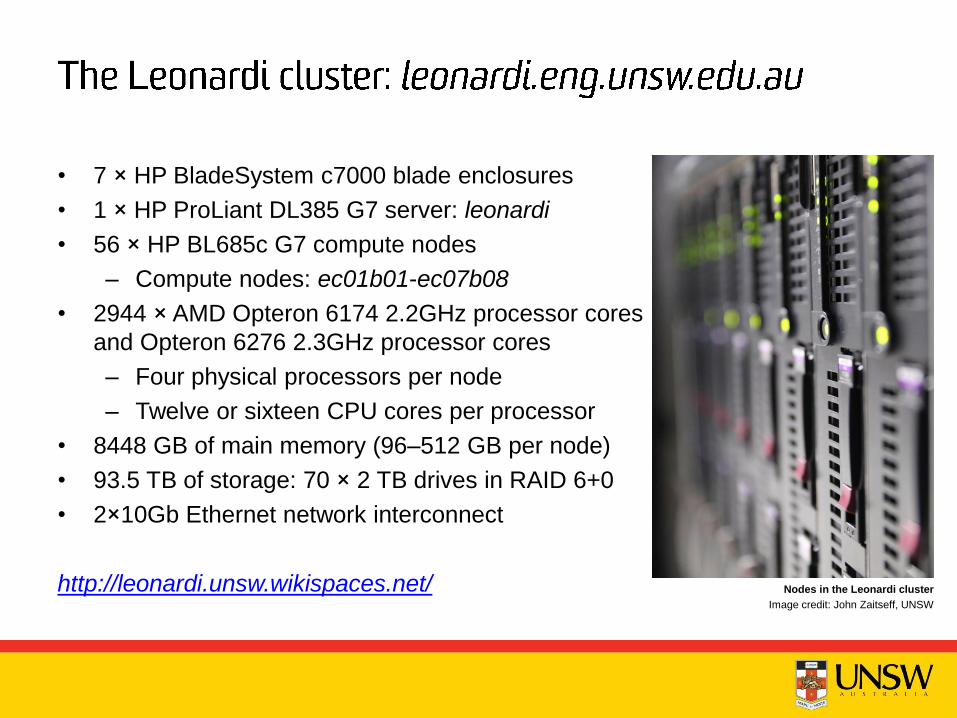
• 7 × HP BladeSystem c7000 blade enclosures
• 1 × HP ProLiant DL385 G7 server: leonardi
• 56 × HP BL685c G7 compute nodes
– Compute nodes: ec01b01-ec07b08
• 2944 × AMD Opteron 6174 2.2GHz processor cores
and Opteron 6276 2.3GHz processor cores
– Four physical processors per node
– Twelve or sixteen CPU cores per processor
• 8448 GB of main memory (96–512 GB per node)
• 93.5 TB of storage: 70 × 2 TB drives in RAID 6+0
• 2×10Gb Ethernet network interconnect
http://leonardi.unsw.wikispaces.net/ Nodes in the Leonardi cluster
Image credit: John Zaitseff, UNSW

• 3592 × Fujitsu blade server nodes
• Multiple login nodes
• Multiple management nodes
• 57,472 Intel Xeon E5-2670 2.60GHz
processors
• 160 TB of main memory
• 10 PB of storage using the Lustre
distributed file system
• 56Gb Infiniband FDR network
interconnect
http://nci.org.au/nci-systems/national-facility/peak-system/raijin/
Image credit: National Computational Infrastructure

• Use the Secure Shell protocol (SSH)
– Under Linux or Mac OS X: ssh username@hostname
(for example, ssh [email protected])
– Under Windows: PuTTY (Start » All Programs » PuTTY » PuTTY)
– Can install Cygwin: “that Linux feeling under Windows”
• To connect to the Newton cluster:
– Hostname: newton.mech.unsw.edu.au
– Check RSA2 fingerprint: 69:7e:64:75:57:67:ad:4c:21:8e:90:7d:8e:97:70:ce
– User name: your zID
– Password: your zPass
• You will get a command line prompt: something like
• To exit, type exit and press ENTER.
z9693022@newton:~ $

• List files in a directory: ls [options] [pathname ...]
– [ ] indicates optional parameters, ... indicates one or more parameters
– Italic fixed-width font indicates replaceable parameters
– Options include “-l” (letter L) for a long (detailed) listing
• To show the current directory: pwd
• To change directories: cd directory
– ~ is the home directory
– . is the current directory
– .. is the directory above the current one
– ~user is the home directory of user user
– Subdirectories are separated by “/”, e.g., /home/z9693022/src
• To create directories: mkdir directory
• To remove an empty directory: rmdir directory
• To get help for a command: man command
• To output one or more file’s contents: cat filename ...
• To view one or more files page by page: less filename ...
• To copy one file: cp source destination
• To copy one or more files to a directory: cp filename ... dir
• To preserve the “last modified” time-stamp: cp -p
• To copy recursively: cp -pr source destination
• To move one or more files to a different directory: mv filename ... dir
• To rename a file or directory: mv oldname newname
• To remove files: rm filename ...
• Recommendation: use “ls filename ...” before rm or mv: what happens
if you accidentally type “rm *”? or “rm * .c”? (note the space!)

• To copy files to a Linux or Mac OS X system: use scp, rsync or insync
• To copy files to and from a Windows machine: use WinSCP (Start » All Programs » WinSCP » WinSCP), or scp or rsync under Cygwin
• To copy files to and from the Newton cluster:
– Host name newton.mech.unsw.edu.au
– Check RSA2 fingerprint: 69:7e:64:75:57:67:ad:4c:21:8e:90:7d:8e:97:70:ce
– User name: your zID
– Password: your zPass
• Using WinSCP, simply drag and drop files from one pane to the other.

• Use an editor to edit text files
• Many choices, leading to “religious wars”!
• Some options: GNU Emacs, Vim, Nano
• Nano is very simple to use: nano filename
– CTRL-X to exit (you will be asked to save any changes)
• GNU Emacs and Vim are highly customisable and programmable
– For example, see the file ~z9693022/.emacs
– Debra Cameron et al., Learning GNU Emacs, 3rd Edition, O’Reilly
Media, December 2004. ISBN 9780596006488, 9780596104184
– Arnold Robbins et al., Learning the vi and Vim Editors, 7th Edition,
O’Reilly Media, July 2008. ISBN 9780596529833, 9780596159351

1. Set up your job using Ansys CFX as per normal
2. Connect to the Newton cluster using PuTTY
3. Create a directory for this particular job
4. Transfer the .cfx and .def files to that
directory using WinSCP
5. Create an appropriate script file
6. Submit the job to the Newton queue
7. Periodically check the status of the job
8. Once finished, transfer the .out and
.res files to your desktop computer
9. Check the results using the standard
Ansys CFX tools
Image credit: The Ansys Blog at http://www.ansys-blog.com/
1. Set up your job using Ansys CFX as per normal
– May use the laboratory computers to do this
2. Connect to the Newton cluster using PuTTY
– Connect to newton.mech.unsw.edu.au
3. Create a directory for this particular job
– Use the mkdir directory command
– Come up with a consistent naming scheme
– Structure your directories; use subdirectories as required
4. Transfer the .cfx and .def files to that directory using WinSCP
– Connect to newton.mech.unsw.edu.au as before

a. Change to the newly-created directory: cd directory
b. Invoke the text editor to create a script file: nano filename.sh
c. Add the following text, replacing parameters as required:
#!/bin/bash
#SBATCH --time=0-12:00:00 # for 0 days 12 hours
#SBATCH --mem=30720 # 30GB memory
#SBATCH --ntasks=1 # A single job
#SBATCH --cpus-per-task=16 # 16 processor cores
#SBATCH [email protected] # or @student.unsw.edu.au
#SBATCH --mail-type=ALL
cd $SLURM_SUBMIT_DIR
module load cfx/16.2 # or cfx/17.0 as appropriate
cfx5solve -batch -def filename.def -part 16 \
-start-method "Platform MPI Local Parallel"
d. Save the file by pressing CTRL-X and following the prompts

6. Once you have created the filename.sh script file, submit it into the
Newton queue:
– Make sure you are in the correct directory
– Submit the job: sbatch filename.sh
– Take note of the job number: “Submitted batch job jobid”
– Once submitted, you do not need to be connected to the cluster
7. Periodically check on the job status
– The job will start as soon as resources are available for it to run
– Emails will be sent to you on job start and completion
– Show queue status: squeue or squeue -l (letter L)
– Show node status: sinfo
– Cancel a running or queued job: scancel jobid

• Similar to running CFX jobs on the cluster
• Different files need to be transferred to and from the cluster
• Script file is also slightly different:
#!/bin/bash
#SBATCH --time=0-12:00:00 # for 0 days 12 hours
#SBATCH --mem=30720 # 30GB memory
#SBATCH --ntasks=1 # A single job
#SBATCH --cpus-per-task=16 # 16 processor cores
#SBATCH [email protected] # or @student.unsw.edu.au
#SBATCH --mail-type=ALL
cd $SLURM_SUBMIT_DIR
module load fluent/16.2 # or fluent/17.0 as appropriate
fluent 3d -g -t16 -ssh <inputfilename.txt >outputfilename.txt
# may replace “3d” with “2d” for two-dimensional meshes
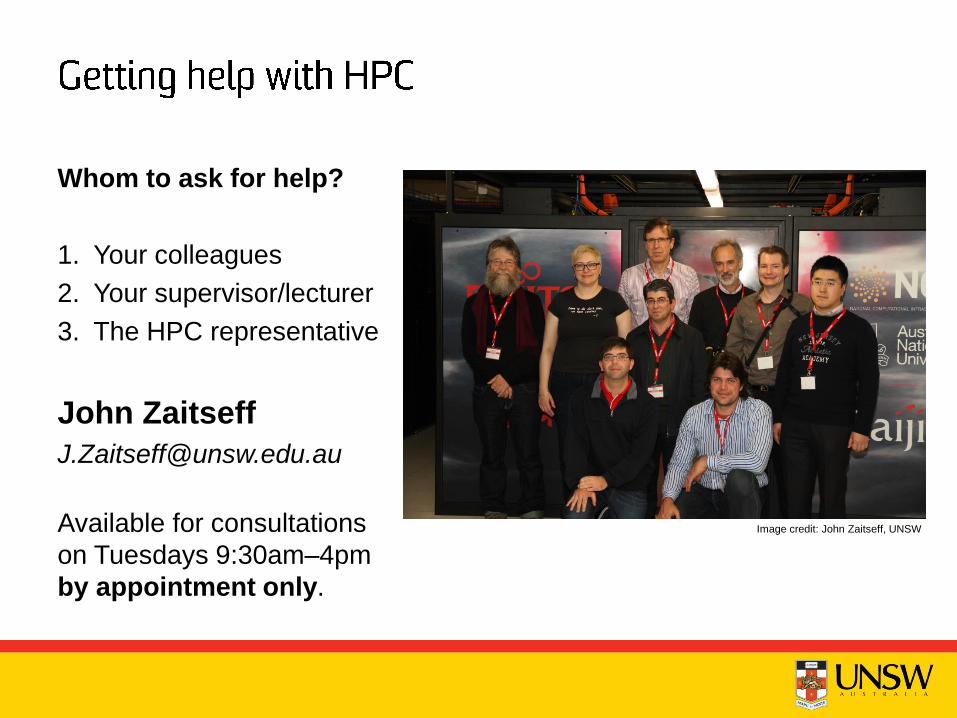
Whom to ask for help?
1. Your colleagues
2. Your supervisor/lecturer
3. The HPC representative
John Zaitseff
Available for consultations
on Tuesdays 9:30am–4pm
by appointment only.
Image credit: John Zaitseff, UNSW