multilab for the language lab
DESCRIPTION
Using Multilab by Edu4 during the lab sessionsTRANSCRIPT

MULTILABMULTILAB
1
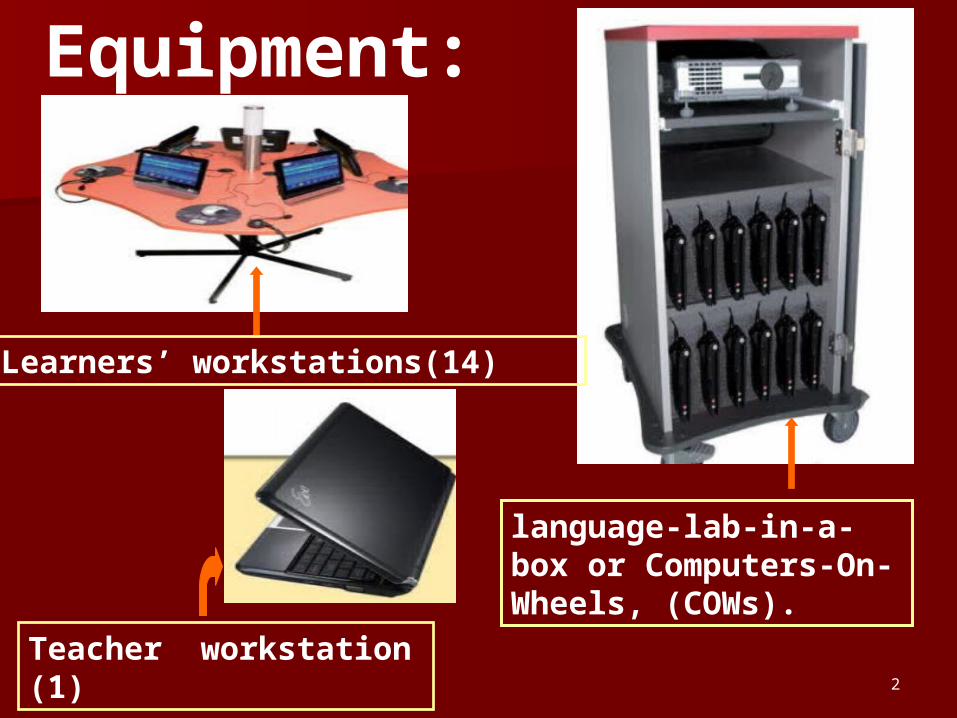
Learners’ workstations(14)
language-lab-in-a-box or Computers-On-Wheels, (COWs).
Teacher workstation (1)
Equipment:
2
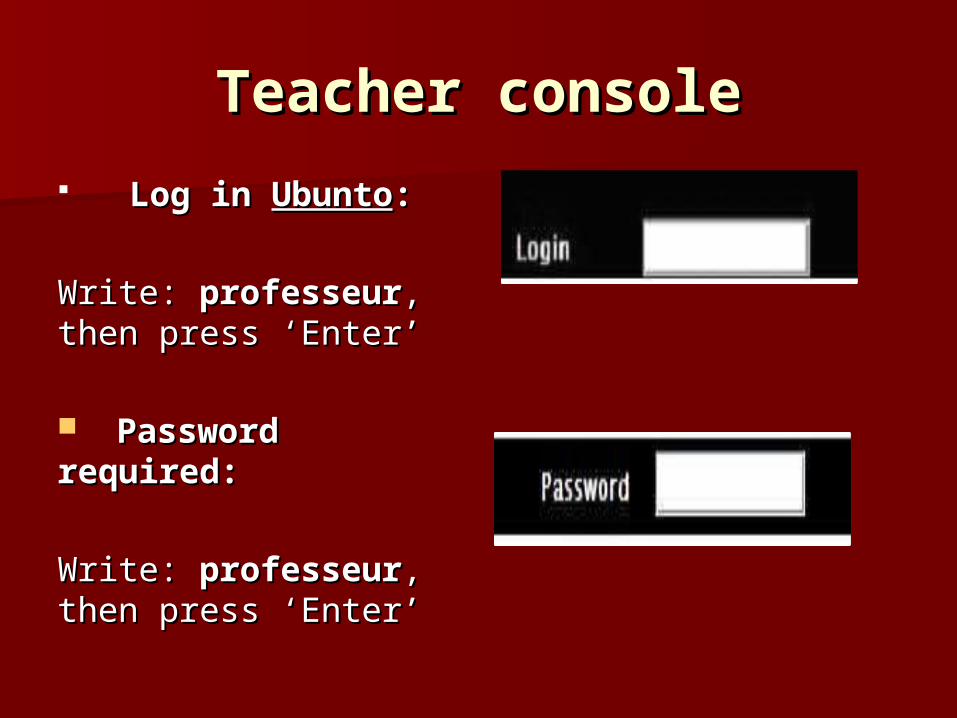
Teacher consoleTeacher console Log in Log in UbuntoUbunto::
Write: Write: professeurprofesseur, , then press ‘Enter’ then press ‘Enter’
Password Password required:required:
Write:Write: professeur professeur, , then press ‘Enter’then press ‘Enter’
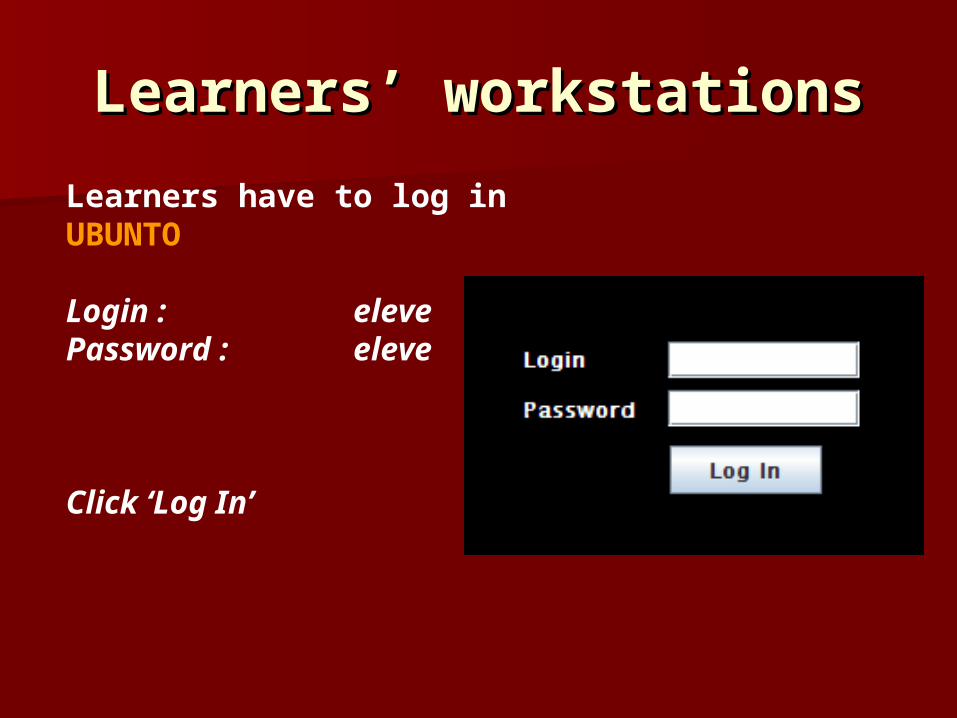
Learners’ workstationsLearners’ workstationsLearners have to log in UBUNTO Login : eleve Password : eleve
Click ‘Log In’

Using ‘Multilab’Using ‘Multilab’ To log in ‘To log in ‘MultilabMultilab’, ’,
double-click the double-click the shortcut (shortcut (MuMu) on the ) on the desktop of the teacher desktop of the teacher console console
As soon as the teacher As soon as the teacher logs in Multilab, the logs in Multilab, the learners are required to learners are required to log in. They have to log in. They have to choose log in choose log in (username) and a (username) and a password of their password of their choice. Then, they click choice. Then, they click ‘‘Log InLog In’’

Once the learners have logged in, the interface appears on the teacher console
TEACHER’S INTERFACE
6
7
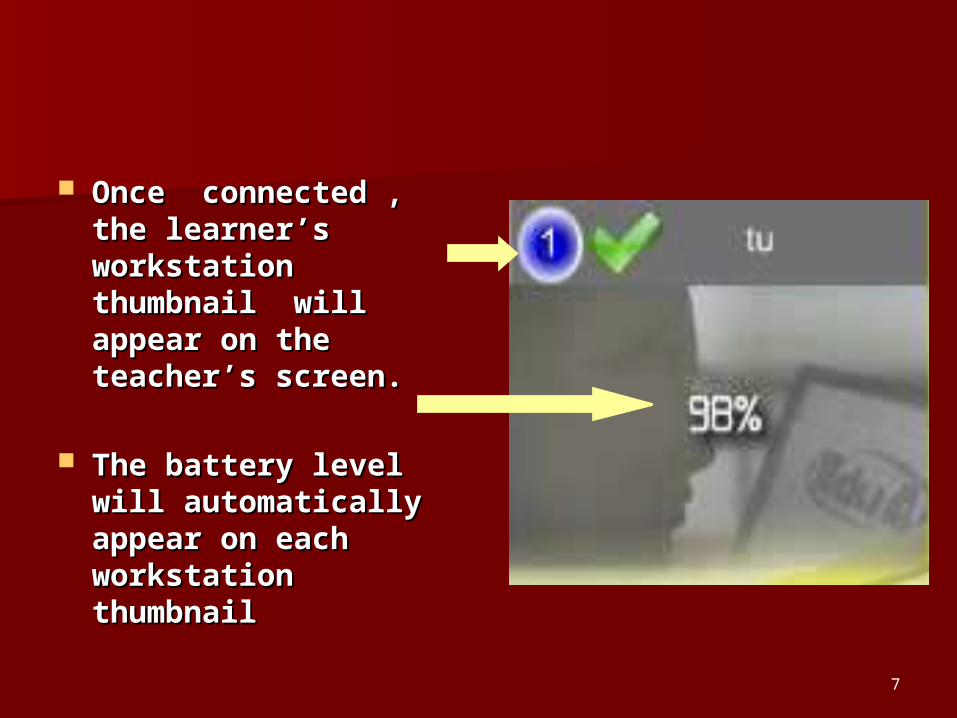
Once connected , Once connected , the learner’s the learner’s workstation workstation thumbnail will thumbnail will appear on the appear on the teacher’s screen.teacher’s screen.
The battery level will The battery level will automatically appear automatically appear on each workstation on each workstation thumbnailthumbnail

Teacher interface4 main functionalities
8
Visualization of the learners’ workstations
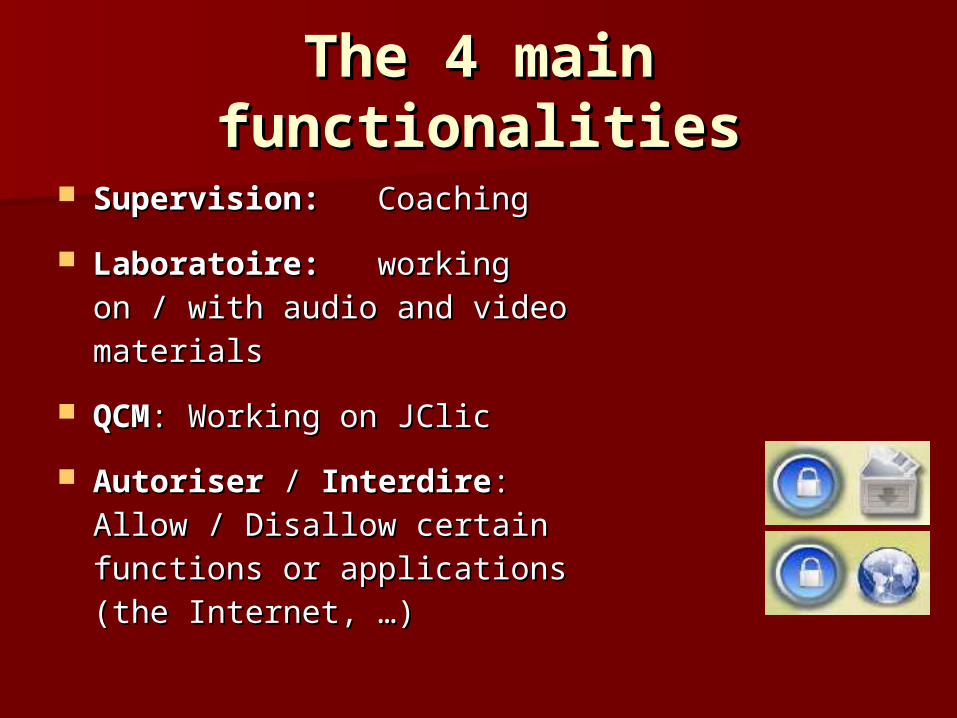
The 4 main The 4 main functionalitiesfunctionalities
Supervision: Supervision: CoachingCoaching Laboratoire: Laboratoire: working on / working on /
with audio and video materialswith audio and video materials QCMQCM:: Working on JClicWorking on JClic AutoriserAutoriser / / InterdireInterdire:: Allow / Allow /
Disallow certain functions or Disallow certain functions or applications (the Internet, …)applications (the Internet, …)

SUPERVISIONSUPERVISION3 main 3 main functionsfunctions:: Suivi (Suivi (CoachingCoaching))
Diffusion Diffusion ((BroadcastingBroadcasting))
Gestion Gestion (Group (Group settingsetting))

SUIVISUIVI Coaching and Follow-Coaching and Follow-upup
Discrete listening and visualization of the learner (one learner at a time)
Total control of the learner’s screen and keyboard
View (a) group(s) of learners’ screens in « scrutation automatique » mode
Mosaic of the screens (a) group(s) of learners

Discrete supervision of a Discrete supervision of a learnerlearner1.1. Select a student by Select a student by
clicking his/her clicking his/her workstation thumbnail.workstation thumbnail.
2.2. In the menu In the menu SUIVISUIVI ,select the ,select the function « function « écoute écoute discrète et discrète et visualisation de visualisation de l’apprenantl’apprenant » »
The student’s screen The student’s screen is displayed onto the is displayed onto the teacher’s workstation.teacher’s workstation.

3.3. Click Click F1F1 on your keyboard to go back to your on your keyboard to go back to your MULTILABMULTILAB interface and check on another interface and check on another student.student.
4.4. Deactivate the function by clicking it again.Deactivate the function by clicking it again.
F1 F1 plays the role of plays the role of ESCAPEESCAPE whenever an application whenever an application
overlaps your active overlaps your active MULTILABMULTILAB interfaceinterface
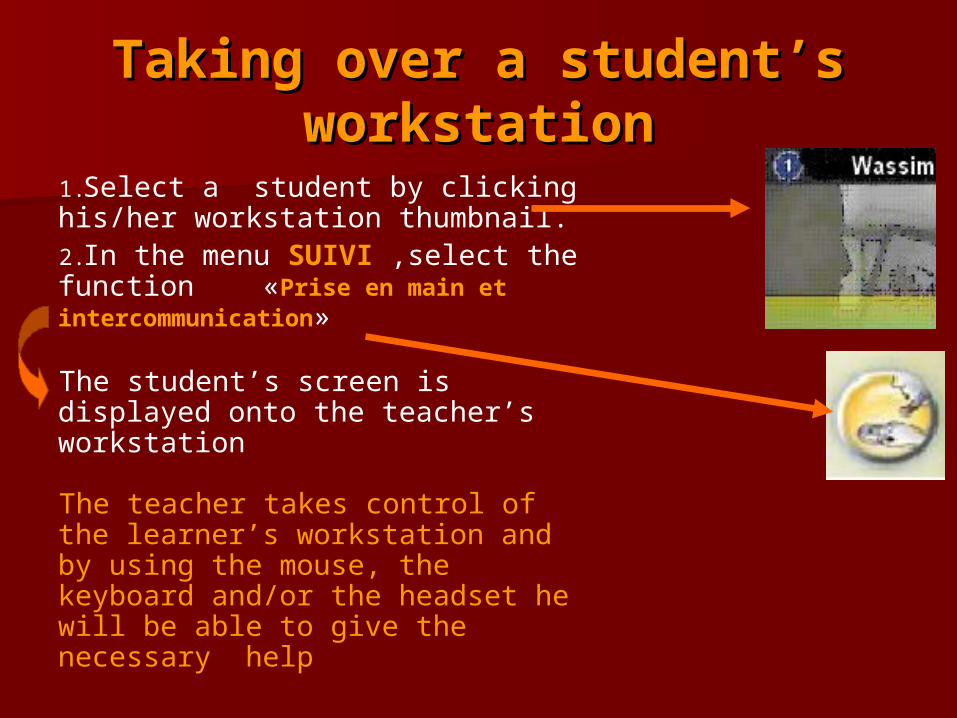
Taking over a student’s Taking over a student’s workstationworkstation
1.Select a student by clicking his/her workstation thumbnail.2.In the menu SUIVI ,select the function «Prise en main et intercommunication»
The student’s screen is displayed onto the teacher’s workstation
The teacher takes control of the learner’s workstation and by using the mouse, the keyboard and/or the headset he will be able to give the necessary help

3.Click F1 on your keyboard to go back to your MULTILAB interface and coach another student.4.Deactivate the function by clicking it again
REMEMBER:F1 plays the role of ESCAPE whenever an application overlaps your active MULTILAB interface
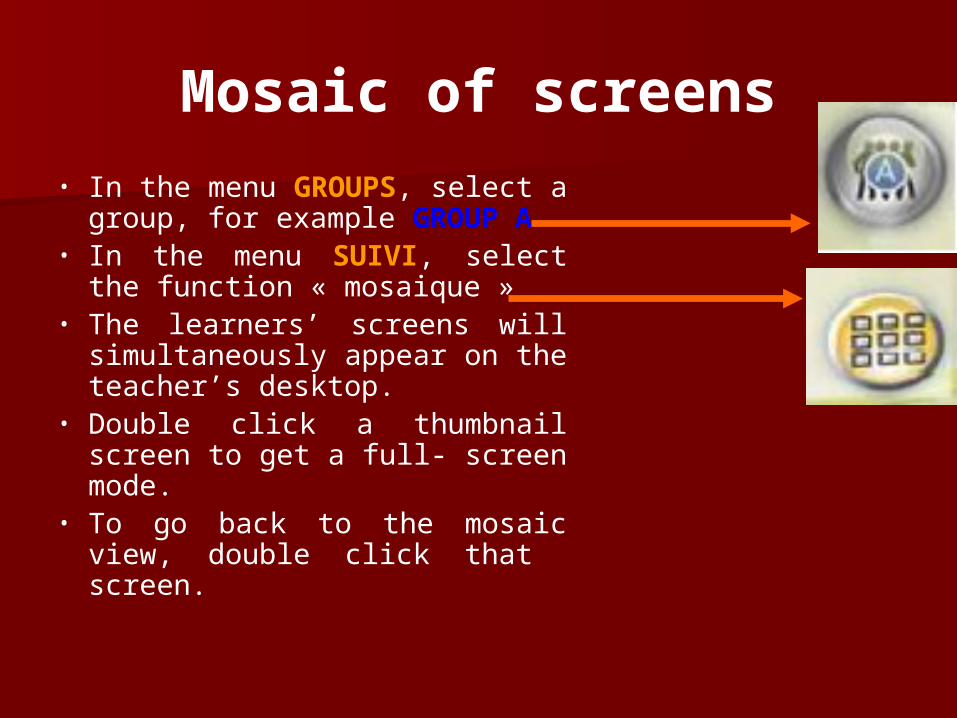
Mosaic of screens• In the menu GROUPS, select a
group, for example GROUP A• In the menu SUIVI, select the
function « mosaique » • The learners’ screens will
simultaneously appear on the teacher’s desktop.
• Double click a thumbnail screen to get a full- screen mode.
• To go back to the mosaic view, double click that screen.
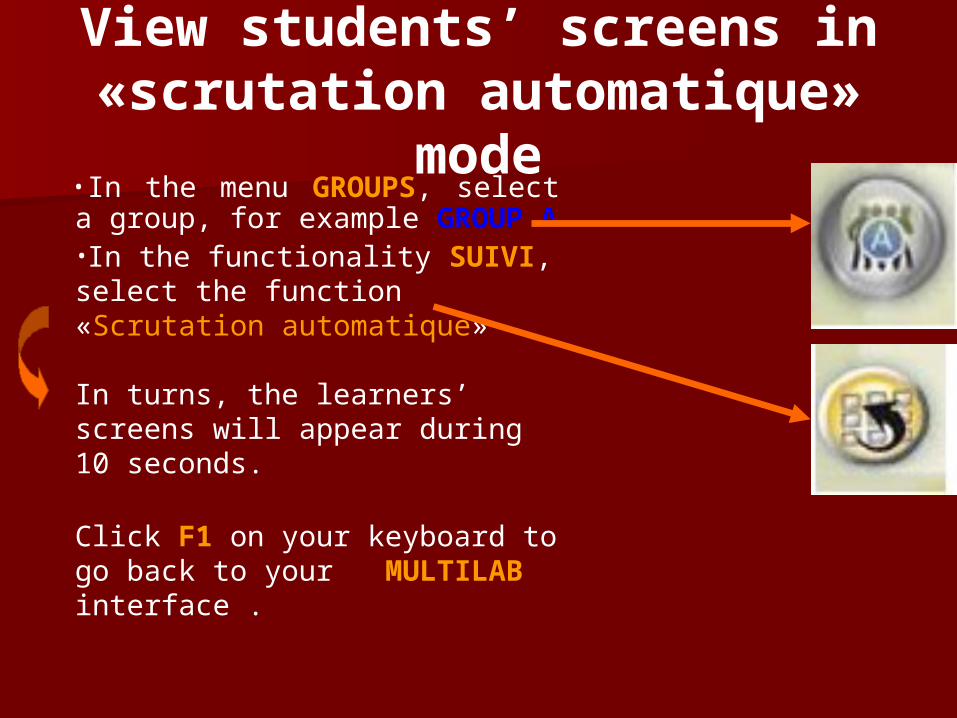
View students’ screens in «scrutation automatique»
mode•In the menu GROUPS, select a group, for example GROUP A•In the functionality SUIVI, select the function «Scrutation automatique»
In turns, the learners’ screens will appear during 10 seconds.
Click F1 on your keyboard to go back to your MULTILAB interface .

18
GESTIONThe default setting places all the learners in 1 group Group A.To form new groups, Click ‘Gestion’. On each thumbnail appears the default labels A,B,C or D.
Place a learner in a group by clicking A, B, C or D
Click Gestion to get out of this function.

Now the screen which appears will display a colour-coded grouping : same colour = same
group.Group 1 Group 2 Group 3 Group4

WORKING ON THE STUDENTS’
WORKSTATIONS

The ‘The ‘DIFFUSIONDIFFUSION’ ’ functionalityfunctionality
This functionality is only accessible when a This functionality is only accessible when a group (or more) has / have been selectedgroup (or more) has / have been selected
Transfer a file (text, audio, video, etc…)
Send the tutor’s screen to the learners’ workstationsSend a written message to a group of learners
Send a black screen to a group of learners
Send a learner’s screen to other learners
Pairing the learners

Transfer a document/file to learners
•Select a group. For example group A.•In the menu DIFFUSION, select the function «Transférer et exécuter un fichier»
•A window similar to this appears•Find the document to transfer, select it and click ‘open’•The document loads and launches automatically on selected learners’ workstations

Send teacher’s screen to the students’ workstations
• Go to Groupes, select a group of students. For example Group A
• You will get a screen similar to this
• Go to «DIFFUSION», click Envoyer l’écran et le son du poste enseignant.
• Select « Audio » to send the sound only or «audio + video» to send the screen and the sound. Then, click ‘OK’
• All the selected groups will get the teacher’s screen.
• At the end, deactivate the functionality, then deselect the group(s)
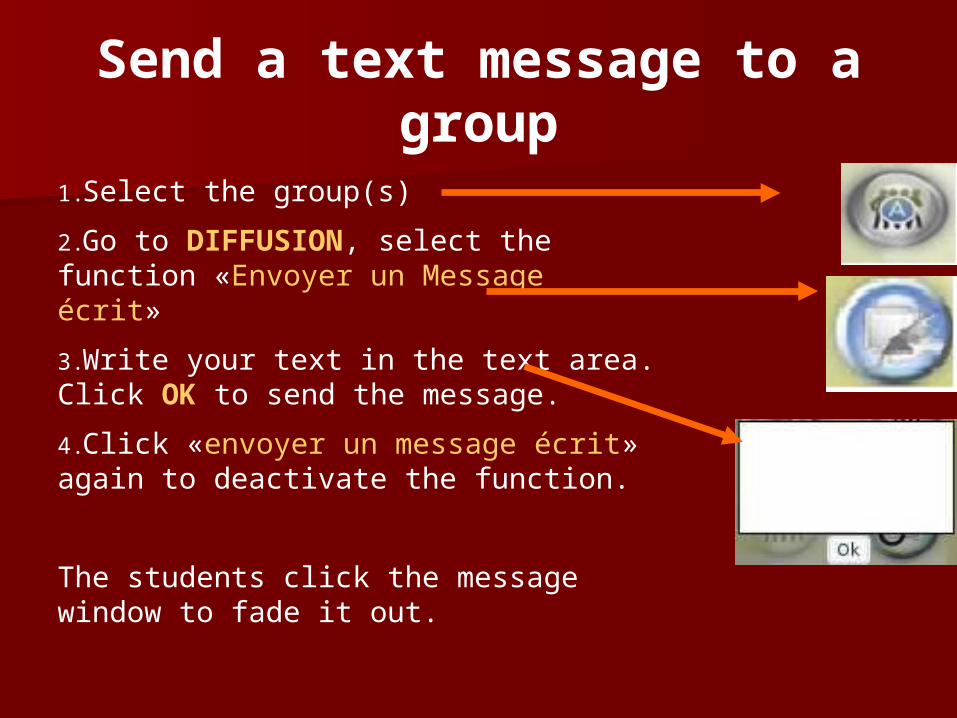
Send a text message to a group
1.Select the group(s)2.Go to DIFFUSION, select the function «Envoyer un Message écrit» 3.Write your text in the text area. Click OK to send the message. 4.Click «envoyer un message écrit» again to deactivate the function.
The students click the message window to fade it out.
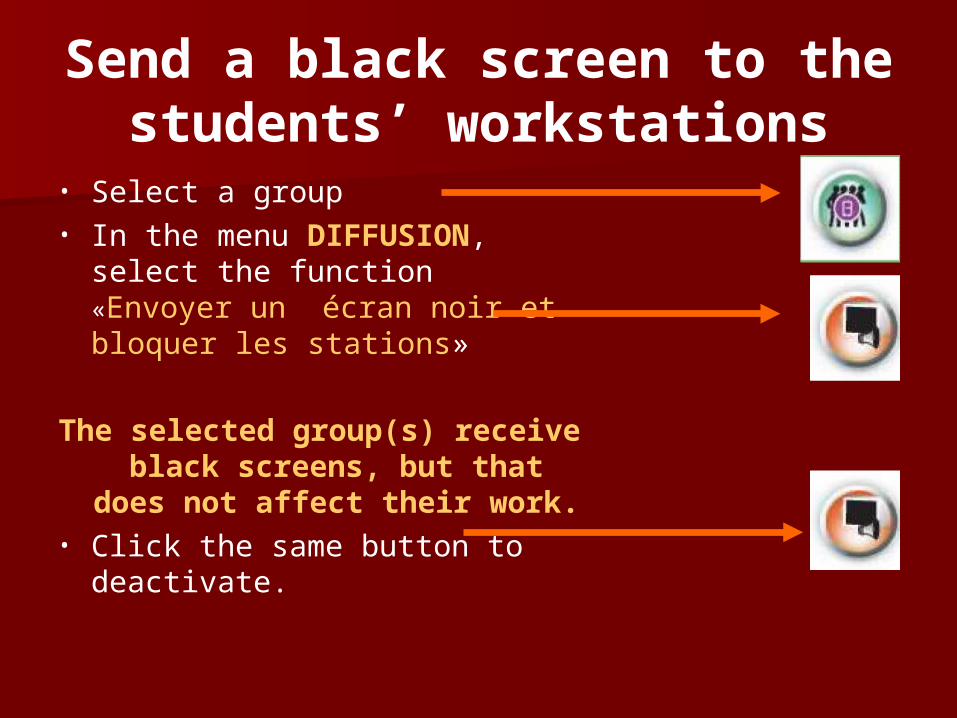
Send a black screen to the students’ workstations
• Select a group• In the menu DIFFUSION,
select the function «Envoyer un écran noir et bloquer les stations»
The selected group(s) receive black screens, but that
does not affect their work. • Click the same button to
deactivate.

Send a student’s screen to other students’ workstations
• Click the workstation thumbnail you want to broadcast.
• Go to GROUPES, select a group. • In the menu DIFFUSION,
click ”Envoyer l’écran du poste élève ’’
• All the selected students receive the screen of the selected student as well as his voice. Thus he can carry out a demonstration to all the group.
• During the demonstration, the student being broadcast is in intercommunication with the teacher.

To end the student’s broadcast:
• Click F1• Click «envoyer l’écran du poste élève»• Click the selected group

Start a pairing activityStart a pairing activity(oral (oral communication)
• Go to Pairing personnalisé. Click the button
• Select the members of the pairs you want to form by successively clicking the learners’ thumbnails.
• Thus you get pairs of students.
• Click X to ‘fix’ those pairs and thus use other Multilab functionalities.
• To change the pairs click the green V and select the members of the new pairs. Once this has been done, click the red X to fix the newly-formed pairs.
• Deactivate the functionality by clicking Pairing personnalisé
What can the learner do with What can the learner do with Multilab?Multilab?
learn at his/her own rhythm and pace: work on materials learn at his/her own rhythm and pace: work on materials selected and assigned by the teacher (do exercises, selected and assigned by the teacher (do exercises, listen, watch video, access the internet, …..)listen, watch video, access the internet, …..)
foster oral skills: record one’s own voice, compare one’s foster oral skills: record one’s own voice, compare one’s oral ‘production’ to a ‘model’oral ‘production’ to a ‘model’
foster writing skills: cooperate within a group with other foster writing skills: cooperate within a group with other members to produce joint essays (and other writing members to produce joint essays (and other writing productions).productions).
get personalized / individualized help from the teacher.get personalized / individualized help from the teacher.
… … etcetc29

CLASS LAY OUTS
30

ROUNDROUND

FACINGFACING

L / U SHAPE

ROWSROWS
Choose the lay-out that is
convenient according to the space available in your
workplace