ms powerpoint picture tools format ribbon · ms powerpoint picture tools format ribbon ... text and...
TRANSCRIPT
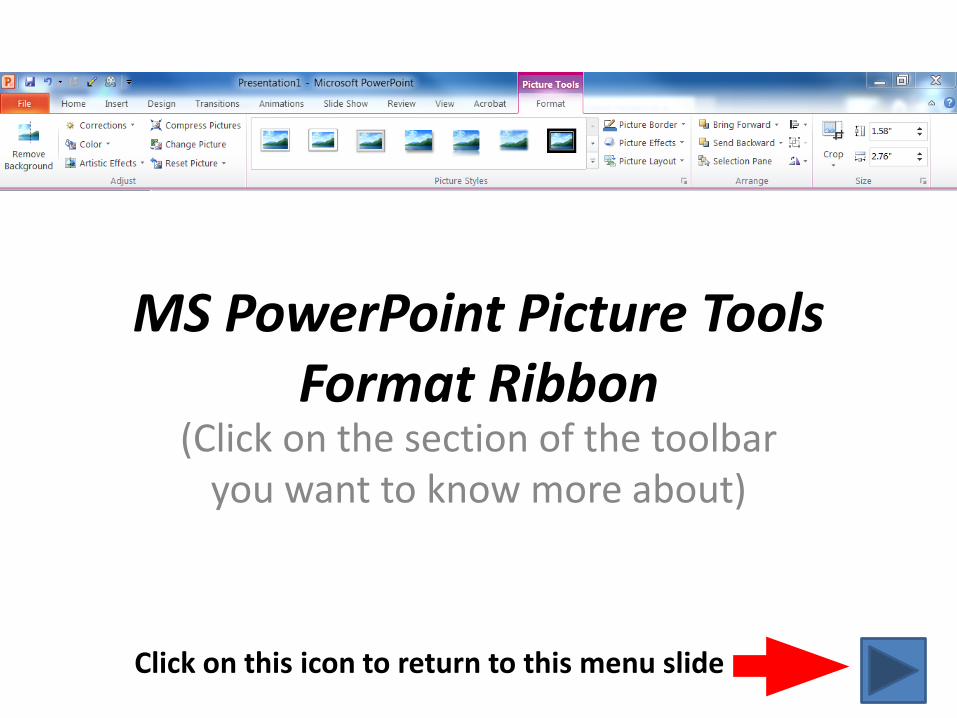
MS PowerPoint Picture Tools Format Ribbon
(Click on the section of the toolbar you want to know more about)
Click on this icon to return to this menu slide
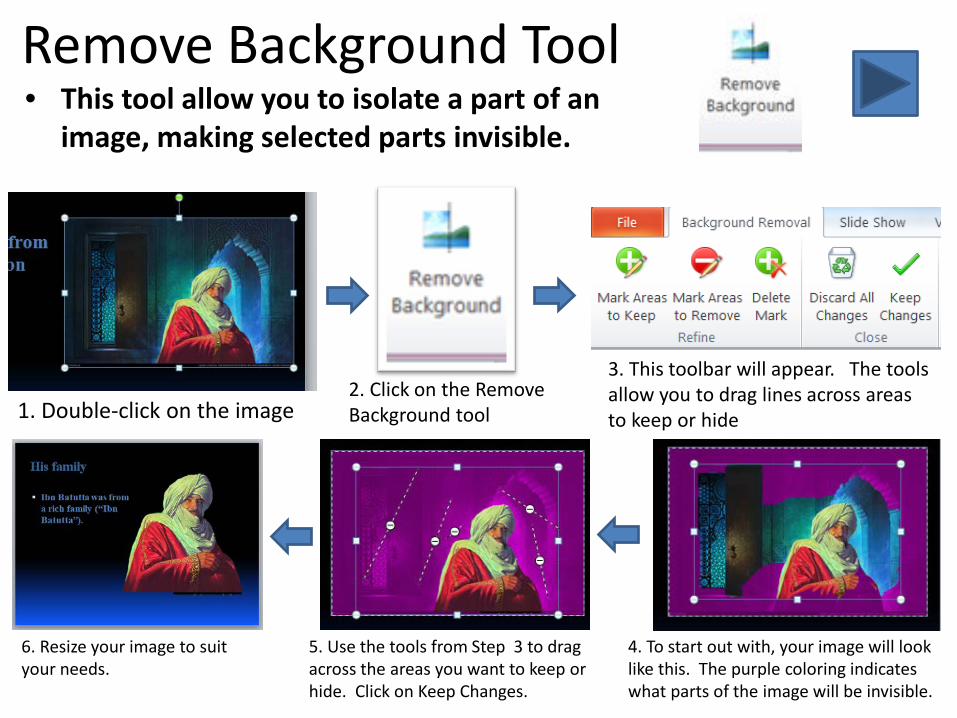
Remove Background Tool • This tool allow you to isolate a part of an
image, making selected parts invisible.
1. Double-click on the image 2. Click on the Remove Background tool
3. This toolbar will appear. The tools allow you to drag lines across areas to keep or hide
4. To start out with, your image will look like this. The purple coloring indicates what parts of the image will be invisible.
5. Use the tools from Step 3 to drag across the areas you want to keep or hide. Click on Keep Changes.
6. Resize your image to suit your needs.
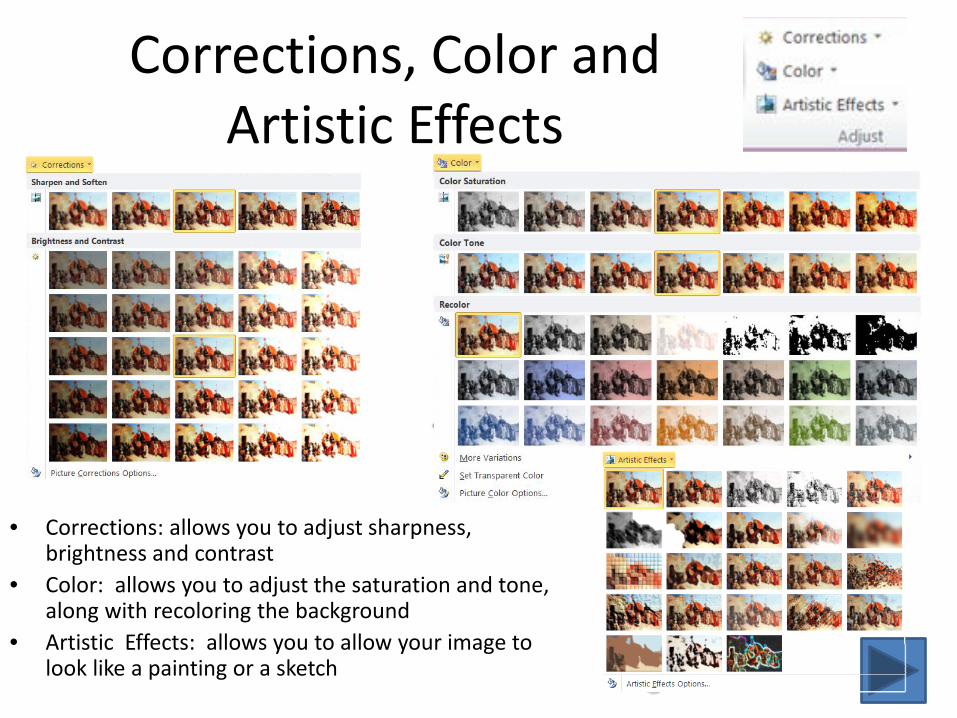
Corrections, Color and Artistic Effects
• Corrections: allows you to adjust sharpness, brightness and contrast
• Color: allows you to adjust the saturation and tone, along with recoloring the background
• Artistic Effects: allows you to allow your image to look like a painting or a sketch
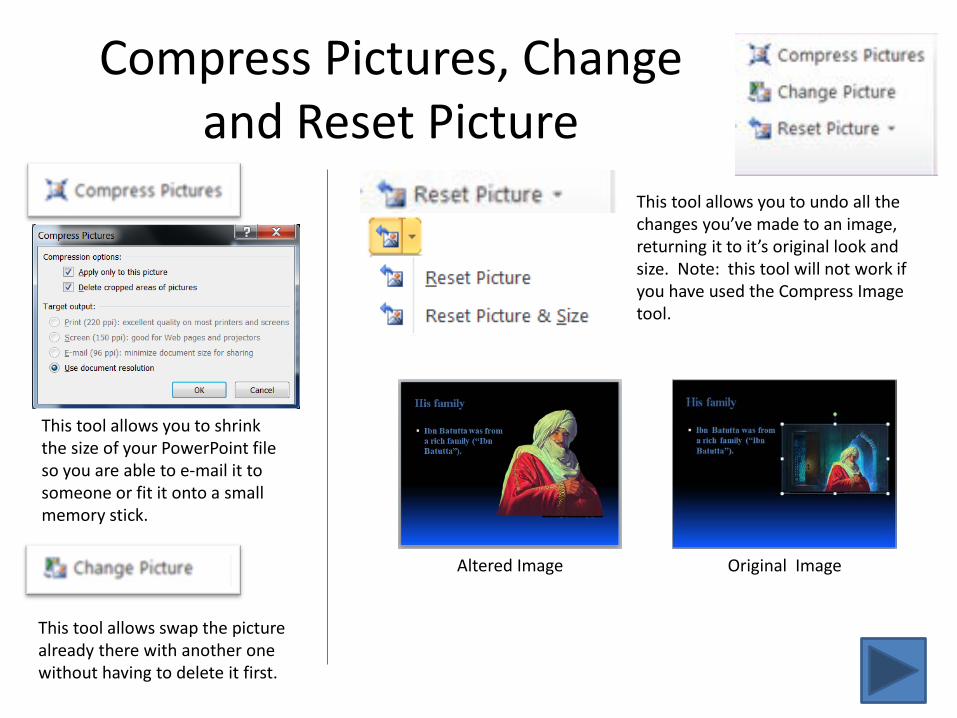
Compress Pictures, Change and Reset Picture
This tool allows you to shrink the size of your PowerPoint file so you are able to e-mail it to someone or fit it onto a small memory stick.
This tool allows swap the picture already there with another one without having to delete it first.
This tool allows you to undo all the changes you’ve made to an image, returning it to it’s original look and size. Note: this tool will not work if you have used the Compress Image tool.
Altered Image Original Image

Picture Styles
The Picture Styles tool allows you to easily preview and select preset borders, effects and layouts. Just click on the down facing arrow (see red arrow above) for the menu to appear.
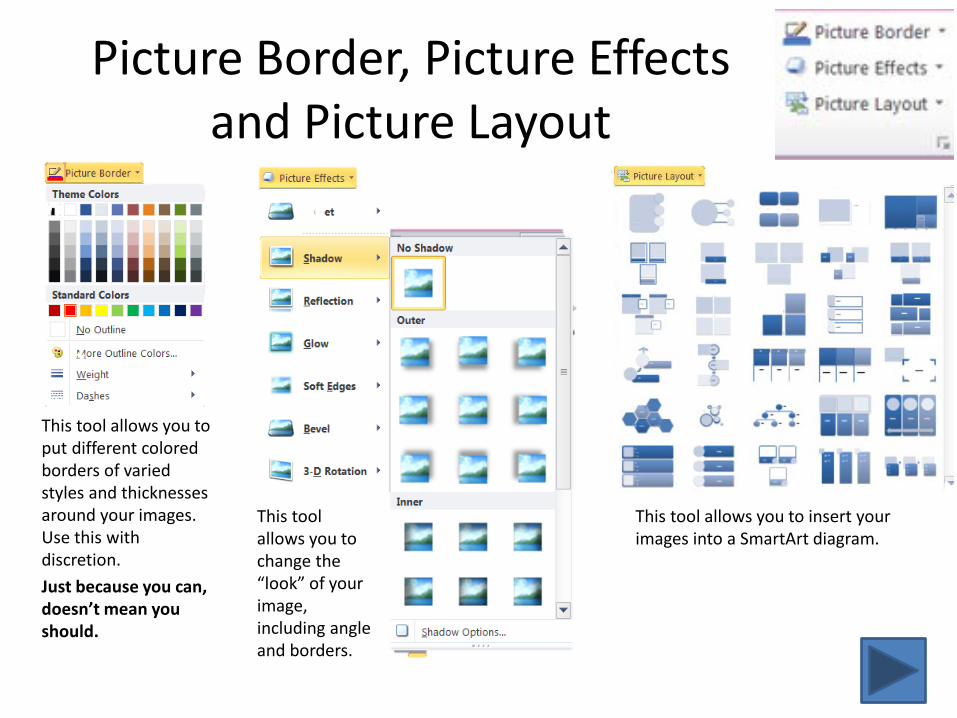
Picture Border, Picture Effects and Picture Layout
This tool allows you to put different colored borders of varied styles and thicknesses around your images. Use this with discretion. Just because you can, doesn’t mean you should.
This tool allows you to change the “look” of your image, including angle and borders.
This tool allows you to insert your images into a SmartArt diagram.
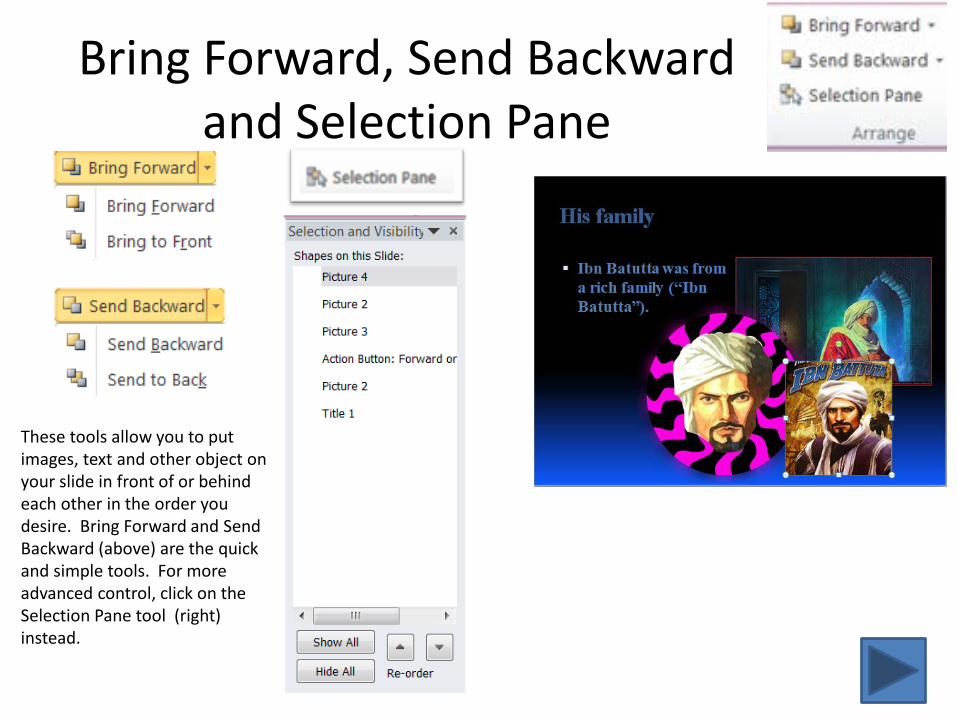
Bring Forward, Send Backward and Selection Pane
These tools allow you to put images, text and other object on your slide in front of or behind each other in the order you desire. Bring Forward and Send Backward (above) are the quick and simple tools. For more advanced control, click on the Selection Pane tool (right) instead.
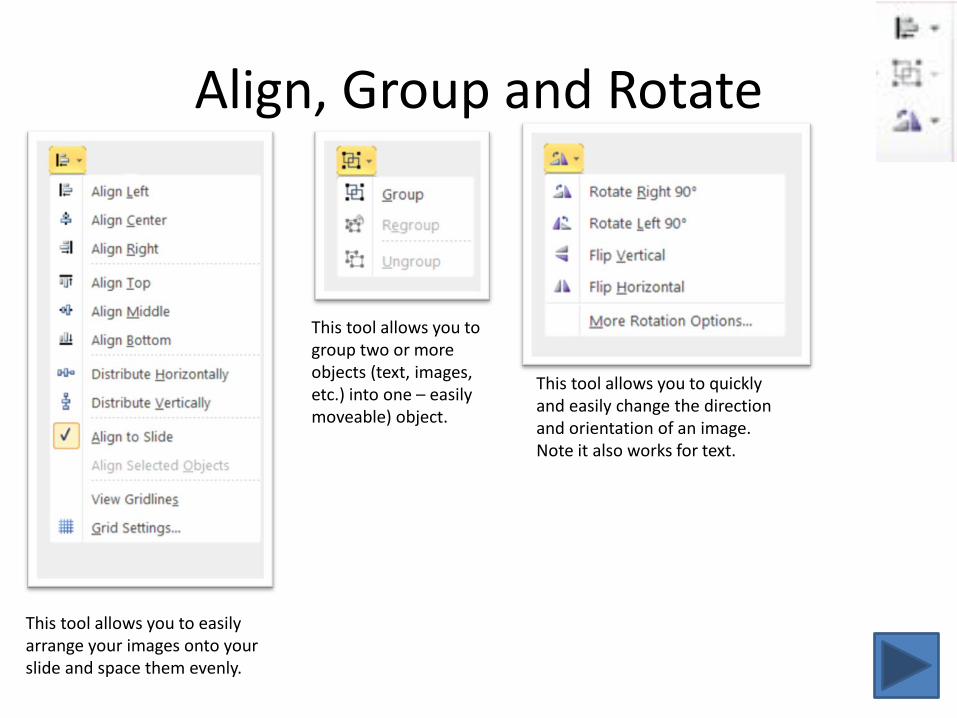
Align, Group and Rotate
This tool allows you to group two or more objects (text, images, etc.) into one – easily moveable) object.
This tool allows you to easily arrange your images onto your slide and space them evenly.
This tool allows you to quickly and easily change the direction and orientation of an image. Note it also works for text.
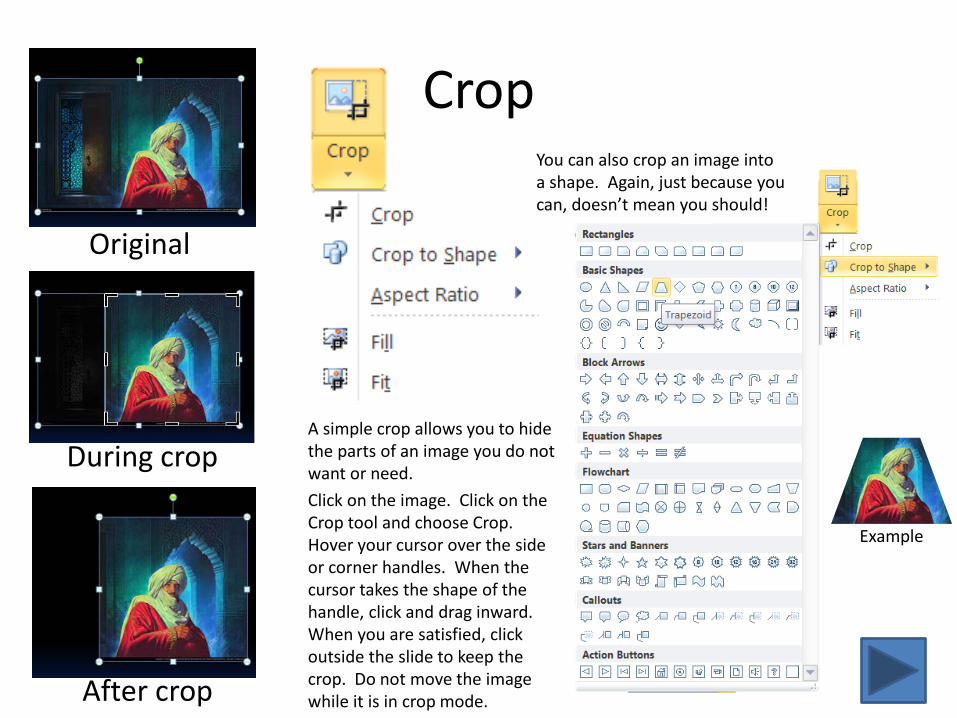
Crop
A simple crop allows you to hide the parts of an image you do not want or need. Click on the image. Click on the Crop tool and choose Crop. Hover your cursor over the side or corner handles. When the cursor takes the shape of the handle, click and drag inward. When you are satisfied, click outside the slide to keep the crop. Do not move the image while it is in crop mode.
Original
During crop
After crop
You can also crop an image into a shape. Again, just because you can, doesn’t mean you should!
Example
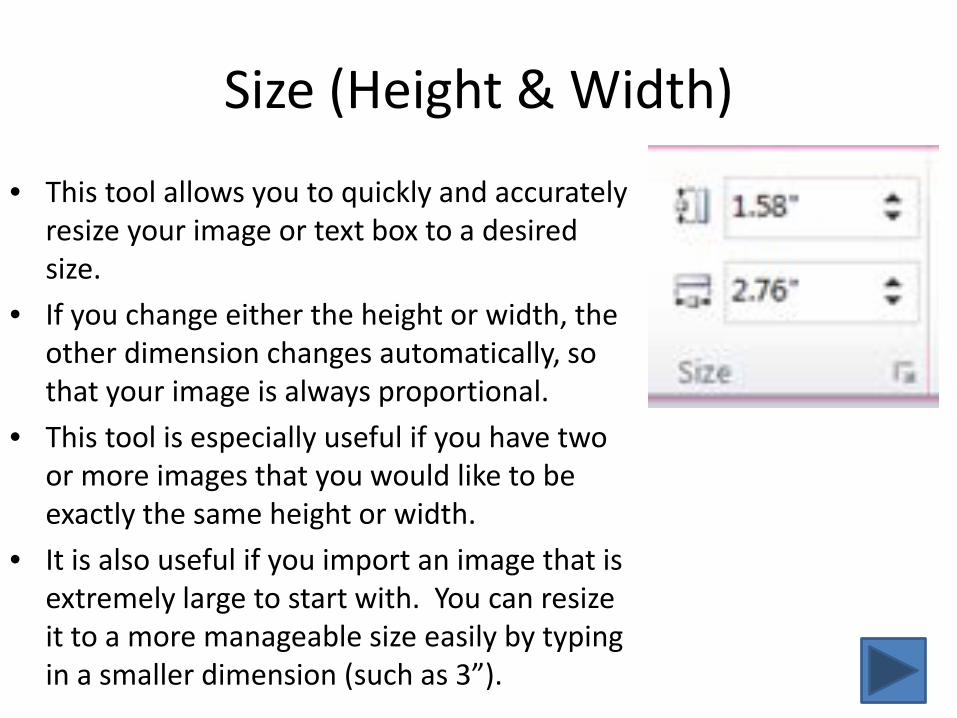
Size (Height & Width)
• This tool allows you to quickly and accurately resize your image or text box to a desired size.
• If you change either the height or width, the other dimension changes automatically, so that your image is always proportional.
• This tool is especially useful if you have two or more images that you would like to be exactly the same height or width.
• It is also useful if you import an image that is extremely large to start with. You can resize it to a more manageable size easily by typing in a smaller dimension (such as 3”).