model no. srcd682bt - solid signalbass booster during music playback, press and toggle the bass...
TRANSCRIPT

MODEL NO. SRCD682BT
OWNER'S MANUAL
PORTABLE CD PLAYER WITH PLL AM/FM RADIO,
BLUETOOTH AND LCD DISPLAY
PLEASE READ BEFORE USING THIS UNIT
1

2

3

Control Location (Front and Top Views)
Control Location (RearView)
HANDLE
CD DOOR
AUX IN JACK
VOLUME KNOB
BASS BUTTON
STANDBY INDICATOR
LC DISPLAY
STOP / BAND BUTTONFUNCTION BUTTON
SKIP BUTTON
FM ROD ANTENNA
USB DOOR
TUNING KNOB
BUTTON
PLAY / PAUSE BUTTONREP/PROGRAM BUTTONSKIP BUTTON
AC SOCKET
BATTERIESCOMPARTMENT
4

Connecting AC PowerConnect the small end of AC cord to the socket at the back of the main unit and insert the plug of AC cord into standard AC wall outlet.
Battery Operation Before installing batteries (not included), ensure that the unit is disconnected from the mains supply.
Remove the battery compartment cover on the bottom of the unit by sliding the battery cover with the opening direction indicated on the battery cover.
Install 8 pieces of 1.5V (UM1) batteries (not included) by following the polarity markings and then replace the cover.
For battery operation, unplug the AC cord from the AC wall outlet first and then remove the AC cord from the socket at the back of the main unit.
Caution:The unit is designed to operate from mains supply of AC 120V~60Hz. If the plug of AC cord does not fit properly, try to turn it over and try again. Do not force it.When the unit is intended for being unused for a long period of the time. Please press the button to turn off the unit and unplug the power cord from the AC wall outlet.AC
Power Connection
5

Switching On for the first time Plug into AC power or install batteries by following instructions on the previous Power Connection section. Press the button to turn on the unit. The STANDBY indicator will be lighted off. To turn the unit off, press the button again to turn the unit off.
Switching between different sources (CD / BLUETOOTH / Radio/ AUX)After turning on the unit, press and toggle FUNCTION button to switch different sound sources.
Adjusting sound volume levelAfter turning on the unit, turn the VOLUME knob to adjust the level of sound volume.
Adjusting the rod antenna The aerial should be extended to ensure good reception in both FM radio modes. It may be necessary to adjust the position of the unit and /or aerial position to achieve the best signal reception.
Bass boosterDuring music playback, press and toggle the BASS button to turn on/off the bass boosterfor bass enhancement.
Main Operation
Caution:There is a danger of explosion if batteries are replaced incorrectly.Replace batteries with the same type and same brand only.When the unit is intended for being unused for a long period of the time, press thebutton to turn OFF the unit and remove all batteries from the main unit.
6

The unit is designed to play normal music CD disc bearing the correct identification logo. If the disc does not confirm tothe standard, it may not be played back properly.
Loading disc1. Press and toggle the FUNCTION button to switch to CD mode.2. Press down the OPEN/CLOSE AREA on the CD door on the top of the unit to unlock
and open the CD door.3. Hold the CD disc by its edge with CD graphical side facing up and put it onto the CD
compartment after the CD door is opened. Make sure that the disc label is facing up.4. Close the CD door and make sure the VOLUME knob is not in minimum position.
CD playbackAfter loading the disc, the disc will begin spinning and the total number of the tracks on thedisc will be shown on the display and the first track/file on the CD will be played backautomatically.
Play/Pause ControlTo pause playback temporarily by pressing the PLAY/PAUSE button. Music playback will be paused and the current elapsed track number will be shown on the display and the play icon will be blinking. Press the PLAY/PAUSE button again to resume playback.
Stop playbackTo stop playback, press the STOP button on the unit. The total number of tracks of the disc will be displayed.
Caution:� Playback of CD-R / CD-RW may depend on recording conditions.� Do not attach a seal or label to either side (the recordable side or the labeled side) of a
CD-R/ RW disc. It may cause malfunction.� Do not load a blank CD-R/ RW disc. It will take over 1 minute to read the disc. The disc
may be damaged if you try to open the CD Door while reading the disc.� CD-ROM, CD-I, CDV, VCD, DVD or computer CDs are not possible to be read.
Remark:� If there is no disc in the unit, “NO” or “ERR” will be indicated on the display.� If the CD cannot be read, “NO or ERR” will be indicated on the display.
CD Operation
Skip trackDuring playback, press the forward or backward SKIP buttons to skip to the next or previous tracks.
High-speed music searchDuring playback, press and hold the forward or backward SKIP buttons to skip/search through the current track at high speed in forward or backward directions. When the SKIPbuttons are released, normal playback speed will be resumed immediately.
7

Repeat playback modes (Repeat 1 / Repeat all)Repeat the Current TrackDuring playback, press the REP/ PROG button until the icon is displayed to select the current track/file to be repeated. The selected track/file will be repeated continuously.
Repeat All TracksDuring playback, press the REP/ PROG button until icon is displayed. All tracks/fileson the disc will be repeated continuously.
Programmed CD playback
Return to normal playbackPress the REP/ PROG button until NO repeat indicator is displayed. The normal playback will be resumed.
This unit can be programmed to play up to 20 tracks in CD mode. Load the music CD disc onto the CD compartment (without pressing the “PLAY/PAUSE” button)
1. Press REP/ PROG button once in the stop mode. “P01” will be shown on the displayand blinking.
2. Press the SKIP buttons to select the desired track to be programmed. 3. Press REP/ PROG button again to save the selected track/files.4. Repeat steps 2-3 to program up to 20 tracks.5. Press the PLAY/PAUSE button to play the programmed tracks after programming is
completed. The “PROG” icon will be displayed during the programmed playback.6. To clear program and resume normal playback, press the STOP button twice during
playback, or open the CD door, or change to next mode to clear the programmed tracks.
Remark:The unit can store up to 20 tracks in the programmable memories. During the programmed playback, user can still select the “repeat 1 / repeat all” functions.
CD Operation-Continued
1
8
• Press the button to turn on the unit.• Press and toggle the FUNCTION button to select Bluetooth mode. The unit will
search the paired device with the “ bt ” flashing slowly on the LCD display.• Press and hold the PLAY/PAUSE/PAIR Button for 4~5 seconds. Then the “ bt ”
will be flashing rapidly on the LCD display and dew drop will heard, the unit will
• Turn on the Bluetooth function of your Bluetooth device and enable the search or scan function to find the unit.
• Select "SRCD682BT" from the device list when it appears on your device screen. If required, enter the pass code “0000” to pair (link) the unit with your device.
• After successfully pairing (linking) the Bluetooth enabled device the “ bt ” will light steadily and a short beep will heard.
Note: If you can’t pair the unit with your Bluetooth enabled device, you can try to turn Off & On the power of your unit to solve the problem.
The unit is designed to receive FM Stereo / FM and AM radio bands.
1. Press and toggle the FUNCTION button on the top of the unit to switch to RADIO mode.
2. Press the BAND button on the front of the unit to select FM or AM band.3. Adjust the TUNING knob on the top of unit to tune the frequency of desired radio
station. 4. The tuning frequency will be displayed on the LCD display.5. For the AM mode, please press the BAND button select to AM mode.6. To turn off the unit power, press the button switch to off the unit.
Remark:The unit has built-in AM ferrite bar antenna, which can provide adequate reception in most areas. If the AM reception is weak, try to adjust the location of the unit or relocate the unit to improve the reception. If the FM reception is weak, try to adjust the length and the angle of the FM antenna to improve the signal reception.
1. If the unit has never been paired with a Bluetooth device before, you need to follow the pairing instructions below to link the SRCD682BT with your Bluetooth device.
Bluetooth Operation
RADIO Operation
9
goes into Pairing/Discoverable mode.
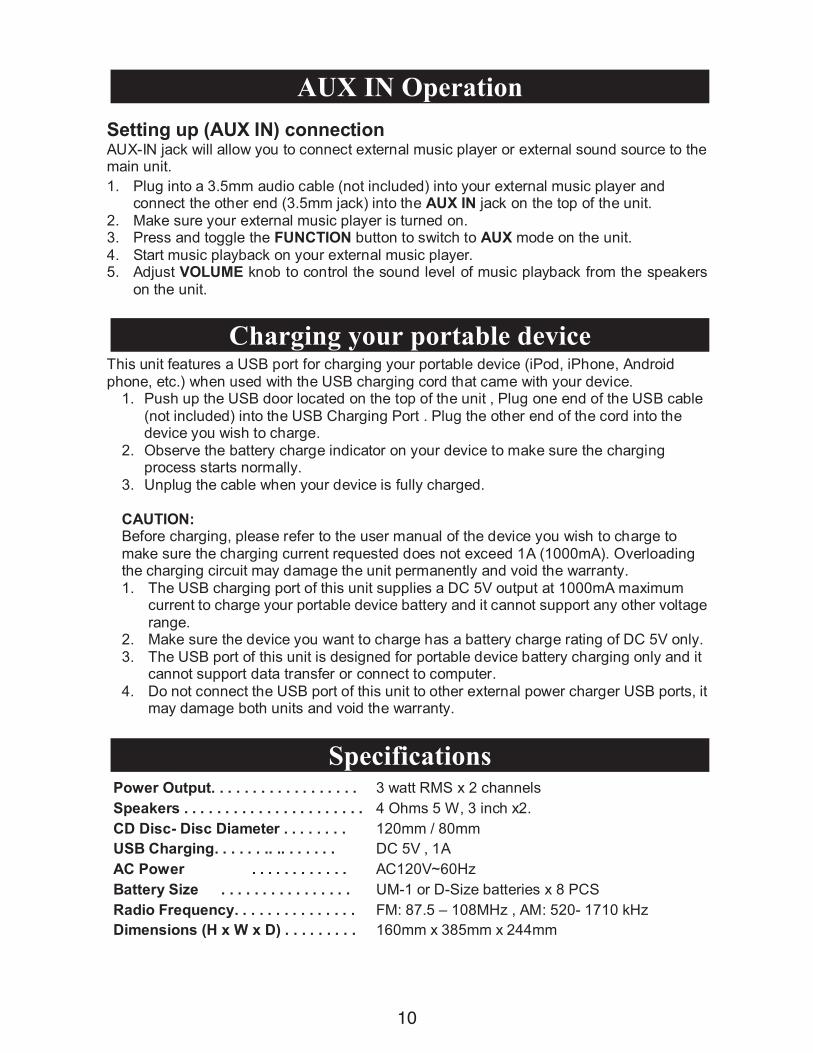
1. Plug into a 3.5mm audio cable (not included) into your external music player and connect the other end (3.5mm jack) into the AUX IN jack on the top of the unit.
2. Make sure your external music player is turned on.3. Press and toggle the FUNCTION button to switch to AUX mode on the unit.4. Start music playback on your external music player.5. Adjust VOLUME knob to control the sound level of music playback from the speakers
on the unit.
This unit features a USB port for charging your portable device (iPod, iPhone, Android phone, etc.) when used with the USB charging cord that came with your device.
1. Push up the USB door located on the top of the unit , Plug one end of the USB cable (not included) into the USB Charging Port . Plug the other end of the cord into the device you wish to charge.
2. Observe the battery charge indicator on your device to make sure the charging process starts normally.
3. Unplug the cable when your device is fully charged.
CAUTION:Before charging, please refer to the user manual of the device you wish to charge to make sure the charging current requested does not exceed 1A (1000mA). Overloading the charging circuit may damage the unit permanently and void the warranty.1. The USB charging port of this unit supplies a DC 5V output at 1000mA maximum
current to charge your portable device battery and it cannot support any other voltage range.
2. Make sure the device you want to charge has a battery charge rating of DC 5V only.3. The USB port of this unit is designed for portable device battery charging only and it
cannot support data transfer or connect to computer.4. Do not connect the USB port of this unit to other external power charger USB ports, it
may damage both units and void the warranty.
Power Output. . . . . . . . . . . . . . . . . . Speakers . . . . . . . . . . . . . . . . . . . . . .
3 watt RMS x 2 channels4 Ohms 5 W, 3 inch x2.
CD Disc- Disc Diameter . . . . . . . . 120mm / 80mmUSB Charging. . . . . . .. .. . . . . . . DC 5V , 1AAC Power . . . . . . . . . . . . AC120V~60HzBattery Size . . . . . . . . . . . . . . . . UM-1 or D-Size batteries x 8 PCSRadio Frequency. . . . . . . . . . . . . . . FM: 87.5 – 108MHz , AM: 520- 1710 kHzDimensions (H x W x D) . . . . . . . . . 160mm x 385mm x 244mm
Setting up (AUX IN) connectionAUX-IN jack will allow you to connect external music player or external sound source to the main unit.
AUX IN Operation
Charging your portable device
Specifications
10
LIMITED PRODUCT WARRANTY
This quality product is warranted to be free from manufacturer’s defects in material and workman-ship, provided that the unit is used under the normal operating conditions intended by the manufacturer.
TERMS OF WARRANTY
C.I. Service Dept. warrants this product to be free from defects in materials and workmanship for 90 days on parts and 90 days on labor. If you originally purchased your product more than 90 days ago, a repair fee may apply.
Nothing within this warranty shall imply that C.I. will be responsible or liable for any damage to any items placed in this product, whether due to any defect of the product, or its use, whether proper or improper.
EXCLUSIONS
Save as herein provided, C.I. Service Dept. (Canada) or C.I. Service Dept. (USA), there are no other warranties, conditions, representations or guarantees, express or implied, made or intended by C.I. or its authorized distributors and all other warranties, conditions, representations or guarantees, including any warranties, conditions, representations or guarantees under any Sale of Goods Act or like legislation or statue is hereby expressly excluded. Save as herein provided, C.I. Service Dept. (Canada) or C.I. Service Dept. (USA), shall not be responsible for any damages to persons or property, including the unit itself, howsoever caused or any consequential damages arising from the malfunction of the unit and by the purchase of the unit, the purchaser does hereby agree to indemnify and save harmless C.I. from any claim for damages to persons or property caused by the unit.
TO OBTAIN REPAIRS UNDER THE TERMS OF THIS WARRANTY
1. The original purchaser must present a copy of the original bill of sale and the service warranty card.2. Any alterations, abuse, misuse, battery corrosion or accidental damage voids the warranty.3. The warranty does not cover cabinets and accessories.4. No warranty or insurance contained or set out shall apply when damage or repair is caused by power failure; damage in transit or when moving the unit; improper power supply; use for commercial or industrial purposes; service calls resulting in customer education, etc.5. The defective product should be mailed
If mailing the product, the freight must be prepaid and a money order for $7.00 should be included to cover the cost of insurance and the return of the product.6. C.I. reserves the right to repair or replace the parts which have become defective.
Model No. Date Purchased Serial No.
is a registered trademark of OSRAM SYLVANIS Inc. used under licence.
Should you have any problem with this product, please and it is highly recommended to visit our website before you take any other steps as we have additional copies of instruction manuals, operating manuals and trouble shooting tips on our website which gives you the answer on most of the questions you could have in operating the unit.