misplacedjayhawkreporter.files.wordpress.com file · web viewmysql administrator should now be...
TRANSCRIPT

Installation of MySQL and Query Browser on Mac
We will begin by installing a MySQL server on your machine, enabling it to run and installing a Graphic User Interface (GUI) tool to allow easy execution of SQL commands.
To download the files we need, we’re going to head over to http://dev.mysql.com/downloads/. Click on “MySQL Community Server” link, which will take you to a page where you must specify your operating system and the type of file you want to download.
If you’re running Mac OSX, make sure that’s specified in the drop-down box on the page. We want to download the DMG archive, because it’s the easiest to install on the OSX operating system. Before doing so, however, we want to see confirm if we’re running on a 32-bit or 64-bit machine.
Click on the Apple Icon in the upper left hand corner of your screen, and select “About this Mac.”
If the screen above appears, click “More Info…” below the Startup Disk line. The following box should appear:
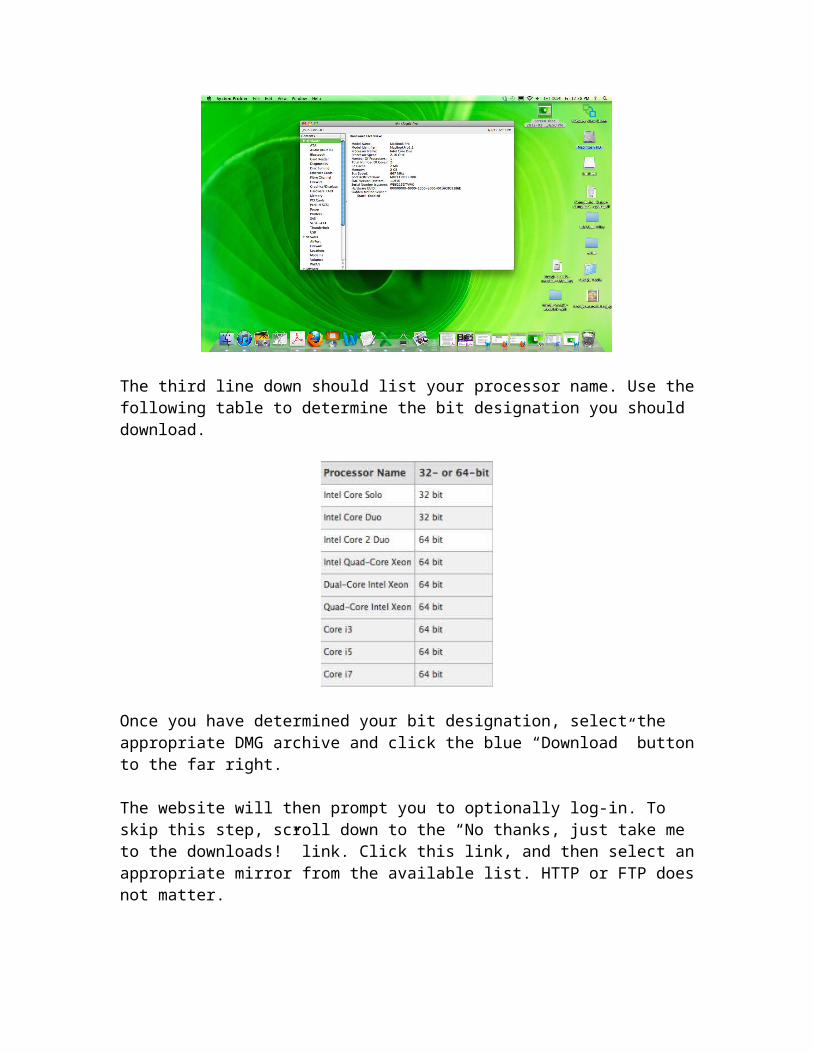
The third line down should list your processor name. Use the following table to determine the bit designation you should download.
Once you have determined your bit designation, select the appropriate DMG archive and click the blue “Download” button to the far right.
The website will then prompt you to optionally log-in. To skip this step, scroll down to the “No thanks, just take me to the downloads!” link. Click this link, and then select an appropriate mirror from the available list. HTTP or FTP does not matter.
Save the file somewhere you will remember. Once it has finished downloading, open the DMG archive you have downloaded. This will open an ejectable icon on your desktop that will look something like this:

Open this drive, and select the icon that looks like an open box and starts “mysql” in lowercase and ends in .pkg. Follow the onscreen instructions to install the MySQL community server on your system.
For the Mac, you will also need to install the “MySQLStartupItem.pkg” so we can tell the server to start running when we want to use the MySQL Query Browser. Follow the same instructions as the above to download the Start Up Item to your system.
Next, we will want to download the GUI tools so that we can easily run queries on a database. Return to the MySQL Developer website at this link: http://dev.mysql.com/downloads/gui-tools/5.0.html.
Scroll down to the Mac OSX downloads, and click the blue “Download” button. Again, scroll to the “No thanks, just take me to the downloads!” link and select a mirror to download the GUI tools from.
Again, opening the .dmg file will give you an ejectable drive on your desktop. This one will be called “MySQL GUI Tools for…” and the version number of the community server you downloaded. Double click this drive and it will open a folder that looks something like this:
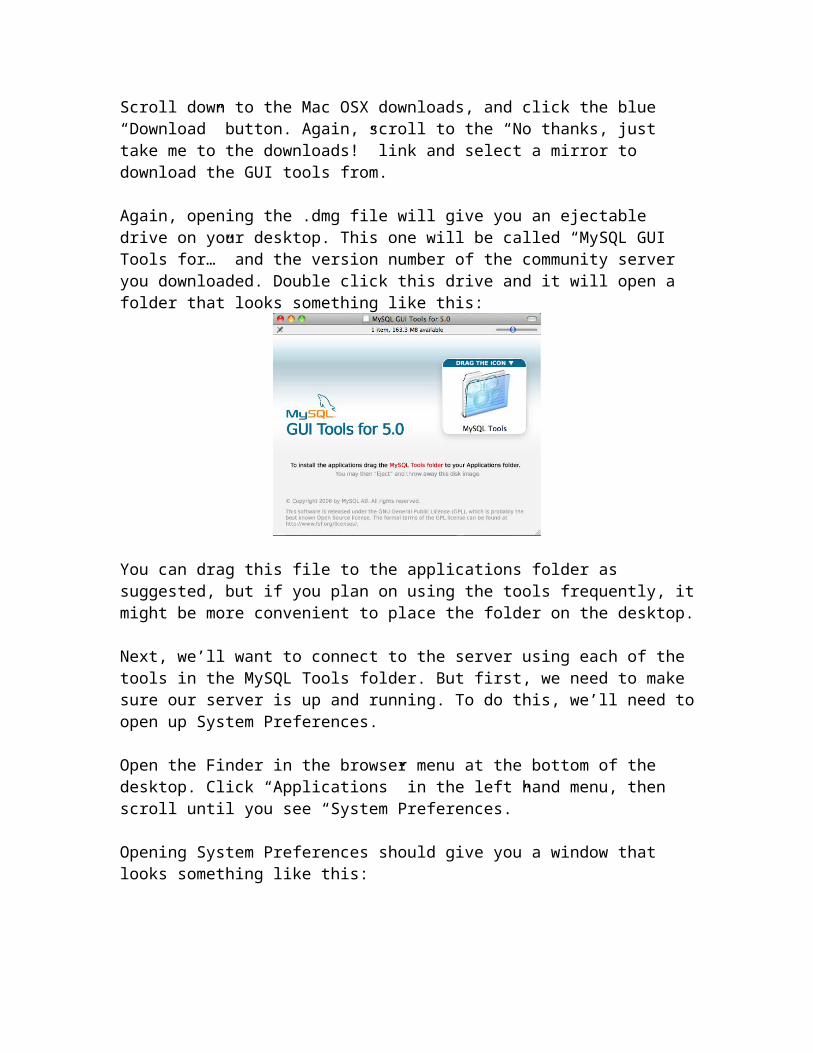
You can drag this file to the applications folder as suggested, but if you plan on using the tools frequently, it might be more convenient to place the folder on the desktop.
Next, we’ll want to connect to the server using each of the tools in the MySQL Tools folder. But first, we need to make sure our server is up and running. To do this, we’ll need to open up System Preferences.
Open the Finder in the browser menu at the bottom of the desktop. Click “Applications” in the left hand menu, then scroll until you see “System Preferences.”
Opening System Preferences should give you a window that looks something like this:
You’ll notice the “MySQL” icon under the “Other” category. If the MySQL icon does not appear, go back and make sure you installed the “MySQLStartupItem.pkg” above.
Clicking on this icon will bring up a window that will give you the MySQL server status. Here, you can start the server manually by clicking the “Start MySQL Server” button or

choosing to have the server begin automatically on start-up. For now, click “Start MySQL Server.” The window should now look like this:
Your MySQL server is now running. You can stop it at any time by clicking the “Stop MySQL Server” button.
Now that the server is up and running, let’s connect the GUI tools to the server so we can start investigating some data.
Navigate back to your MySQL Tools folder. Open it, and you have the option to open three programs: MySQL Administrator, MySQL Query Browser and MySQL Health. We’ll be using the first two programs almost exclusively.
You’ll almost always want to open your database in MySQL Administrator first to put the database file in a format the Query Browser will understand. Double-click MySQL Administrator to open the application. You should get a dialog box that looks something like this:
The Administrator is asking for the specific server and credentials for the server it should connect to. Since we haven’t messed with the defaults of the community server installation, we’ll enter those in to connect to our MySQL server.

The default hostname should be “localhost” in lowercase, with no spaces. The default username is “root.” If entered correctly, your dialog box should look like the one below:
Once these values are entered, click connect. MySQL Administrator should now be connected to your server, and the following screen should appear:
While we have the Administrator application open, let’s use it to restore an .sql file. To do so, we’ll click “Restore” in the panel menu and navigate to the .sql file we want to open. To do that, we’ll click the “Choose File…” button in the bottom left corner of the window. Once the file is selected, the administrator will automatically parse the file and you will get a screen that looks something like this:

The file is now ready to be restored. Click “Restore Backup” in the bottom right-hand corner.
If the Administrator returns an error, check the “Ignore SQL errors” and try restoring again.
Now our file is in a format that the SQL Query Browser will recognize. Open that application from the MySQL Tools folder. The program will open a dialog box that should be familiar.
Again, you’ll want to enter the default values into the hostname and username text fields in order to connect to the MySQL server. Enter “localhost” into the hostname field, and “root” into the “username” field.
After clicking “Connect,” the SQL browser should open, and the .sql files we restored in the previous step should appear under “Schemas” in the toolbar on the right hand side of the program, as below:

The MySQL Query Browser is now ready to run some investigations of your data, after you designate a default schema from the table on the right.
Installation of MySQL and Query Browser on PC