mini0805 dash camera - sportgps · 1.3 mini0805 dash camera appearance and feature icons. 1. gps...
TRANSCRIPT
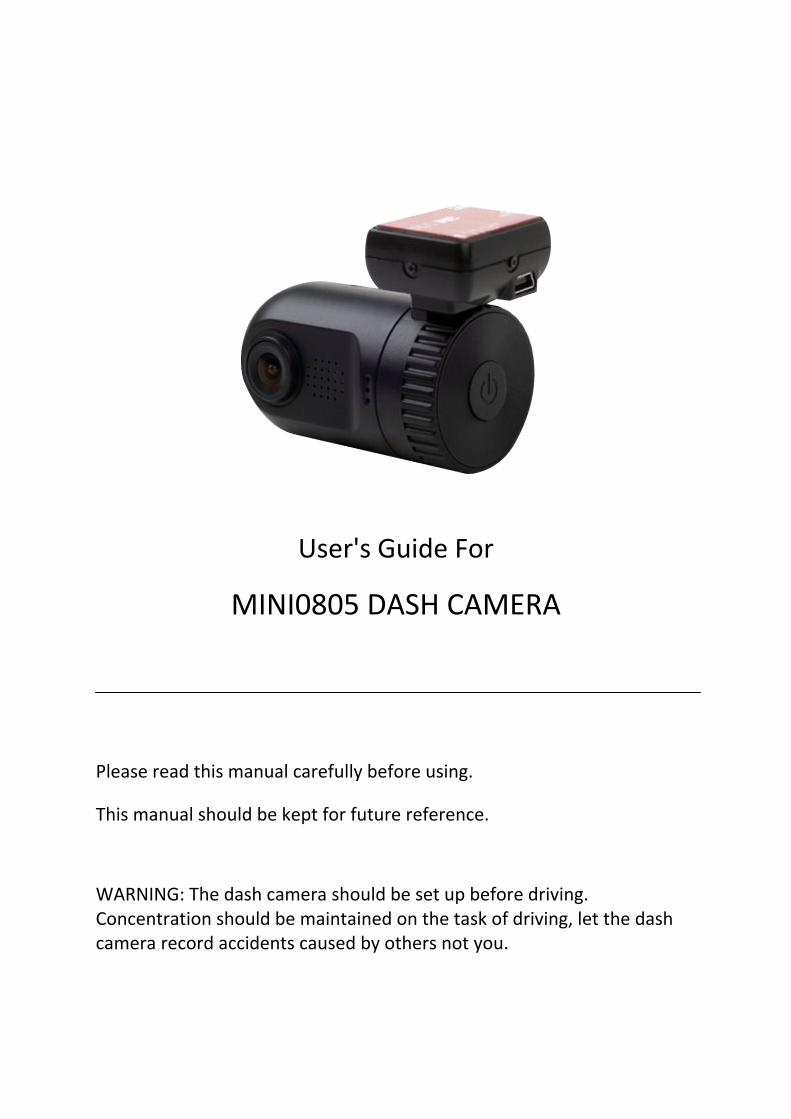
User's Guide For
MINI0805 DASH CAMERA
Please read this manual carefully before using.
This manual should be kept for future reference.
WARNING: The dash camera should be set up before driving. Concentration should be maintained on the task of driving, let the dash camera record accidents caused by others not you.
Precautions
· Do not expose the dash camera to dusty, dirty or sandy areas, if this gets into the cameraor on the lens it can damage the components.
· The normal operating temperature of the dash camera is 00 C to 650 C
· Do not expose the dash camera to high temperatures.
High temperatures can shorten the life span of electronic device, and extremely high temperature will shorten the battery and/or degrade the plastic components. Note extreme temperatures can be achieved in parked cars in direct sunlight.
Expose the dash camera in sunlight with Motion Detection mode may cause the dash camera crash or damaged as the temperature is too high in your car in summer.
· Do not expose the dash camera to a cold environment.
Extremely low temperatures can also damage the electronic components; if there is water moisture in cold environment, freezing water can cause damage, as the thawing.
· Do not try to dismantle or open the casing. Doing so may result in electrical shock and willmost likely result in damaging the dash camera.
· Do not mistreat the dash camera, dropping, sudden impact, and vibration can causedamage.
· Do not clean the dash camera with chemicals, cleaning solution or high concentrationdetergent. Only a slightly damp cloth should be used.
1.1 mini0805 Dash Camera Box Content
Dash camera unit (external microSD card required).
GPS tracking mounting bracket
Power lead for cigar lighter
USB Cable
Manual.
1.2 Light Indicator
RED = Charging
BLUE = Stand By
BLUE FLASH = Recording

1.3 mini0805 dash camera appearance and feature icons
1. GPS tracker and Bracket (attaches with the 3M sticker) 2. microUSB port (for direct connection to computer) 3. AV port 4. UP/MUTE button (press and hold for MENU) 5. OK button 6. DOWN / LOCK FILE button (press and hold for PLAYBACK) 7. Light indicator 8. Lens 9. microUSB port (for camera & GPS charging) 10. Power button (press and hold 16 seconds to RESET) 11. HDMI port 12. microSD card slot
1.4 PC System Requirements
· Windows XP or later operating system.
· Intel Pentium 4 2.8GHz CPU or above(recommended 3GHz).
· At least 512 MB RAM or above(recommended 1GB).
· Standard USB2.0 port or above.
· At least 64MB video card or above.
OK

2. Operation
Read this chapter before operating the dash camera.
The dash camera is preconfigured for a simple plug and play experience with the most popular options; the information in this section will help you to customize the settings, should you require a slight different experience. (For example, turning of the audio recording or the GPS tracking.)
2.1 Insert a microSD card to the dash camera to store videos and photos. This should be a CLASS 6 or CLASS 10 High Capacity microSD card up to 32GB
2.1.1. Insert a microSD card into the dash camera to allow recording to the external microSD card instead of the internal memory (apply to the cameras with internal storage).
2.1.2. The data and video can be recorded to either the microSD card or the internal memory, if you wish to record to the microSD card (external) this will need to be changed in the menu. (apply to the cameras with internal storage)
2.2 Turning on your dash camera
Press Power button to turn ON/ OFF the dash camera. The dash camera is also pre-configured to turn on and start recording once it receives power, i.e. when the engine is started.
2.3 Taking a Photo
2.3.1. to take a photo while recording, press and hold OK button.
2.3.2. to take a photo while on standby, press and hold OK button.
2.4 Reviewing Video and Photographs on the dash camera display screen.
2.4.1. Once powered on the dash camera will automatically record, it needs to be put into standby mode by pressing the OK button.
2.4.2. While on standby, press and hold the DOWN button to enter the playback mode. To enter the recording mode press and hold the DOWN button again.
2.4.3. While in the playback mode, press the UP or DOWN button to highlight the file you would like to play, then press the OK button to view the file.
2.4.4 To edit a file, use the Up and DOWN buttons to highlight the file, then press and hold UP button. There will give you options to: Delete file, Protect file, Auto play, Copy to another card, Switch to other card for review. Press UP/Down to choose and then OK to confirm the action.
2.4.5 To exit playback mode press and hold the DOWN button.

2.5 Changing the Default Set-up
Before using the dash camera it may be necessary to change some of the default setting for your own customisation, for example the driver number is defined by you and the date may need updating when first powered on. (the camera will automatically update the real time when GPS connected, for the cameras with GPS module.) To change the setting, the dash camera should be powered on, the OK button should be pressed to stop the recording and allow access to the menus for set-up. Press and hold the UP button, then use the Up and Down buttons to select an option and enter by pressing the OK button.
2.5.1 Setting the Date and Time
In the menu select ‘Date and Time’, then press OK button to enter, use the UP and DOWN buttons to scroll through options and press OK to confirm.
2.5.2 Setting Language
In the menu select ‘Language’, then press OK button to enter, use the UP and DOWN buttons to scroll through options and press OK to confirm
2.5.3 Setting Loop recording
The video and data is stored on the memory (internal or external), this can either be a continuous recording or a segmented loop recording of 1min, 3mins or 5mins blocks.
2.5.3.1 Turning the Loop function OFF
The videos recording will continue until the card space is full. Once the memory is full a “card full” message will be displayed on screen and recording will stop.
2.5.3.2 Setting Loop at 1 min , 3mins, 5mins
The recording dash camera will record in segment specified by the loop time interval selected. Once the memory is full the oldest file will be overwritten with the new recording (unless the files are locked).
2.5.4 Setting Video Resolution
In the menu select ‘Resolution’, then press OK button to enter, use the UP and DOWN buttons to scroll through options and press OK to confirm (2304x1296 30fps, 1920×1080
30fps, 1440×1080 30fps, 1280×720 30fps).
2.5.5 Setting Video Frequency Flicker
In the menu select ‘Flicker’, then press OK button to enter, use the UP and DOWN buttons to scroll through options and press OK to confirm (50 / 60 Hz).
Recommended to set at either 1,3 or 5 minute as this will ensure camera continues to record even once card becomes full.
Recommended to turn this feature "ON"
HDR 1920x1080 30fps or 1920x1080 30fps is good setting for balance between quality and filesize

2.5.6 Setting the White Balance
In the menu select ‘White Balance’, then press OK button to enter, use the UP and DOWN buttons to scroll through options and press OK to confirm (Auto, Sunny, Incandescent, Florescent, Cloudy).
2.5.7 Setting the AV Output Format
In the menu select ‘TV Type’, then press OK button to enter, use the UP and DOWN buttons to scroll through options and press OK to confirm. (NTSC / PAL )
2.5.8 Setting Auto Power Off time
In the menu select ‘Auto Power Off’, then press OK button to enter, use the UP and DOWN buttons to scroll through options and press OK to confirm. (OFF, 1min, 3min, 5min)
2.5.9 Setting Date Time Display
In the menu select ‘Date Time Display’, then press OK button to enter, use the UP and DOWN buttons to scroll through options and press OK to confirm. (OFF / Date / Time / Date & Time)
2.5.10 Enabling Motion Detection
The dash camera starts recording when motion is detected in standby mode this can be helpful for recording accidents when the vehicle is parked and unattended, i.e. hit and run on parked cars etc. (if this setting is ‘on’ the dash camera will not power off automatically, it will only go on standby mode)
Please don’t leave the dash camera under sunlight with the Motion Detection function working, which may damage the camera due to the high temperature in your car in summer.
In the menu select ‘Motion Detection’, then press OK button to enter, use the UP and DOWN buttons to scroll through options and press OK to confirm. (ON / OFF)
2.5.11 Setting Power Off Screen time
In the menu select ‘Power Off Screen’, then press OK button to enter, use the UP and DOWN buttons to scroll through options and press OK to confirm. (OFF / 1min / 3min / 5min)
2.5.12 Setting Video Recording Mode
In the menu select ‘Video Recording Mode’, then press OK button to enter, use the UP and DOWN buttons to scroll through options and press OK to confirm. (Video & Audio / Video Only)
Set this setting to "OFF" to ensure dashcam stays on at all times.
Turn this setting to "OFF" to use dashcam in normal driving conditions.
Set this setting to "OFF" to leave camera LCD screen on at all times.

2.5.13 Setting Gravity Sensor Sensitivity. (G-Sensor)
The dash camera will automatically lock the video recording when it is shaken. This is important in a crash as you may become disorientated or not be able to lock the file which has recorded the incident. The level of sensitivity is set by selecting the required amount of G Force required to cause the video to lock.
In the menu select ‘G-Sensor’, then press OK button to enter, use the UP and DOWN buttons to scroll through options and press OK to confirm. (2G/ 2.5G/ 3G/ 3.5G/ 4G/ 4.5G/ OFF )
2.5.14 Setting Buttons Beep Volume.
In the menu select ‘Key Beep’, then press OK button to enter, use the UP and DOWN buttons to scroll through options and press OK to confirm. (ON / OFF)
2.5.15 Select Language
In the menu select ‘Language’, then press OK button to enter, use the UP and DOWN buttons to scroll through options and press OK to confirm. (English / Russian / …)
2.5.16 Reset to Default Settings
This function allows the device to be reset to factory setting.
In the menu select ‘Default Setting’, then press OK button to enter, use the UP and DOWN buttons to scroll through options and press OK to confirm. (Yes / No)
2.5.17 Format the microSD card
This is to format the memory card, which will remove all the data.
In the menu select ‘Format’, then press OK button to enter, use the UP and DOWN buttons to scroll through options and press OK to confirm. (Yes / No)
2.5.18 Firmware Version
This shows the software version installed on the dash camera
2.5.19 Setting Video Stamp
This is the information that will be printed onto the video recording. There is the options to show the Date, Time, GPS speed, Driver Number or Off. Not all the information will fit onto the video stamp so the decision needs to be made as to which information is deemed most relevant.
In the menu select ‘Stamp’, then press OK button to enter, use the UP and DOWN buttons to scroll through options and press OK to confirm.

2.5.20 Setting Driver Number
This is a 9 character number to help identify the recording. This is proved useful in a fleet of vehicles as it can be created to relate to a vehicle registration or indicate an individual’s name.
In the menu select ‘Driver Number’, then press OK button to enter, use the UP and DOWN buttons to scroll through characters and press OK to move to next, then OK to confirm.
2.5.21 Turn GPS logger on
The dash camera comes with the GPS module (apply to the cameras which have GPS module), which allows for vehicle tracking and easy identification of where an accident happens. It can also help estimate the speed of the vehicle. If you do not want this function you can turn it off here.
In the menu select ‘GPS’, then press OK button to enter, use the UP and DOWN buttons to scroll through options and press OK to confirm. (Yes / No)
2.5.22 Setting Speed Measurement
The speed of the vehicle can be estimated from the GPS data, this can be shown in MPH or KMH.
In the menu select ‘Speed’, then press OK button to enter, use the UP and DOWN buttons to scroll through options and press OK to confirm. (MPH/ KMH)
2.5.23 Setting Display Rotation
The screen display of this camera can be rotated UP-SIDE-DOWN for your special usage.
In the menu select ‘Video Rotation’, then press OK button to enter, use the UP and DOWN buttons to scroll through options and press OK to confirm. (Yes / No)
2.5.24 Setting LDWS (Lane Departure Warning System)
The LDWS function is used to alarm you if there is a un-expected lane departure. There are two lines shown on LDWS calibration screen, please use UP and DOWN buttons to move the bottom line to align with your car hood and the top line align with the landline, then press OK to switch and confirm.
2.5.25 Setting WDR (Wide Dynamic Range)
WDR function will help to make the darker section more light when the most view range is bright, which will help to distinguish the darker details.
In the menu select ‘WDR’, then press OK button to enter, use the UP and DOWN buttons to scroll through options and press OK to confirm (ON / OFF)
To capture GPS data while driving this setting needs to be turned "ON"
Adjust the setting to KMH for use in Australia.
Optional - Our preference is to turn off to avoid distraction and warning tones.
Turn on for better night time video recording quality.

2.6 Transferring the video files and data The data can be transferred by taking the microSD out of the dash camera and inserting into a computer with a card reader. Alternatively the dash camera can be connected directly to the PC via a USB data cable, working as a USB disk.
2.7 Playback on the TV The dash camera can be connected to the TV via AV or HDMI connection for playback on the big screen. When TV connected the device will not be able to record.
3.1 Icons Displayed During Record Mode
ICON MEANING WHITE BALANCE
Video Mode ICON MEANING
TF Card Auto
GPS Active Tungsten
V:-------MPH KM/H Estimated speed using the GPS Data
Florescent
FULL HD /1080P/720P Resolution Daylight
Loop Record Time Cloudy
Battery Level
Motion Detection ON
Recording On
Microphone On
3.2 Icons Displayed During Playback Mode.
ICON MEANING ICON MEANING
000:00:15 PLAYBACK TIME PLAY
BATTERY LEVEL PAUSE
4. Protecting Video After an Accident.
The dash camera is equipped with a G-Sensor that will automatically protect the file when the unit is shaken vigorously. If the impact is low, or you wish to save the file for another reason, please press the DOWN button when recording, the current file will be locked. It is important to lock the files you wish to keep; otherwise the loop recording will overwrite these files after some time.
5. Troubleshooting
Can’t record a video or take picturesPlease check whether the microSD card is locked for protecting, and make sure there is enough
storage space on the card if you set the Loop Recording to be OFF.
Stop automatically while recordingBecause the data stream of high-definition video is huge, please use high-speed Class 6 or Class
10 microSD card that compatible with SDHC.
It prompt “File Error” while playback the video or imageThe wrong storage of data results the file error, please use "Format" Menu to format the
microSD card before using.
No image display on TV screenPlease confirm the AV, HDMI cable is connected correctly, and the TV is set to the correct AV,
HDMI mode.
Image is blurredMaybe the lens is not clean, please check whether have dirt, fingerprint on the lens .Use lens
paper clean the lens before using. Please remember removing the protecting film on lens
before the first use.
Supply indicator doesn’t workIf the power is not powerful enough, supply indicator will not work.
Image has horizontal stripes interferenceThis due to the wrong setting of “Flicker” .Please depend on the local power supply frequency,
reset the Flicker: 50 Hz/60 Hz.
It don’t auto start recording after car power onPlease make sure the loop recording is 1/3/5 mins, not OFF, it won’t auto start recording whenloop recording is OFF; Additional, internal card can’t auto recording, you need change toexternal card.
The machine keep automatic recording and can’t stop .Maybe you have turned on the Motion Detect function; you can check whether there is an
icon on the screen. When the Motion Detect is ON, it will auto start recording when a
moving object appears within the range of camera; When the screen return to calm, the
recording will stop automatically until a moving object appears again.
Auto power off setting does not workPlease ensure that motion detection is turned off. If the motion detection is on, the machine
will always in standby mode (it will start recording when suffer dynamic objects), the machine
will not automatically shut down until the power goes off.
What can I do if the machine crashed?
If the machine crashed, press the power button for 10 to 15 seconds, the machine will reset andrestart.

6. Specification
Image Sensor 1/3inch CMOS 4 Mega-pixel sensor
Display 1.5″TFT(240×160 pixels)
Chipset Ambarella A7 solution, 1296P 30FPS
GPS Module GPS Logger (optional)
Memory microSD card up to 128 G (some model have dual-card function)
Lens 6G fixed focus F2.0
ISO Auto
Still images Format:JPEG(EXIF2.2)、DCF
Image resolution: 4M, 9M, 13M
Videos
Format:H.264 (MOV)
Resolution:2560*1080 30fps, 2304x 1296 30fps, 1920×1080 45fps, HDR 1920
×1080 30fps, 1280×720 60fps
Audio Built-in microphone/ speaker(AAC)
Exposure
compensation -2.0EV~+2.0EV
Loop Recording OFF, 1 min, 3 mins, 5mins
Auto Power Off OFF, 1 min, 3 mins, 5mins
Auto Screen off OFF, 1 min, 3 mins, 5mins
PC Interface USB2.0(High-speed)
Output HDMI , Audio-Video output
AV Output
Format NTSC/PAL
Battery Built-in polymer battery 3.7V, 320mAh.

Notes
This manual is for guidance and has been produced based on the model as of June2014. This technology is often refined and updated so the information contained in this manual may be different with the updated models.