microprocessors and microcontrollers (practical)...introduction to arduino arduino is a tool for...
TRANSCRIPT

Microprocessors And Microcontrollers (Practical)
By: Dr. Attiya Baqai
Semester : 4th , 5th (TL, ES) Assistant Professor,
Course Code : ES256 , ES313 Department of
Electronics, MUET.

Introduction to Arduino Boards Programming & Simulation
10
By: Dr. Attiya Baqai
Semester : 4th , 5th (TL, ES) Assistant Professor,
Course Code : ES256 , ES313 Department of
Electronics, MUET.

Key Concepts
◉ Arduino Boards
◉ Arduino IDE
◉ Adding Arduino library in Proteus
◉ Arduino Programming Basics
Digital
Analog
Serial

Introduction to Arduino
◉ Arduino is a tool for making computers that can sense and control more of the physical world than your desktop computer.
◉ open-source physical computing platform
◉ Based on Atmel's ATMEGA8 and ATMEGA168 microcontrollers.
◉ The language can be expanded through C++ libraries
◉ Inexpensive
◉ Cross-platform
◉ Simple, clear programming environment
◉ You can add AVR-C code directly into your Arduino

Some Arduino Boards
◉ Arduino Uno
◉ Arduino Mega 1280
◉ Arduino Mega 2560

Arduino UNO

Arduino UNO

Arduino UNO Specifications
◉ Microcontroller ATmega328
◉Operating Voltage 5V
◉Input Voltage (recommended) 7-12V
◉Input Voltage (limits) 6-20V
◉Digital I/O Pins 14 (of which 6 provide PWM output)
◉Analog Input Pins 6
◉DC Current per I/O Pin 40 mA
◉DC Current for 3.3V Pin 50 mA
◉Flash Memory 32 KB (ATmega328)
◉SRAM 2 KB (ATmega328)
◉EEPROM 1 KB (ATmega328)
◉Clock Speed 16 MHz

Arduino Mega 2560

Arduino Mega2560 Specifications
◉ Microcontroller ATmega2560
◉ Operating Voltage 5V
◉ Input Voltage (recommended) 7-12V
◉ Input Voltage (limits) 6-20V
◉ Digital I/O Pins 54 (15 PWM output)
◉ Analog Input Pins 16
◉ DC Current per I/O Pin 40 mA
◉ DC Current for 3.3V Pin 50 mA
◉ Flash Memory 256 KB
◉ SRAM 8 KB
◉ EEPROM 4 KB
◉ Clock Speed 16 MHz

Arduino IDE
Default Sketch Name
Verify/ Compile Upload New Open Save


Digital I/O
◉ pinMode()
◉ digitalWrite()
◉ digitalRead()
pinMode()
Description: Configures the specified pin to behave either as an input or an output.
Syntax: pinMode(pin, mode);
Parameters
pin: the number of the pin whose mode you wish to set
mode: INPUT, OUTPUT, or INPUT_PULLUP.
Returns: None

Digital I/O
digitalWrite()
◉ Description: Write a HIGH or a LOW value to a digital pin.
◉ Syntax: digitalWrite(pin, value)
◉ Parameters
pin: the pin number
value: HIGH or LOW
Returns: none

Digital I/O
◉digitalRead()
◉Description: Reads the value from a specified digital pin, either HIGH or LOW.
◉Syntax
digitalRead(pin);
◉Parameters
pin: the number of the digital pin you want to read (int)
Returns: HIGH or LOW

Serial
◉ Serial.available()
◉ Serial.begin (speed)
◉ Serial.read()
◉ Serial.write(val) , Serial.write(str) ,Serial.write(buf, len)
◉ Serial.print( ), Serial.println( )
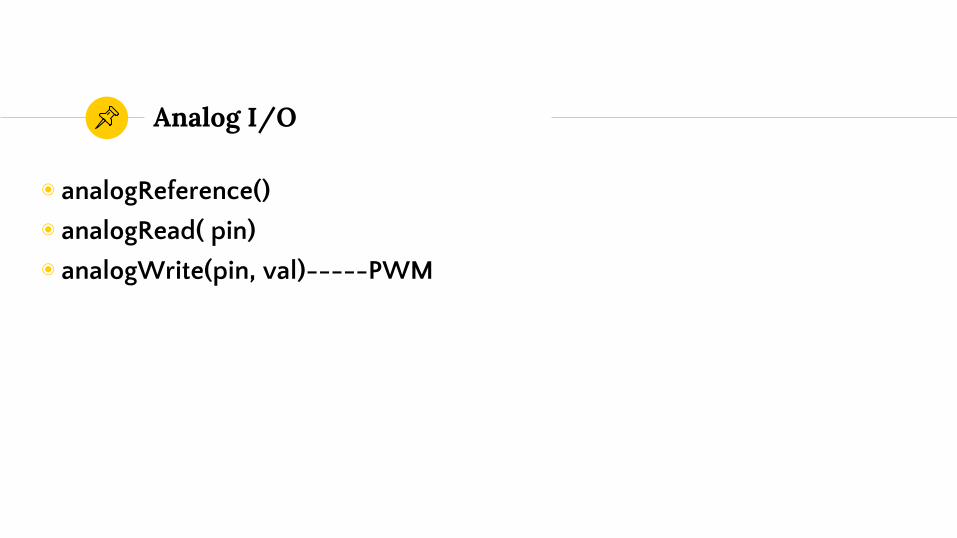
Analog I/O
◉ analogReference()
◉ analogRead( pin)
◉ analogWrite(pin, val)-----PWM

Steps to program in Arduino IDE and simulate in Proteus.
◉ Open new sketch
◉ Write program to be executed once in setup while code to be repeated in void loop
◉ Verify/ Compile program
◉ Export compiled Binary from Sketch menu
◉ Locate its Hex file with and without Boot loader ( use without Boot loader Hex file for Proteus linking).
◉ Select Arduino UNO R3 from pick components in Proteus, if not found first download Arduino.IDX & Arduino.LIB and copy these file in LIBRARY folder where Proteus is installed in your system.
◉ Restart Proteus to see the added library and use it.

Serial Programming E.g 1: Display text serially on Virtual Terminal/ Serial Monitor
void setup() {
// Open serial communications and wait for port to open:
Serial.begin(9600);
while (!Serial) {
; // wait for serial port to connect. Needed for native USB port only
} // end of while
} // end of setup
void loop() {
Serial.println("This is our last lab ");
} // end of loop

Serial Programming E.g 1: Display text serially on Virtual Terminal/ Serial Monitor
‘Check’ this Check Box

Locating Path of Hex file
Last line from compilation log will show the path of Hex File

E.g 2: Display the status of a switch serially on Virtual Terminal/ Serial Monitor and turn an LED ON/OFF accordingly
int pushButton = 2;
int led=3;
void setup() {
Serial.begin(9600);
pinMode(pushButton, INPUT);
pinMode(led, OUTPUT);} // end of setup
void loop() {
int buttonState = digitalRead(pushButton);
digitalWrite(led,buttonState);
Serial.println(buttonState);
delay(1); // delay in between reads for stability
}

Proteus Schematic
Proteus Simulation for e.g. 2

E.g 3: Display the reading from temperature sensor LM35 on Virtual Terminal/ Serial Monitor
int val;
int tempPin=1;
void setup() {
Serial.begin(9600);
}
void loop() {
val=analogRead(tempPin);
float mv=(val/1024.0)*5000;
float cel=mv/10;
Serial.print("TEMPERATURE= ");
Serial.print(cel);
Serial.print(" C");
Serial.println( );
delay(1000);
}

Proteus Simulation for E.g.3

Tasks:
◉ 1. Upload the program from Examples/ Communication/ ASCII Table and observe the effect on Virtual Terminal
◉ 2. Consider that a potentiometer is connected to an analog input pin, write a program that reads that voltage and turns ON a specific LED according to the given input:
◉ If voltage is in between 0 to 2, the LED on pin:13 is turned ON.
◉ If voltage is in between 2 to 3.5, the LED on pin:14 is turned ON.
◉ If voltage is in between 3.5 to 5, the LED on pin:15 is turned ON.

Tasks
◉ 3.Design a system, that continuously checks Serial data, if data is “FAN”, it should turn on FAN and turn off HEATER, and if received data is “HTR”, the heater should turn ON and Fan OFF.
Device
Heater
Arduino UNO
Fan Rx 12
3

Tasks:
◉ 4. Read data from Serial port and if data on Serial port is x, your name should be sent over serial port.

Any questions ?
Thanks!