mappler mobile – iphone prepared by vertices [email protected]
TRANSCRIPT

Mappler Mobile – iPhone
Prepared by VERTICES

Downloading Mappler Mobile on your iPhone
• Click on “App Store”
• Search “Mappler Mobile”, click on the icon
• Install “Mappler Mobile”

Syncing Mappler Mobile on your iPhone
• Click the “Community Site” button
• Enter the site and key provided to you
• You’re ready to use your app!
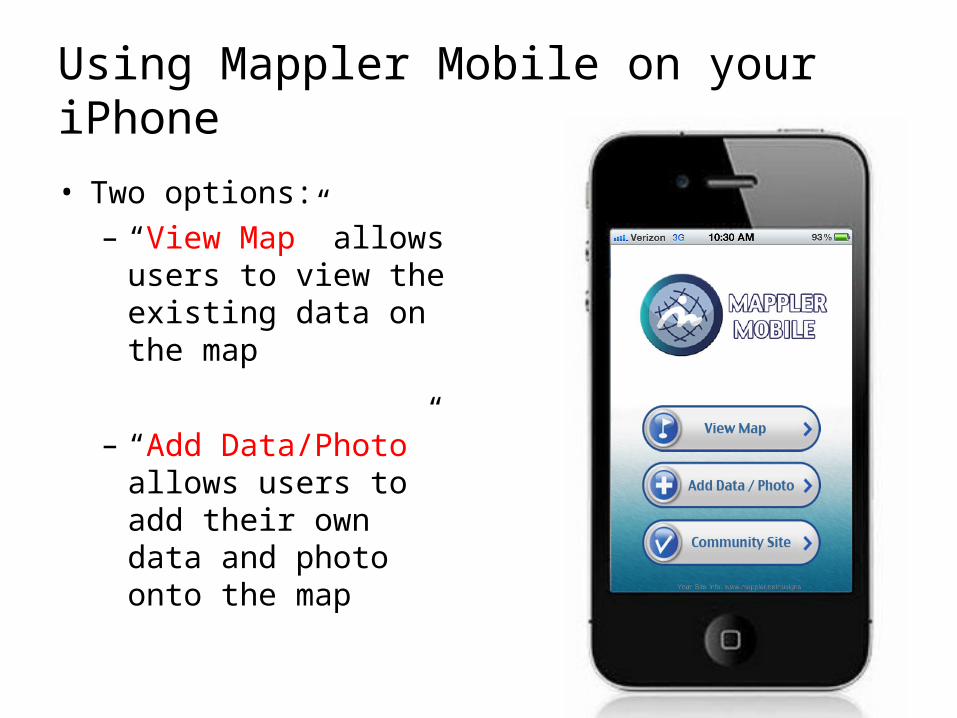
Using Mappler Mobile on your iPhone
• Two options:– “View Map” allows
users to view the existing data on the map
– “Add Data/Photo” allows users to add their own data and photo onto the map

View Map
After clicking “View Map”,
• The app will locate the users GPS location
• Click on any point to view the information
• Click the “Home” (depicted by a house) button to return to the main menu

Add Data / Photo – Choosing your location
After clicking “Add Data/Photo”,
• The app will locate the user’s GPS location
• User can click and drag the pin to any desired location
• Click the “Next” (right arrow) button to continue

Add Data / Photo on iOS6 Software – Choosing your location
After clicking “Add Data/Photo”,
• The app will locate the user’s GPS location
• User can tap and let go of desired location and the pin will automatically move there.
• Click the “Next” (right arrow) button to continue
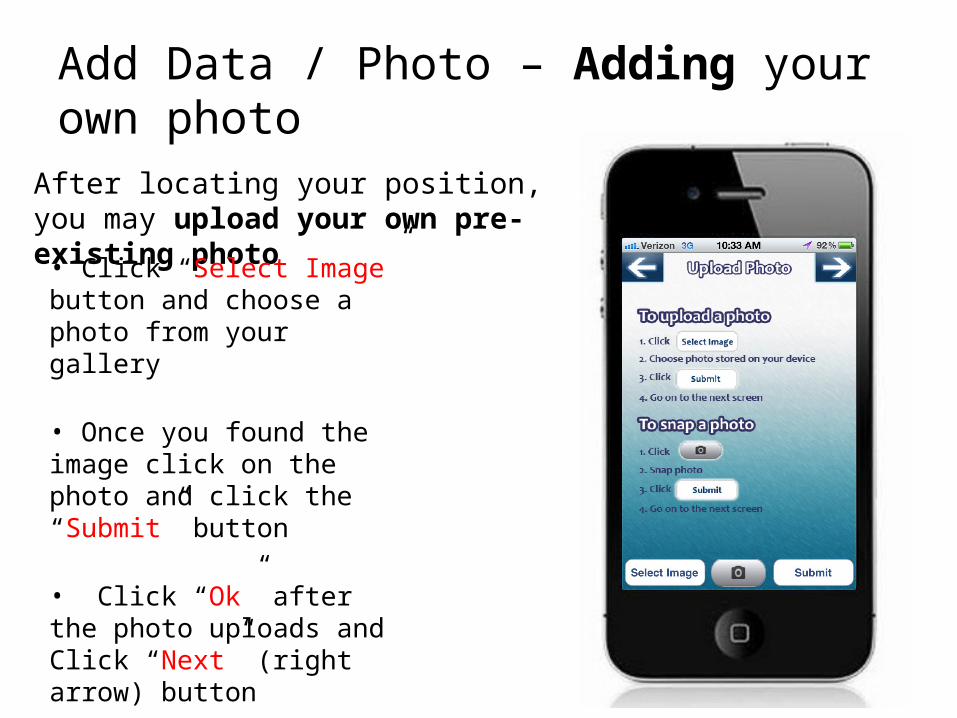
Add Data / Photo – Adding your own photo
After locating your position, you may upload your own pre-existing photo
• Click “Select Image” button and choose a photo from your gallery
• Once you found the image click on the photo and click the “Submit” button
• Click “Ok” after the photo uploads and Click “Next” (right arrow) button

Add Data / Photo – Snapping your photo
After locating your position, you may snap your own photo
• Click the Camera button to take you to the iPhone camera• Snap a photo by clicking the Camera button on the bottom• Select “Use” to use your photo• Your photo will preview. Click “Submit”• Click “Ok” after the photo uploads and click “Next” (right arrow) button
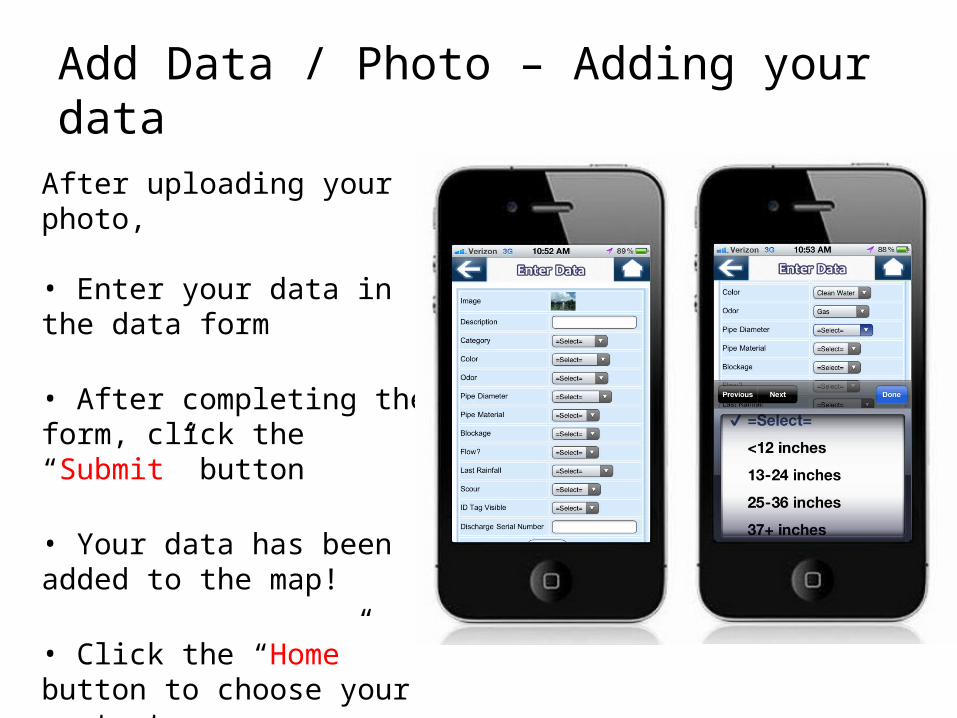
Add Data / Photo – Adding your data
After uploading your photo,
• Enter your data in the data form
• After completing the form, click the “Submit” button
• Your data has been added to the map!
• Click the “Home” button to choose your next step