making a jointing sleeve of an arlc cable (draka) 1 kv joint_eng.pdf · ando kuusik te connectivity...
TRANSCRIPT

Ando Kuusik TE Connectivity
1
Making a jointing sleeve of an ARLC cable (DRAKA) (1 kV exterior lighting power cable with aluminium conductors and copper signal conductor)

Ando Kuusik TE Connectivity
2
Remove the external cover of the cable (see the figure).
a = 170 mm;b = 80 mm.
Making a jointing sleeve of an ARLC cable (DRAKA)(1 kV exterior lighting power cable with aluminium conductors and copper signal conductor)Jointing sleeve POLJ-01/4x10-35

Ando Kuusik TE Connectivity
3
Make sure not to damage the insulation of the internal conductors.

Ando Kuusik TE Connectivity
4
Coarsen about 150 mm of the end of the external cover using a steel brush.

Ando Kuusik TE Connectivity
5
Remove the insulation from shorter conductors until the marking:I = depth of jointing contactor opening.
Ando Kuusik TE Connectivity
6
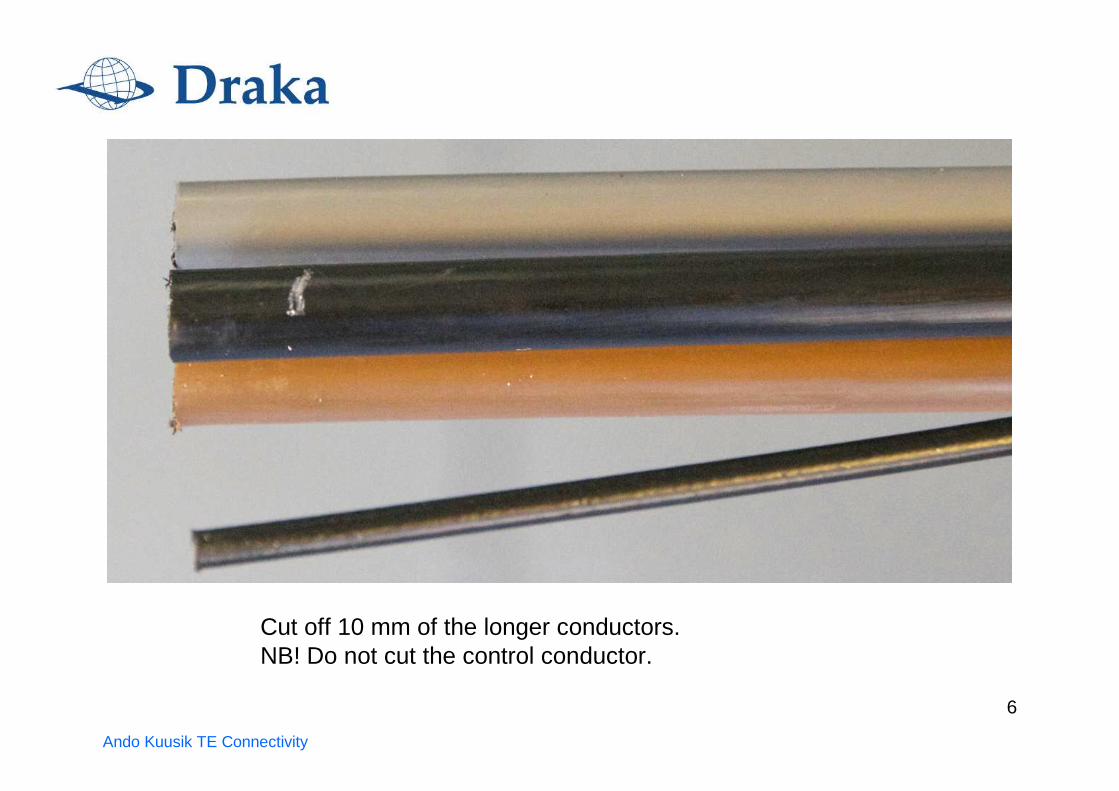
Cut off 10 mm of the longer conductors. NB! Do not cut the control conductor.

Ando Kuusik TE Connectivity
7
Make sure that the control conductor remains 10 mm longer than the other conductors.

Ando Kuusik TE Connectivity
8
Remove the insulation from the conductor ends according to the depth of the jointing sleeve opening.Remove 7.5 mm of insulation from the ends of the control conductors.

Ando Kuusik TE Connectivity
9
Put the large external sleeve onto one cable.Put the internal sleeves onto the longer conductors.
Ando Kuusik TE Connectivity
10
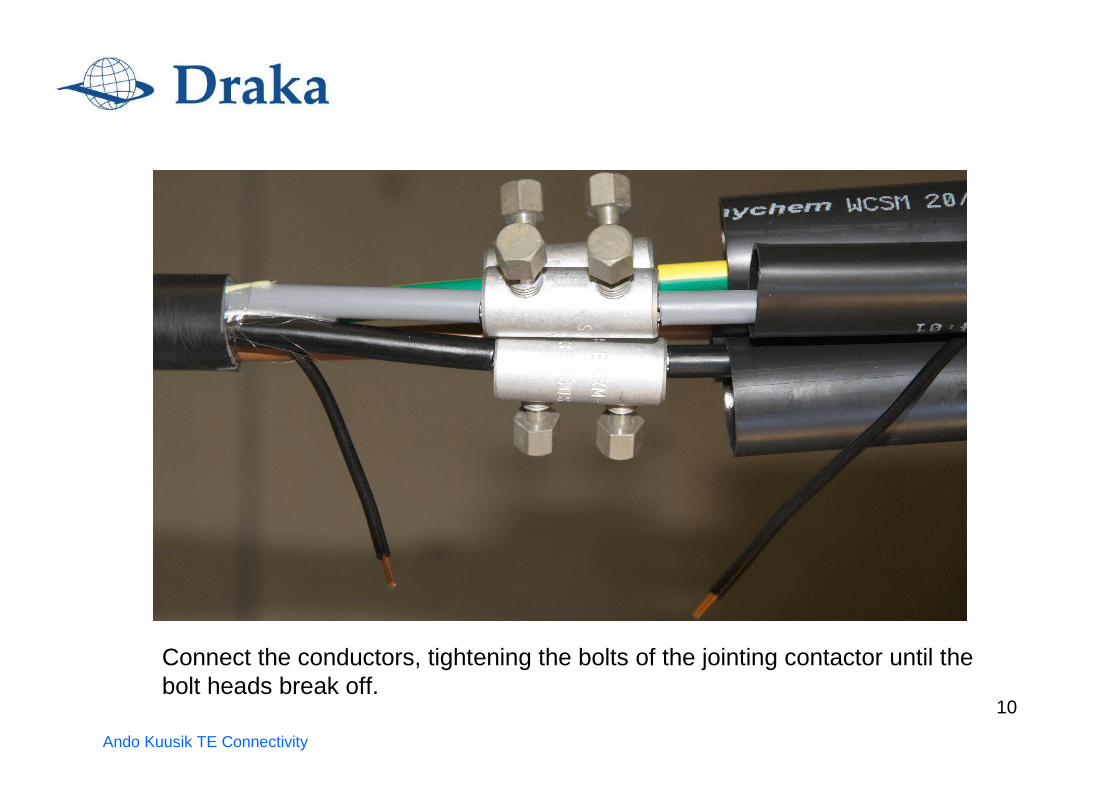
Connect the conductors, tightening the bolts of the jointing contactor until the bolt heads break off.
Ando Kuusik TE Connectivity
11
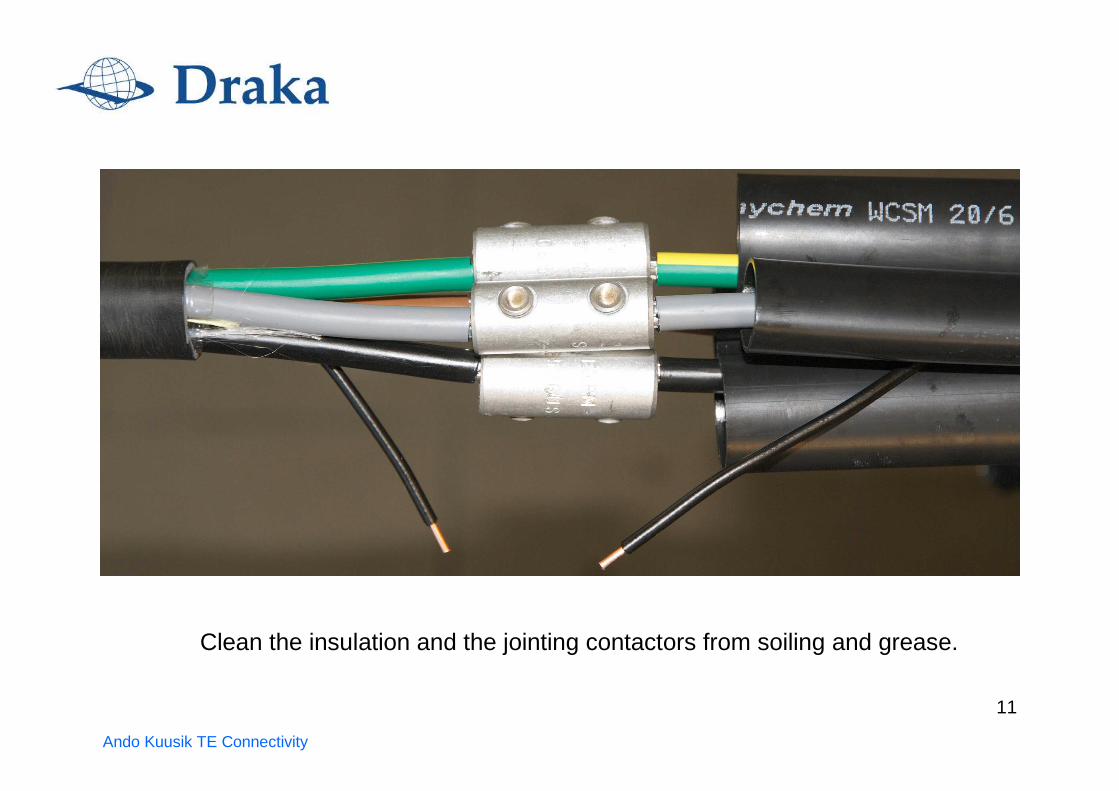
Clean the insulation and the jointing contactors from soiling and grease.

Ando Kuusik TE Connectivity
12
Put the internal sleeves onto the jointing contactors (in the middle).

Ando Kuusik TE Connectivity
13
Start shrinking from the middle, moving towards the sleeve ends.Heat the sleeves also in-between the contactors.

Ando Kuusik TE Connectivity
14
Install a DuraSeal insulated jointing sleeve.

Ando Kuusik TE Connectivity
15
Press the contact together, using suitable pressing pliers,e.g. Tyco Electronics Raychem AD-1522-1.

Ando Kuusik TE Connectivity
16
Heat the pressed DuraSeal contactor with hot air, until the sleeveshrinks and the glue starts to flow.

Ando Kuusik TE Connectivity
17
Install the external hot-shrinking sleeve onto the shrunk sleeve (in the middle) and shrink the external sleeve. Start shrinking from the middle of the external sleeve and move towards its ends.
The jointing sleeve is ready. Let the sleeve cool down before subjecting it to any mechanical forces.