mac smb how to guide - metro sales inc. (windows) ” and the checkbox ... mac smb how to guide...
TRANSCRIPT
1 | P a g e
Scan to Folder on Konica MFP's
How to setup Scan to Folder on Mac 10.6
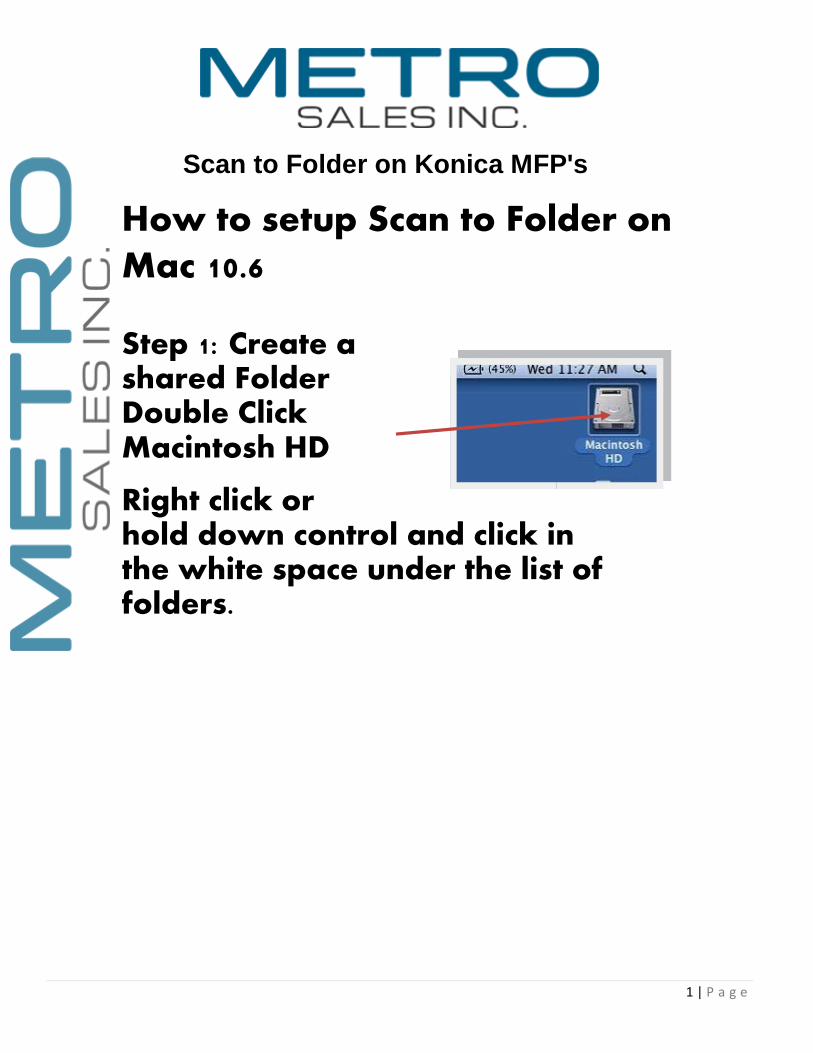
Step 1: Create a shared Folder
Double Click Macintosh HD
Right click or hold down control and click in the white space under the list of folders.

2 | P a g e
Scan to Folder on Konica MFP's
Select “New Folder”
3 | P a g e
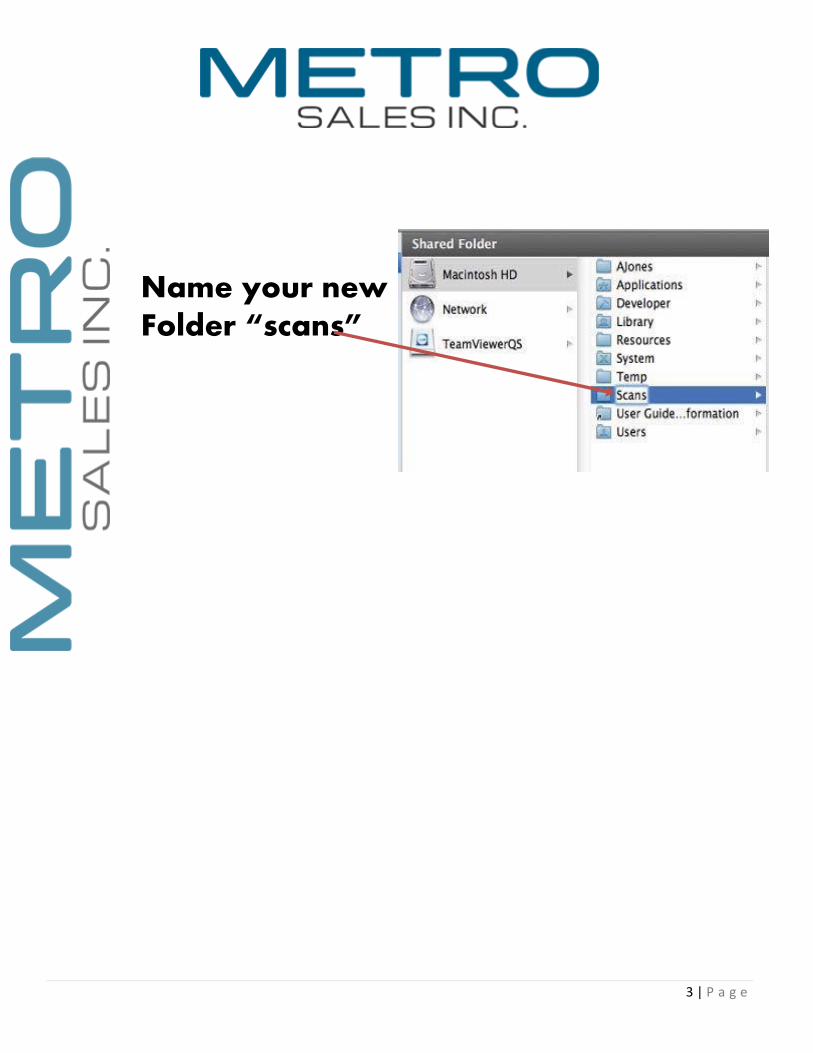
Name your new
Folder “scans”

4 | P a g e
Click on the Apple
Icon
Select
“System
Preferences…”

5 | P a g e
Select “Sharing”
Check the “File Sharing” box Box
and select “Options…”
6 | P a g e
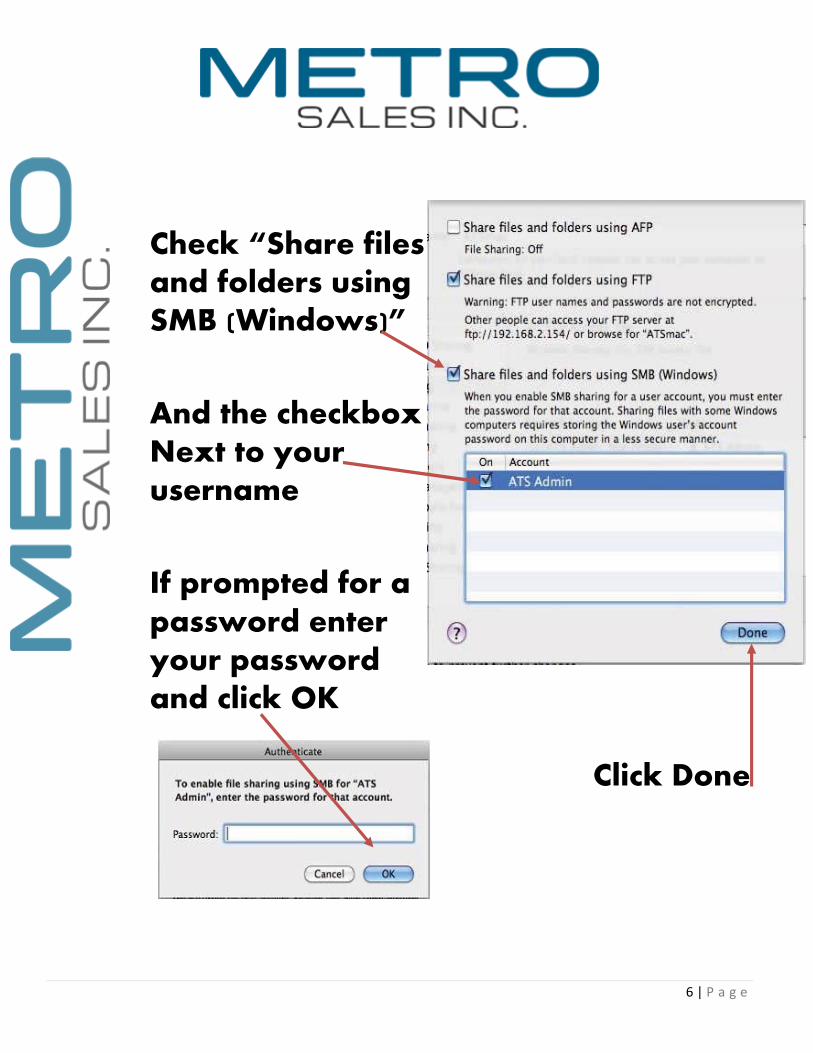
Check “Share files
and folders using
SMB (Windows)”
And the checkbox
Next to your
username
If prompted for a
password enter
your password
and click OK
Click Done

7 | P a g e
Make a note of the username and password in the space below (it will be needed later).
Username ________________
Password ________________
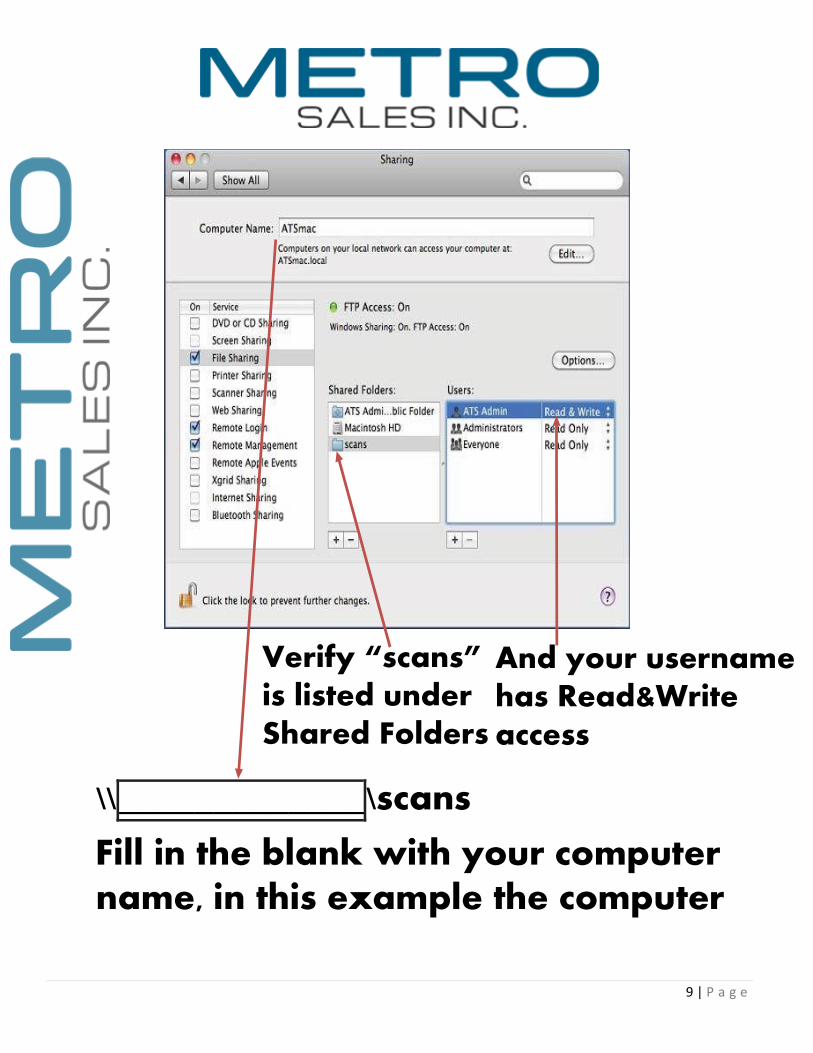
In the Sharing window,
click the + sign under
shared folders.
8 | P a g e
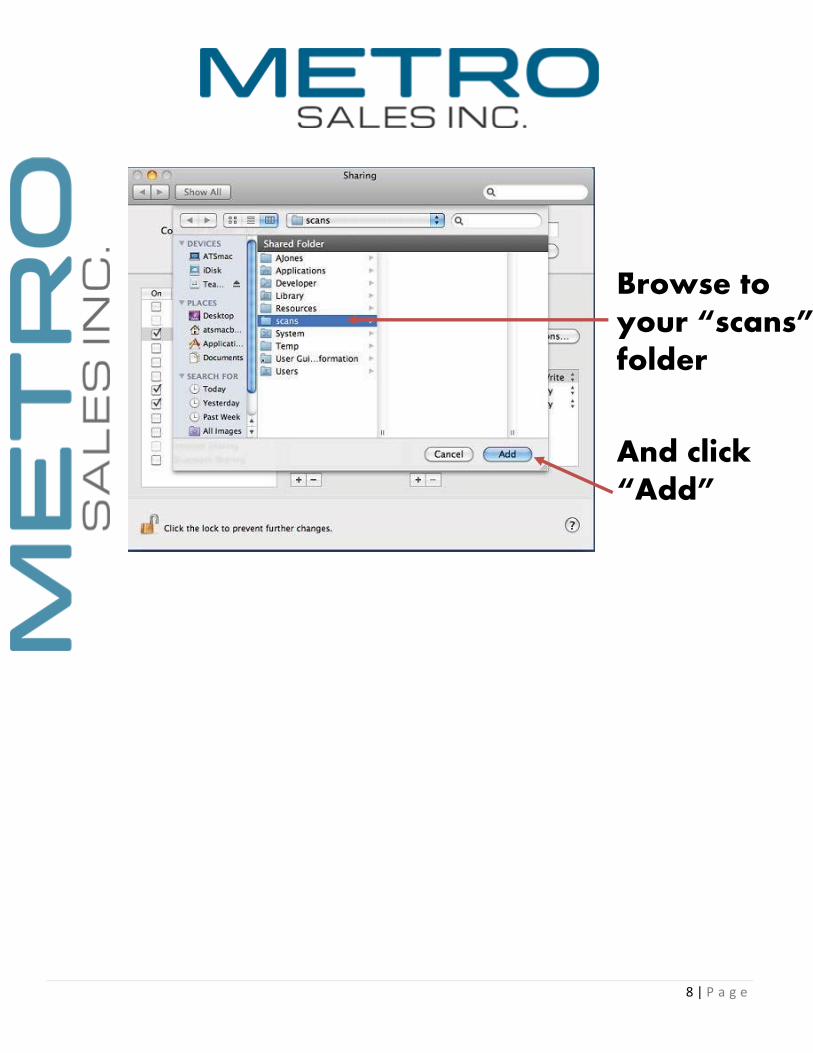
Browse to
your “scans”
folder
And click
“Add”
9 | P a g e
\\_____________\scans
Fill in the blank with your computer name, in this example the computer
Verify “scans”
is listed under
Shared Folders
And your username
has Read&Write
access

10 | P a g e
name is ATSmac so above would read “\\ATSmac\scans”

11 | P a g e
MFP Setup These instructions will work for most MFPs; you may need to refer to Operating
Instructions or the Metro Sales Connectivity Helpdesk: (612)798-1348 or email
us at [email protected] for further assistance.
What you will need
The share path from page 6
The IP address of the Konica, described on next page
Once we have the required information open a web browser such as Internet
Explorer and erase everything in the address bar and type in the IP address of
your machine (i.e. 192.168.1.200 and hit enter. It will load up the web interface
for your Konica. Once loaded, click on Public User and Login if not already
logged in.

12 | P a g e
To find the IP address you need to print out a configuration page.
1. Press Utility/Counter
2. User Settings
3. Printer Settings
4. Print Reports
5. Configuration Page
6. Start
7. Then hit Reset to exit user settings
On Configuration page locate IP address :
13 | P a g e
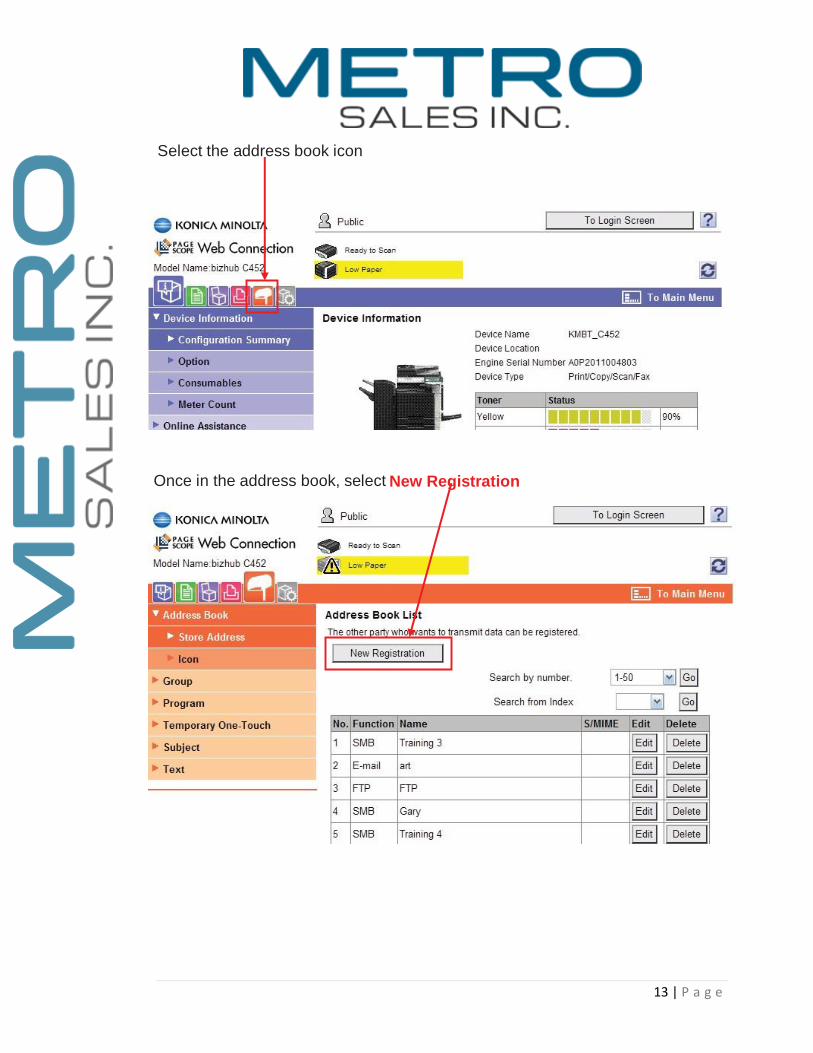
Once in the address book, select New Registration
S elect the address book icon

14 | P a g e
You will now want to select SMB .
Then fill in the name that you want to appear on the scan button
Select Alphabetical index and “ Main ” if you want on first screen
Check bo x ande nter the HOST NAME in all caps from page 5) (
Enter FILE PATH in all caps 5) from page (
Enter Login name and password for the destination PC
Name
Mno
U SER-PC
SCANS
Login Name
Password
x

15 | P a g e
You should now be ready to do a test scan. If it goes through you are all set.
If not feel free to give our printing/scanning helpdesk a call at (612)7981348
or email us at [email protected]