line follower coding instructions - district 89 · line follower coding instructions before you...
TRANSCRIPT
Line Follower Coding Instructions
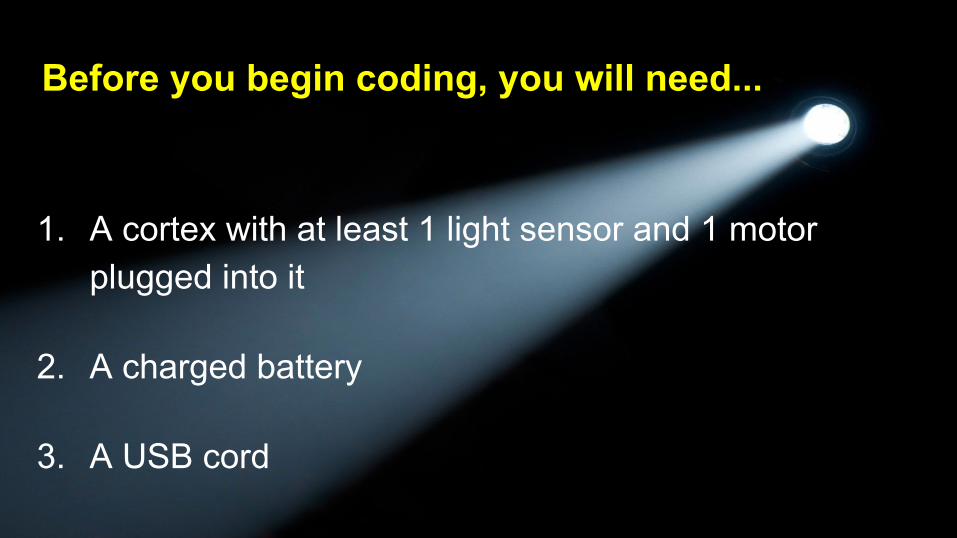
Before you begin coding, you will need...
1. A cortex with at least 1 light sensor and 1 motor plugged into it
2. A charged battery
3. A USB cord

1. Open up your ROBOTC program so that you see this screen

2. Go to FILE ---> Open Sample Program

3. Click on Sample Program on the top bar.
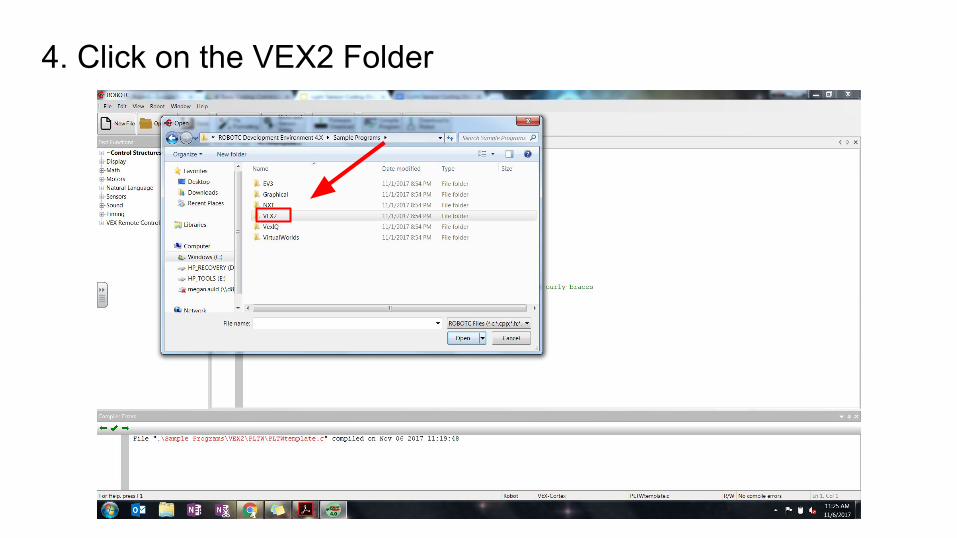
4. Click on the VEX2 Folder
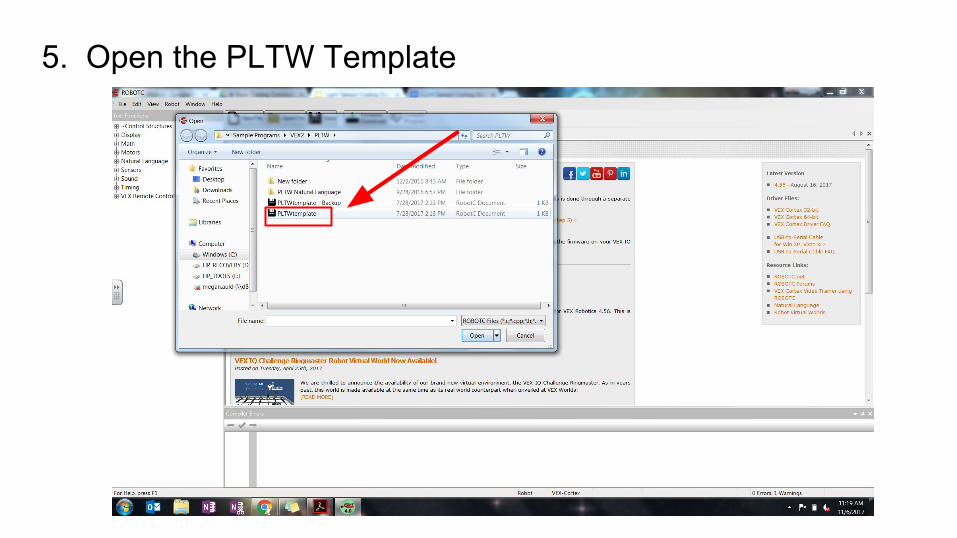
5. Open the PLTW Template

6. Type in your project information and task description.

7. Type out your pseudocode.

8. Drag and drop the codes you need (you will need untilLight for a covered light sensor)

9. Set up your Motor and Sensors
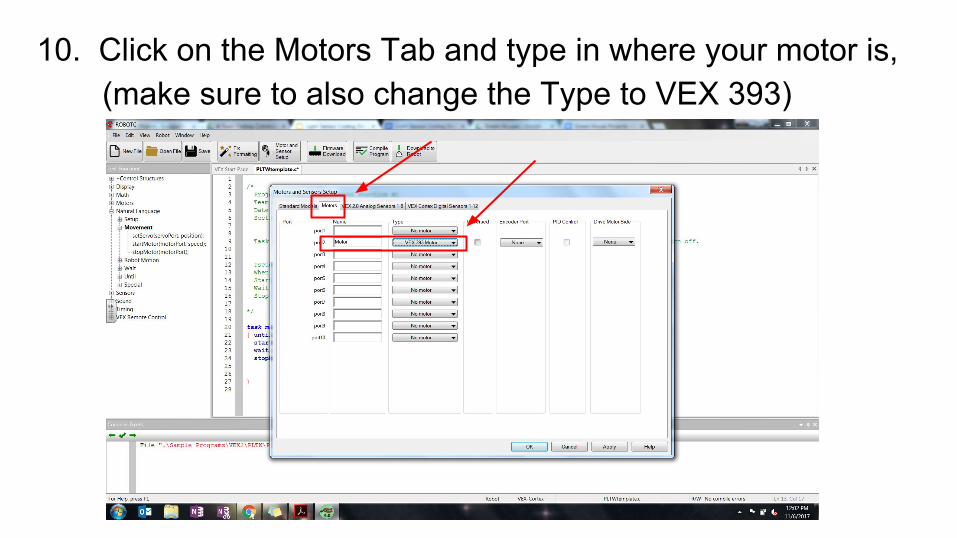
10. Click on the Motors Tab and type in where your motor is, (make sure to also change the Type to VEX 393)

11. Click on the “VEX Analog Sensors” Tab and code your light sensor into in1

12. Click “Apply”

13. Click “Okay”

14. Add sensor values to your code (use 1000 for your light sensor value for now)
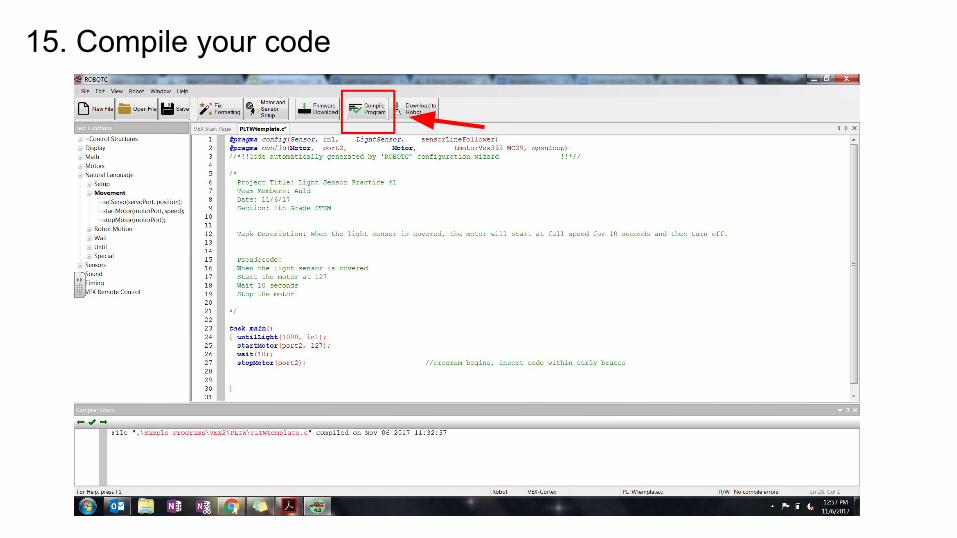
15. Compile your code

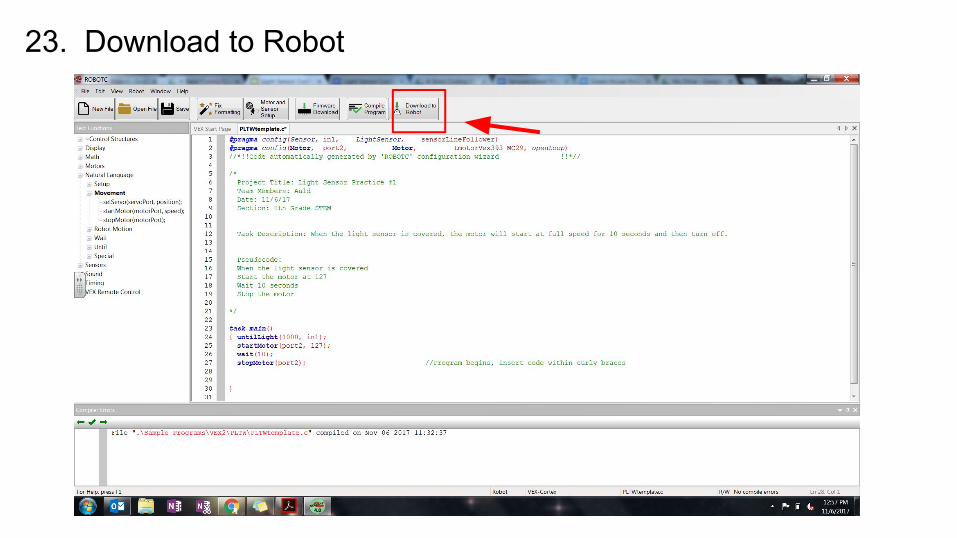
16. Download to Robot

17. Go to “Robot” ---> “Debugger Window” ----> Check both motors and sensors.

18. You should see a window at the bottom of your screen with values for each sensor you have plugged in.

19. Experiment with covering and uncovering your light sensor, what happens to the value of the red numbers?

20. Find a threshold value for your line follower. This value should be less than the value while it is uncovered and more than the value while the sensor is covered with your hand. This will be the value you us in your code.

21. Once you have found your threshold value enter it into your code.

22. Compile your code
23. Download to Robot

24. Press start and see if your code works! (Put your hand over the light sensor and test it)