lecture # 9 hardware sensor. topics 2 sensormanger & sensor sensorevent &...
TRANSCRIPT

Lecture # 9Hardware Sensor
Eng. Ruba A. Salamah
ECOM 5341 Mobile Computing(Android)
2
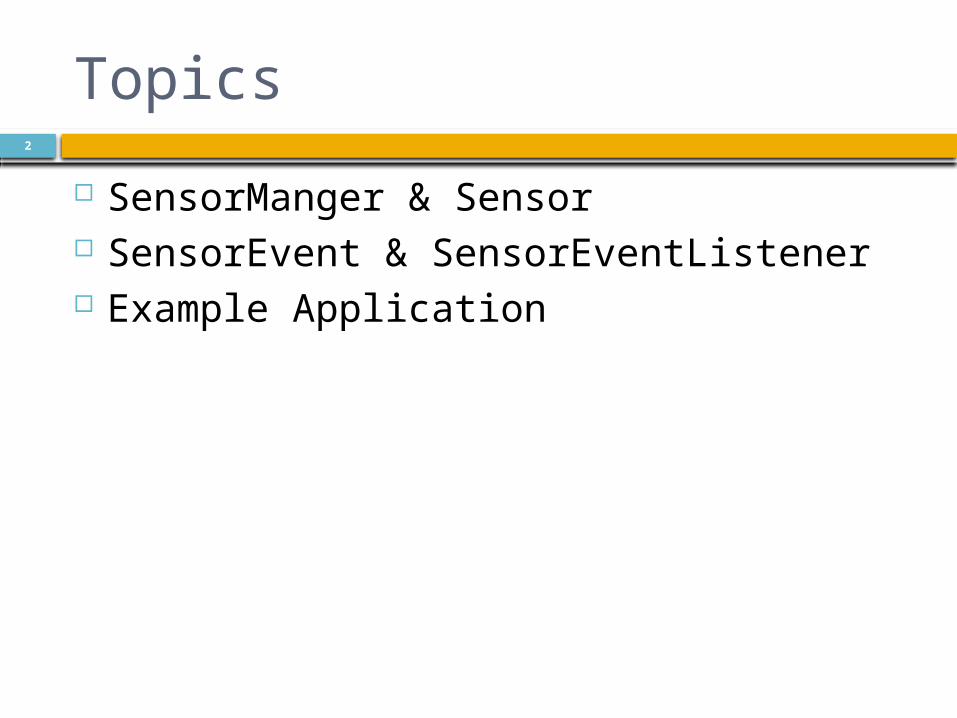
Topics
SensorManger & Sensor SensorEvent & SensorEventListener Example Application
3
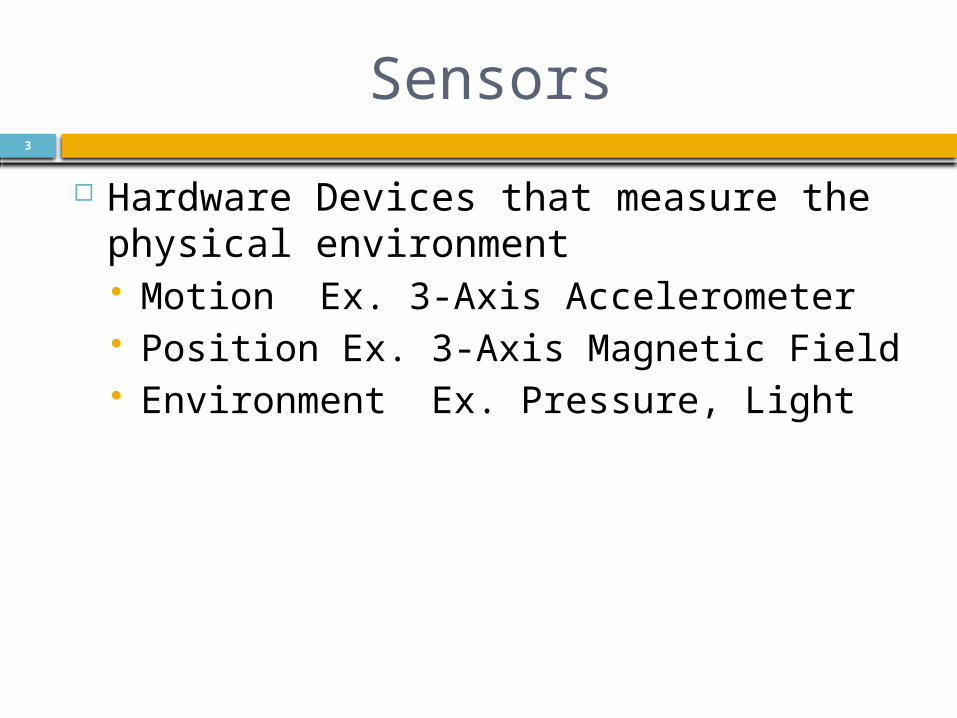
Sensors
Hardware Devices that measure the physical environment Motion Ex. 3-Axis Accelerometer Position Ex. 3-Axis Magnetic Field Environment Ex. Pressure, Light
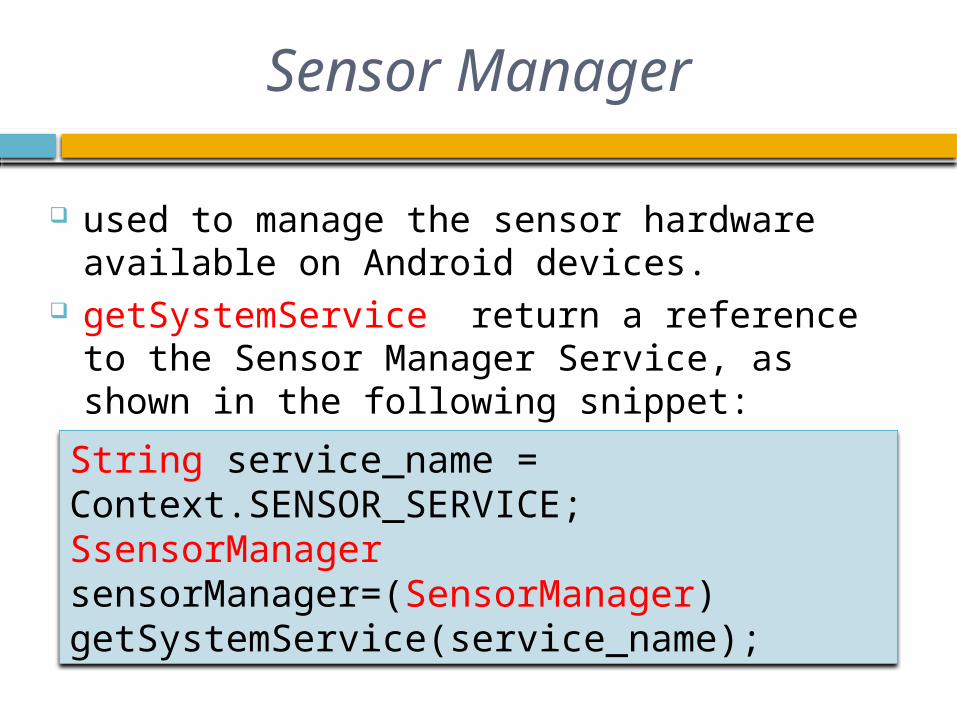
used to manage the sensor hardware available on Android devices.
getSystemService return a reference to the Sensor Manager Service, as shown in the following snippet:
Sensor Manager
String service_name = Context.SENSOR_SERVICE;SsensorManager sensorManager=(SensorManager) getSystemService(service_name);
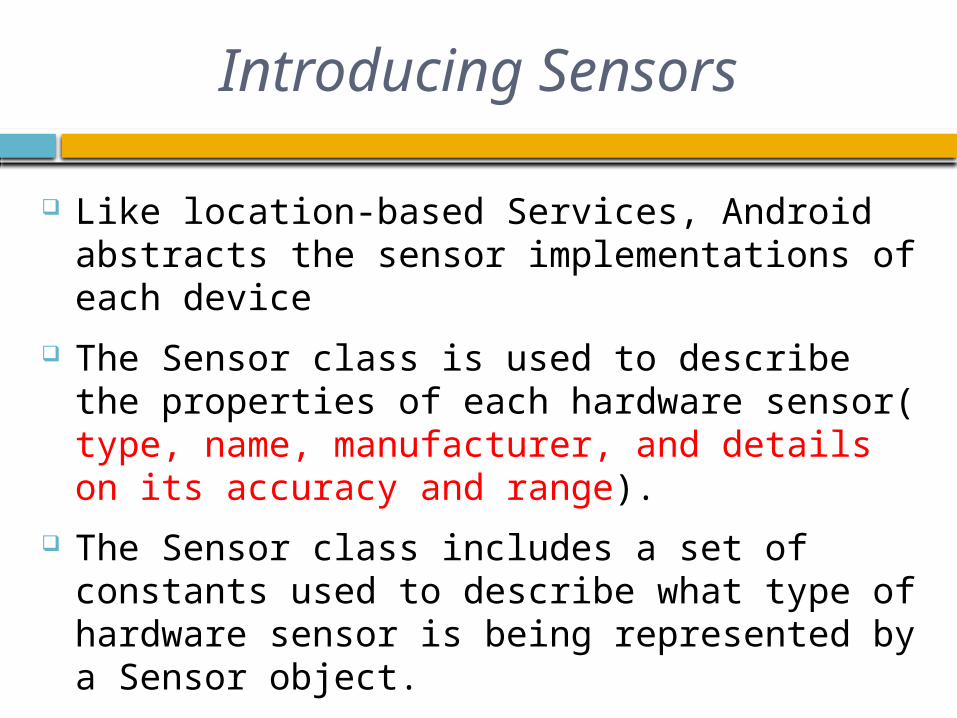
Like location-based Services, Android abstracts the sensor implementations of each device
The Sensor class is used to describe the properties of each hardware sensor( type, name, manufacturer, and details on its accuracy and range).
The Sensor class includes a set of constants used to describe what type of hardware sensor is being represented by a Sensor object.
Introducing Sensors

Sensor.TYPE_ACCELEROMETER Sensor.TYPE_GYROSCOPE Sensor.TYPE_LIGHT Sensor.TYPE_MAGNETIC_FIELD Sensor.TYPE_ORIENTATION Sensor.TYPE_PRESSURE Sensor.TYPE_PROXIMITY Sensor.TYPE_TEMPERATURE
Supported Android Sensors
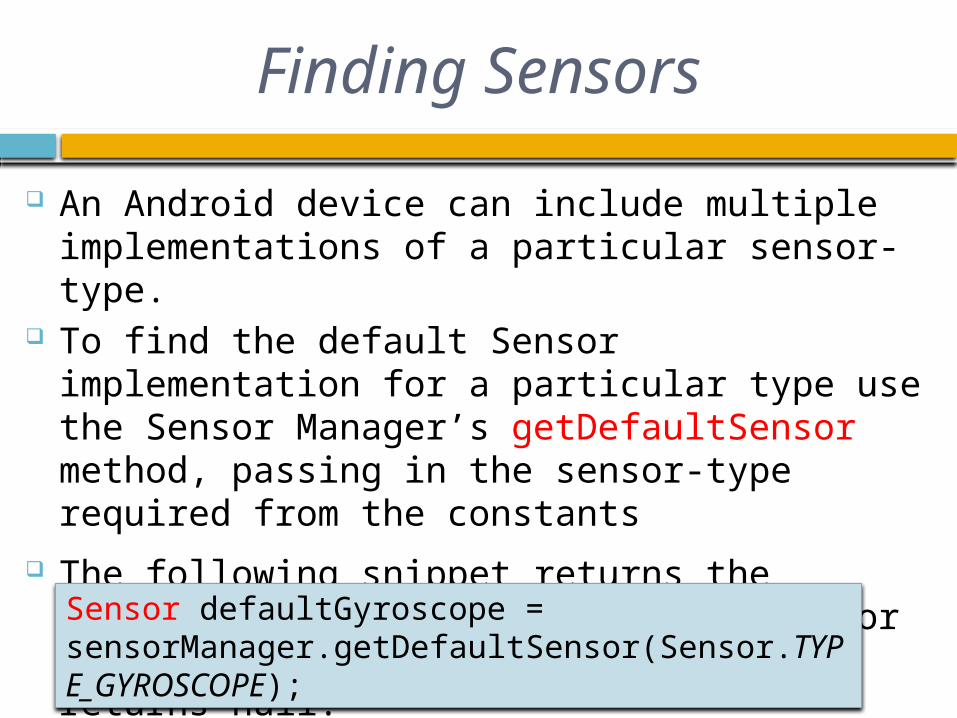
An Android device can include multiple implementations of a particular sensor-type.
To find the default Sensor implementation for a particular type use the Sensor Manager’s getDefaultSensor method, passing in the sensor-type required from the constants
The following snippet returns the default gyroscope. If no default Sensor exists for the given type, the method returns null.
Finding Sensors
Sensor defaultGyroscope = sensorManager.getDefaultSensor(Sensor.TYPE_GYROSCOPE);
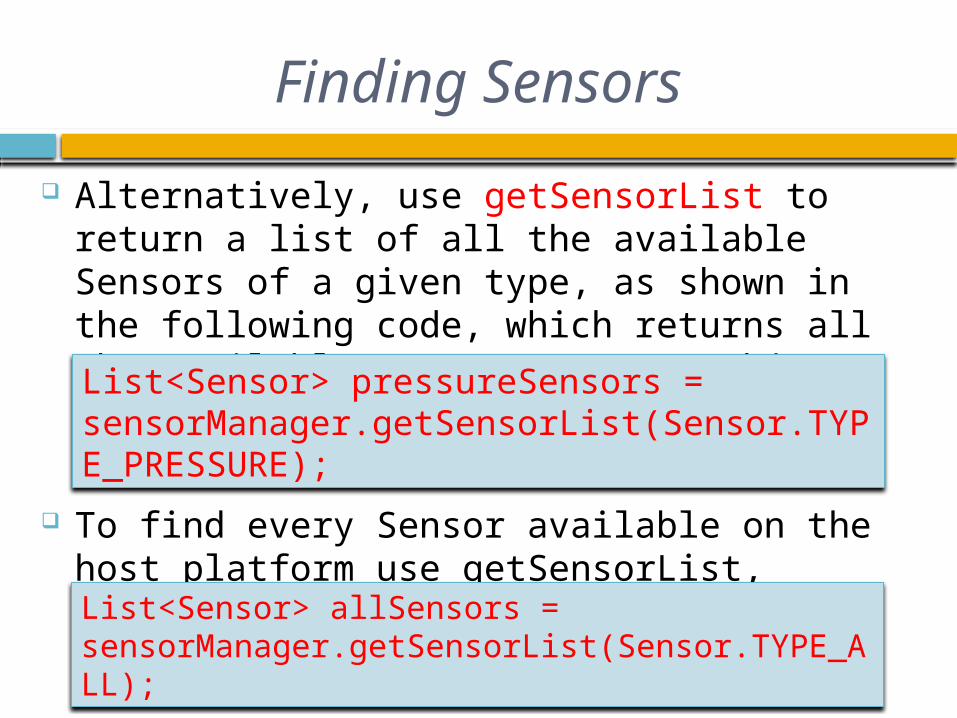
Alternatively, use getSensorList to return a list of all the available Sensors of a given type, as shown in the following code, which returns all the available pressure sensor objects:
To find every Sensor available on the host platform use getSensorList, passing in Sensor.TYPE_ALL, as shown here:
Finding Sensors
List<Sensor> pressureSensors = sensorManager.getSensorList(Sensor.TYPE_PRESSURE);
List<Sensor> allSensors = sensorManager.getSensorList(Sensor.TYPE_ALL);

Listening for Sensors
Accuracy:– SensorManager.SENSOR_STATUS_ACCURACY_LOW– SensorManager.SENSOR_STATUS_ACCURACY_MEDIUM– SensorManager.SENSOR_STATUS_ACCURACY_HIGH– SensorManager.SENSOR_STATUS_ACCURACY_UNRELIABL

The SensorEvent parameter in the onSensorChanged method includes four properties used to describe a Sensor event: Sensor Accuracy Values Timestamp
You can monitor changes in the accuracy of a Sensor separately, using the onAccuracyChanged method.
Using Sensors

In both handlers the accuracy value represents feedback from the monitored Sensor’s accuracy, using one of the following constants: SensorManager.SENSOR_STATUS_ACCURACY
_LOW SensorManager.SENSOR_STATUS_ACCURACY
_MEDIUM SensorManager.SENSOR_STATUS_ACCURACY
_HIGH SensorManager.SENSOR_STATUS_UNRELIABL
E
Using Sensors
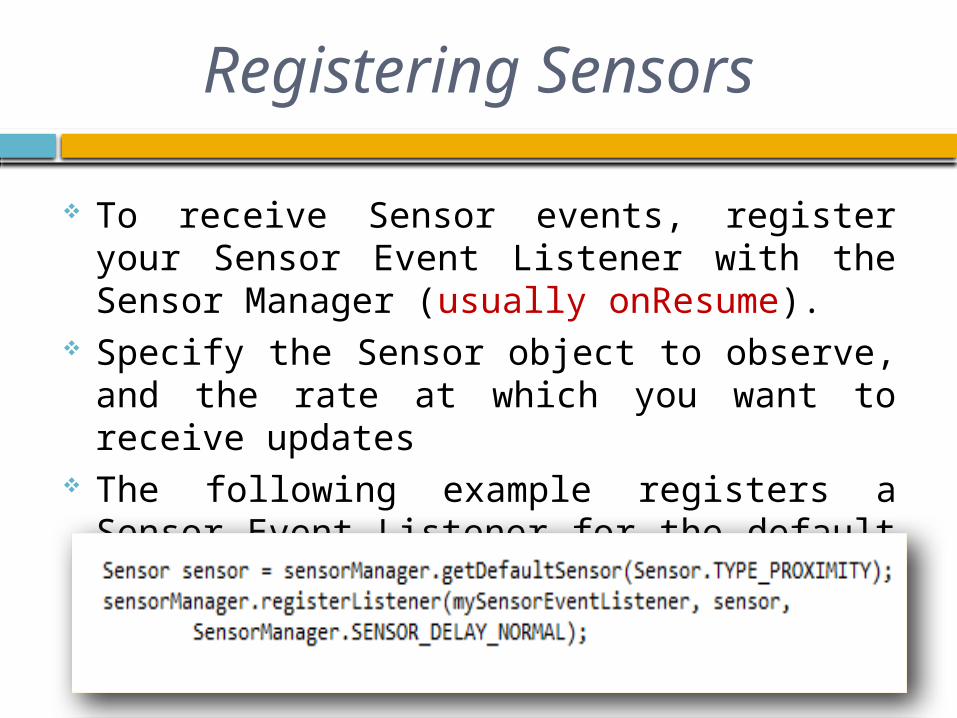
To receive Sensor events, register your Sensor Event Listener with the Sensor Manager (usually onResume).
Specify the Sensor object to observe, and the rate at which you want to receive updates
The following example registers a Sensor Event Listener for the default proximity Sensor at the normal update rate:
Registering Sensors

The Sensor Manager includes the following constants (shown in descending order of responsiveness) to let you select a suitable update rate: SensorManager.SENSOR_DELAY_FASTEST SensorManager.SENSOR_DELAY_GAME SensorManager.SENSOR_DELAY_NORMAL SensorManager.SENSOR_DELAY_UI
To minimize the associated resource cost of using the Sensor in your application you should try to select the slowest suitable rate.
Registering Sensors
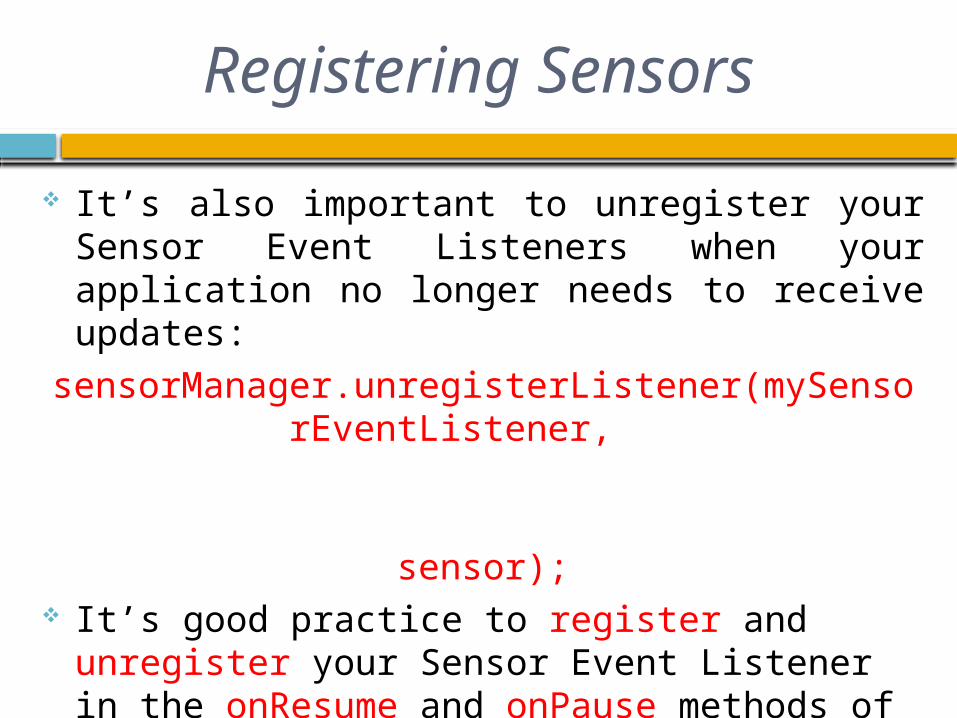
It’s also important to unregister your Sensor Event Listeners when your application no longer needs to receive updates:
sensorManager.unregisterListener(mySensorEventListener,
sensor);
It’s good practice to register and unregister your Sensor Event Listener in the onResume and onPause methods of your Activities to ensure they’re being used only when the Activity is active
Registering Sensors

The length and composition of the values returned in the onSensorChanged event vary depending on the Sensor being monitored.
INTERPRETING SENSOR VALUES


Accelerometers used to measure acceleration also referred to as gravity sensors.
accelerometers measure how quickly the speed of the device is changing in a given direction.
Using an accelerometer you can detect movement and, more usefully, the rate of change of the speed of that movement
Accelerometers
Acceleration can be measured along three directional axes: left-right(lateral), forward-backward (longitudinal), and up-down(vertical).
The Sensor Manager reports accelerometer Sensorchanges along all three axes.
The values passed in through the values property of the Sensor Event Listener’s Sensor Event parameter represent lateral,longitudinal, and vertical acceleration, in that order.
Detecting Acceleration Changes

The Sensor Manager considers the device ‘‘at rest’’ when it is sitting face up on a flat surface in portrait orientation.
x-axis (lateral) y-axis (longitudinal) z-axis (vertical)
Detecting Acceleration Changes

you monitor changes in acceleration using a Sensor Event Listener
Register an implementation of SensorEventListener with the Sensor Manager, using a Sensor object of type Sensor.TYPE_ACCELEROMETER to request accelerometer updates
Detecting Acceleration Changes

21
Example1: Displaying Accelerometer and Orientation Data

22
Example1(Continue…)
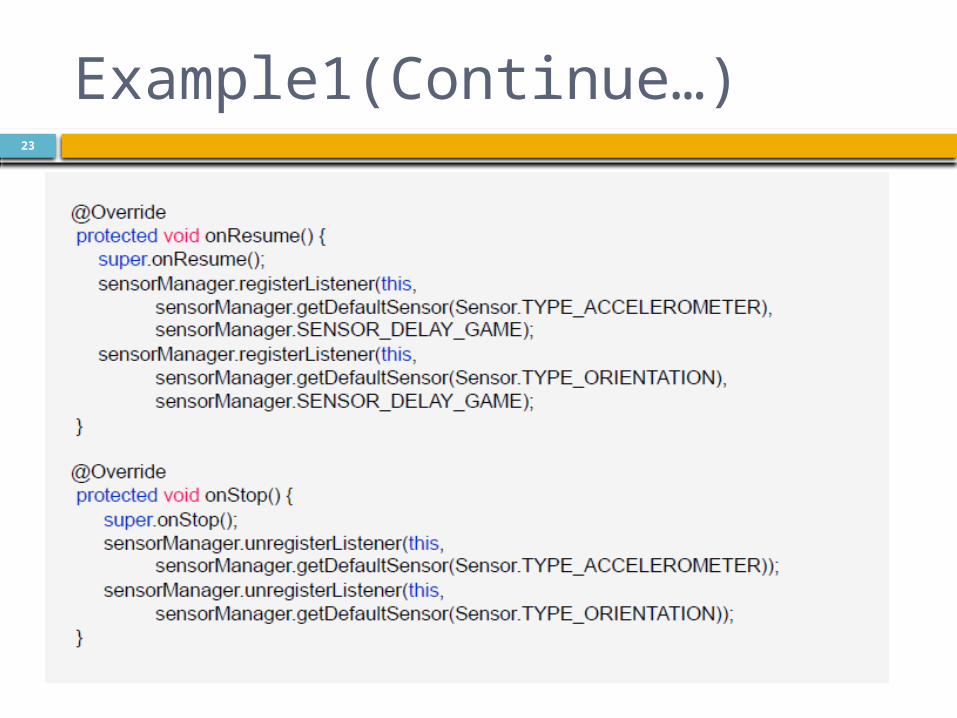
23
Example1(Continue…)
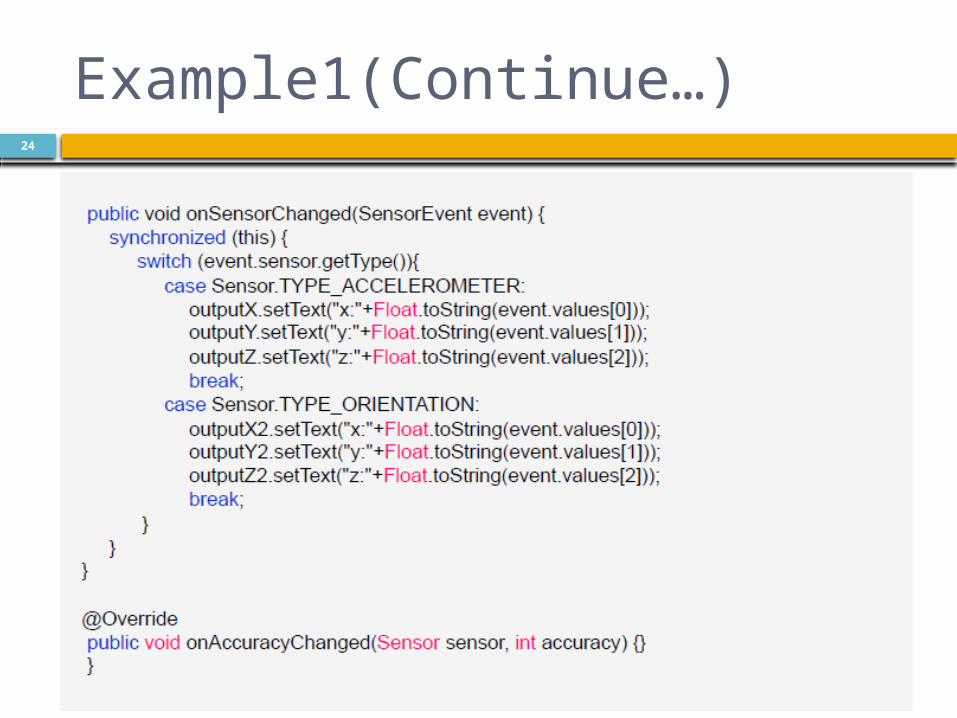
24
Example1(Continue…)

25
Example2:
private final SensorEventListener mSensorListener = new SensorEventListener() { public void onSensorChanged(SensorEvent se) { float x = se.values[0]; float y = se.values[1]; float z = se.values[2]; mAccelLast = mAccelCurrent; mAccelCurrent = (float) Math.sqrt((double) (x*x + y*y + z*z)); float delta = mAccelCurrent - mAccelLast; mAccel = mAccel * 0.9f + delta; // perform low-cut filter } public void onAccuracyChanged(Sensor sensor, int accuracy) { } };

26
@Override protected void onResume() { super.onResume(); mSensorManager.registerListener(mSensorListener, mSensorManager.getDefaultSensor(Sensor.TYPE_ACCELEROMETER), SensorManager.SENSOR_DELAY_NORMAL); } @Override protected void onPause() { mSensorManager.unregisterListener(mSensorListener); super.onPause(); }

Listener for Changes (Accel)


29
Accelerometer
30
Sensor Orientation
31
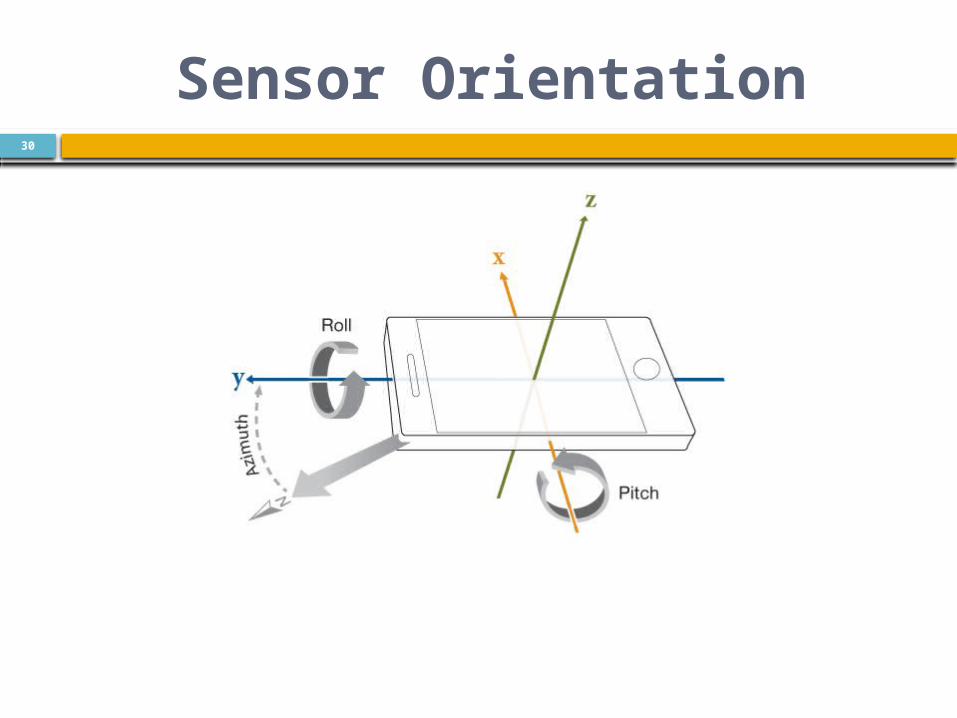
Introduction to sensor orientation This example shows how to capture the orientation of the mobile
device. We define the orientation as a combination of three angular quantities: Azimuth, pitch, and roll. The three quantities are defined based on the axes as shown in following image:
As you can see, the positive X-axis extends out of the right side of the phone, positive Y-axis extends out of the top side, and the positive Z-axis extends out of the front face of the phone. This is independent of the orientation of the phone.
Definition of Azimuth, Pitch, and Roll Azimuth is angle between the positive Y-axis and magnetic north and
its range is between 0 and 360 degrees. Positive Roll is defined when the phone starts by laying flat on a table
and the positive Z-axis begins to tilt towards the positive X-axis. Positive Pitch is defined when the phone starts by laying flat on a table
and the positive Z-axis begins to tilt towards the positive Y-axis.