learning objective instruments must be protected from any
TRANSCRIPT
Learning Objective
To show an understanding of using a key.
Resources Required
• Smartphone/device or computer to access Zap code (optional)
• Rulers
Background to this Activity
This activity helps students understand the James Webb Space Telescope’s structure while explaining its ‘hot and cold’ sides.
Webb has a unique structure, especially when compared with other space telescopes which are often cylindrical with long solar panels. Webb’s gold-coated hexagonal primary mirror, mounted in the centre of its silver-coloured sunshield, gives it a striking appearance.
The main features of the Webb are:
Primary mirror: the distinctive gold mirror, made of 18 hexagonal segments. The primary mirror collects infrared light from objects in space.
Secondary mirror: this smaller mirror is positioned to face the primary mirror, reflecting collected light into Webb’s scientific instruments.
Scientific instruments (not shown on worksheet): Webb’s four instruments – which include cameras and spectrographs – are housed in the Science Instrument Module, which sits behind the primary mirror.
Sunshield: the kite-shaped sunshield is roughly the size of a tennis court and it plays a crucial role for Webb. It shields Webb’s mirrors and science instruments from the heat and light of the Sun, Earth and Moon, keeping the telescope very cold. In order to detect the faint infrared light emitted by distant space objects, Webb’s optics and
instruments must be protected from any other sources of heat – including the telescope itself. The sunshield is made of five layers of shiny, silver material with gaps in-between them, to reflect and disperse heat. Through passive cooling, the sunshield keeps Webb’s cool side at a temperature of lower than –200 degrees Celsius.
Solar panels (not shown on worksheet): Webb’s solar panels provide the telescope with power by converting sunlight into electricity. They are positioned to always face the Sun.
Spacecraft control system: this component houses Webb’s steering and control machinery, including its computer.
Antenna: the Earth-pointing antenna is Webb’s link to Earth. It sends scientific data to Earth and receives commands from Mission Control.
Webb has a ‘hot side’ and a ‘cold side’. Its sunshield can be likened to a beach umbrella or parasol, separating the two sides. Webb’s hot side faces the Sun and includes everything that is in front of the sunshield: the solar panels, the control system and the antenna. Everything behind the sunshield forms the cold side: the primary and secondary mirrors, and the Science Instrument Module.
In order to observe space, Webb’s specialist instruments must be kept at a very cold temperature. The sunshield keeps the cold side of Webb at a temperature of –234 degrees Celsius – cold enough to ensure that it won’t emit infrared light. Three of Webb’s four instruments can detect light from space objects at this temperature. The fourth instrument – the Mid-Infrared Instrument (MIRI) – must be kept at an even colder temperature to function properly. To achieve this, engineers have created a special cryocooler – essentially a space refrigerator! – for MIRI, which keeps it at -266 degrees Celsius. MIRI is attached to the Science Instrument Module with special insulating carbon struts designed to avoid heat transfer.
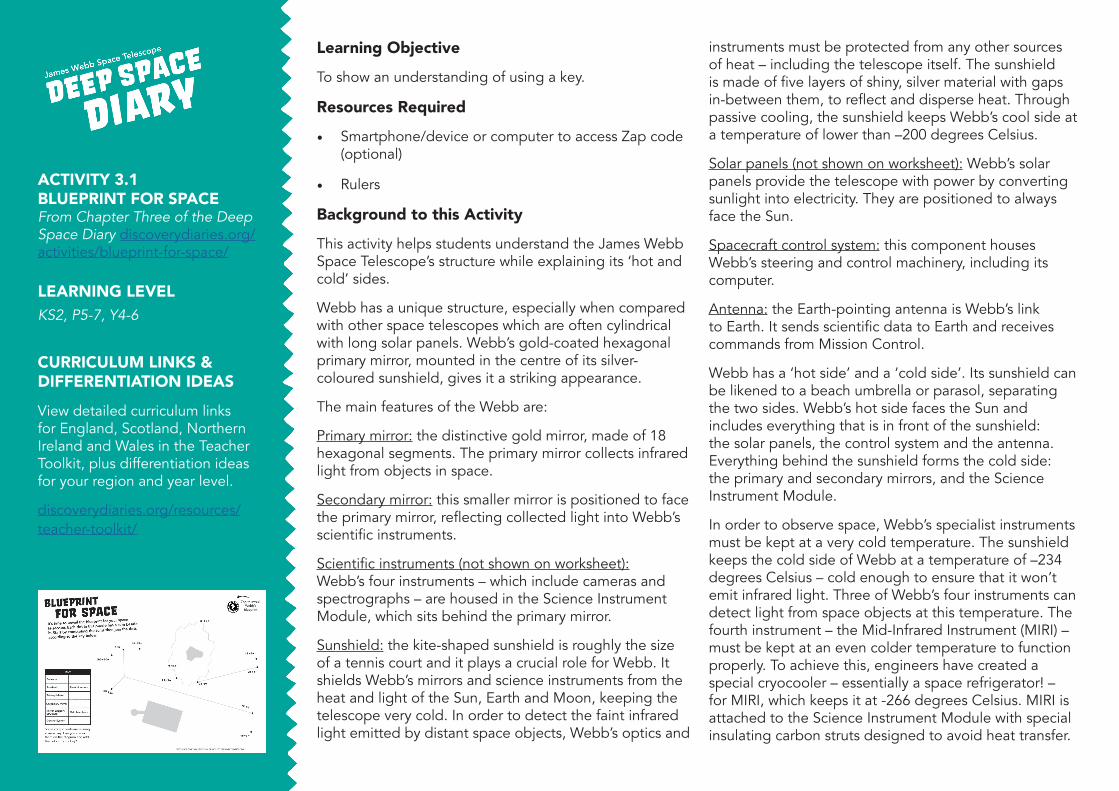
ACTIVITY 3.1 BLUEPRINT FOR SPACEFrom Chapter Three of the Deep Space Diary discoverydiaries.org/activities/blueprint-for-space/
LEARNING LEVELKS2, P5-7, Y4-6
CURRICULUM LINKS & DIFFERENTIATION IDEAS
View detailed curriculum links for England, Scotland, Northern Ireland and Wales in the Teacher Toolkit, plus differentiation ideas for your region and year level.
discoverydiaries.org/resources/teacher-toolkit/
Activity 3.3: Space Lab (discoverydiaries.org/activities/space-lab-2/) explores cooling and insulation further.
Useful Links below includes diagrams showing Webb’s hot and cold sides.
Running the Activity
Start by asking the class for examples we protect ourselves from the Sun (e.g. sunscreen, sunglasses, hats, UV protection clothing, seeking shade or staying indoors during the hottest parts of the day, using umbrellas at the beach). Explain to students that this activity is about the structure of Webb, and how its design protects it from the Sun.
Using the background information above, discuss Webb’s structure with students. Read as a class (or pick individuals to read) information about the main features of Webb and ask students if they can identity the different components. Use the image ‘Basic Structure 1’ as a prompt: discoverydiaries.org/wp-content/uploads/2019/05/Deep-Space-Diary-1.2-Blueprint-For-Space-Basic-Structure-1.jpg
Once students have guessed which component is which, they can check their responses against the image ‘Basic Structure 2’: discoverydiaries.org/wp-content/uploads/2019/05/Deep-Space-Diary-1.2-Blueprint-For-Space-Basic-Structure-2.jpg.
NB: Both these images can be found under Other Helpful Stuff for the Activity on the activity webpage.
Explain to students that Webb has hot and cold sides on either side of its sunshield, just as a beach umbrella does. Show the class a picture of a tennis court to explain that this is the size of the sunshield: https://jwst.nasa.gov/images4/jwsttennis.jpg
Ask students to study the telescope and discuss with a partner (or as a class) what they notice. For each of Webb’s components, can they guess whether that
component sits on the hot or cold side?
Ask the questions below. Students to discuss with a partner and feedback to the class.
Explain to students that they are going to unveil the blueprint for the telescope.
Discuss the term ‘key’ and allow students to explore the different components of Webb listed on the key, matching it to the blueprint. To check that students understanding of the key, ask them to find and trace their finger over the control system, antenna and the primary mirror. Once they have familiarised themselves with the components, they can create their key.
Explain that they will be working out two sets of numbers – odd and even – recap what the difference is and what types of numbers they will be looking for. Ensure that students understand that the purpose of the task is to work out the sums, record the answers and then join up the dots according to the key (odds and evens).
See Useful Links below for images of Webb showing its hot and cold sides.
Solutions to the Activity
Sums for the sunshield/even numbers equal: 2, 4, 6, 8, 10, 12, 14 and 16
Sums for the secondary mirror and support structure equal: 1, 3, 5 and 7
Questions for the Class• What stands out for you about the telescope? • Why do you think the hot side of the telescope has
been named this? • What do you notice about the mirrors positioning on
the telescope? (Try to draw out from the children the sunshield helps to stop the heat from the Sun.)
• Where are the solar panels? What do solar panels
ACTIVITY 3.1 BLUEPRINT FOR SPACEFrom Chapter Three of the Deep Space Diary discoverydiaries.org/activities/blueprint-for-space/
LEARNING LEVELKS2, P5-7, Y4-6
CURRICULUM LINKS & DIFFERENTIATION IDEAS
View detailed curriculum links for England, Scotland, Northern Ireland and Wales in the Teacher Toolkit, plus differentiation ideas for your region and year level.
discoverydiaries.org/resources/teacher-toolkit/

do? Do you think the solar panels or on the hot side or the cold side of Webb? Why?
Additional Challenges / Extension Activities
Investigate which sides of Webb are hot and cold, and find out the temperature ranges they can withstand.
Design Webb on the computer and label it.
Film a one-minute news report discussing Webb and answering questions about it.
Create a fact file about any interesting facts about Webb.
Ideas for Differentiation
Support:
• Students to work with a partner or in small groups to answer the mathematical questions
• Students to record each number on the line
• Differentiate by providing solutions; students to join up the dots (odds or evens) from the smallest to largest
Challenge:
• Students to work independently/with a partner to answer the mathematical questions
• Can students add any other details to the blueprint?
— Label the hot side and cold side of Webb
— Label the temperature range of each side
— Using arrows, show the direction light of the Sun
• Can students come up with their own sums for the dot-to-dot solutions?
Useful Links
Basic Structure 1: This line drawing shows a cross section of the structure of Webb without revealing the hot and cold sides or the shape of the primary mirror: discoverydiaries.org/wp-content/uploads/2019/05/Deep-Space-Diary-1.2-Blueprint-For-Space-Basic-Structure-1.jpg. Use it as a prompt for students to identify Webb’s components.
This version of the same line drawing identifies the features of Webb’s structure listed in Background information: discoverydiaries.org/wp-content/uploads/2019/05/Deep-Space-Diary-1.2-Blueprint-For-Space-Basic-Structure-2.jpg.
This image shows the key features of Webb with hot and cold sides noted: https://jwst.nasa.gov/images2/sunshieldhotcold.jpg
While this image includes some complex information about Webb’s range of viewing, it demonstrates how Webb is positioned in space, in relation to the sun, with hot and cold sides noted: https://bit.ly/2SiMiMB
ZAP! Students can independently access multimedia resources using the Zappar mobile/tablet app. See Zappar instructions at the link below and note that the mobile/tablet will need to be on a WIFI connection: marsdiary.org/resources/#teacher-toolkit
If you don’t have access to the internet in the classroom, all Zap code content is available to download on the activity’s web page (see link to the left) as a PowerPoint presentation or as bundles of images.
Find more great space-themed STEM resources at https://www.stem.org.uk/esero
ACTIVITY 3.1 BLUEPRINT FOR SPACEFrom Chapter Three of the Deep Space Diary discoverydiaries.org/activities/blueprint-for-space/
LEARNING LEVELKS2, P5-7, Y4-6
CURRICULUM LINKS & DIFFERENTIATION IDEAS
View detailed curriculum links for England, Scotland, Northern Ireland and Wales in the Teacher Toolkit, plus differentiation ideas for your region and year level.
discoverydiaries.org/resources/teacher-toolkit/

Learning Objective
To complete a symmetrical design with a specific line of symmetry.
Resources Required
• Smartphone/device or computer to access Zap code (optional)
• Rulers
Background to this Activity
The James Webb Space Telescope’s striking primary mirror makes it instantly recognisable. Hexagonal in shape, it spans 6.5 metres at its widest point, which is more than double the size of Hubble’s primary mirror (Hubble’s circular mirror is 2.4 metres in diameter). The bigger a telescope’s mirror, the more light it can collect. The more light collected means the more we can see.
Webb’s mirror is made up of 19 smaller hexagons which are all the same size. Eighteen of these are mirrors, called segments. The segments are arranged around the optical system at the centre of the mirror, which accounts for the 19th hexagon. Using hexagons means that there are no gaps between the segments, so none of the light hitting the mirror is lost. Each segment of the primary mirror can be adjusted to focus the light that hits it onto the smaller secondary mirror. The secondary mirror then directs the light to Webb’s science instruments.
Webb’s primary mirror is coated in an extremely thin layer of gold, giving it its distinctive colour. The gold coating improves the mirror’s reflection of infrared light.
Running the Activity
Open the lesson by asking students the questions: what do mirrors do (reflect light)? and why we use them in telescopes (to collect more light than we can see with our eyes)? As a class, discuss different types of mirrors and what happens to our reflection if we look into mirrors
that aren’t flat e.g. a spoon.
Ask students to think about the shape of different telescope mirrors. Are they familiar with any telescope mirrors? Do they have any ideas about why the mirrors are shaped the way they are?
Explain that this lesson is about Webb’s primary mirror. In designing the mirror, engineers had to ensure that it was light-weight, strong and able to fold up into a compact configuration for launch. They also wanted it to be roughly circular and symmetrical, so it could produce images without complicated distortions.
Explain to students that the mirror they will design needs to be symmetrical. Ask students to explain what that means. Look at the 2-D shapes on the worksheet and ask students to draw the lines of symmetry for each. Ask them to investigate which shapes have the most lines of symmetry.
Remind students that their task is to design the mirror making sure it is symmetrical. This activity isn’t about getting the mirror design the same as Webb’s, rather, the focus should be on using the criteria of being symmetrical to generate possibilities and solutions. Students can use the space on the page to try out different symmetrical patterns with some or all of the different shapes.
Use the shapes templates provided with this activity (discoverydiaries.org/wp-content/uploads/2019/05/Deep-Space-Diary-3.2-Mega-Mirror-Engineer-Shape-Templates.pdf) to allow students to test out some different designs, before thinking about the final design they want to choose. The shapes can be downloaded from the website and photocopied.
At the end of the activity look at the design that Webb’s engineers decided on and ask students to compare their designs with it (see Useful Links for diagrams). This clip https://youtu.be/v1J3208E8jU will give students an understanding of the process involved in constructing
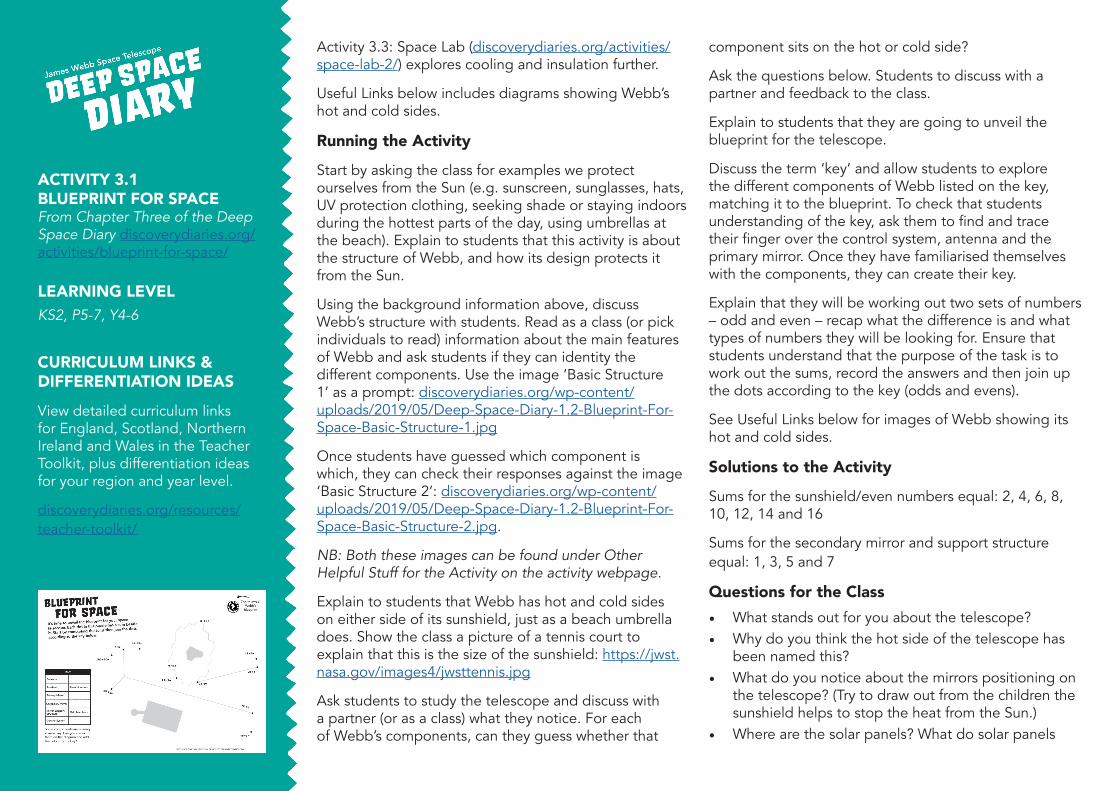
ACTIVITY 3.2 MEGA MIRROR ENGINEERFrom Chapter Three of the Deep Space Diary discoverydiaries.org/activities/mega-mirror-engineer/
LEARNING LEVELKS2, P5-7, Y4-6
CURRICULUM LINKS & DIFFERENTIATION IDEAS
View detailed curriculum links for England, Scotland, Northern Ireland and Wales in the Teacher Toolkit, plus differentiation ideas for your region and year level.
discoverydiaries.org/resources/teacher-toolkit/
the mirror. For support, you could show this clip to the class before they begin their designs. Alternatively, show it to the class after they have completed their designs, so they can compare their designs to that of Webb’s.
Questions for the Class• What is the purpose of the primary mirror? • Why is it important for a telescope to collect as much
light as possible? • What shape is Webb’s primary mirror? • What are some of the reasons that engineers chose
this shape? • Why is the mirror made up of smaller segments?
Additional Challenges / Extension Activities
Draw some further ‘mirror designs’ with a line of symmetry for a classmate to complete.
Investigate other primary mirrors used in telescopes such as the Extremely Large Telescope or the Hubble Space Telescope.
Draw patterns with further shapes (e.g. octagons) to see if they can create different mirror designs.
Ideas for Differentiation
Support:
• Provide students with a design for them to reflect on.
Challenge:
• Explain to students that more lines of symmetry result in a better quality telescope. Ask students to look for multiple lines of symmetry in different mirror designs beyond the given vertical line, including horizontal and diagonal lines.
• Use more criteria for drawing the design (e.g. no right angles).
Useful Links
Diagram comparing Webb and Hubble’s primary mirrors: https://media.stsci.edu/uploads/image/display_image/4181/STScI-J-jwst-hst-mirror-comparison-d-1280x720.png
Diagram of Webb’s primary mirror size and material: https://media.stsci.edu/uploads/image/display_image/4199/STScI-J-Webb-Mirror-Size-and-Material-d.png
Photo of scientists examining Webb’s primary mirror: https://www.flickr.com/photos/nasawebbtelescope/26504730220/
This clip explains how Webb’s mirror was created, from mining the beryllium used to make the mirror to final assembly (please note this clip was made prior to final construction): https://youtu.be/v1J3208E8jU
ZAP! Students can independently access multimedia resources using the Zappar mobile/tablet app. See Zappar instructions at the link below and note that the mobile/tablet will need to be on a WIFI connection: discoverydiaries.org/toolkit/discovery-diaries-zappar-instructions/
If you don’t have access to the internet in the classroom, all Zap code content is available to download on the activity’s web page (see link to the left) as a PowerPoint presentation or as bundles of images.
Find more great space-themed STEM resources at https://www.stem.org.uk/esero
ACTIVITY 3.2 MEGA MIRROR ENGINEERFrom Chapter Three of the Deep Space Diary discoverydiaries.org/activities/mega-mirror-engineer/
LEARNING LEVELKS2, P5-7, Y4-6
CURRICULUM LINKS & DIFFERENTIATION IDEAS
View detailed curriculum links for England, Scotland, Northern Ireland and Wales in the Teacher Toolkit, plus differentiation ideas for your region and year level.
discoverydiaries.org/resources/teacher-toolkit/
Learning Objective
To plan and carry out an investigation into how to control the heating of an object
Resources Required• Smartphone/device or computer to access Zap code
(optional) • Ice cubes • Thermometers • Clocks/timing devices • A variety of materials including tinfoil/something
reflective, insulating materials like cotton wool/fabric/cardboard etc
• Other construction/D&T materials • Clear plastic cups/containers/beakers • Cardboard – to make lids (which can also be
insulated) if desirable • Warm water – could be an alternative as can measure
how quickly it cools if no easy access to ice (optional)
Risk Assessment
If using ice and/or warm water in this activity, please conduct a risk assessment prior to running the activity, according to your school or institution’s guidelines and procedures.
Background to this Activity
This activity explores different ways of keeping objects cool.
It is a common misconception that space is uniformly very cold. While some parts of space are very cold – like Neptune which has an average temperature of -214 degrees Celsius – other parts of space will be very hot. For example, if we measured the temperature outside the International Space Station, which orbits Earth beyond our protective atmosphere, it would be around
150 degrees Celsius on the side facing the Sun.
Temperature of objects in space is determined by many factors, including whether they create their own heat and light, their distance from other sources of heat and light, how reflective they are, and the presence and characteristics of an atmosphere. For example, despite being further away from the Sun than Mercury, Venus is a hotter planet due to its thick atmosphere.
The James Webb Space Telescope has a ‘hot’ and ‘cold’ side, as explored in Activity 3.1: Blueprint for Space. The hot side, which faces the Sun, reaches a temperature of 80 degrees Celsius. The cold side is kept at a temperature of -233 degrees Celsius by Webb’s sunshield, which reflects and disperses heat.
The Mid-Infrared Instrument, or MIRI, is one of Webb’s special instruments. It detects infrared light emitted by objects in space, and creates images and spectra of those objects so scientists can study them. In order for MIRI to capture infrared light, it must be kept at -266 degrees Celsius, which is thirty degrees cooler than the other instruments. Because of this, engineers have developed a cryogenic cooling system specifically for MIRI.
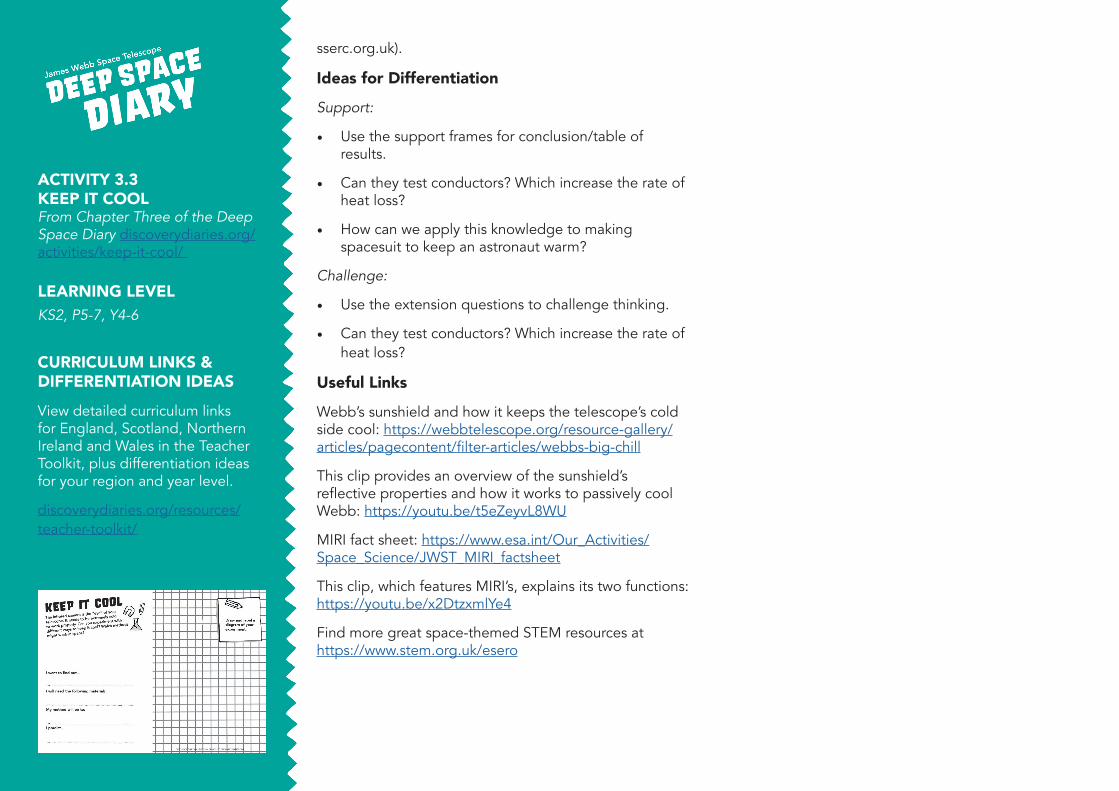
This investigation allows students to explore how materials can act as insulators and conductors. Students can trial a range of materials and use them to insulate an ice cube, measuring heat loss. This will allow them to draw conclusions about the most effective insulator. The activity is designed to focus on the scientific enquiry aspect, making this accessible to all age groups.
Running the Activity
Discuss why it is hot and cold in different parts of space, and why it is important to protect Webb’s scientific instruments from the Sun’s heat. Following this discussion, ask students to conduct an experiment to answer the question: which materials provide the best protection from heat?
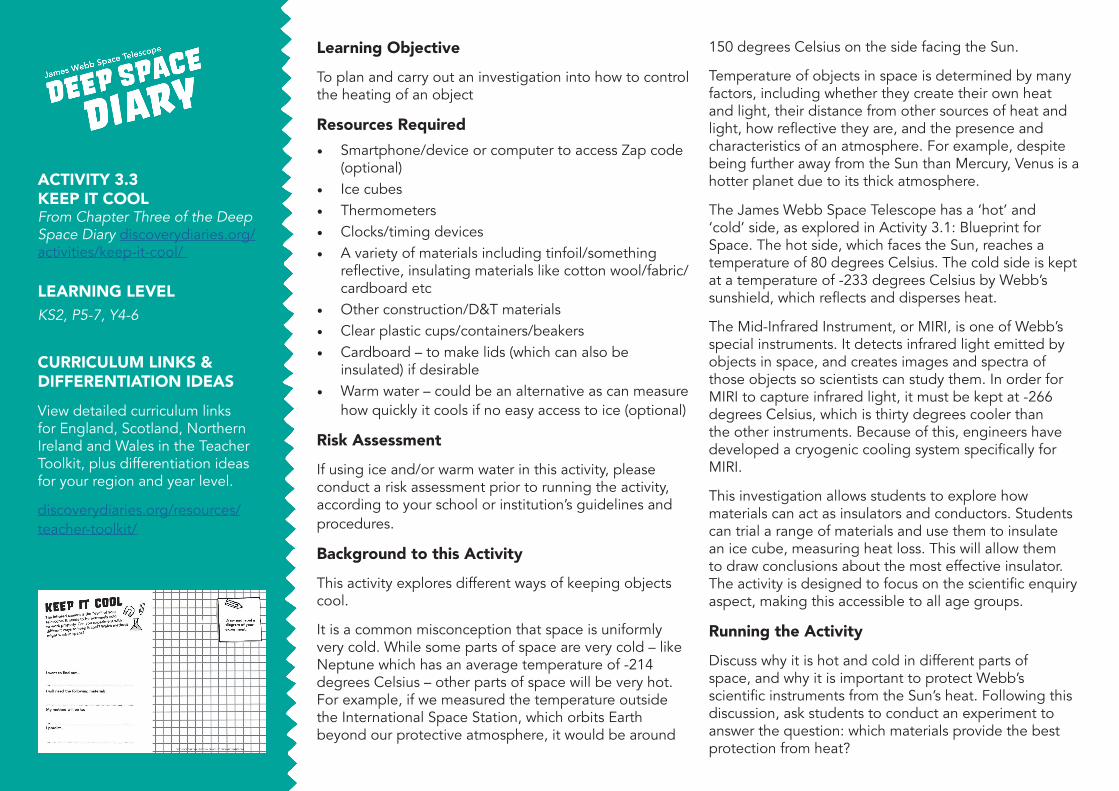
ACTIVITY 3.3 KEEP IT COOLFrom Chapter Three of the Deep Space Diary discoverydiaries.org/activities/keep-it-cool/
LEARNING LEVELKS2, P5-7, Y4-6
CURRICULUM LINKS & DIFFERENTIATION IDEAS
View detailed curriculum links for England, Scotland, Northern Ireland and Wales in the Teacher Toolkit, plus differentiation ideas for your region and year level.
discoverydiaries.org/resources/teacher-toolkit/

Students design their own method to conduct their investigation.
A simple method to follow for support:
• Choose three different materials which insulate.
• Put ice cubes in three plastic or glass cups/containers/beakers. Students to decide on the number of ice cubes or mass of ice cubes. If you are working with older students, you could have a discussion here around the importance of control variables.
• Cover each cup with a different material – this could be as a lid, around the container or both.
• Position the cups so they are below a heat source e.g. Sun/windowsill/lamp.
• At intervals (students to decide suitable time interval – to support, teacher to suggest 15 seconds, 30 seconds, 60 seconds – students to choose) record the temperatures on the surface of the materials facing the heat source and at the bottom of each cup.
• Record results in the provided table.
• Students can visualise this as a graph.
Solutions to the Activity
Students to draw their own conclusions.
Suggested materials that are readily available: Cotton wool, cardboard, bubble wrap, cloth, paper, plastic, tinfoil, rubber, foam.
A time interval that works best is usually 60 seconds.
When drawing conclusions, the slower the ice cube melts (heats up) the better the insulator.
A scientific conclusion model:
Our best insulator was (insert name of material) as the
temperature of the ice showed the slowest increase. This shows that the heat loss was the slowest, or reduced the most by the insulating material. At the beginning of each experiment, the temperature of the ice was (insert temperature) and over (insert time period – 5 minutes) it increased by (insert temperature increase) to (insert final temperature reading).
Questions for the Class• How can we make it a fair test? • How can we control the factors that might make our
test unfair? (control variables) • What are conductors? • What are insulators? • Why is it important to understand the different
properties of materials? • How can we use this knowledge of insulators to help
us in everyday life?
Additional Challenges / Extension Activities
Students to explore the following questions to extend their scientific thinking:
• Can students plot a graph to show their results?
• Can students plan next steps to their investigation?
• What questions have arisen from this experiment?
• Would this experiment work in space?
• How could they adapt their experiment so that astronauts could conduct it in space?
If available, use an infrared camera to observe how heat is lost during the experiment, comparing different types of insulation students have used. Ask your school administration if they have an IR camera for thermal testing. Alternatively, schools in Scotland can borrow thermal cameras from their local authorities. For more information about this scheme, contact SSERC (www.
ACTIVITY 3.3 KEEP IT COOLFrom Chapter Three of the Deep Space Diary discoverydiaries.org/activities/keep-it-cool/
LEARNING LEVELKS2, P5-7, Y4-6
CURRICULUM LINKS & DIFFERENTIATION IDEAS
View detailed curriculum links for England, Scotland, Northern Ireland and Wales in the Teacher Toolkit, plus differentiation ideas for your region and year level.
discoverydiaries.org/resources/teacher-toolkit/
sserc.org.uk).
Ideas for Differentiation
Support:
• Use the support frames for conclusion/table of results.
• Can they test conductors? Which increase the rate of heat loss?
• How can we apply this knowledge to making spacesuit to keep an astronaut warm?
Challenge:
• Use the extension questions to challenge thinking.
• Can they test conductors? Which increase the rate of heat loss?
Useful Links
Webb’s sunshield and how it keeps the telescope’s cold side cool: https://webbtelescope.org/resource-gallery/articles/pagecontent/filter-articles/webbs-big-chill
This clip provides an overview of the sunshield’s reflective properties and how it works to passively cool Webb: https://youtu.be/t5eZeyvL8WU
MIRI fact sheet: https://www.esa.int/Our_Activities/Space_Science/JWST_MIRI_factsheet
This clip, which features MIRI’s, explains its two functions: https://youtu.be/x2DtzxmlYe4
Find more great space-themed STEM resources at https://www.stem.org.uk/esero
ACTIVITY 3.3 KEEP IT COOLFrom Chapter Three of the Deep Space Diary discoverydiaries.org/activities/keep-it-cool/
LEARNING LEVELKS2, P5-7, Y4-6
CURRICULUM LINKS & DIFFERENTIATION IDEAS
View detailed curriculum links for England, Scotland, Northern Ireland and Wales in the Teacher Toolkit, plus differentiation ideas for your region and year level.
discoverydiaries.org/resources/teacher-toolkit/

Learning Objective
To design a paper model using the provided techniques.
Resources Required
• Smartphone/device or computer to access Zap code (optional)
• Craft paper and other D&T materials
• Glue
• Scissors
Background to this Activity
The James Webb Space Telescope is the most ambitious space telescope humans have built to date. Its primary mirror measures 6.5 meters in diameter and its kite-shaped sunshield is approximately 22 metres by 10 metres when deployed (similar to the size of a tennis court). If we tried to send a telescope this large into space without folding it up to make it smaller, we would need a rocket far bigger than any we have currently built.
To fit Webb into the Ariane 5 rocket – Webb’s vehicle into space – engineers designed it to carefully fold up. But fitting Webb into the rocket wasn’t their only challenge. Engineers had to ensure that the telescope could unfold (or deploy) properly in space.
For reference images of how Webb was designed to fit in the ‘payload bay’ of the Ariane 5 rocket (i.e. the part of a rocket which contains the payload – the item/s being sent to space), see:
https://jwst.nasa.gov/images/ariane3.jpg
https://jwst.nasa.gov/images/ariane4.jpg
https://jwst.nasa.gov/images/ariane2.jpg
https://jwst.nasa.gov/images/ariane1.jpg
Most notably, you’ll see that Webb’s primary mirror is designed so that the rows of hexagonal mirrors on either side fold back at 90-degree angles, so that the mirror fits in the rocket. The sunshield membrane rolls up and its frame folds up on either side of the primary mirror for launch. The secondary mirror is held in place by a support structure made of three ‘arms’, one of which hinges over the primary mirror when Webb is inside the rocket. Webb’s solar arrays hinged out during the early stages of deployment, to provide the telescope with power.
An excellent clip containing an overview the key components of Webb, along with how they folded up for launch, is available at: https://youtu.be/qysBZZjqTJM This clip also shows the telescope being built, giving a sense of its scale. NOTE: This clip shows an incorrect launch date of 2018.
Running the Activity
Show students this clip: https://youtu.be/qysBZZjqTJM. Ask them if they notice something about the date in the clip. Have the students seen this launch on the news? (Go onto explain that the date has been pushed back.) Ask students the questions below in relation to the clip. This will help to encourage an understanding of the telescope and its mechanisms.
Explain to the students that this activity asks them to plan (through discussion and experimentation) and design a model of the telescope that will fold away and fit into the payload bay. The number of components students need to include can be adjusted, according to ability. As a minimum though, models should include:
• Solar panels
• Sunshield
• Primary mirror
More capable students can be encouraged to include:
ACTIVITY 3.4 PACK YOUR PAYLOADFrom Chapter Three of the Deep Space Diary discoverydiaries.org/activities/pack-your-payload/
LEARNING LEVELKS2, P5-7, Y4-6
CURRICULUM LINKS & DIFFERENTIATION IDEAS
View detailed curriculum links for England, Scotland, Northern Ireland and Wales in the Teacher Toolkit, plus differentiation ideas for your region and year level.
discoverydiaries.org/resources/teacher-toolkit/
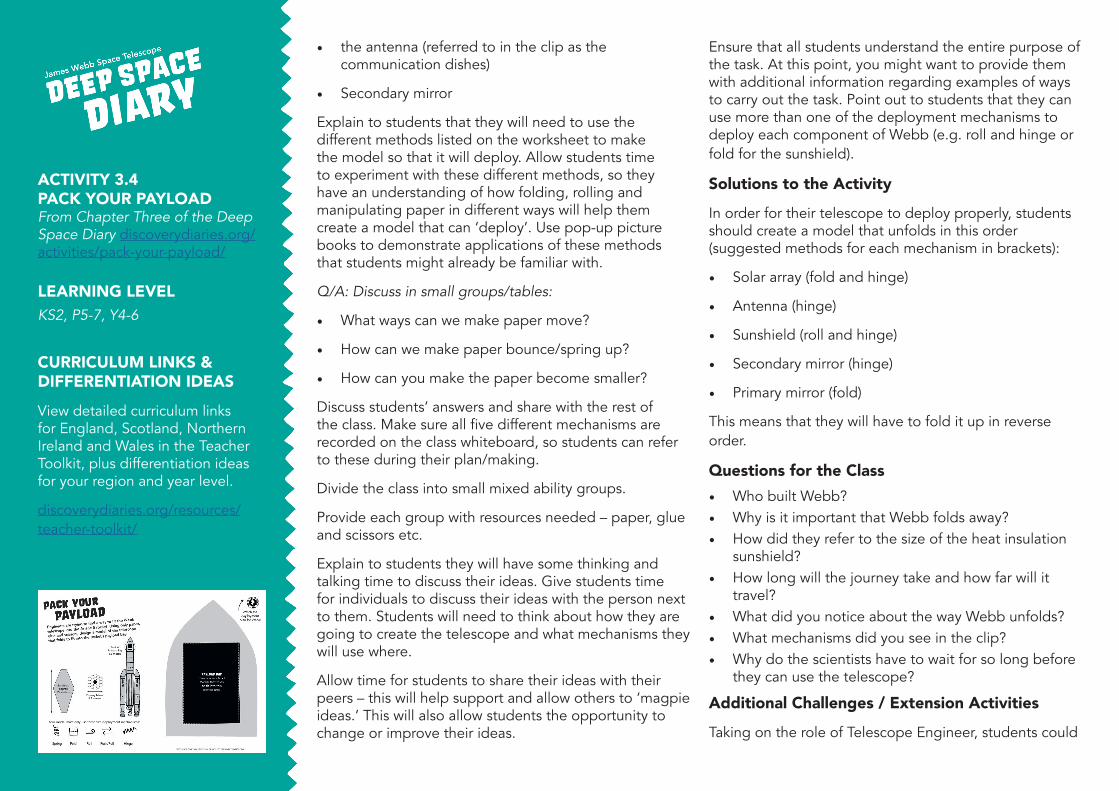
• the antenna (referred to in the clip as the communication dishes)
• Secondary mirror
Explain to students that they will need to use the different methods listed on the worksheet to make the model so that it will deploy. Allow students time to experiment with these different methods, so they have an understanding of how folding, rolling and manipulating paper in different ways will help them create a model that can ‘deploy’. Use pop-up picture books to demonstrate applications of these methods that students might already be familiar with.
Q/A: Discuss in small groups/tables:
• What ways can we make paper move?
• How can we make paper bounce/spring up?
• How can you make the paper become smaller?
Discuss students’ answers and share with the rest of the class. Make sure all five different mechanisms are recorded on the class whiteboard, so students can refer to these during their plan/making.
Divide the class into small mixed ability groups.
Provide each group with resources needed – paper, glue and scissors etc.
Explain to students they will have some thinking and talking time to discuss their ideas. Give students time for individuals to discuss their ideas with the person next to them. Students will need to think about how they are going to create the telescope and what mechanisms they will use where.
Allow time for students to share their ideas with their peers – this will help support and allow others to ‘magpie ideas.’ This will also allow students the opportunity to change or improve their ideas.
Ensure that all students understand the entire purpose of the task. At this point, you might want to provide them with additional information regarding examples of ways to carry out the task. Point out to students that they can use more than one of the deployment mechanisms to deploy each component of Webb (e.g. roll and hinge or fold for the sunshield).
Solutions to the Activity
In order for their telescope to deploy properly, students should create a model that unfolds in this order (suggested methods for each mechanism in brackets):
• Solar array (fold and hinge)
• Antenna (hinge)
• Sunshield (roll and hinge)
• Secondary mirror (hinge)
• Primary mirror (fold)
This means that they will have to fold it up in reverse order.
Questions for the Class• Who built Webb? • Why is it important that Webb folds away? • How did they refer to the size of the heat insulation
sunshield? • How long will the journey take and how far will it
travel? • What did you notice about the way Webb unfolds? • What mechanisms did you see in the clip? • Why do the scientists have to wait for so long before
they can use the telescope?
Additional Challenges / Extension Activities
Taking on the role of Telescope Engineer, students could
ACTIVITY 3.4 PACK YOUR PAYLOADFrom Chapter Three of the Deep Space Diary discoverydiaries.org/activities/pack-your-payload/
LEARNING LEVELKS2, P5-7, Y4-6
CURRICULUM LINKS & DIFFERENTIATION IDEAS
View detailed curriculum links for England, Scotland, Northern Ireland and Wales in the Teacher Toolkit, plus differentiation ideas for your region and year level.
discoverydiaries.org/resources/teacher-toolkit/

explain the different mechanisms they have used in their model, by demonstrating their design solution either in person or by recording a presentation.
Students could be encouraged to research other telescopes and create a model.
Students could write a diary entry in the perspective of a person working for NASA, covering the lead-up the launch/the actual building of the telescope.
Record an interview: a Q&A session with an employee of NASA and the news team.
Challenge students to think of other ways to make a self-deploying structure.
Ideas for Differentiation
Support:
• For support, students could work in a guided group/with a partner.
• Students to be given ideas via prompt cards to help scaffold their learning if needed. These can include the different mechanisms.
• Students to create a planned drawing with mechanisms labelled on the plan. This will help to structure the learners and allow them to follow the plan.
Challenge:
• Students to be in mixed ability groupings.
• Students to work independent.
• Students to be given ideas prompt cards to help scaffold their learning if needed.
• Students can be given opportunity to draw a quick plan on a whiteboard to follow if needed.
Useful Links
Animation showing how Webb fits the Ariane 5 rocket (please note that sunshield retraction isn’t included in the clip): https://www.youtube.com/watch?v=30Lv8JjCqhU
Time lapse footage of primary mirror being folded: https://www.youtube.com/watch?v=KGaagak_ACE
An animated clip of how Webb’s launch sequence and deployment is available at: https://youtu.be/bTxLAGchWnA
ZAP! Students can independently access multimedia resources using the Zappar mobile/tablet app. See Zappar instructions at the link below and note that the mobile/tablet will need to be on a WIFI connection: discoverydiaries.org/toolkit/discovery-diaries-zappar-instructions/
If you don’t have access to the internet in the classroom, all Zap code content is available to download on the activity’s web page (see link to the left) as a PowerPoint presentation or as bundles of images.
Find more great space-themed STEM resources at https://www.stem.org.uk/esero
ACTIVITY 3.4 PACK YOUR PAYLOADFrom Chapter Three of the Deep Space Diary discoverydiaries.org/activities/pack-your-payload/
LEARNING LEVELKS2, P5-7, Y4-6
CURRICULUM LINKS & DIFFERENTIATION IDEAS
View detailed curriculum links for England, Scotland, Northern Ireland and Wales in the Teacher Toolkit, plus differentiation ideas for your region and year level.
discoverydiaries.org/resources/teacher-toolkit/

Learning Objective
To develop scientific vocabulary.
Resources Required
• Smartphone/device or computer to access Zap code (optional)
Background to this Activity
Word searches are a fun way to extends your students’ vocabularies. Students can add the words they find to their Visual Dictionary of Deep Space: discoverydiaries.org/activities/visual-dictionary-of-deep-space/
Running the Activity
The word searches provide an opportunity to review and discuss what has been covered in each chapter. As students work through the chapters, remind them to write key words in their Visual Dictionary of Deep Space (see Activity 6.2: discoverydiaries.org/activities/visual-dictionary-of-deep-space/) to help create a word bank.
For each word search, look at the starting letters noted below the word search grid. As a class or in student pairs, discuss what some of the words might be. Ask students if they can identify any of those words.
Subsequent word searches can be tackled more independently once students understand the format.
Solutions to this Activity
Word Search Chapter 2: Light, Prism, Reflect, Spectrum, Infrared, Optical, Gradient, Absorb
Word Search Chapter 3: Discovery, Construct, Experiment, Structure, Mirror, Method, Engineer, Payload
Word Search Chapter 4: Program, Commands, Deploy, Encryption, Calibrate, Instrument, Decode, Sequence
Word Search Chapter 5: Astronomer, Spiral galaxy,
Protostar, Data, Infographic, Celestial, Planet, Atmospheric
For definitions, see the Deep Space Glossary: discoverydiaries.org/toolkit/deep-space-glossary/
Additional Challenges / Extension Activities
Ask students to make their own deep space-themed word searches. Download and print our blank word search template to use with your class: discoverydiaries.org/toolkit/word-search-template/
Ideas for Differentiation
Support:
• Work as a class or in groups to find definitions, assigning words to students.
• Work as a class or in groups to create a song using vocabulary from the chapter.
• Provide hidden words to students.
Challenge:
• Once students have completed the word searches, ask them to develop their own using their dictionaries. They can then test a classmate with their word search. Differentiate by giving clues as the whole word, the first letter or a clue/definition of the word.
Useful Links
Deep Space Glossary: discoverydiaries.org/toolkit/word-search-template/
ZAP! Students can independently access multimedia resources using the Zappar mobile/tablet app. See Zappar instructions at the link below and note that the mobile/tablet will need to be on a WIFI connection: discoverydiaries.org/toolkit/discovery-diaries-zappar-instructions/
WORD SEARCHESFound throughout theDeep Space Diary
Chapter Two: discoverydiaries.org/activities/chapter-two-word-search/Chapter Three: discoverydiaries.org/activities/chapter-three-word-search/Chapter Four: discoverydiaries.org/activities/chapter-four-word-search/Chapter Five: discoverydiaries.org/activities/chapter-five-word-search/
LEARNING LEVELKS2, P5-7, Y4-6discoverydiaries.org/resources/teacher-toolkit/

If you don’t have access to the internet in the classroom, all Zap code content is available to download on the activity’s web page (see link to the left) as a PowerPoint presentation or as bundles of images.
Find more great space-themed STEM resources at https://www.stem.org.uk/esero
WORD SEARCHESFound throughout theDeep Space Diary
Chapter Two: https://discoverydiaries.org/activities/deep-space-diary-word-search-2/Chapter Three: https://discoverydiaries.org/activities/deep-space-diary-word-search-3/Chapter Four: https://discoverydiaries.org/activities/deep-space-diary-word-search-4/Chapter Five: https://discoverydiaries.org/activities/deep-space-diary-word-search-5/
LEARNING LEVELKS2, P5-7, Y4-6discoverydiaries.org/resources/teacher-toolkit/