laboratory communication digital photography in dentistry stefan ursu cdt aesthetic dental studio,...
TRANSCRIPT

LABORATORY COMMUNICATION
Digital Photography in Dentistry
Stefan Ursu CDTAesthetic Dental Studio, Inc.
NYUCD International Aesthetic Program
Traditional Photo Communication
Methods

QuickTime™ and a decompressor
are needed to see this picture.

In other words...,
“A3... but a bit darker”
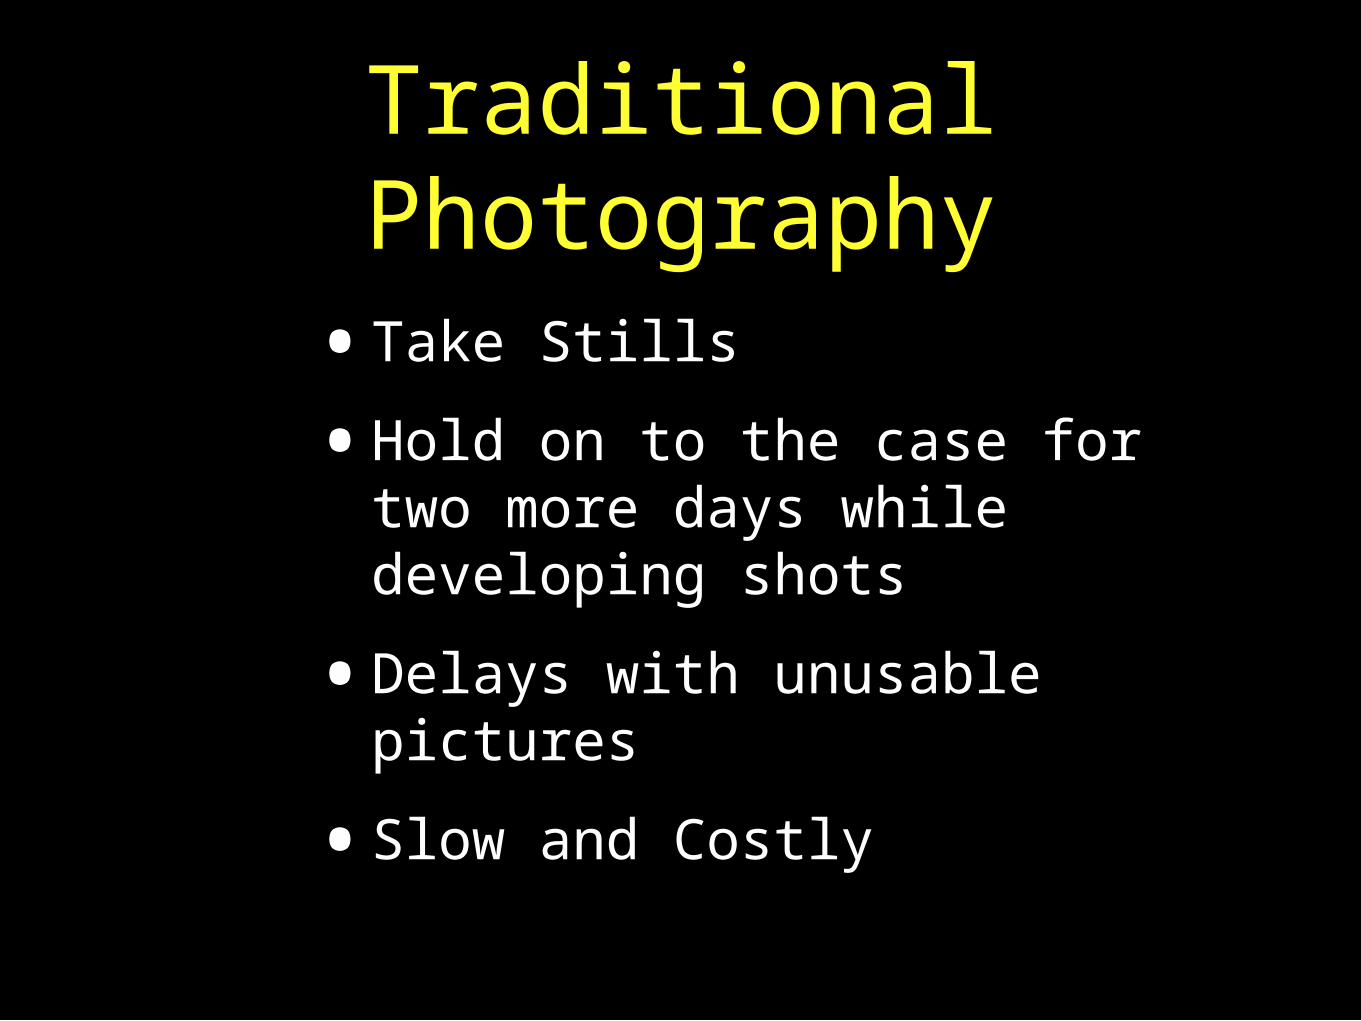
Traditional Photography
•Take Stills
•Hold on to the case for two more days while developing shots
•Delays with unusable pictures
•Slow and Costly

Vs...
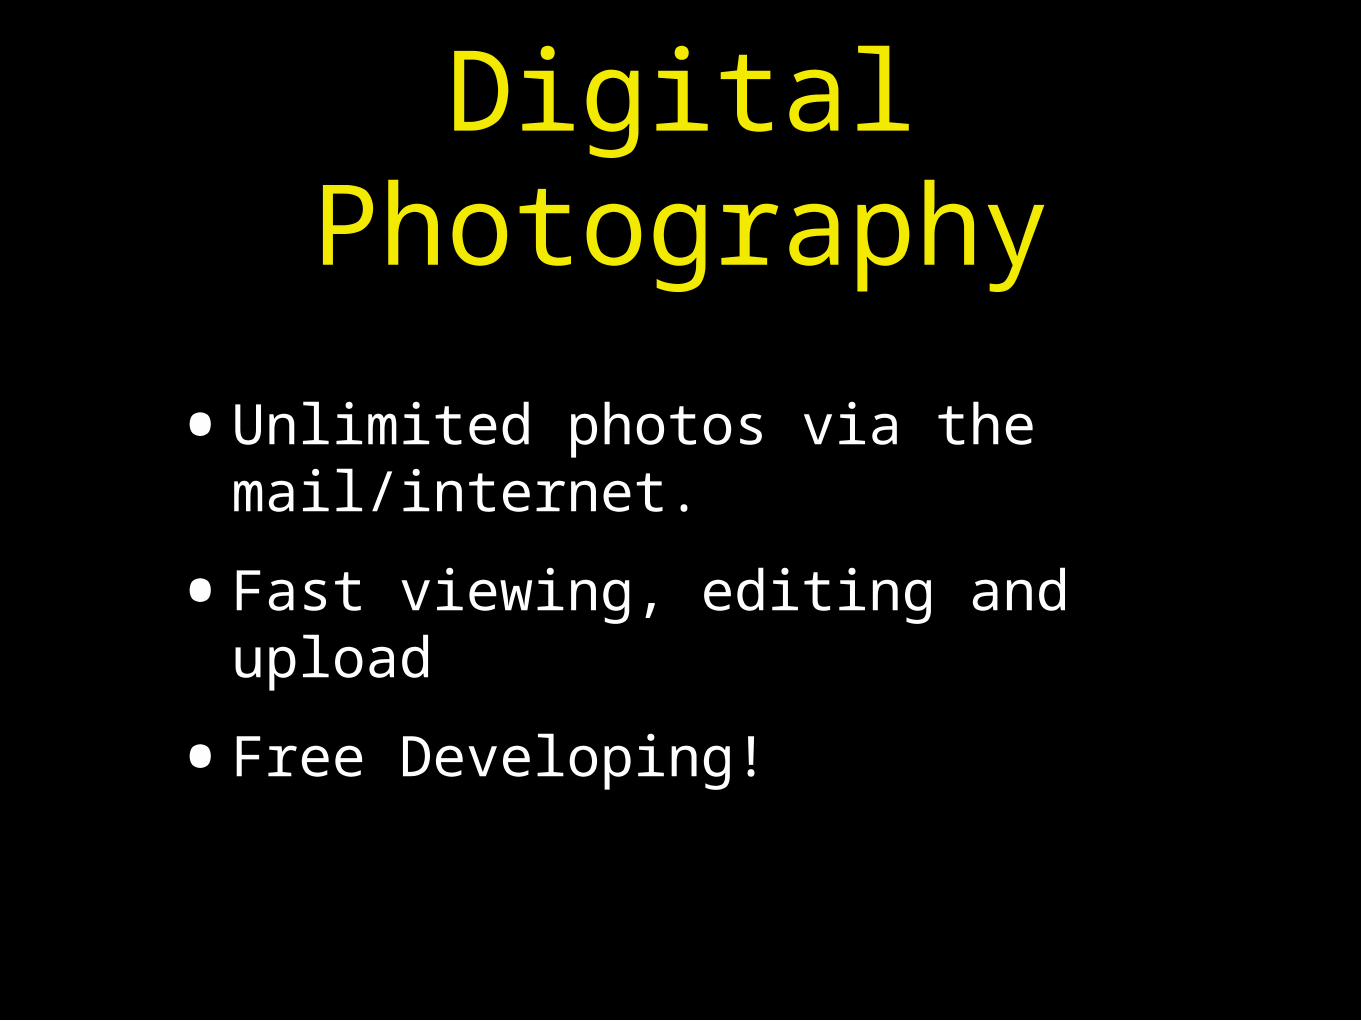
Digital Photography
•Unlimited photos via the mail/internet.
•Fast viewing, editing and upload
•Free Developing!
ARMAMENTARIUM
• Digital SLR camera with memory card
• Micro/Macro lens with 1:1 ratio ability
• Ring or dual flash system
• Shade guides
• Retractors
• Occlusal mirrors
Digital SLR Camera
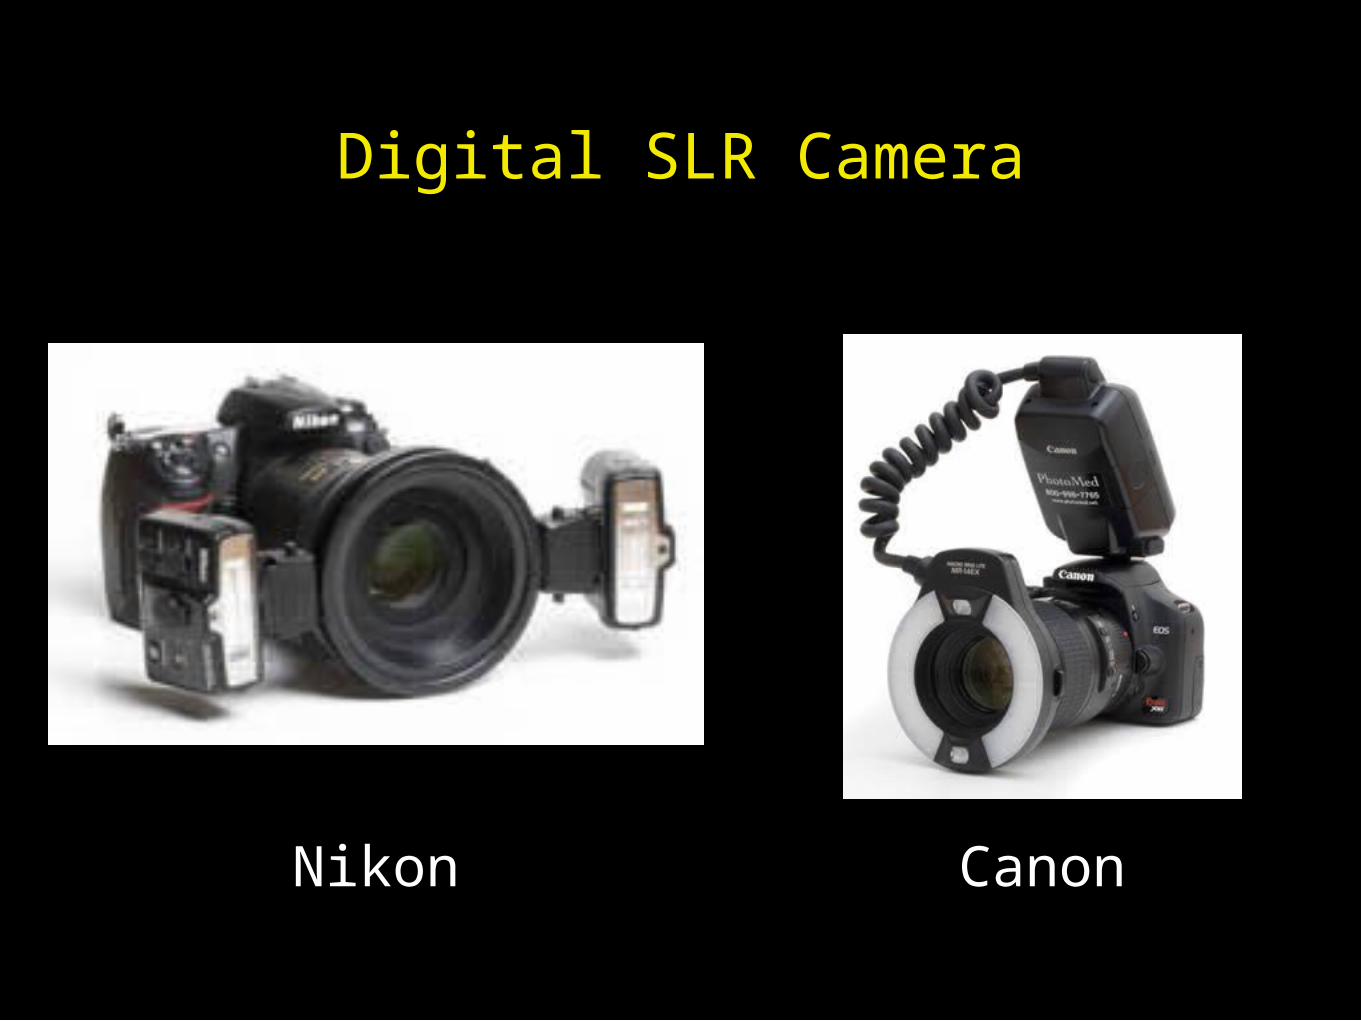
Digital SLR Camera
CanonNikon
Macro/Micro Lens
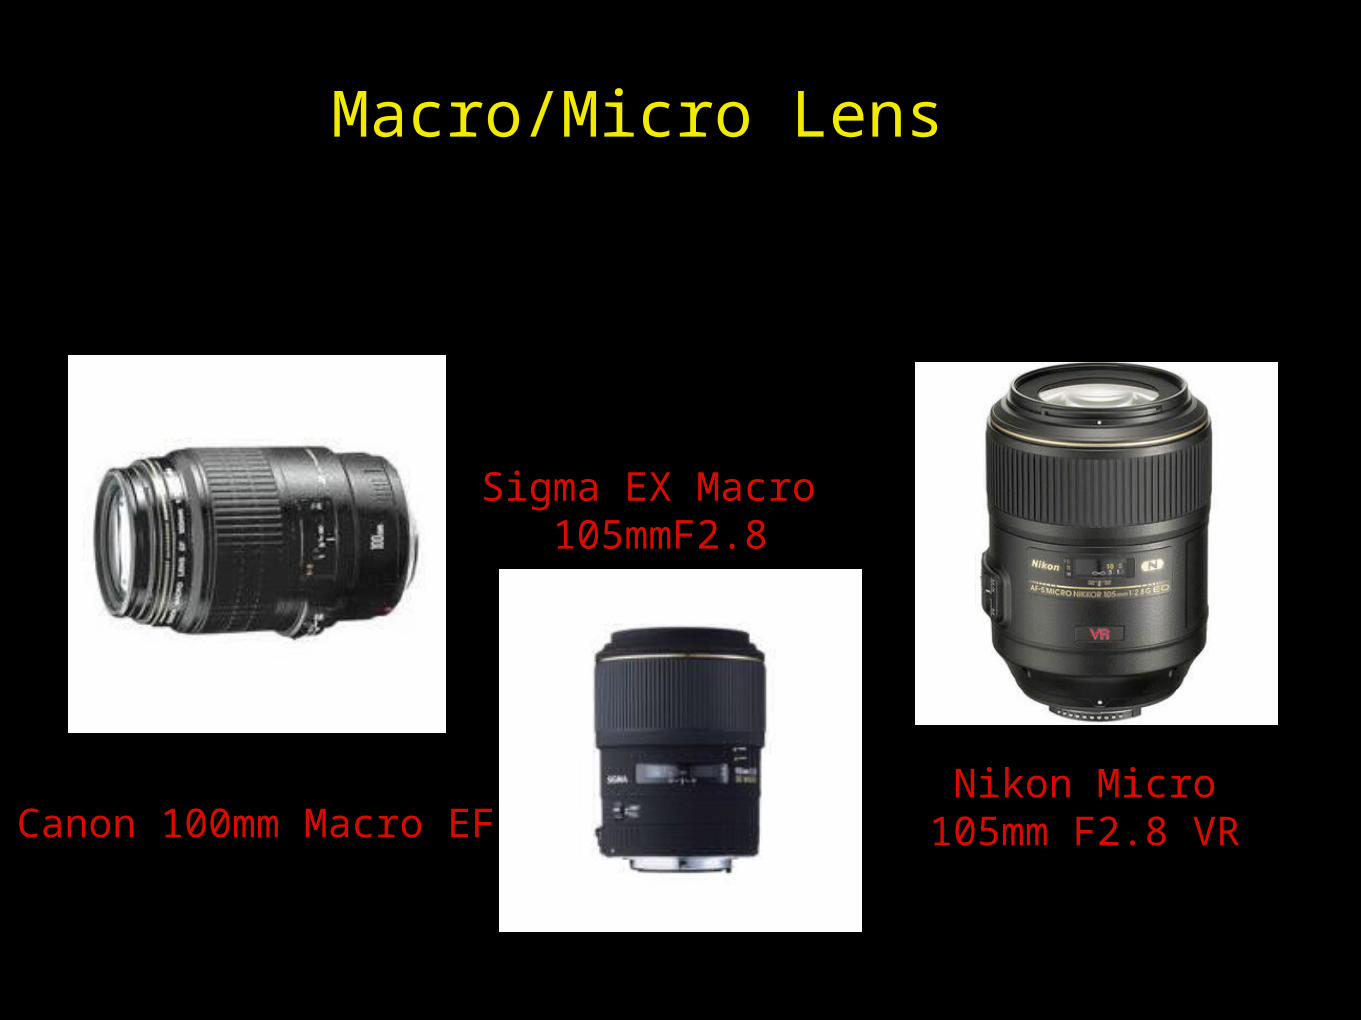
Nikon Micro 105mm F2.8 VR
Sigma EX Macro 105mmF2.8
Canon 100mm Macro EF
Macro/Micro Lens
Flash Systems
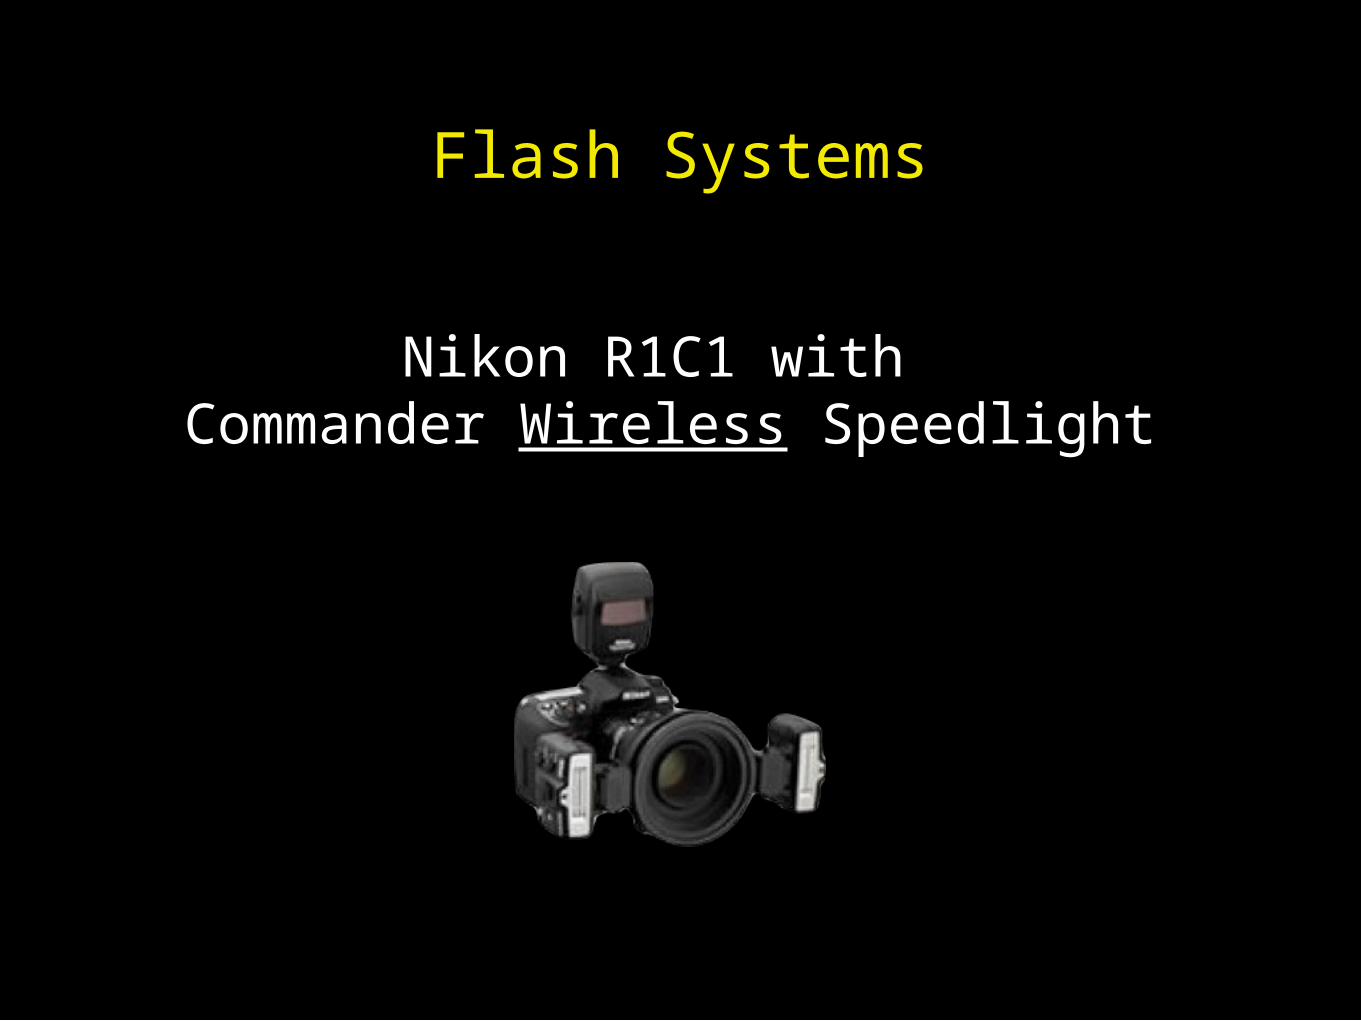
Flash Systems
Nikon R1C1 with Commander Wireless Speedlight
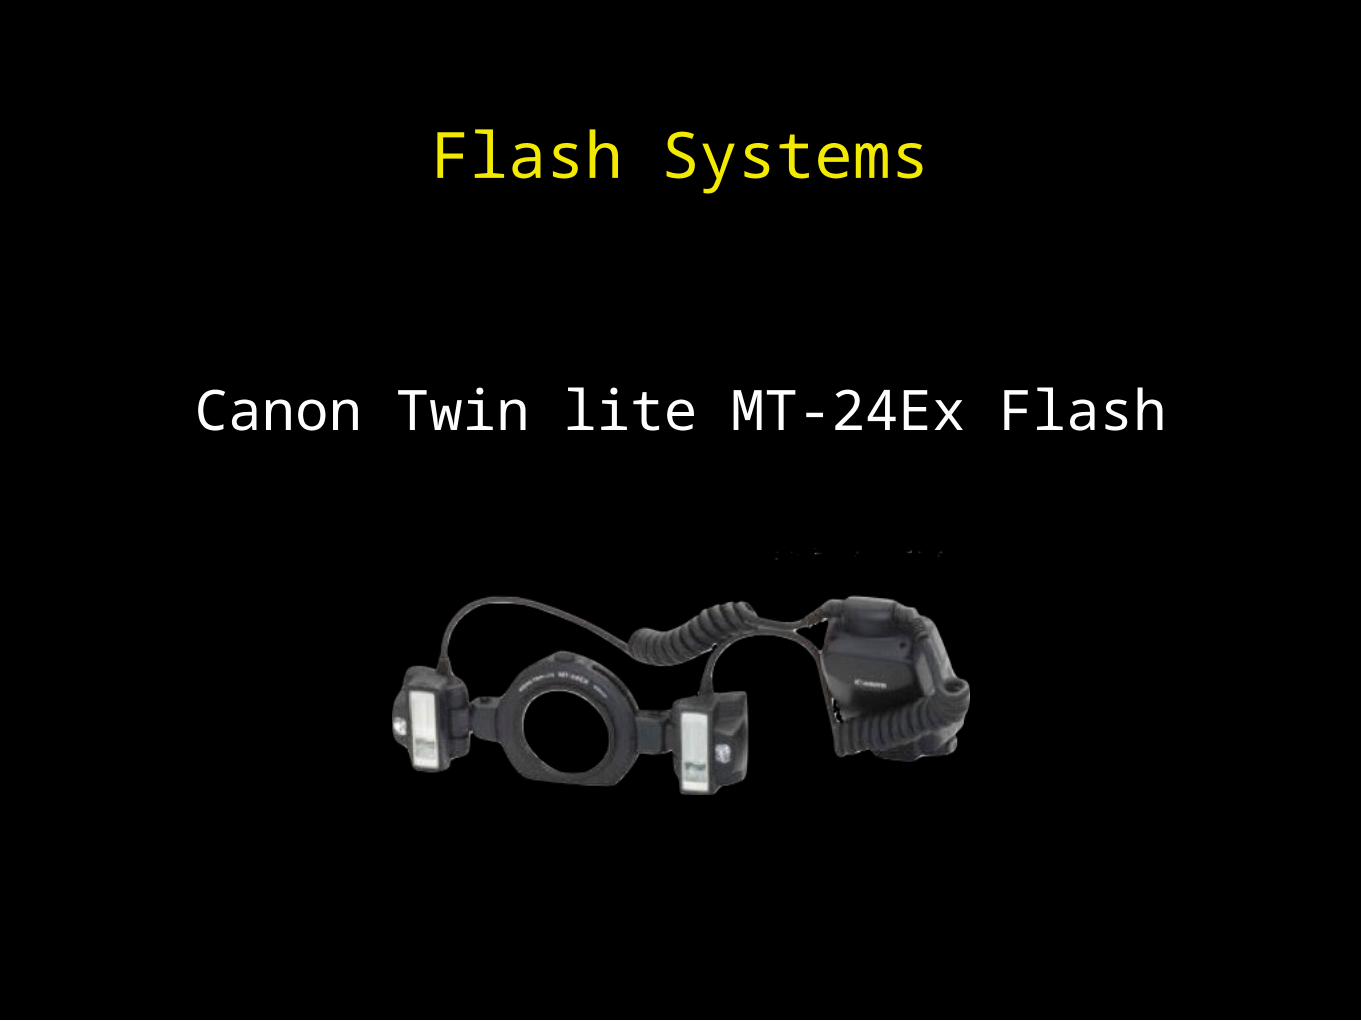
Flash Systems
Canon Twin lite MT-24Ex Flash
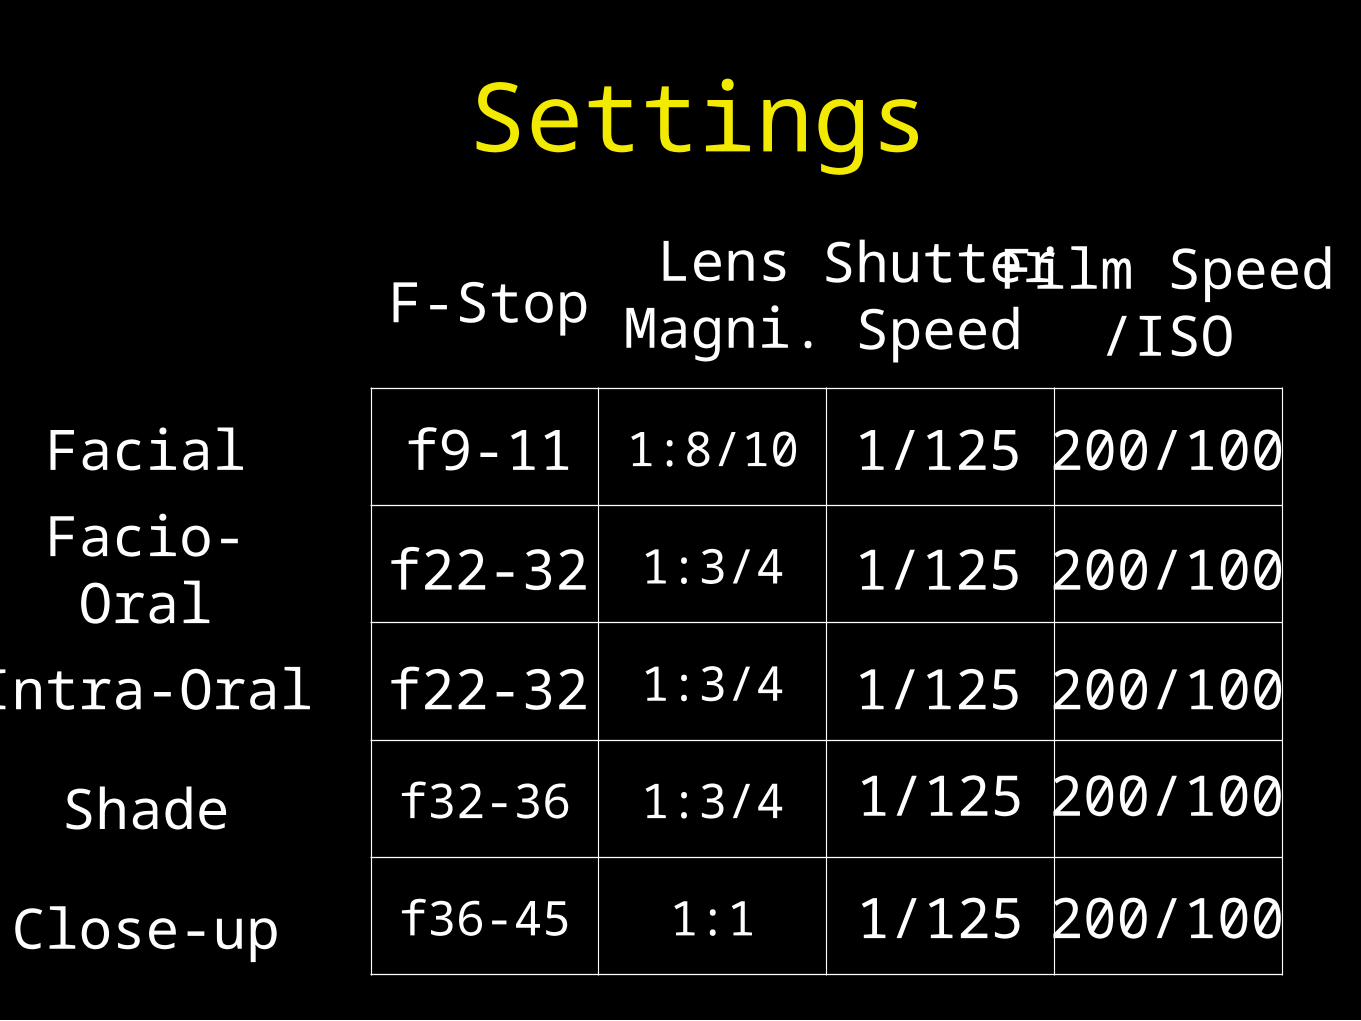
Settings
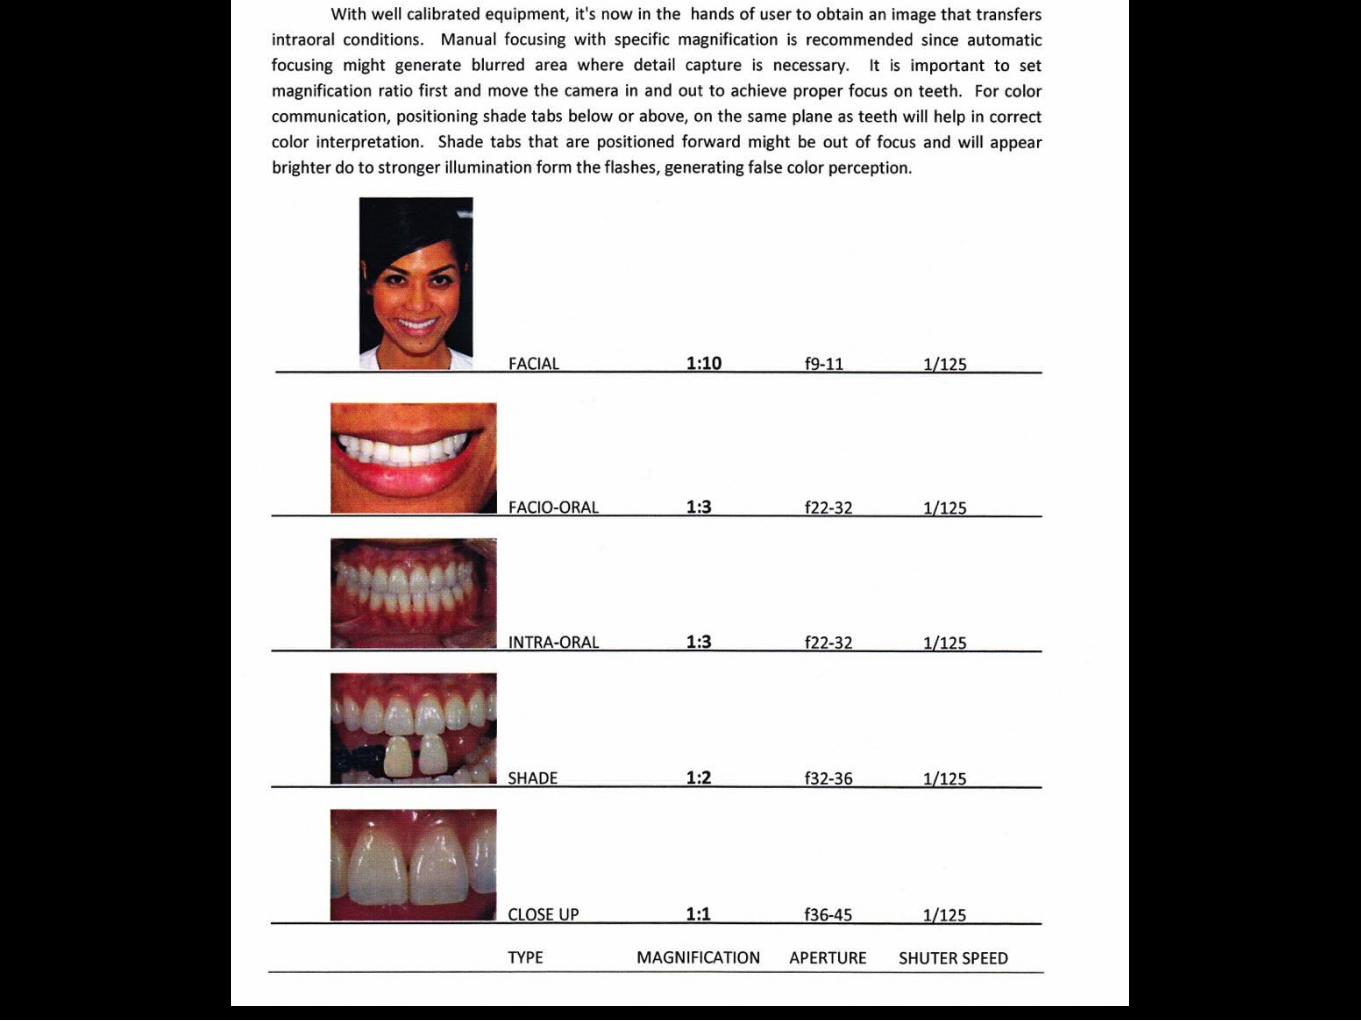
Facial
Facio-Oral
Intra-Oral
F-StopLens
Magni.Shutter Speed
Film Speed/ISO
1:8/10
1:3/4
1:3/4
f32-36 1:3/4
f36-45 1:1
f9-11
f22-32
f22-32
1/125
1/125
1/125
200/100
200/100
200/100
1/125 200/100Shade
Close-up 1/125 200/100

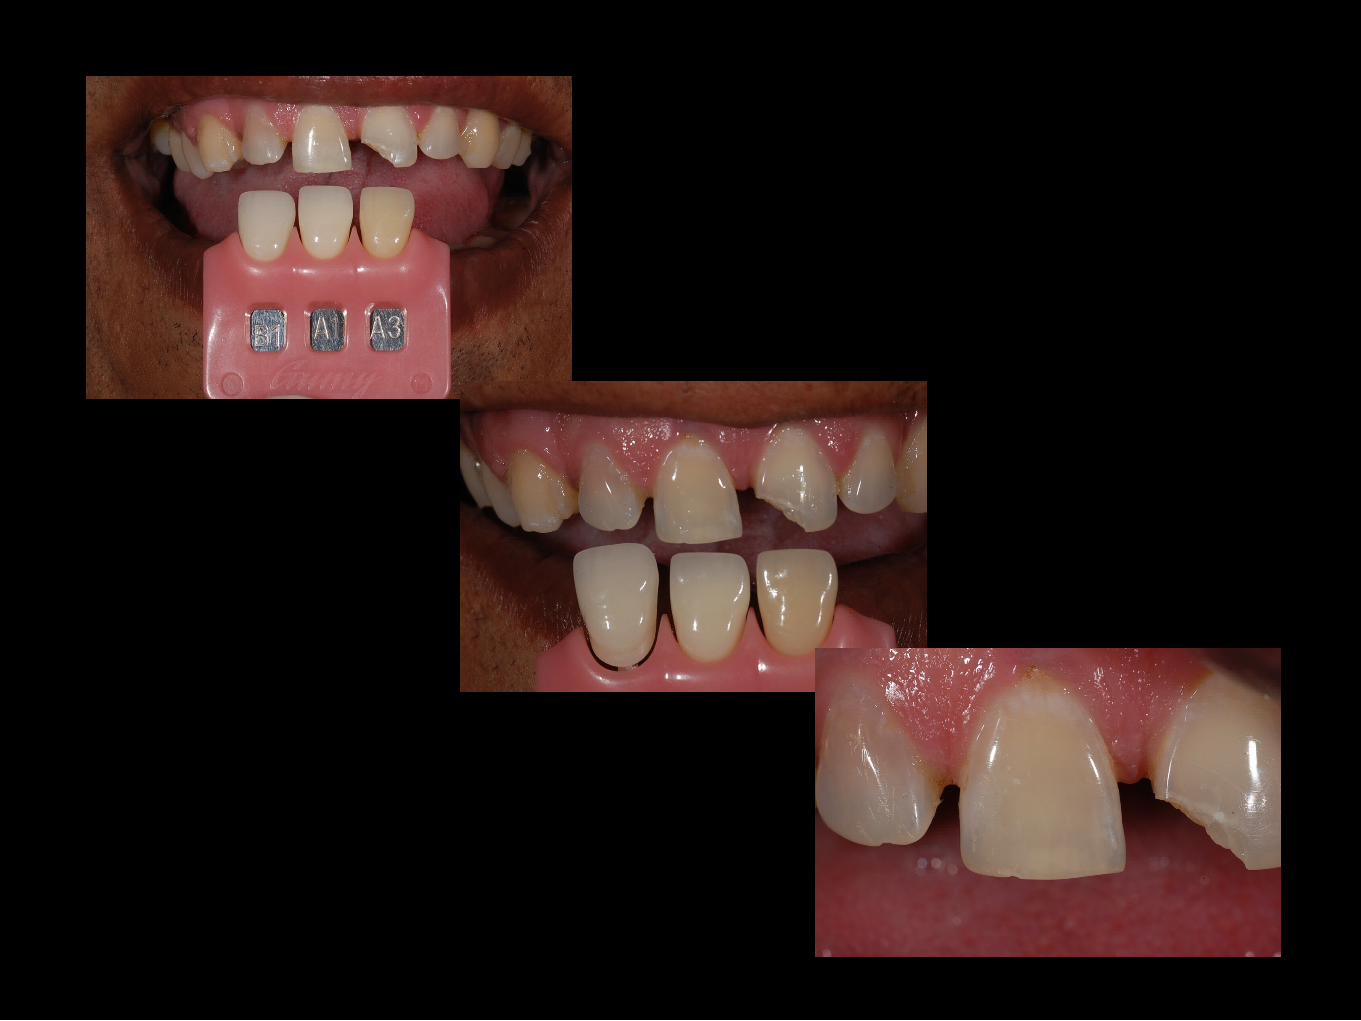
Shade Guides
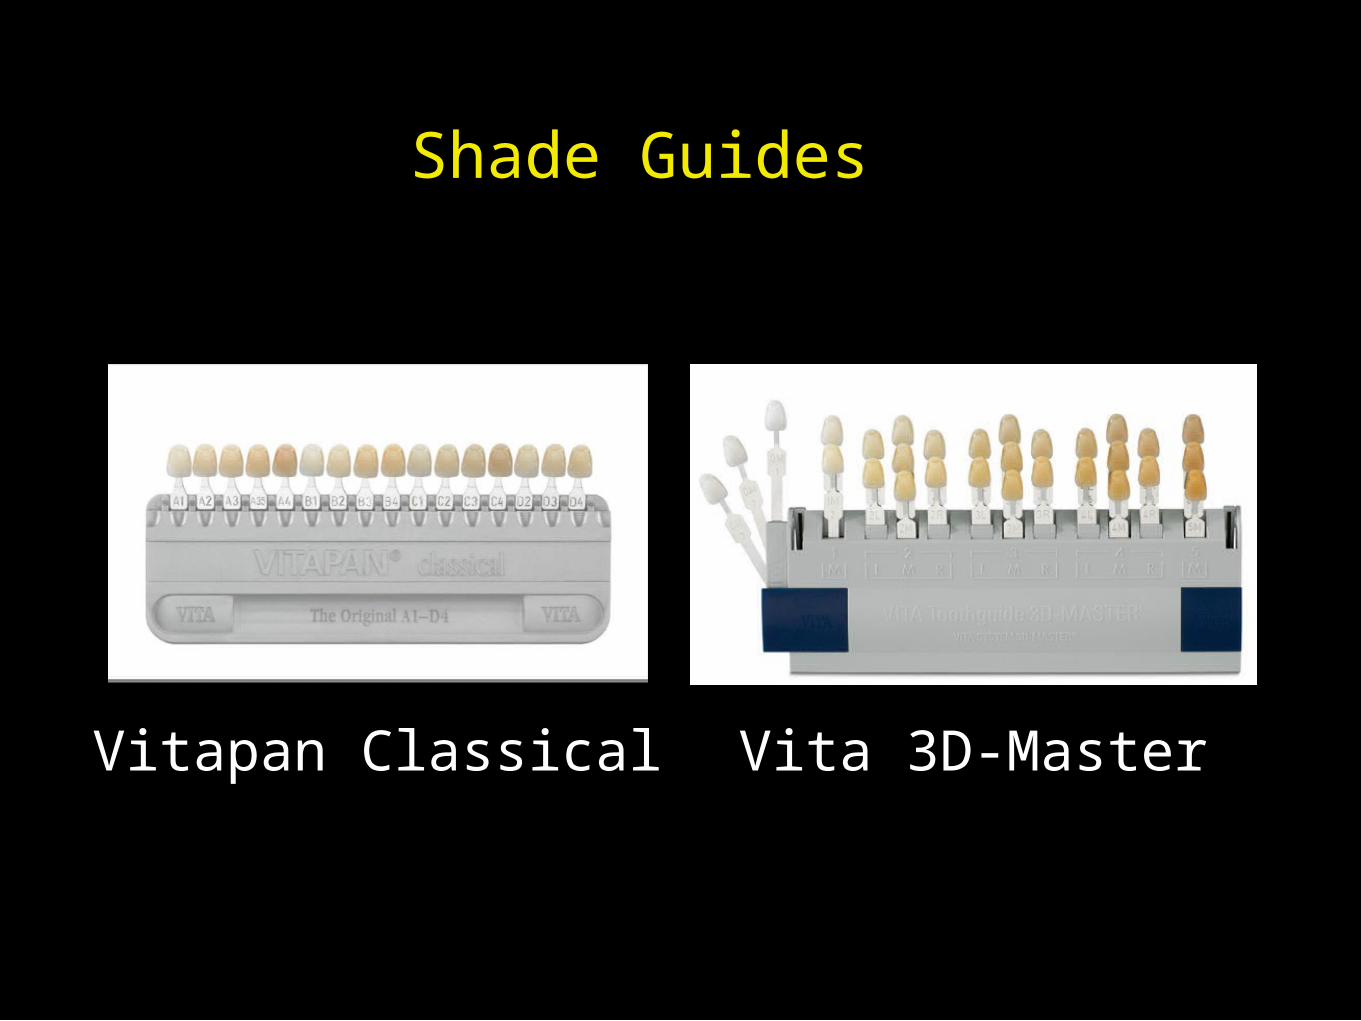
Shade Guides
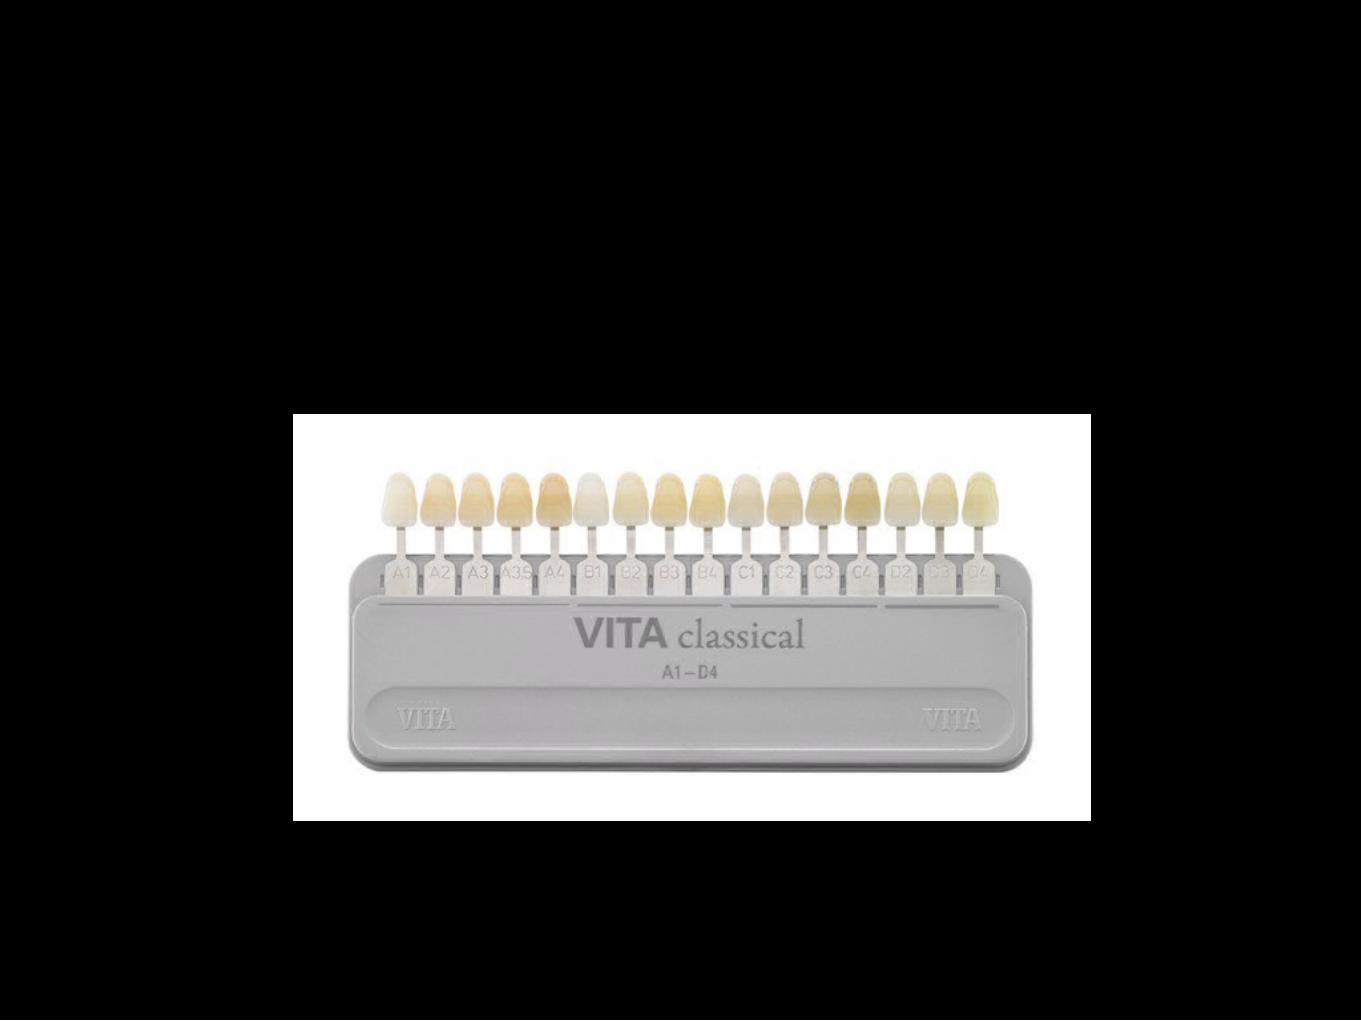
Vita 3D-MasterVitapan Classical
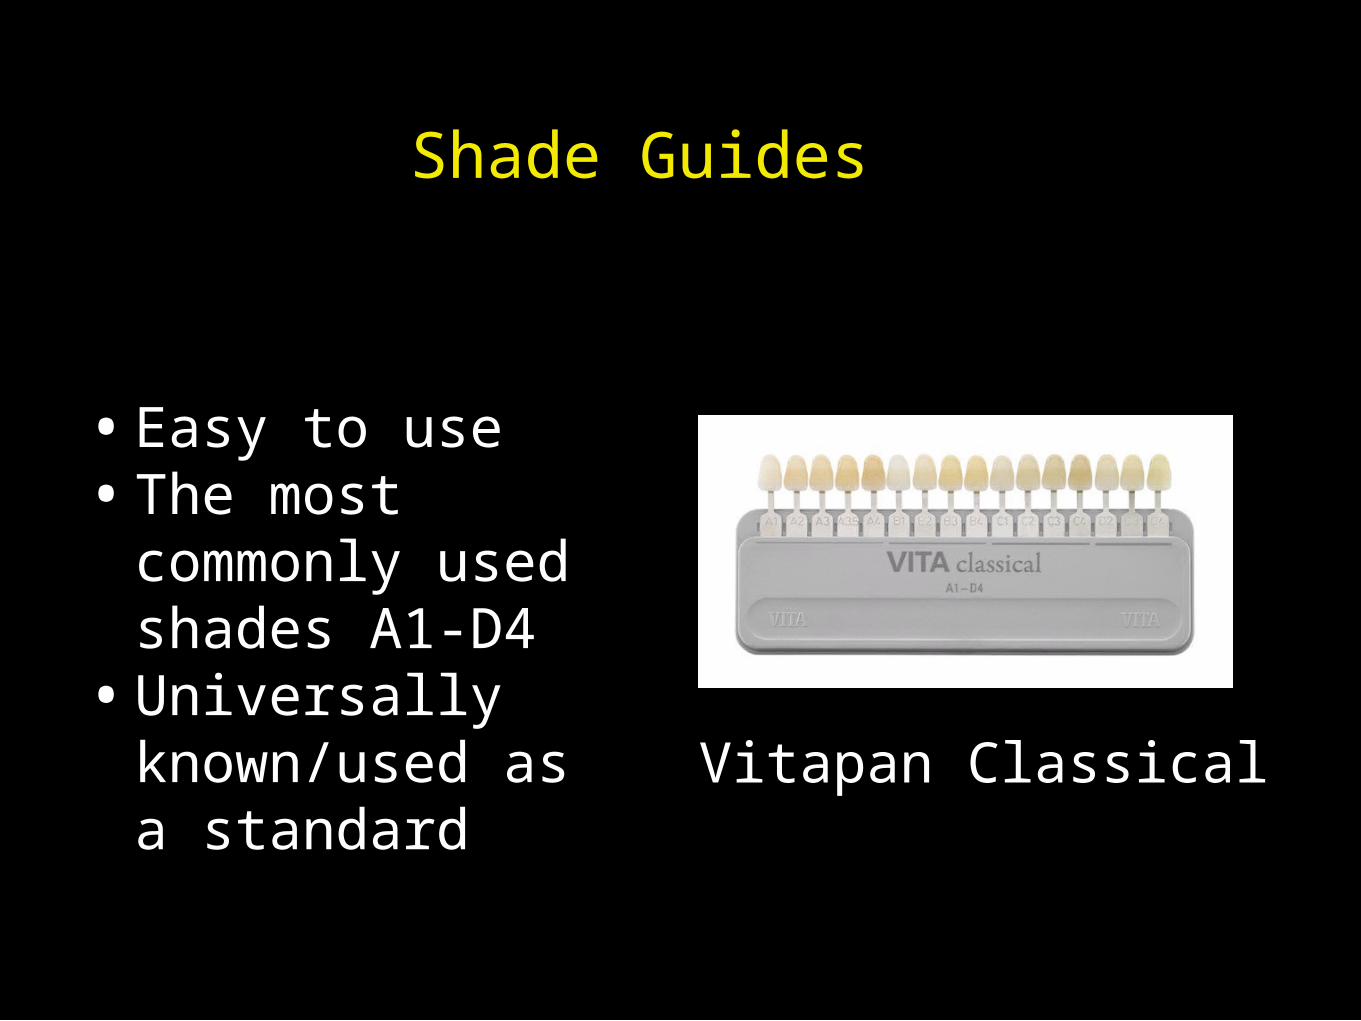
Vitapan Classical
•Easy to use•The most
commonly used shades A1-D4
•Universally known/used as a standard
Shade Guides
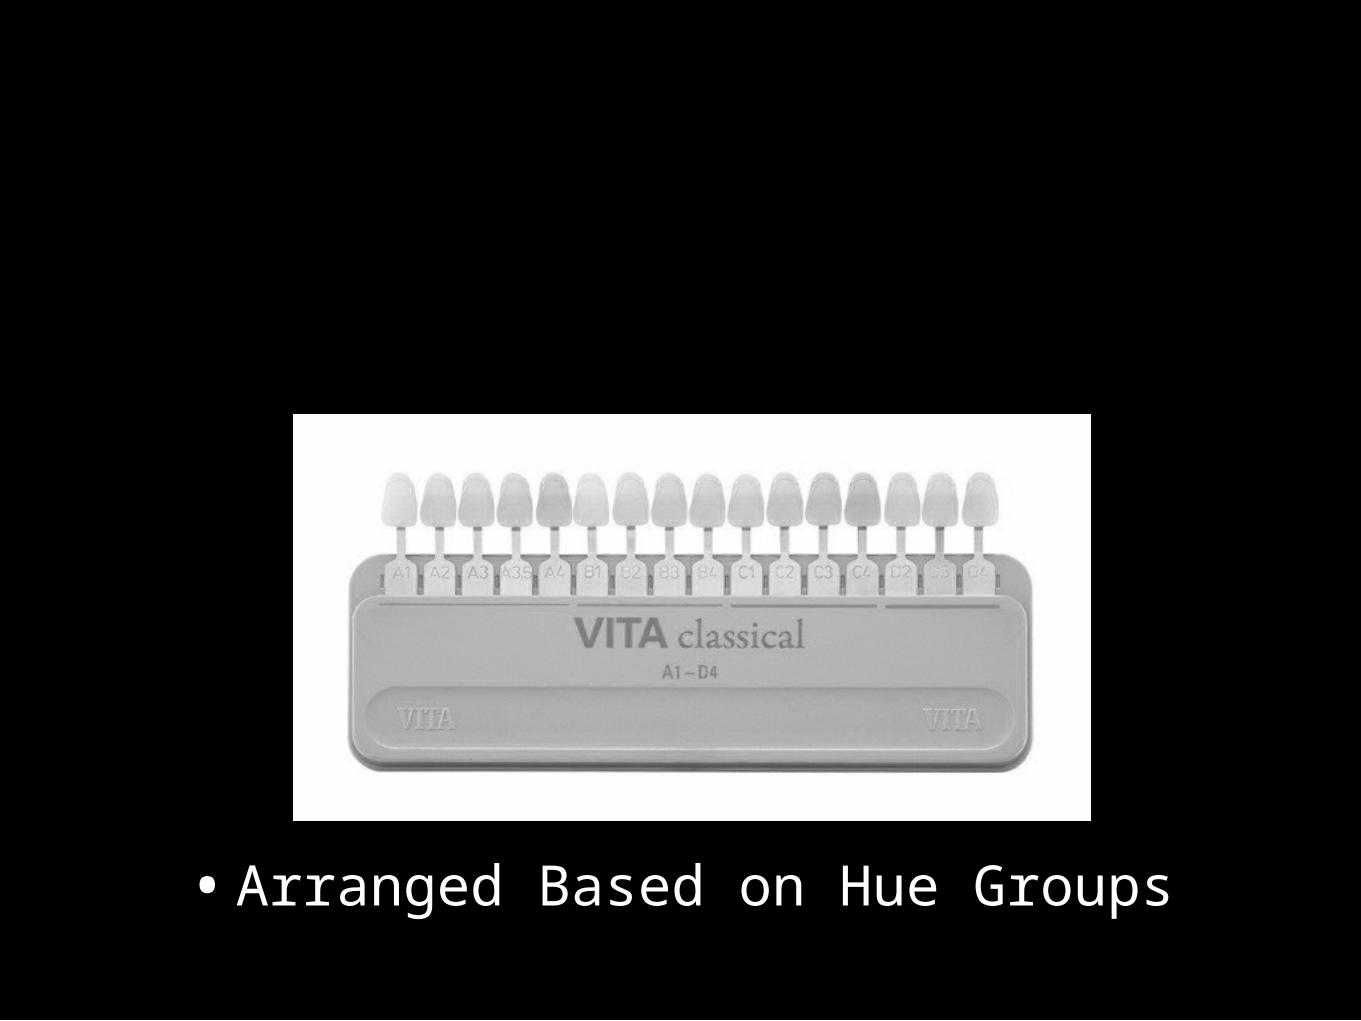
•Arranged Based on Hue Groups
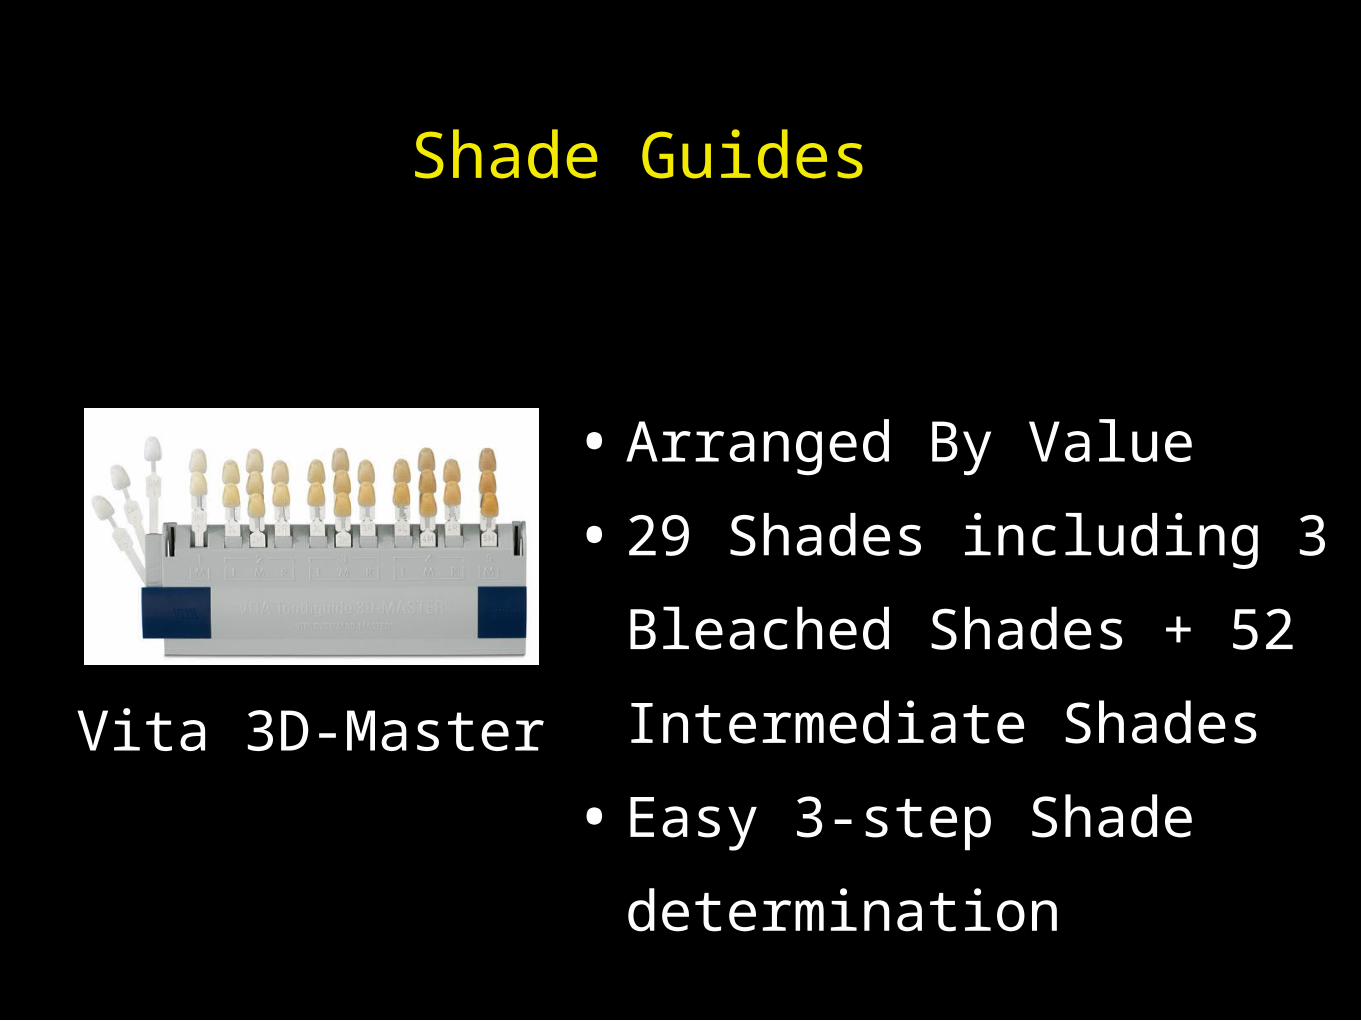
Vita 3D-Master
• Arranged By Value
• 29 Shades including 3
Bleached Shades + 52
Intermediate Shades
• Easy 3-step Shade
determination
Shade Guides

Instructions for Use
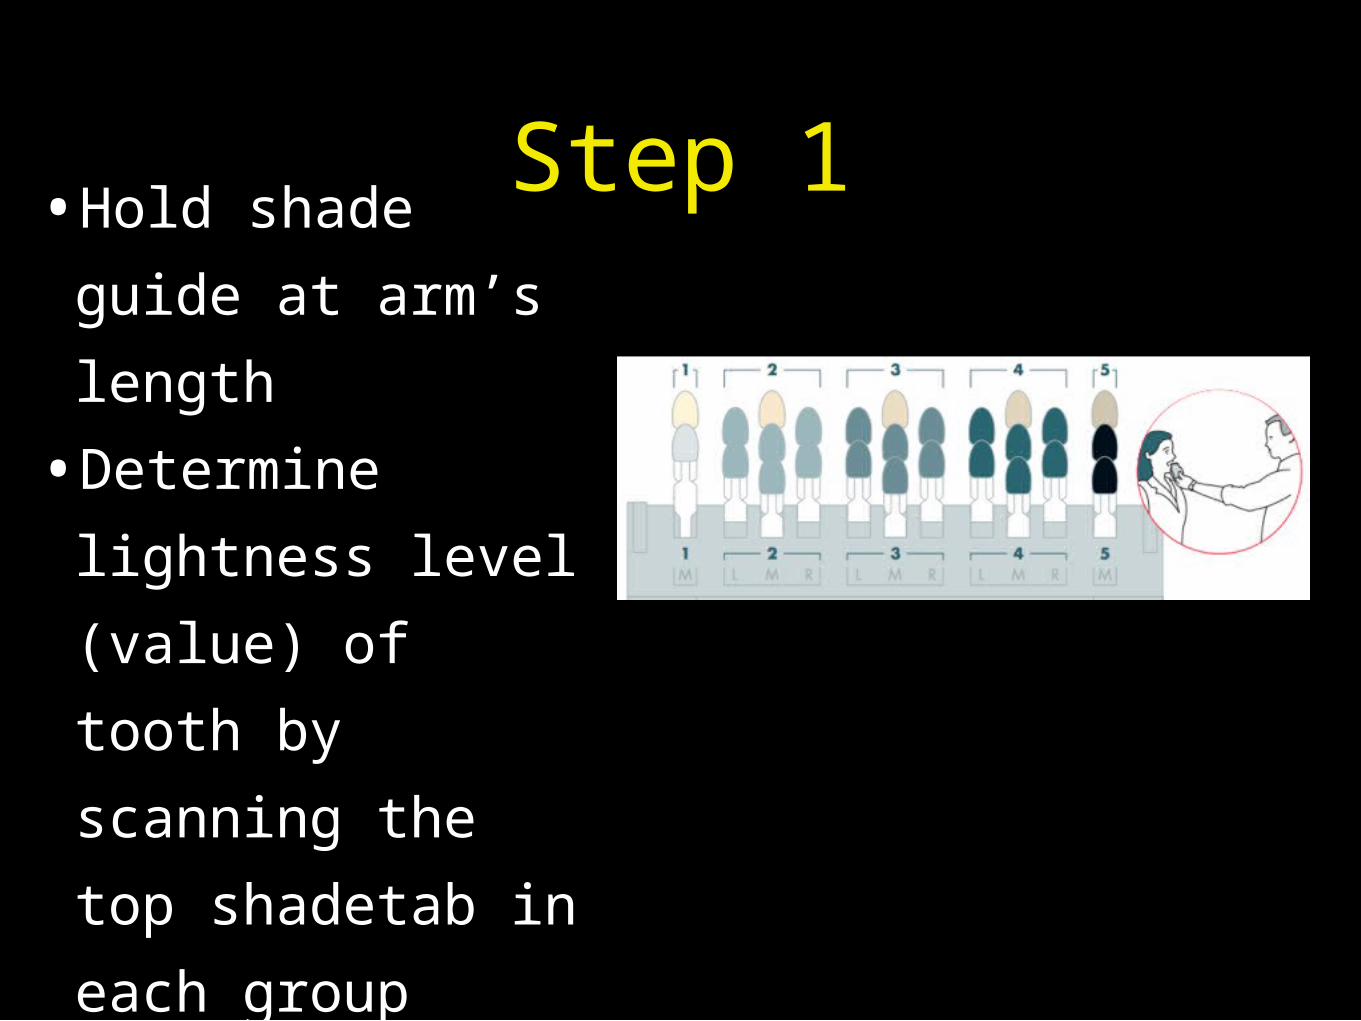
Step 1•Hold shade guide
at arm’s length
•Determine
lightness level
(value) of tooth
by scanning the
top shadetab in
each group
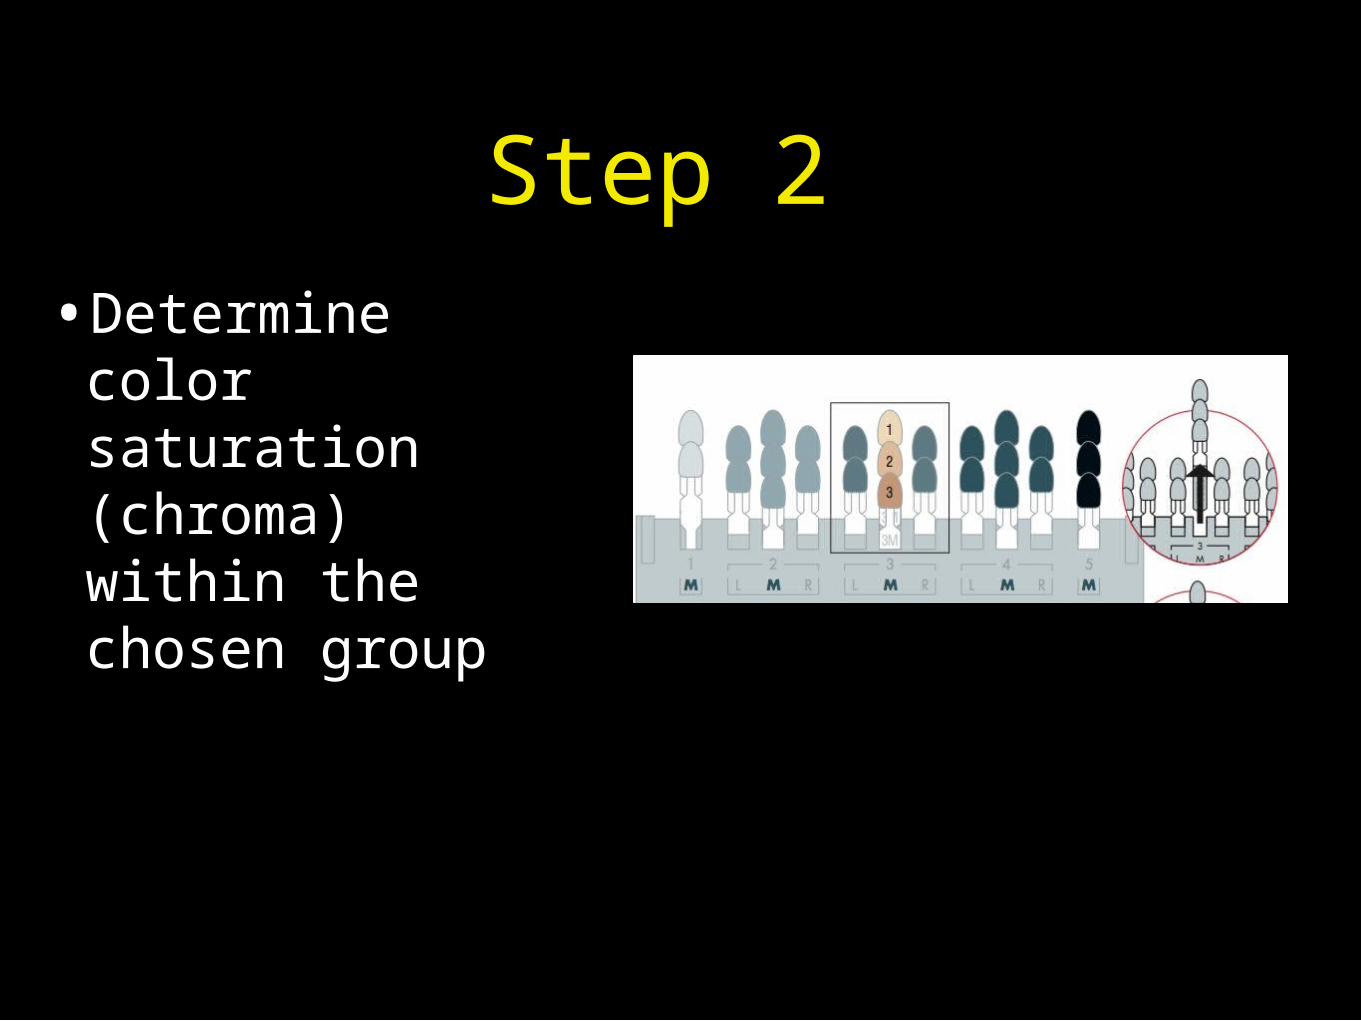
Step 2
•Determine color saturation (chroma) within the chosen group
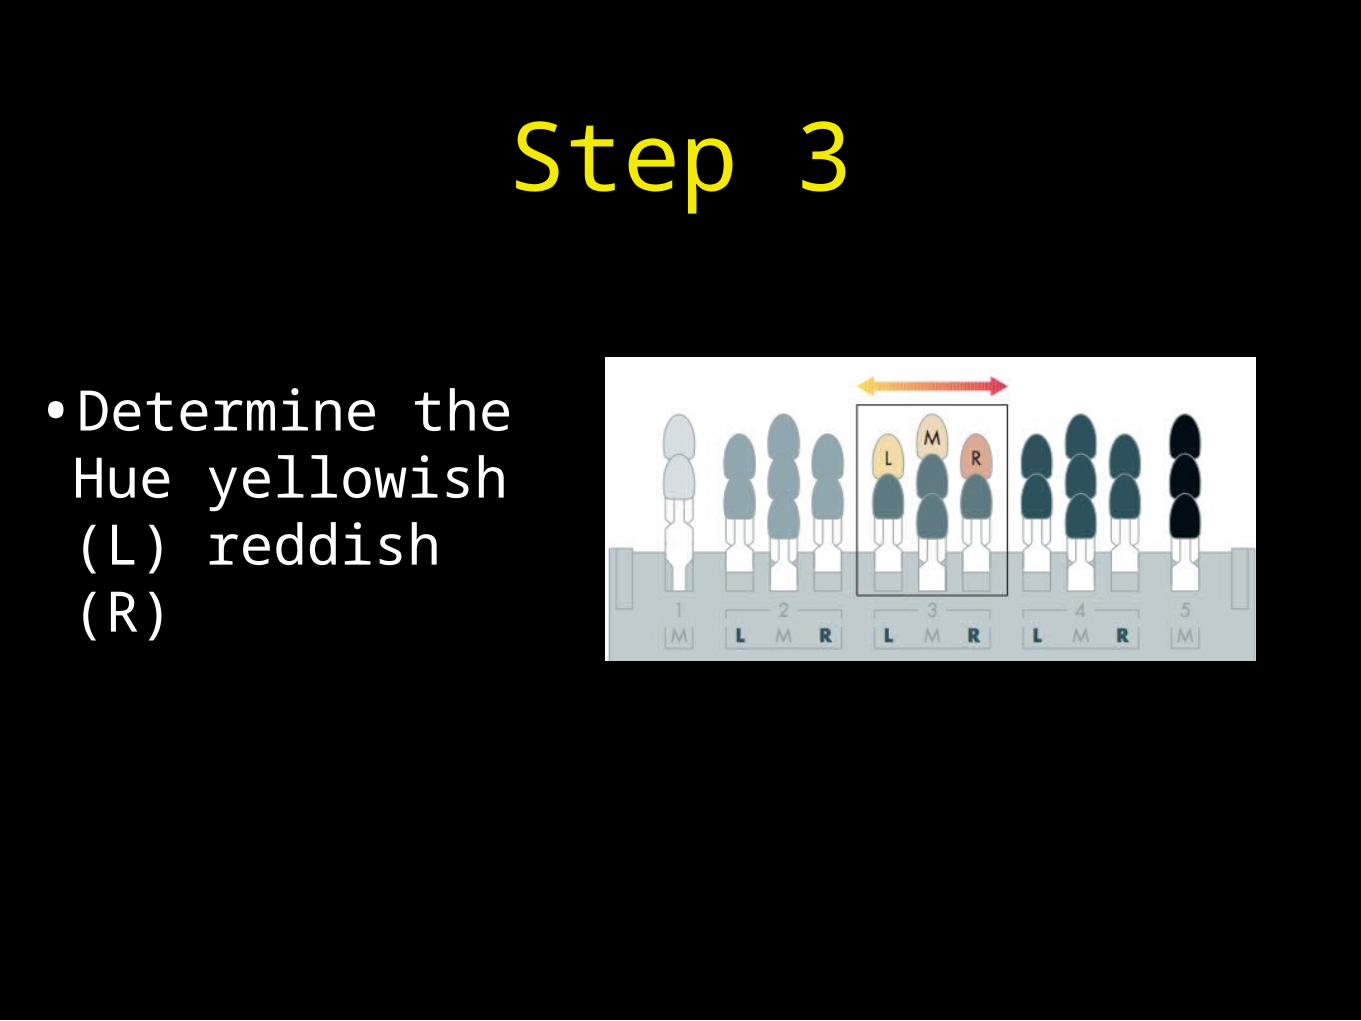
•Determine the Hue yellowish (L) reddish (R)
Step 3
Shade Matching Devices
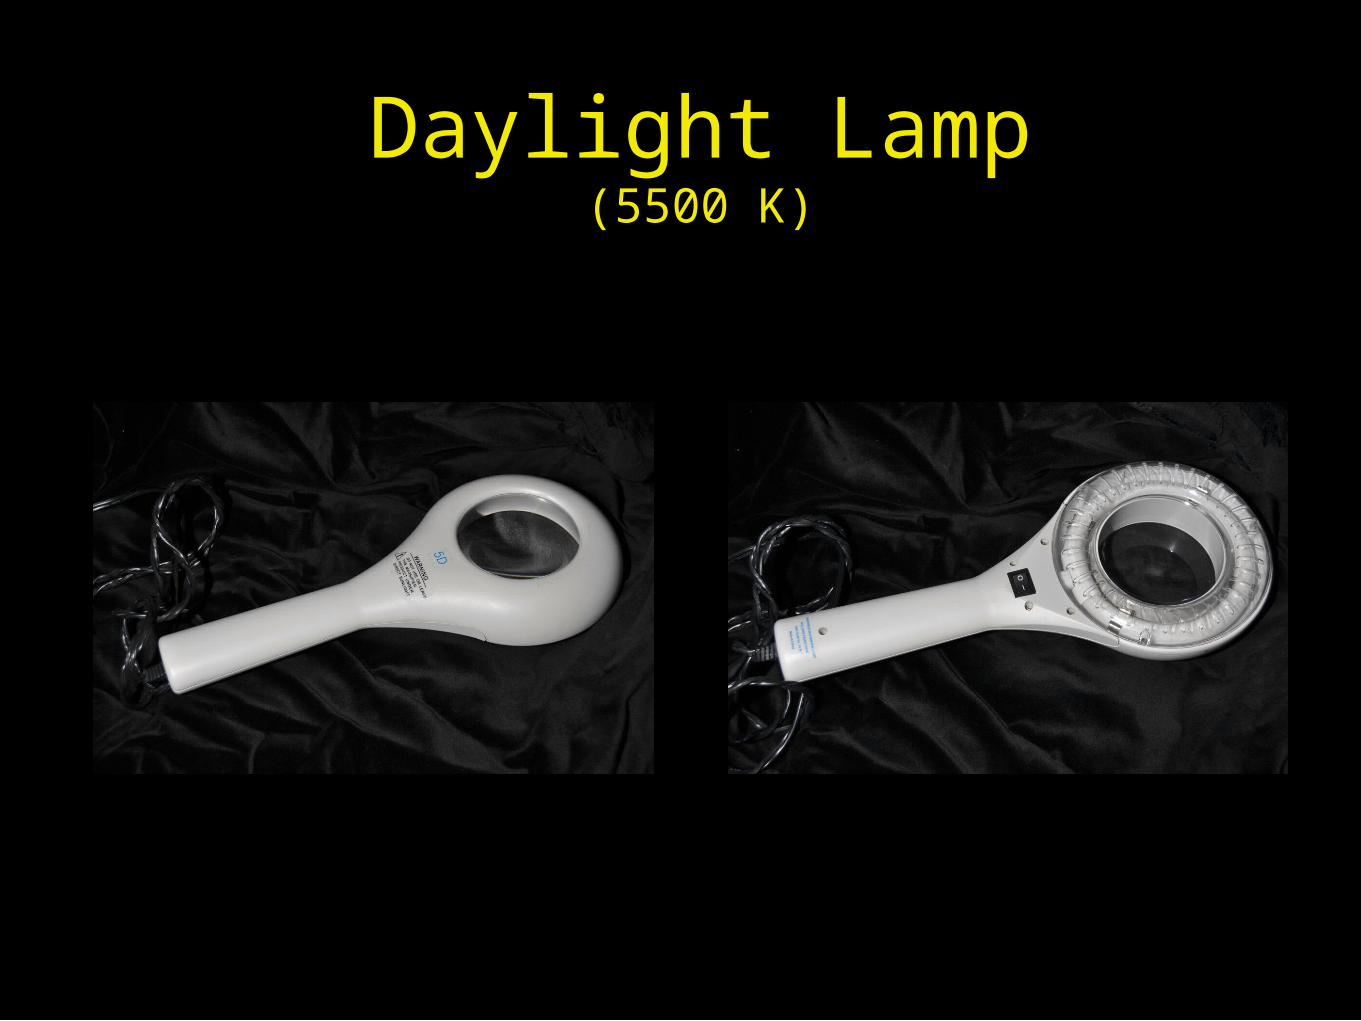
Daylight Lamp(5500 K)
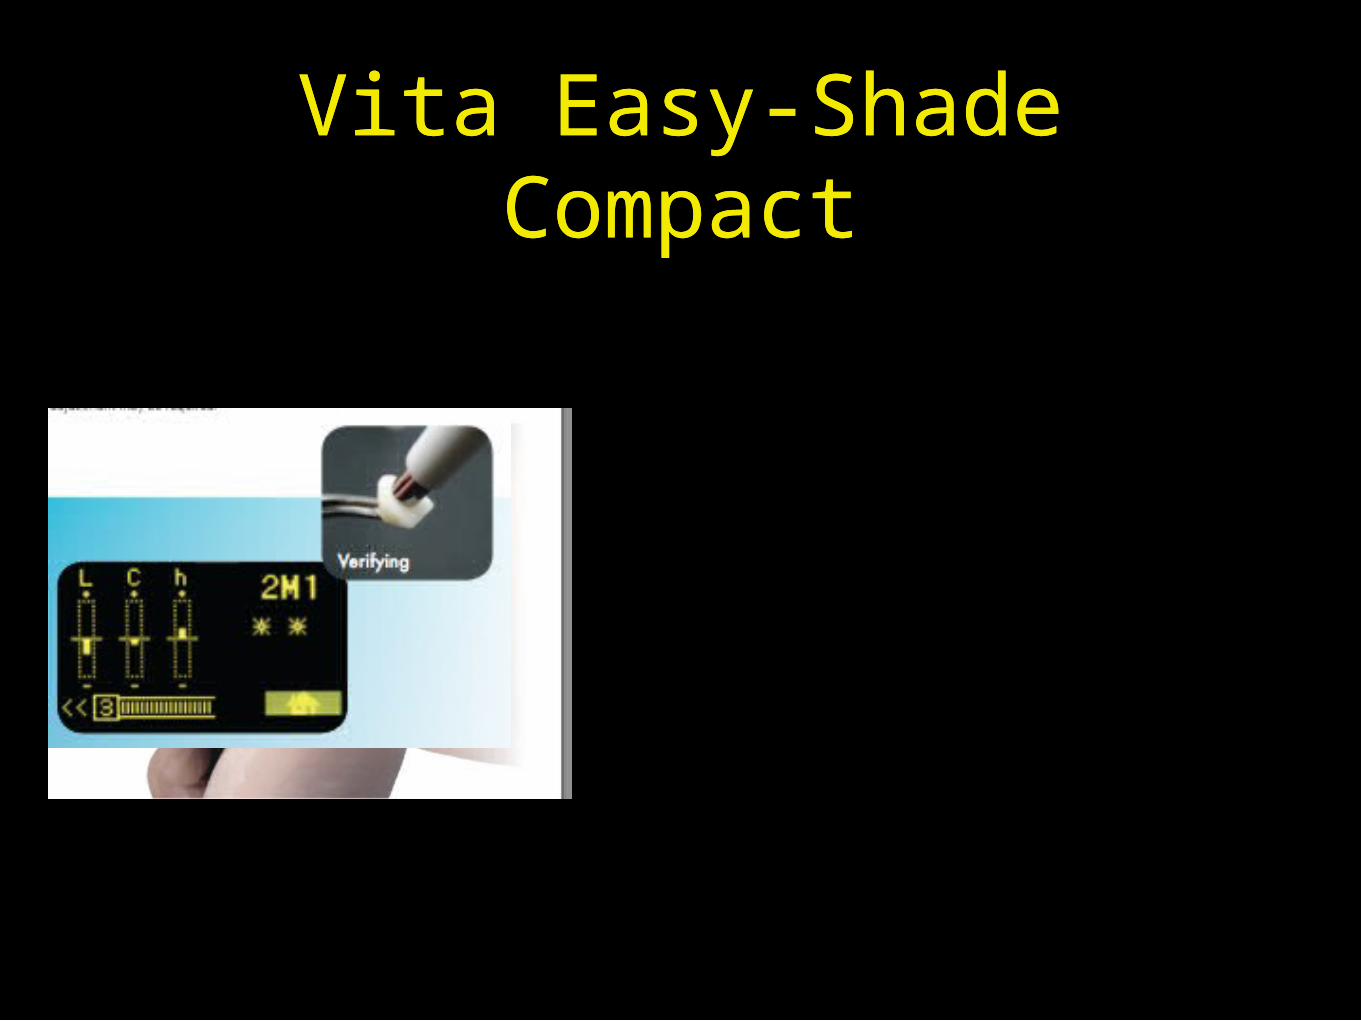
Vita Easy-ShadeCompact
Vita Easy-ShadeCompact
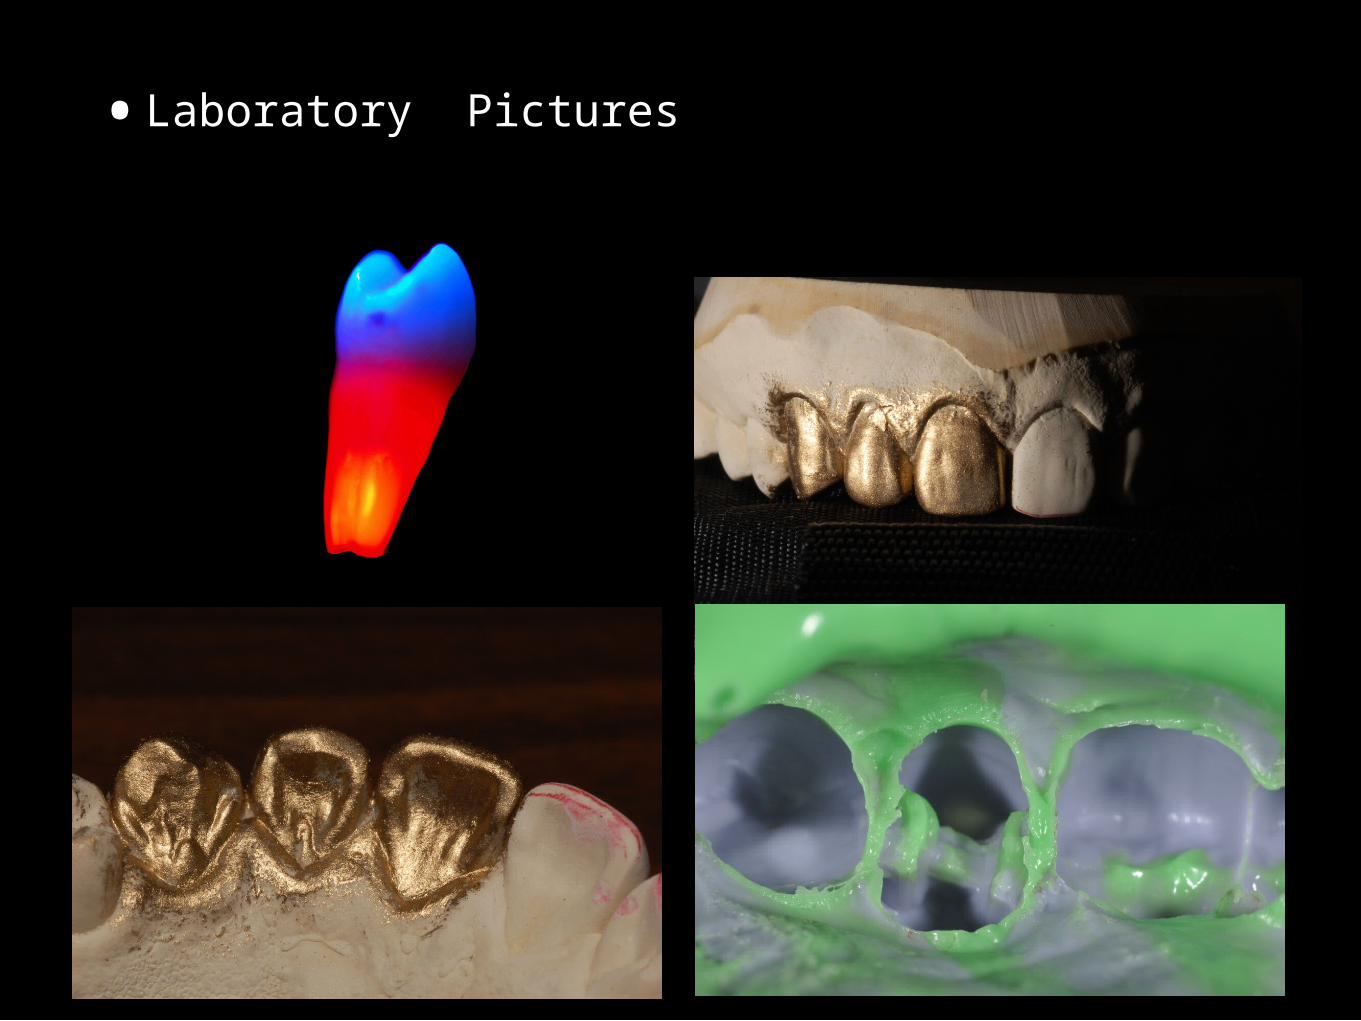
•Laboratory Pictures

Tips For Taking Shades
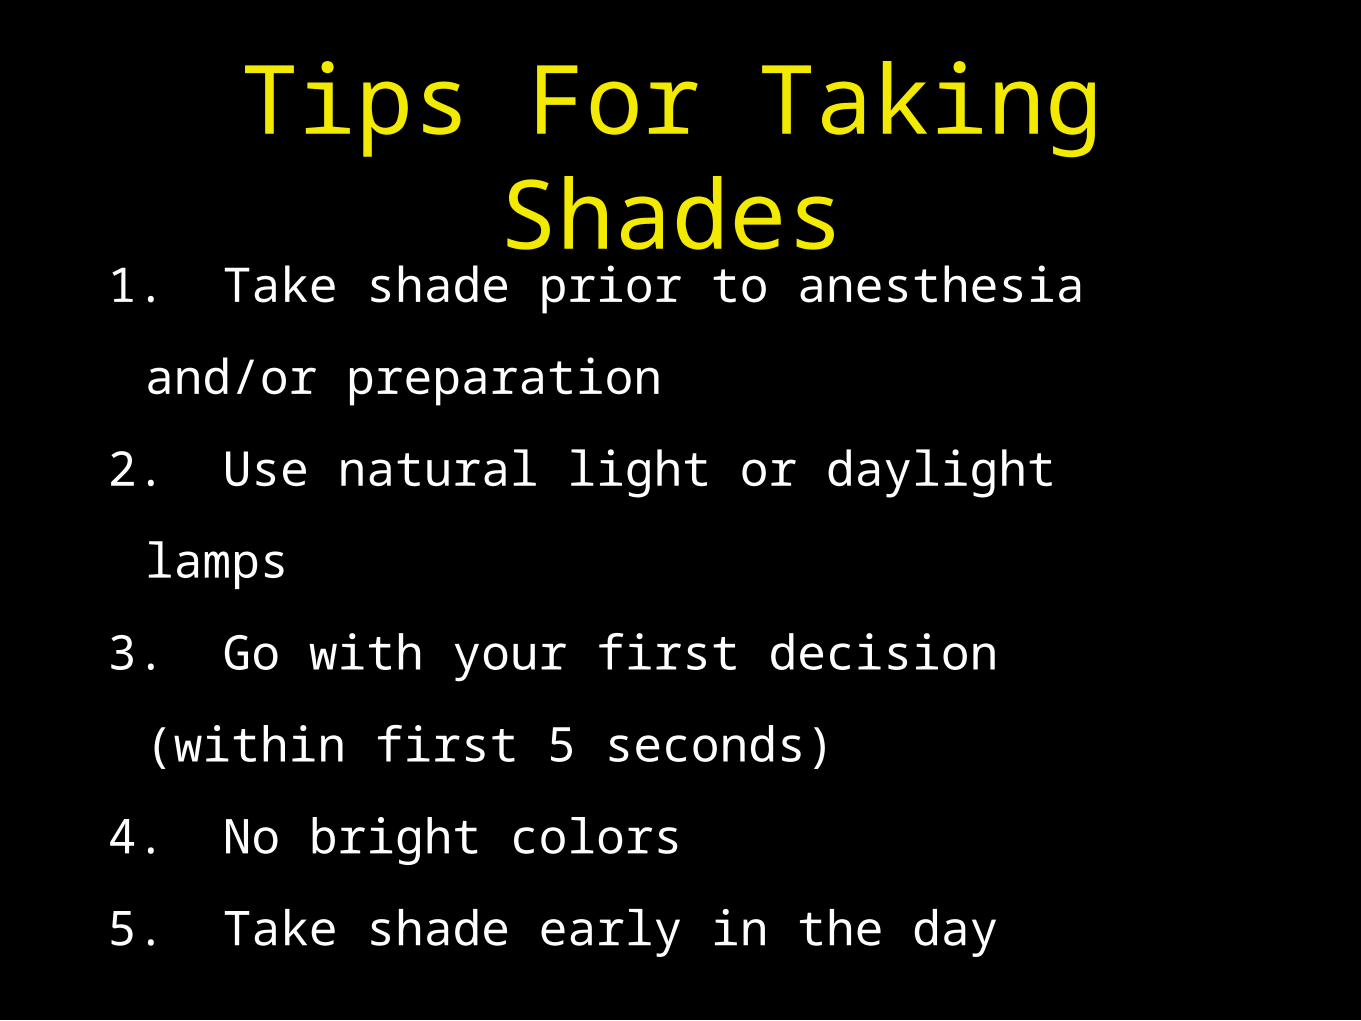
Tips For Taking Shades
1. Take shade prior to anesthesia and/or
preparation
2. Use natural light or daylight lamps
3. Go with your first decision (within first 5
seconds)
4. No bright colors
5. Take shade early in the day
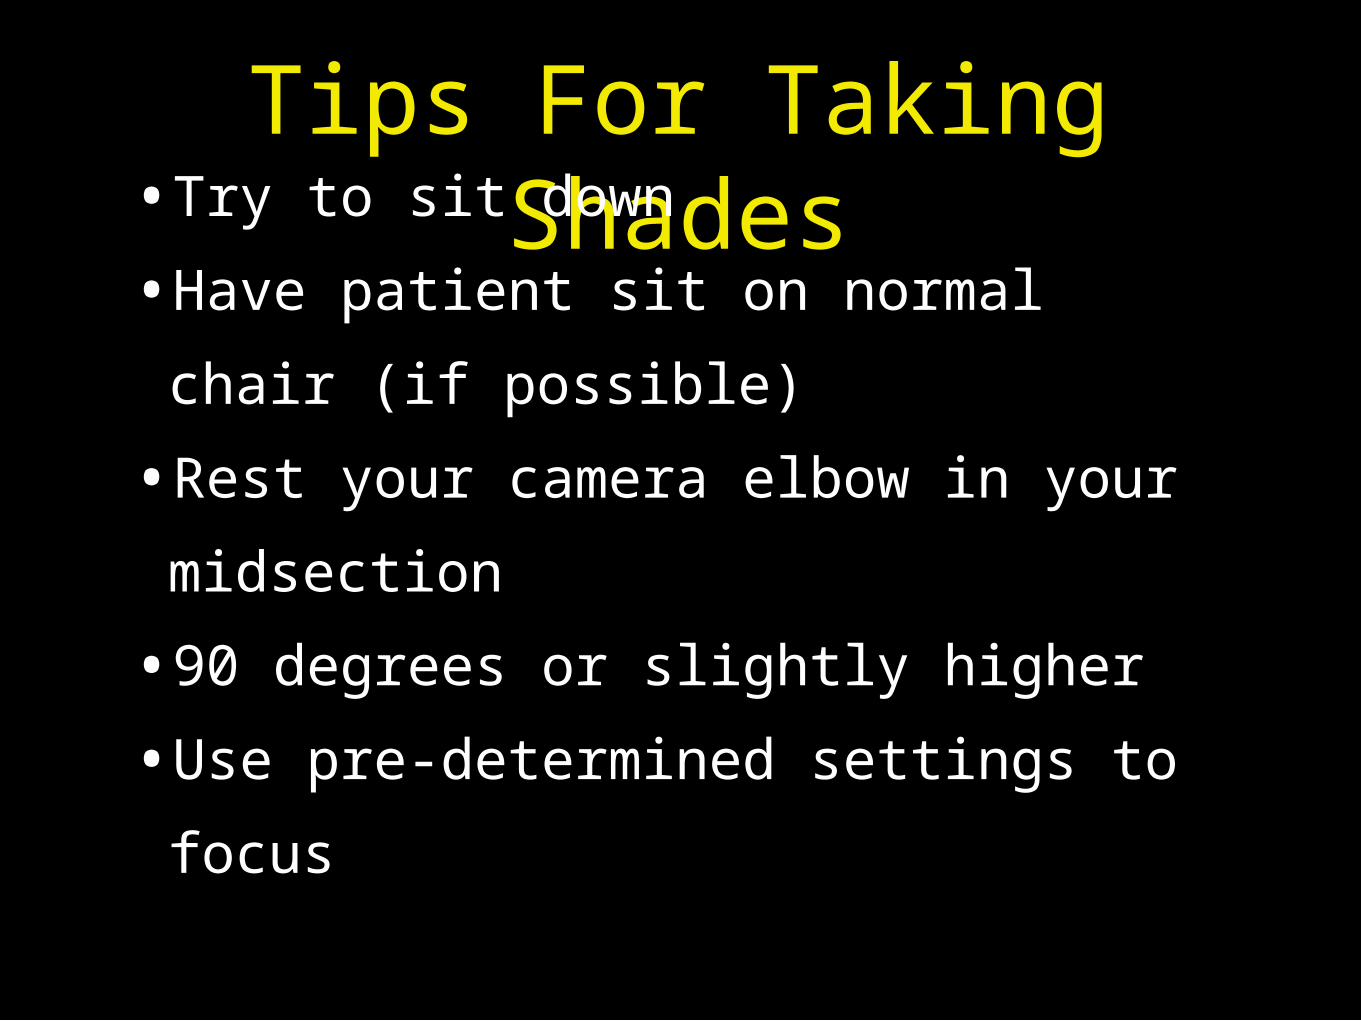
Tips For Taking Shades•Try to sit down
•Have patient sit on normal chair (if
possible)
•Rest your camera elbow in your
midsection
•90 degrees or slightly higher
•Use pre-determined settings to focus

Retractors
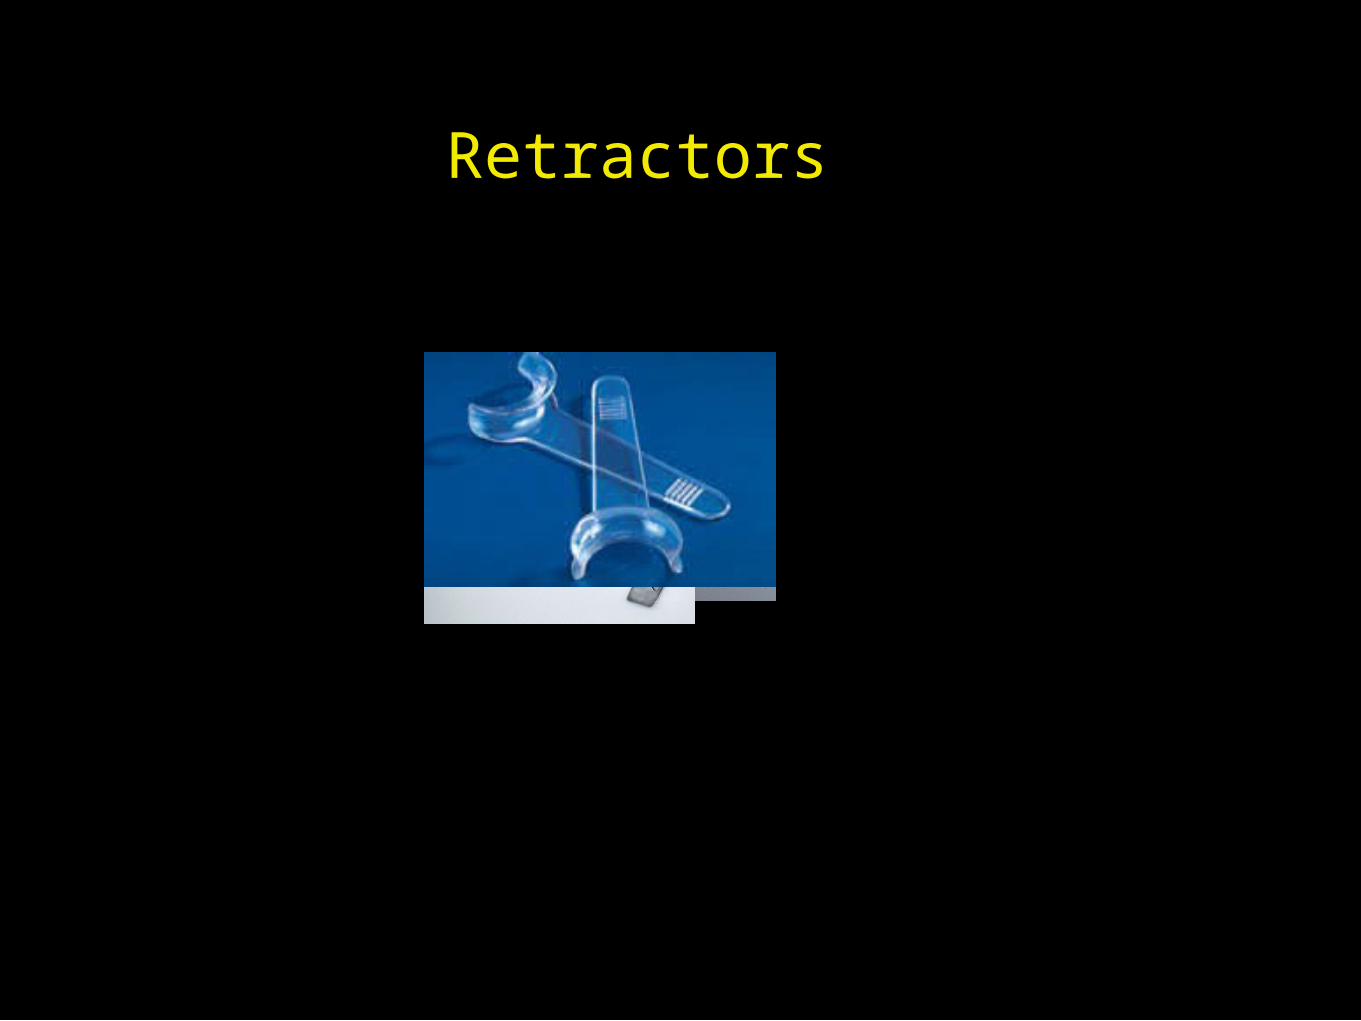
Retractors
Occlusal Mirrors
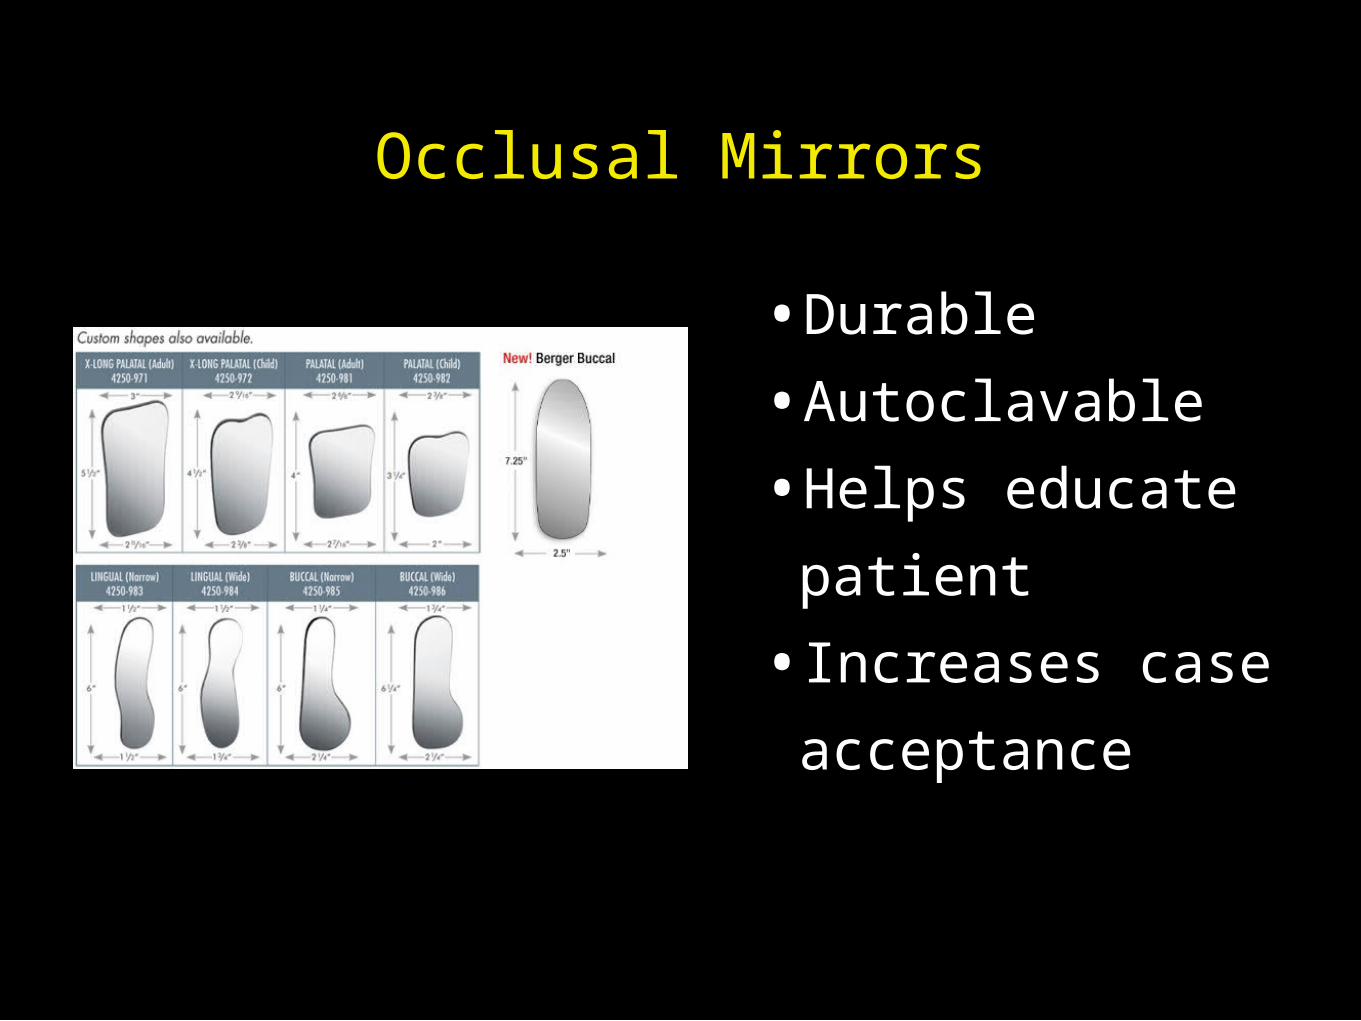
Occlusal Mirrors
•Durable
•Autoclavable
•Helps educate
patient
•Increases case
acceptance

Video
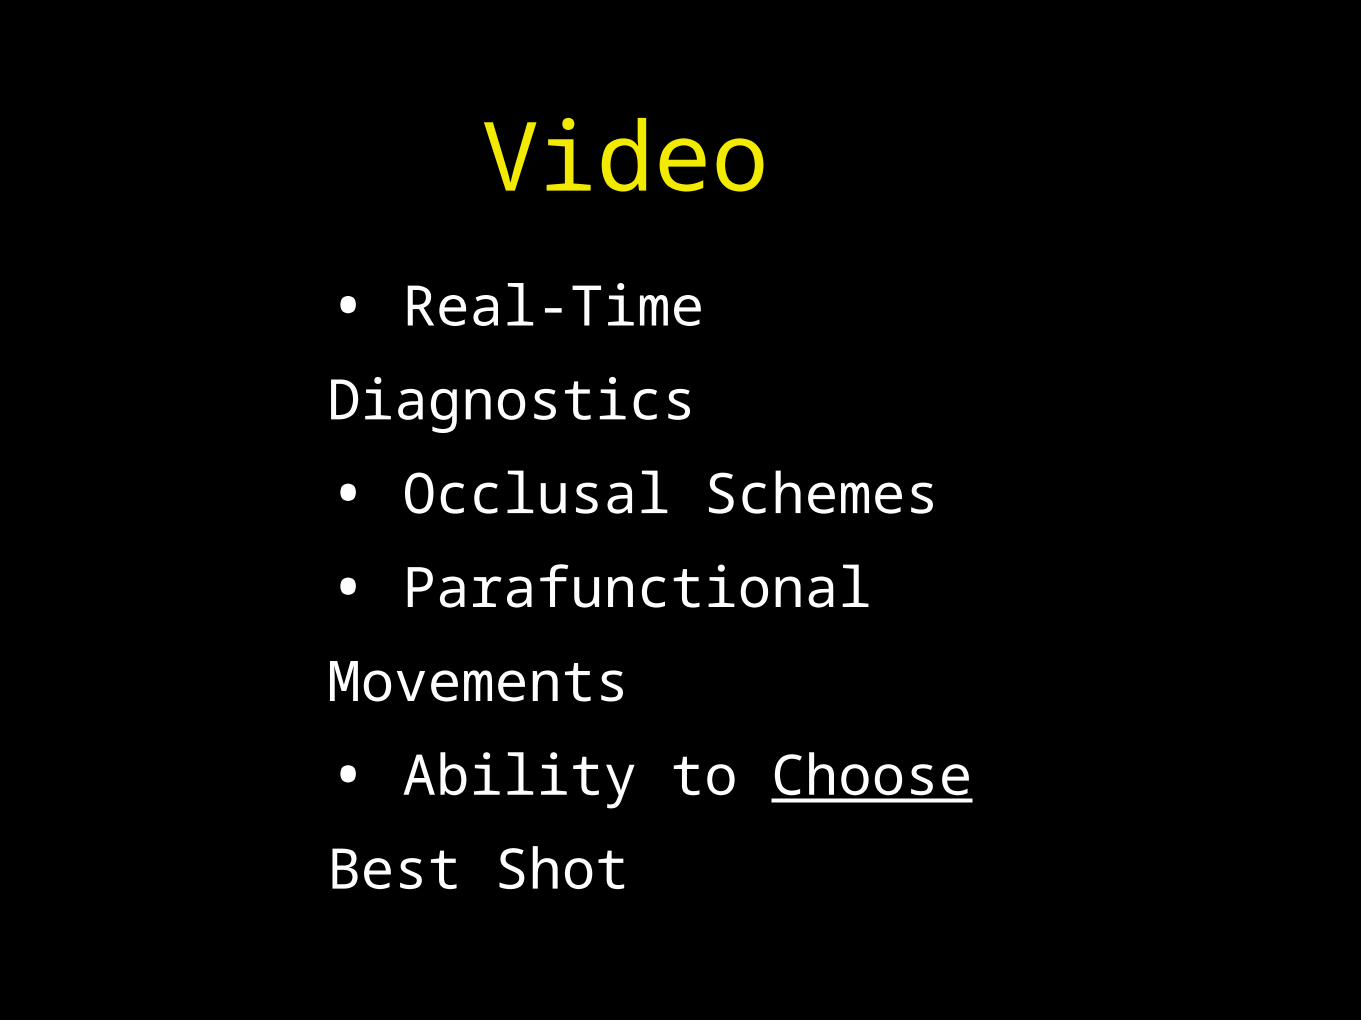
• Real-Time Diagnostics
• Occlusal Schemes
• Parafunctional
Movements
• Ability to Choose Best
Shot
Video
QuickTime™ and aMotion JPEG OpenDML decompressor
are needed to see this picture.
Video
Tips For Taking Video
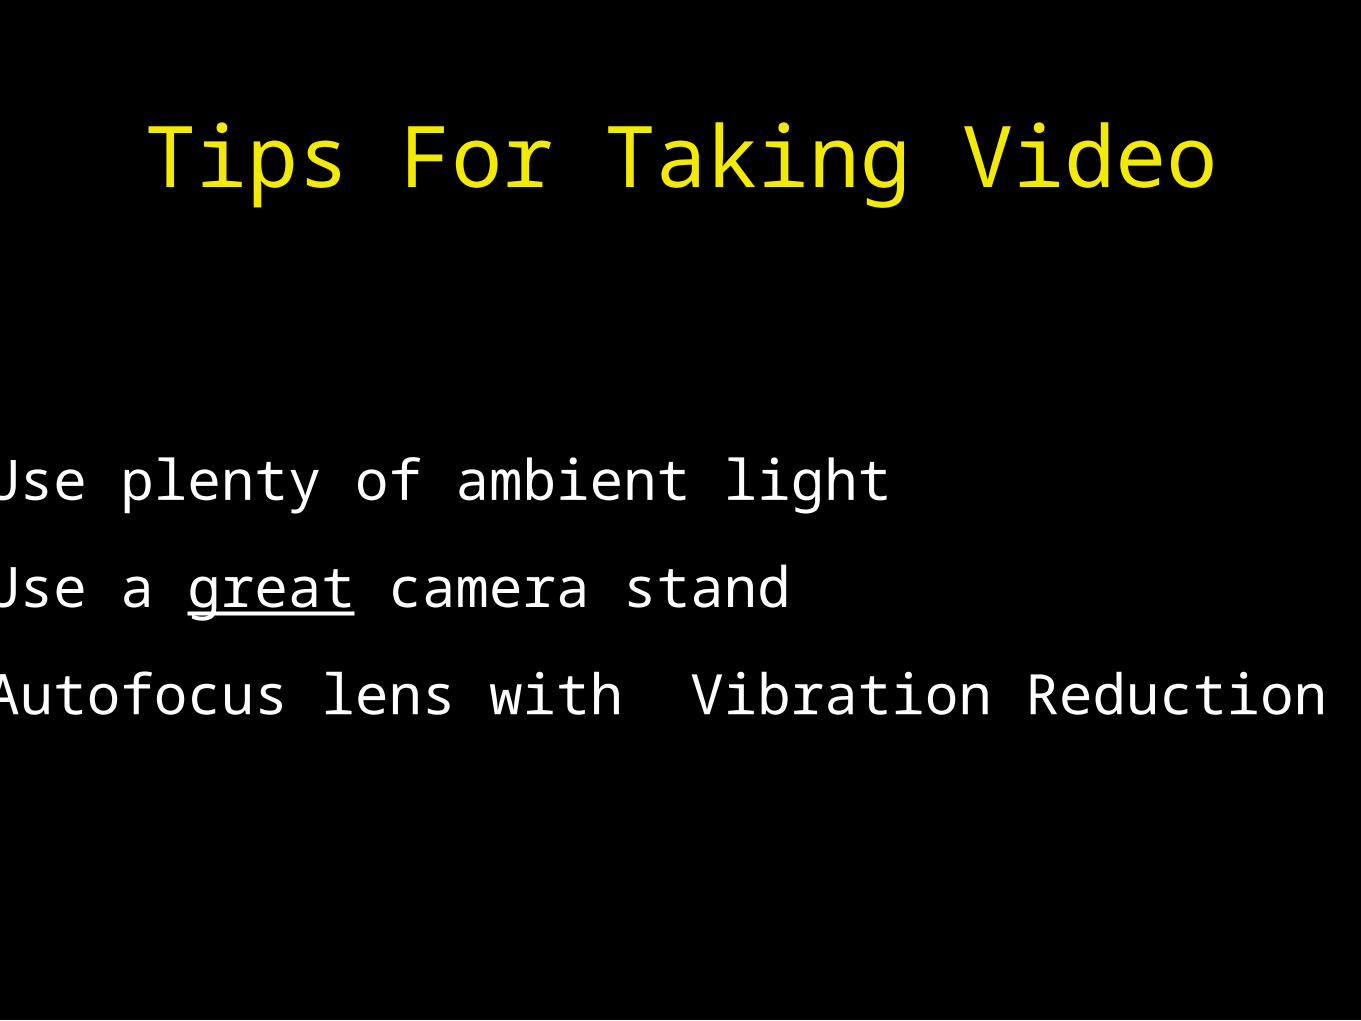
Tips For Taking Video
•Use plenty of ambient light
•Use a great camera stand
•Autofocus lens with Vibration Reduction (VR)
Now
Wake Up!!!

Thank You!