lab session ubuntu - sonoma state university · ! 7!...
TRANSCRIPT
1
Ubuntu tutorial Parts of this tutorial has been adapted from M. Stonebank’s UNIX Tutorial for Beginners (http://www.ee.surrey.ac.uk/Teaching/Unix/).
1 Installing Ubuntu
About Ubuntu For our lab sessions we are going to use the operating system Ubuntu. Ubuntu is an operating system, just like Windows XP, Windows Vista, Windows 7, and Mac OS X are operating systems. The main difference between Ubuntu and these other operating systems is that it is free and open-‐source. Open-‐source means that is has been created by a collective of thousands of volunteers and that the source code is freely available and constantly being improved upon and examined for bugs. The reason we will use Ubuntu instead of Windows is that much of the scientific software used for the applications described in our course, has been developed on Linux-‐based operating systems such as Ubuntu. In addition, Ubuntu is one of the most user-‐friendly Linux-‐based operating systems around, making it the optimal choice for our lab sessions. Note that it should theoretically be possible to run most of the software we are going to use under Windows, but this would require a lot of tinkering to get it to work. You are most welcome to try if you know your way around a computer, but we will not provide any support for running the software on Windows. Another great thing about Ubuntu is that it is possible to install it on a USB flash drive and then start up from that flash drive. That means that we do not have to install an entirely new operating system on a computer, but we can instead carry around Ubuntu in our pocket, running it on almost any Windows machine you come across. After you have used Ubuntu, you can simply restart your machine, take out the USB key and start up your original Windows again, without any problems.
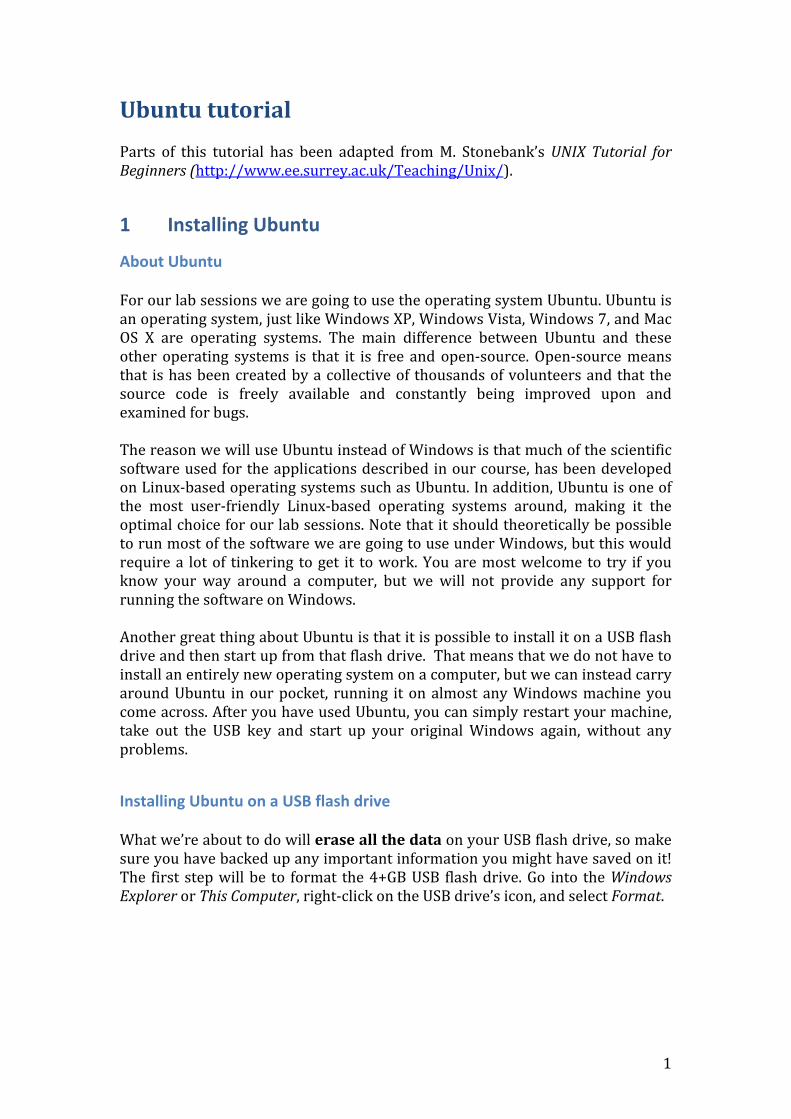
Installing Ubuntu on a USB flash drive What we’re about to do will erase all the data on your USB flash drive, so make sure you have backed up any important information you might have saved on it! The first step will be to format the 4+GB USB flash drive. Go into the Windows Explorer or This Computer, right-‐click on the USB drive’s icon, and select Format.
2
Formatting a USB drive
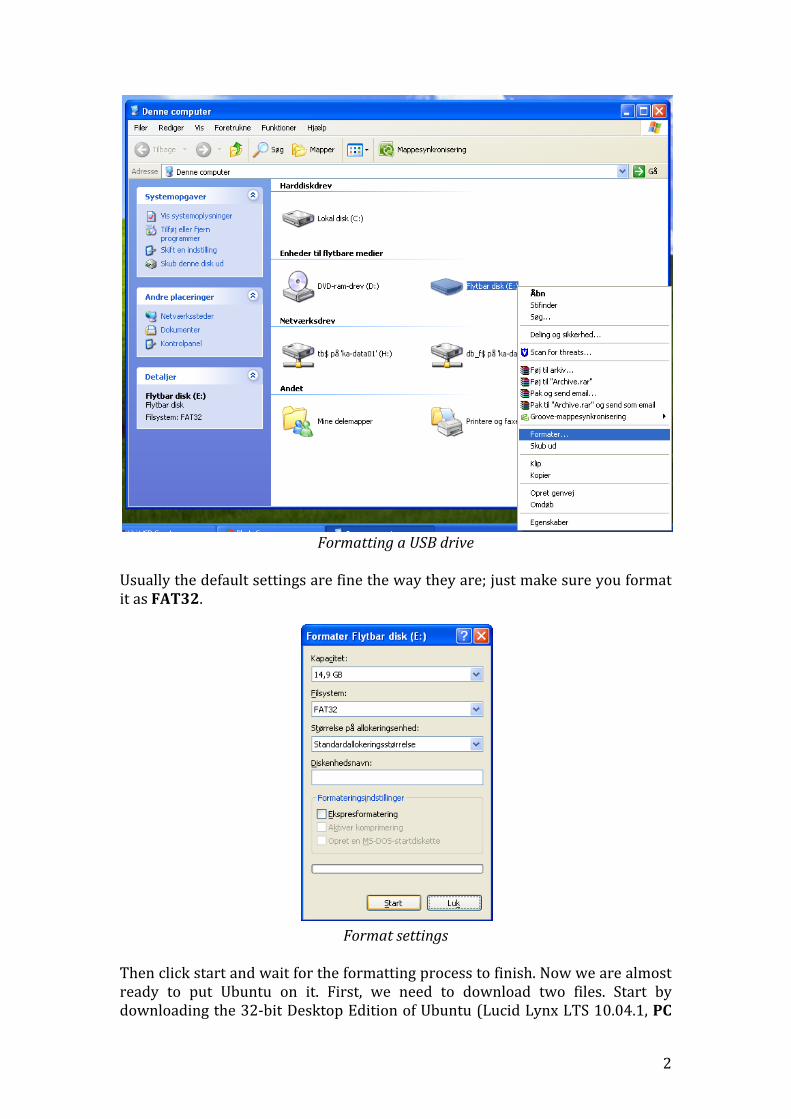
Usually the default settings are fine the way they are; just make sure you format it as FAT32.
Format settings
Then click start and wait for the formatting process to finish. Now we are almost ready to put Ubuntu on it. First, we need to download two files. Start by downloading the 32-‐bit Desktop Edition of Ubuntu (Lucid Lynx LTS 10.04.1, PC

3
(Intel x86) desktop CD) from http://releases.ubuntu.com/lucid/. This is a large download (~900MB). Then download Linux USB Live Creator from http://www.linuxliveusb.com/. What you’ve just downloaded is a self-‐extracting archive. Run it and it will ask you for a location to extract the actual program to. Pick the Desktop (‘Skrivebord’). Then run the program inside the new folder that was created on your desktop. If you are not sitting in the OpenLab, you will need special login credentials to be allowed to run the program. Ask us about this and use it to execute the program. Wait until the Ubuntu download is done before you continue. Now we’re ready to put Ubuntu on the USB stick. Fire up Linux USB Live Creator, which should look like this:
Linux Live USB Creator at start-up

4
Select your USB stick from the dropdown list in step 1. In step 2, click on ISO/IMG/ZIP and select the Ubuntu ISO image file you just downloaded. The program will then start checking the ISO image and when it’s done it should look like:
Step 2: Selecting and checking the ISO image Because we would like to save our changes every time we restart Ubuntu, we are going to make the installation on the USB stick persistent. Step 3 is where we tell the program how much space we would like to have to save files in, install programs, etc. Because of technical details1, the maximum size is 4 GB. Somewhere between 3 and 4 GB will be fine. In the example below, it’s been set to 3 GB. Be warned, the larger the you make the file, the longer the final installation will take.
Step 3: Specifying the size of the persistence file The default settings for step 4 tend to be fine, so skip to step 5 and click on the lightning bolt to start installing Ubuntu on your USB stick! This will take at least 15-‐20 minutes.
Step 5, when everything has gone right!
When it’s done, we’re going to reboot the machine and start up Ubuntu. Do not eject the USB flash drive and keep it in the USB slot. We now need to tell the PC right after we restart it that it needs to boot from the USB flash drive (Ubuntu) instead of from the hard disk (Windows). We do this by entering the Boot Menu, and this is usually done by pressing one of the function keys right when the computer is starting up (so before you see any sign of Windows being started!) At RSLIS, you usually have to press F9 to enter the Boot Menu, but it might be a different function key on different machine (such as F12 or F2). Your computer will always show on the screen which key you need to press, but you will need to be fast. Usually you will only have 3-‐5 seconds to press it.
1 The largest file size FAT32 will allow is 4GB.
5
Restart the PC and enter the boot menu. Select booting from USB stick and wait as Ubuntu is started up. This might take a few minutes. When you’re asked for another choice between (among other things) Persistent Mode, Live Mode, and Install. Select the top option (Persistent Mode). Never select Install or Ubuntu will start installing itself permanently on your machine, overwriting the current Windows installation! Nothing scary will happen to your machine if you choose Live Mode; any changes you make in Ubuntu will just not be saved. Congratulations! If all went well, then you’ve just started Ubuntu for the first time!
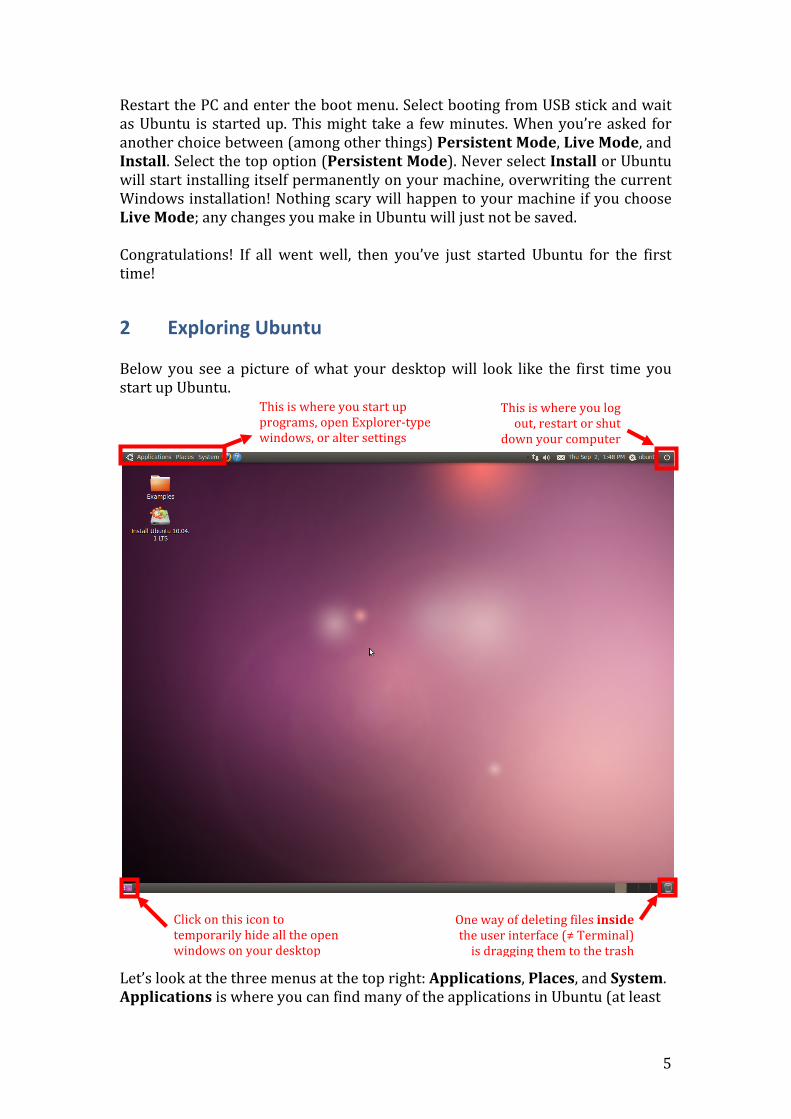
2 Exploring Ubuntu Below you see a picture of what your desktop will look like the first time you start up Ubuntu.
Let’s look at the three menus at the top right: Applications, Places, and System. Applications is where you can find many of the applications in Ubuntu (at least
This is where you log out, restart or shut
down your computer
One way of deleting files inside the user interface (≠ Terminal) is dragging them to the trash
here.
Click on this icon to temporarily hide all the open windows on your desktop
This is where you start up programs, open Explorer-‐type windows, or alter settings
6
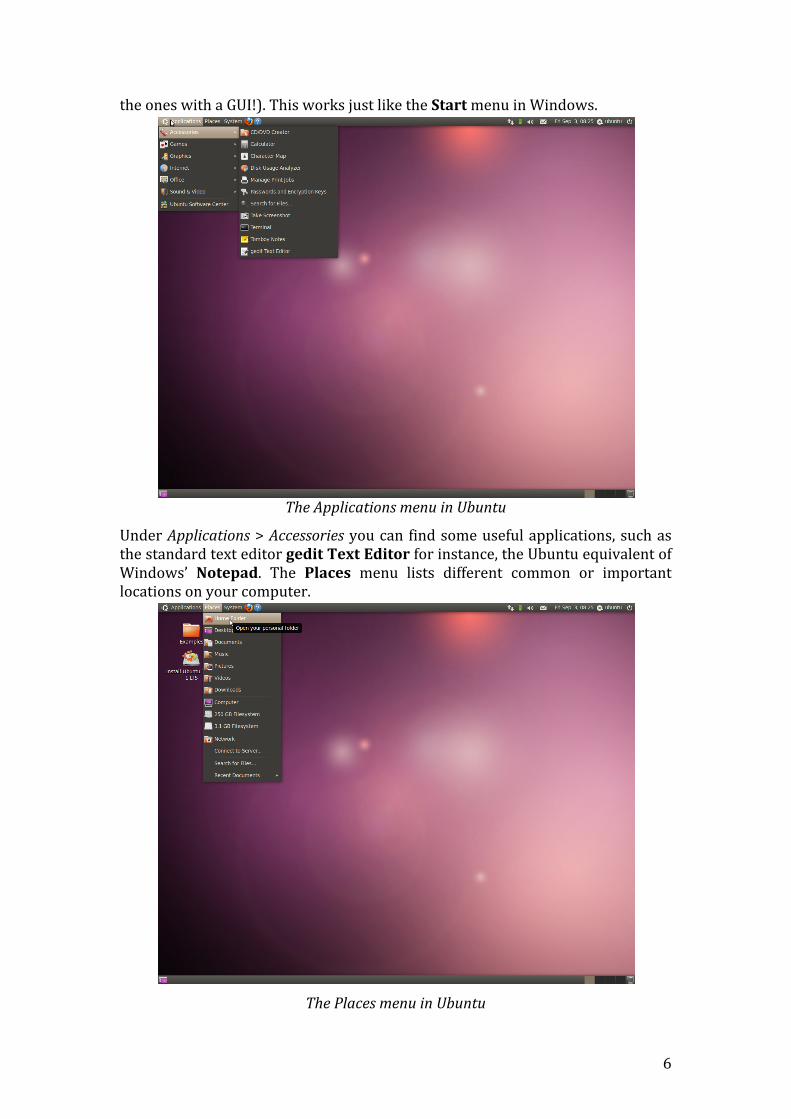
the ones with a GUI!). This works just like the Start menu in Windows.
The Applications menu in Ubuntu
Under Applications > Accessories you can find some useful applications, such as the standard text editor gedit Text Editor for instance, the Ubuntu equivalent of Windows’ Notepad. The Places menu lists different common or important locations on your computer.
The Places menu in Ubuntu

7
If you select your Places > Home Folder, you open a file explorer window of your home directory. Your home directory is where your personal files and subdirectories are saved. The window should look something like this (minus the UCHFall2010 folder, which we’ll create later)
Your home folder in Ubuntu The third menu that is interesting is the System menu. This is where you can alter many of Ubuntu’s settings, such as user accounts, desktop backgrounds, keyboard layouts, install new software, etc.
The System menu in Ubuntu
8
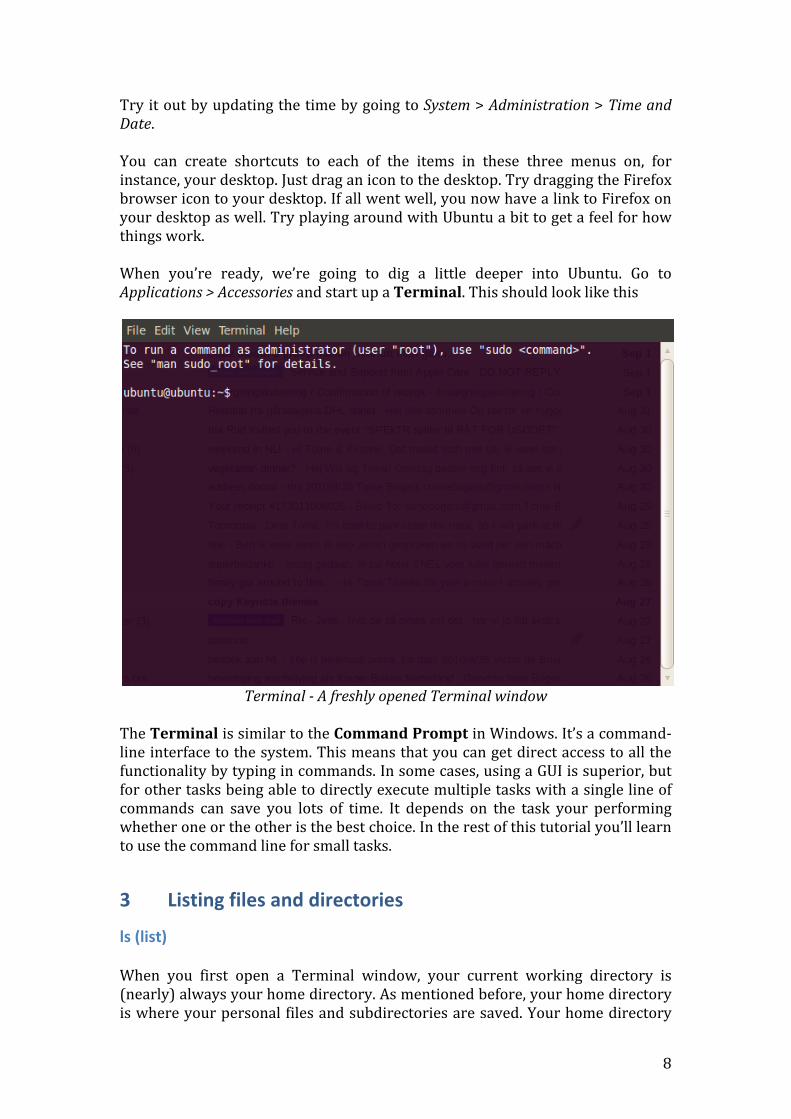
Try it out by updating the time by going to System > Administration > Time and Date. You can create shortcuts to each of the items in these three menus on, for instance, your desktop. Just drag an icon to the desktop. Try dragging the Firefox browser icon to your desktop. If all went well, you now have a link to Firefox on your desktop as well. Try playing around with Ubuntu a bit to get a feel for how things work. When you’re ready, we’re going to dig a little deeper into Ubuntu. Go to Applications > Accessories and start up a Terminal. This should look like this
Terminal - A freshly opened Terminal window
The Terminal is similar to the Command Prompt in Windows. It’s a command-‐line interface to the system. This means that you can get direct access to all the functionality by typing in commands. In some cases, using a GUI is superior, but for other tasks being able to directly execute multiple tasks with a single line of commands can save you lots of time. It depends on the task your performing whether one or the other is the best choice. In the rest of this tutorial you’ll learn to use the command line for small tasks.
3 Listing files and directories
ls (list) When you first open a Terminal window, your current working directory is (nearly) always your home directory. As mentioned before, your home directory is where your personal files and subdirectories are saved. Your home directory
9
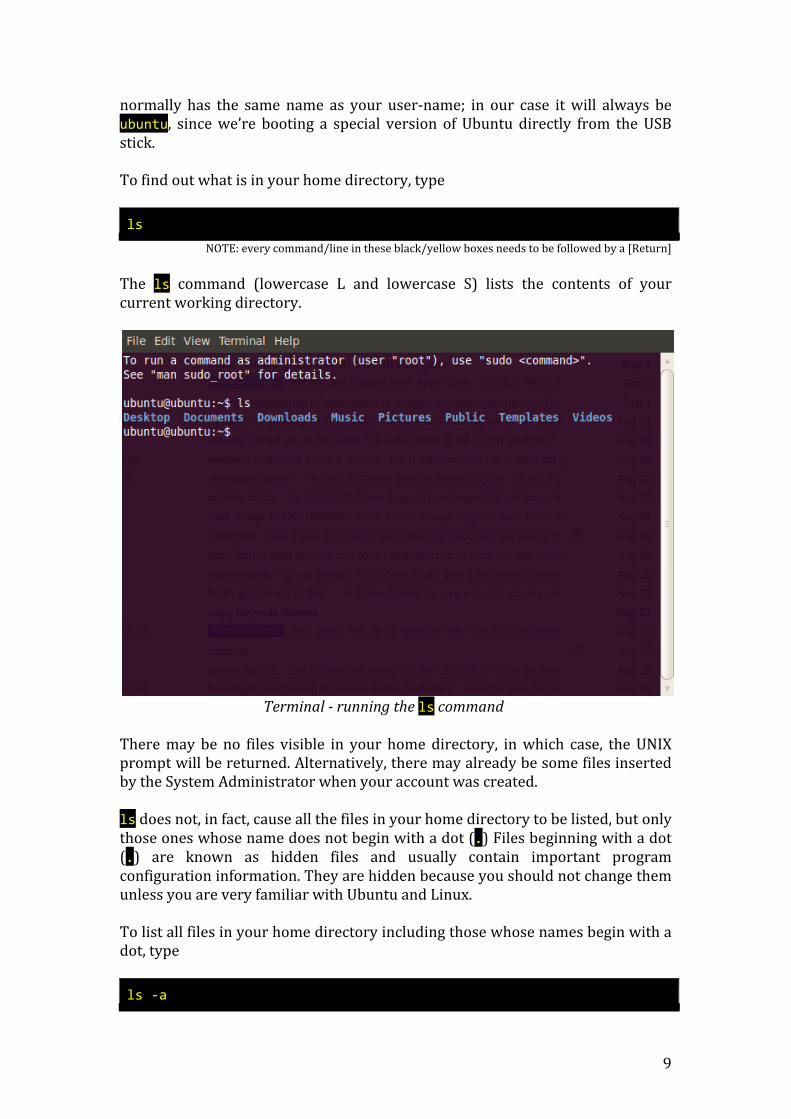
normally has the same name as your user-‐name; in our case it will always be ubuntu, since we’re booting a special version of Ubuntu directly from the USB stick. To find out what is in your home directory, type ls
NOTE: every command/line in these black/yellow boxes needs to be followed by a [Return] The ls command (lowercase L and lowercase S) lists the contents of your current working directory.
Terminal - running the ls command
There may be no files visible in your home directory, in which case, the UNIX prompt will be returned. Alternatively, there may already be some files inserted by the System Administrator when your account was created. ls does not, in fact, cause all the files in your home directory to be listed, but only those ones whose name does not begin with a dot (.) Files beginning with a dot (.) are known as hidden files and usually contain important program configuration information. They are hidden because you should not change them unless you are very familiar with Ubuntu and Linux. To list all files in your home directory including those whose names begin with a dot, type ls -‐a

10
As you can see, ls -‐a lists files that are normally hidden.
Terminal - running the ls -‐a command
ls is an example of a command which can take options: -‐a is an example of an option. The options change the behavior of the command. There are manual pages that tell you which options a particular command can take, and how each option modifies the behavior of the command. We’ll get to this later in this tutorial.
4 Making directories
mkdir (make directory) We will now make a subdirectory in your home directory to hold the files you will be creating and using in the course of this tutorial. To make a subdirectory called UCHFall2010 in your current working directory type mkdir UCHFall2010
You are more than welcome to choose a different name for this directory, but this is the name we’ll be using in the rest of this tutorial and in all other tutorials. To see the directory you have just created, type ls
11
5 Changing to a different directory
cd (change directory) The command cd directory means change the current working directory to 'directory'. The current working directory may be thought of as the directory you are in, i.e. your current position in the file-‐system tree. To change to the directory you have just made, type cd UCHFall2010
Type ls to see the contents (which should be empty)
Exercise 1 Make another directory inside the UCHFall2010 directory called backups
6 The directories . and .. Still in the UCHFall2010 directory, type ls -‐a
As you can see, in the UCHFall2010 directory (and in all other directories), there are two special directories called (.) and (..)
The current directory (.) In UNIX, (.) means the current directory, so typing cd .
NOTE: there is a space between cd and the dot means stay where you are (the UCHFall2010 directory). This may not seem very useful at first, but using (.) as the name of the current directory will save a lot of typing, as we shall see later in the tutorial.
The parent directory (..) (..) means the parent of the current directory, so typing
12
cd ..
will take you one directory up the hierarchy (back to your home directory). Try it now. Note: typing cd with no argument always returns you to your home directory. This is very useful if you are lost in the file system!
7 Pathnames
pwd (print working directory) Pathnames enable you to work out where you are in relation to the whole file-‐system. For example, to find out the absolute pathname of your home-‐directory, type cd to get back to your home-‐directory and then type pwd
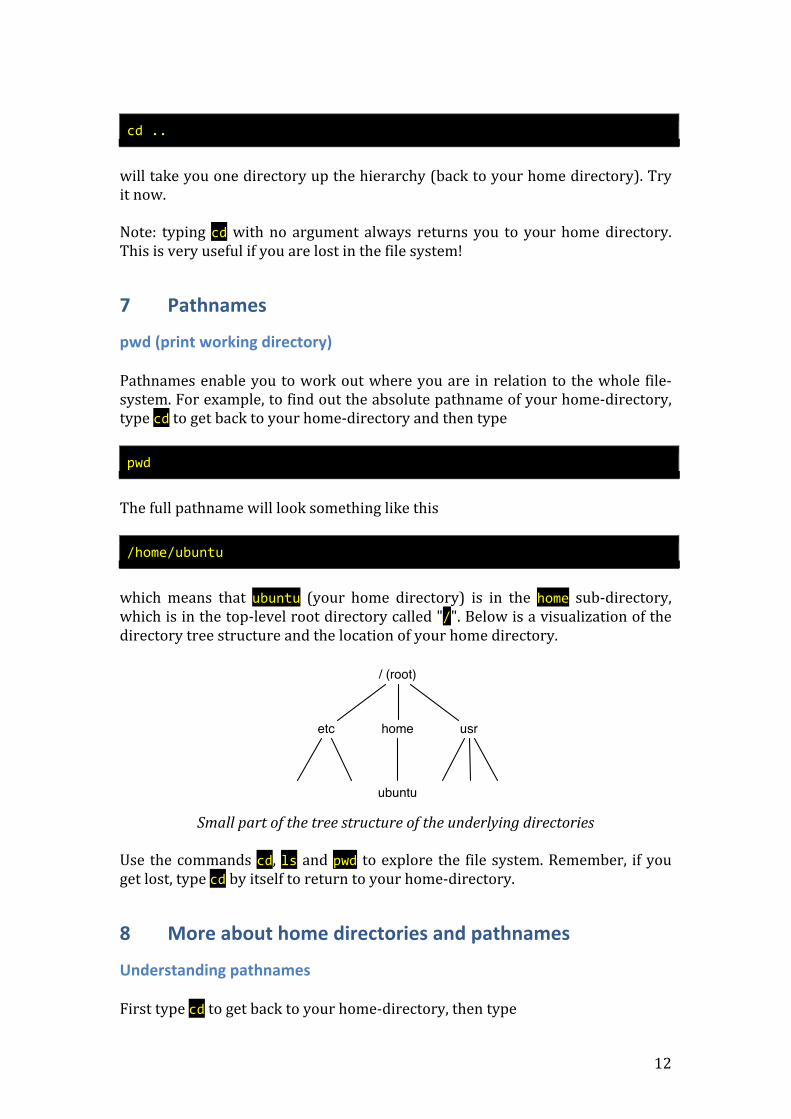
The full pathname will look something like this /home/ubuntu
which means that ubuntu (your home directory) is in the home sub-‐directory, which is in the top-‐level root directory called "/". Below is a visualization of the directory tree structure and the location of your home directory.
Small part of the tree structure of the underlying directories Use the commands cd, ls and pwd to explore the file system. Remember, if you get lost, type cd by itself to return to your home-‐directory.
8 More about home directories and pathnames
Understanding pathnames First type cd to get back to your home-‐directory, then type
home
/ (root)
usretc
ubuntu
13
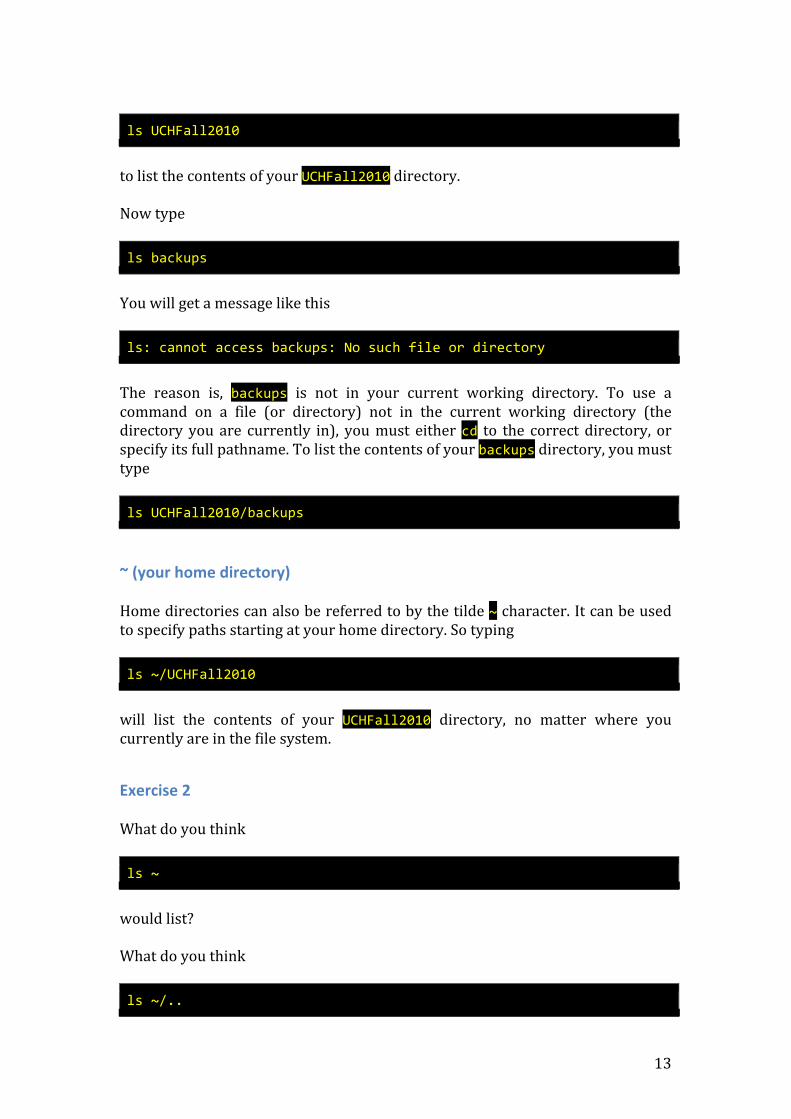
ls UCHFall2010
to list the contents of your UCHFall2010 directory. Now type ls backups
You will get a message like this ls: cannot access backups: No such file or directory
The reason is, backups is not in your current working directory. To use a command on a file (or directory) not in the current working directory (the directory you are currently in), you must either cd to the correct directory, or specify its full pathname. To list the contents of your backups directory, you must type ls UCHFall2010/backups
~ (your home directory) Home directories can also be referred to by the tilde ~ character. It can be used to specify paths starting at your home directory. So typing ls ~/UCHFall2010
will list the contents of your UCHFall2010 directory, no matter where you currently are in the file system.
Exercise 2 What do you think ls ~
would list? What do you think ls ~/..
14
would list?
9 Copying Files
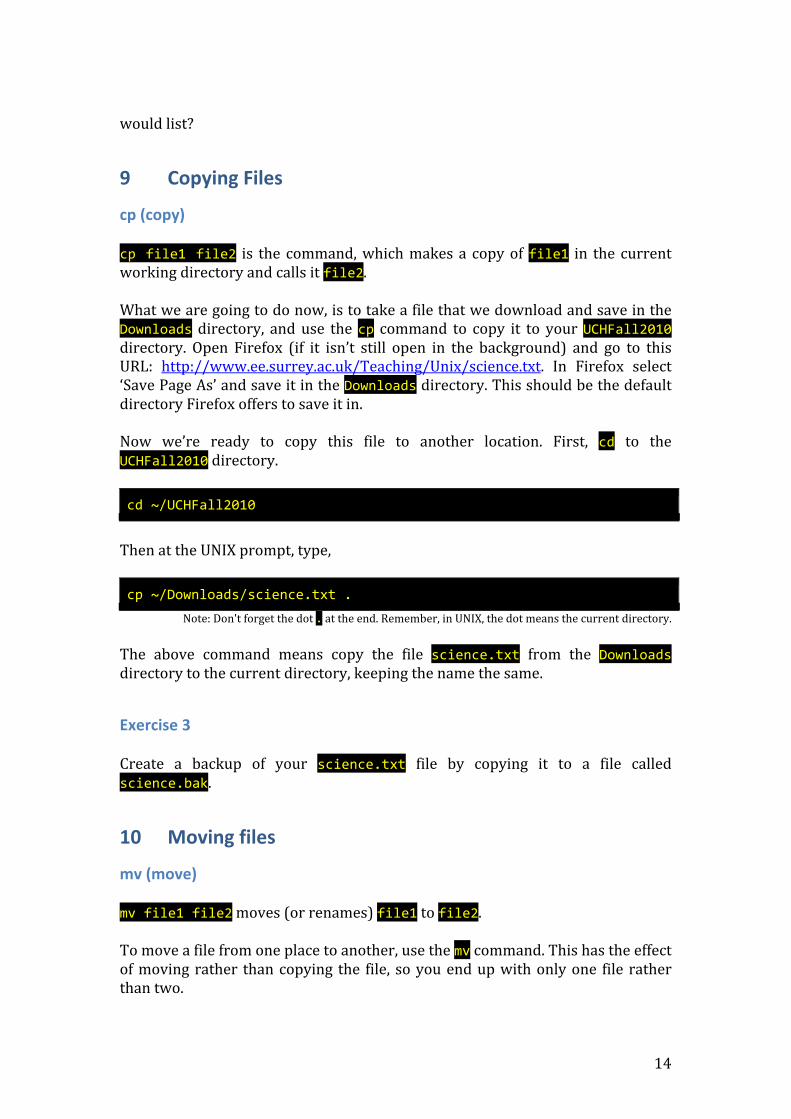
cp (copy) cp file1 file2 is the command, which makes a copy of file1 in the current working directory and calls it file2. What we are going to do now, is to take a file that we download and save in the Downloads directory, and use the cp command to copy it to your UCHFall2010 directory. Open Firefox (if it isn’t still open in the background) and go to this URL: http://www.ee.surrey.ac.uk/Teaching/Unix/science.txt. In Firefox select ‘Save Page As’ and save it in the Downloads directory. This should be the default directory Firefox offers to save it in. Now we’re ready to copy this file to another location. First, cd to the UCHFall2010 directory. cd ~/UCHFall2010
Then at the UNIX prompt, type, cp ~/Downloads/science.txt .
Note: Don't forget the dot . at the end. Remember, in UNIX, the dot means the current directory. The above command means copy the file science.txt from the Downloads directory to the current directory, keeping the name the same.
Exercise 3 Create a backup of your science.txt file by copying it to a file called science.bak.
10 Moving files
mv (move) mv file1 file2 moves (or renames) file1 to file2. To move a file from one place to another, use the mv command. This has the effect of moving rather than copying the file, so you end up with only one file rather than two.
15
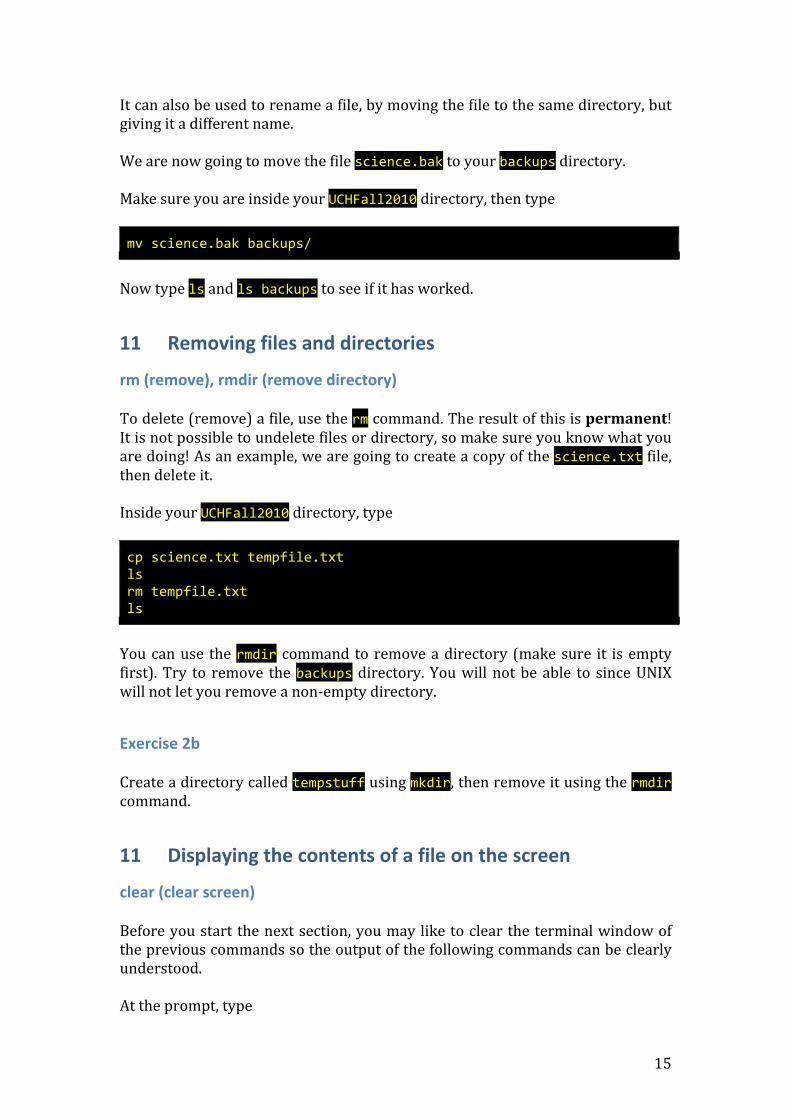
It can also be used to rename a file, by moving the file to the same directory, but giving it a different name. We are now going to move the file science.bak to your backups directory. Make sure you are inside your UCHFall2010 directory, then type mv science.bak backups/
Now type ls and ls backups to see if it has worked.
11 Removing files and directories
rm (remove), rmdir (remove directory) To delete (remove) a file, use the rm command. The result of this is permanent! It is not possible to undelete files or directory, so make sure you know what you are doing! As an example, we are going to create a copy of the science.txt file, then delete it. Inside your UCHFall2010 directory, type cp science.txt tempfile.txt ls rm tempfile.txt ls
You can use the rmdir command to remove a directory (make sure it is empty first). Try to remove the backups directory. You will not be able to since UNIX will not let you remove a non-‐empty directory.
Exercise 2b Create a directory called tempstuff using mkdir, then remove it using the rmdir command.
11 Displaying the contents of a file on the screen
clear (clear screen) Before you start the next section, you may like to clear the terminal window of the previous commands so the output of the following commands can be clearly understood. At the prompt, type

16
clear
This will clear all text and leave you with the ubuntu@ubuntu:~$ prompt at the top of the window.
cat (concatenate) The command cat can be used to display the contents of a file on the screen. Type: cat science.txt
As you can see, the file is longer than the size of the window, so it scrolls past making it unreadable.
less The command less writes the contents of a file onto the screen a page at a time. Type less science.txt
Press the [space-‐bar] if you want to see another page, or use [Page Up] and [Page Down] to move through the document. Type [q] if you want to quit reading. As you can see, less is used in preference to cat for long files.
head The head command writes the first ten lines of a file to the screen. First clear the screen then type head science.txt
Then type head -‐5 science.txt
What difference did the -‐5 do to the head command?

17
tail The tail command writes the last ten lines of a file to the screen. Clear the screen and type tail science.txt
Exercise 4 How can you view the last 15 lines of the file?
12 Tab completion & command history Ubuntu (as well as all other Linux-‐based operating systems, including Mac OS X) offer a great feature called tab completion, which can save you a lot of time. Whenever you’re typing the names of files, directories, or commands in the Terminal, you can make it help you auto-‐complete the name by pressing the [Tab] key. For instance , type tail sc
and then press the [Tab] key. Ubuntu will automatically complete the filename to science.txt by looking in the directory you’re in (as well as some shared ones) for files, commands, or directories whose name starts with sc. If there is only one unambiguous choice, it will select that one. If there are multiple options, it will not auto-‐complete. You can make it show you a list of all files that start with the characters you have entered so far by pressing [Tab] once more. Type cp science.txt scientific.txt tail sc
and press [Tab] after you’ve typed sc. Now there are two files in the directory that start with sc, so tab completion cannot choose for you. It will however complete it as far as it can: tail scien
If you press [Tab] again, it will show you a list of the possible options: science.txt scientific.txt
18
By typing an additional c, and then pressing [Tab] again, you can make it auto-‐complete the filename. Another feature that can save you a lot of time is cycling through the command history with the [Up] and [Down] arrows. Press the [Up] arrow and the Terminal will show you your previous command. Once you’ve found the command you want to run again, you can just press [Return] and you will have saved yourself the time it takes to type the command. Press the [Down] arrow to go forward in your command history.
13 Searching the contents of a file
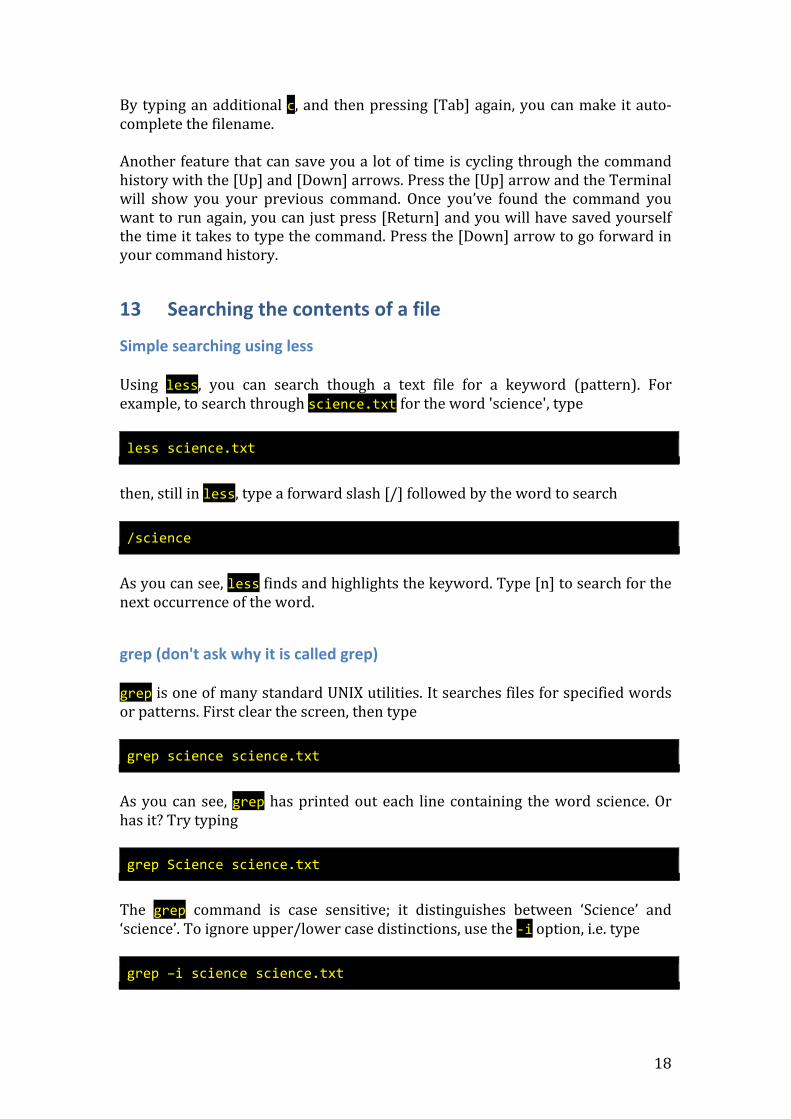
Simple searching using less Using less, you can search though a text file for a keyword (pattern). For example, to search through science.txt for the word 'science', type less science.txt
then, still in less, type a forward slash [/] followed by the word to search /science
As you can see, less finds and highlights the keyword. Type [n] to search for the next occurrence of the word.
grep (don't ask why it is called grep) grep is one of many standard UNIX utilities. It searches files for specified words or patterns. First clear the screen, then type grep science science.txt
As you can see, grep has printed out each line containing the word science. Or has it? Try typing grep Science science.txt
The grep command is case sensitive; it distinguishes between ‘Science’ and ‘science’. To ignore upper/lower case distinctions, use the -‐i option, i.e. type grep –i science science.txt
19
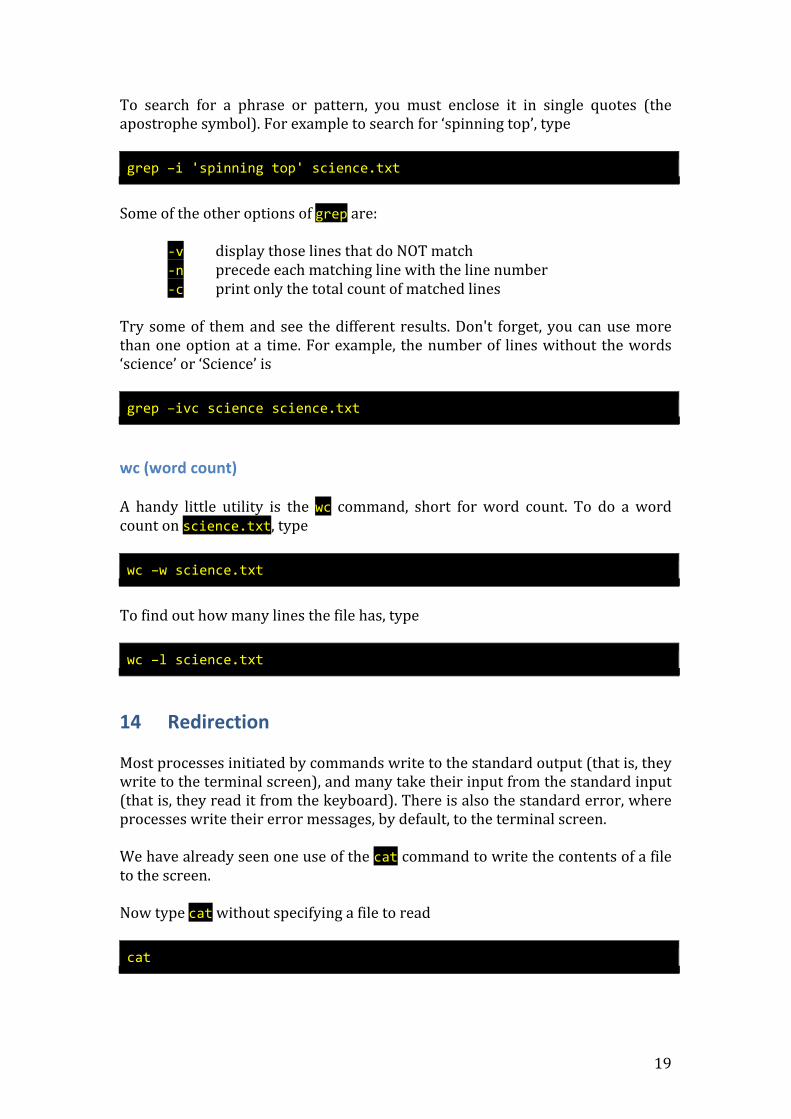
To search for a phrase or pattern, you must enclose it in single quotes (the apostrophe symbol). For example to search for ‘spinning top’, type grep –i 'spinning top' science.txt
Some of the other options of grep are:
-‐v display those lines that do NOT match -‐n precede each matching line with the line number -‐c print only the total count of matched lines
Try some of them and see the different results. Don't forget, you can use more than one option at a time. For example, the number of lines without the words ‘science’ or ‘Science’ is grep –ivc science science.txt
wc (word count) A handy little utility is the wc command, short for word count. To do a word count on science.txt, type wc –w science.txt
To find out how many lines the file has, type wc –l science.txt
14 Redirection Most processes initiated by commands write to the standard output (that is, they write to the terminal screen), and many take their input from the standard input (that is, they read it from the keyboard). There is also the standard error, where processes write their error messages, by default, to the terminal screen. We have already seen one use of the cat command to write the contents of a file to the screen. Now type cat without specifying a file to read cat
20
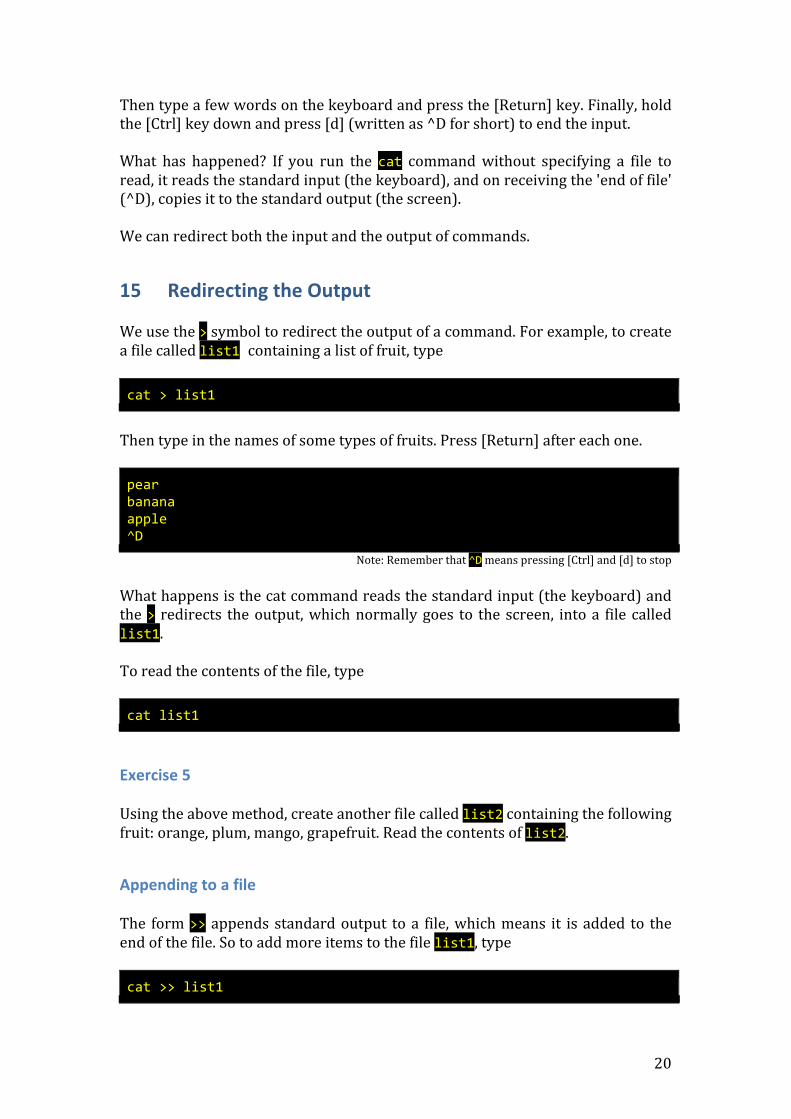
Then type a few words on the keyboard and press the [Return] key. Finally, hold the [Ctrl] key down and press [d] (written as ^D for short) to end the input. What has happened? If you run the cat command without specifying a file to read, it reads the standard input (the keyboard), and on receiving the 'end of file' (^D), copies it to the standard output (the screen). We can redirect both the input and the output of commands.
15 Redirecting the Output We use the > symbol to redirect the output of a command. For example, to create a file called list1 containing a list of fruit, type cat > list1
Then type in the names of some types of fruits. Press [Return] after each one. pear banana apple ^D
Note: Remember that ^D means pressing [Ctrl] and [d] to stop What happens is the cat command reads the standard input (the keyboard) and the > redirects the output, which normally goes to the screen, into a file called list1. To read the contents of the file, type cat list1
Exercise 5 Using the above method, create another file called list2 containing the following fruit: orange, plum, mango, grapefruit. Read the contents of list2.
Appending to a file The form >> appends standard output to a file, which means it is added to the end of the file. So to add more items to the file list1, type cat >> list1

21
Then type in the names of more fruit peach grape orange ^D
To read the contents of the file, type cat list1
You should now have two files. One contains six types of fruit, the other contains four types of fruit. We will now use the cat command to join (concatenate) list1 and list2 into a new file called biglist. Type cat list1 list2 > biglist
What this is doing is reading the contents of list1 and list2 in turn, then outputting the text to the file biglist. To read the contents of the new file, type cat biglist
16 Redirecting the Input We use the < symbol to redirect the input of a command. The command sort alphabetically or numerically sorts a list. Type sort
Then type in the names of some animals. Press [Return] after each one. dog cat bird ape ^D
The output will be ape
22
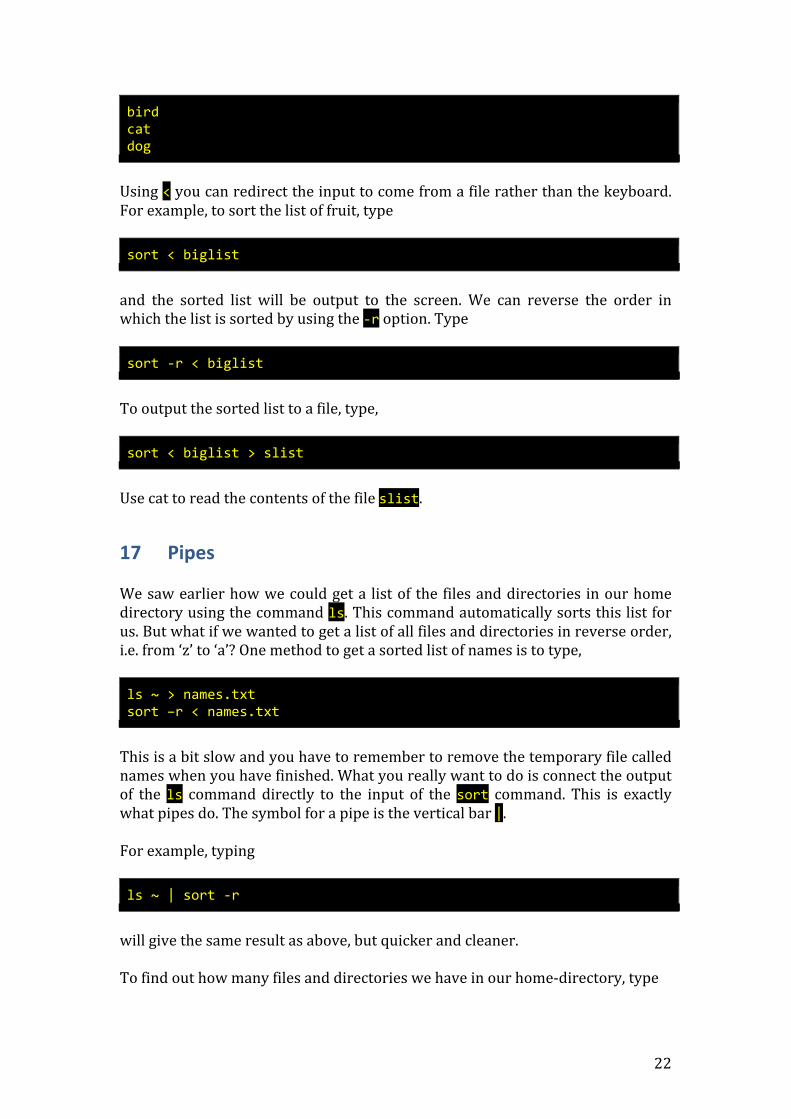
bird cat dog
Using < you can redirect the input to come from a file rather than the keyboard. For example, to sort the list of fruit, type sort < biglist
and the sorted list will be output to the screen. We can reverse the order in which the list is sorted by using the -‐r option. Type sort -‐r < biglist
To output the sorted list to a file, type, sort < biglist > slist
Use cat to read the contents of the file slist.
17 Pipes We saw earlier how we could get a list of the files and directories in our home directory using the command ls. This command automatically sorts this list for us. But what if we wanted to get a list of all files and directories in reverse order, i.e. from ‘z’ to ‘a’? One method to get a sorted list of names is to type, ls ~ > names.txt sort –r < names.txt
This is a bit slow and you have to remember to remove the temporary file called names when you have finished. What you really want to do is connect the output of the ls command directly to the input of the sort command. This is exactly what pipes do. The symbol for a pipe is the vertical bar |. For example, typing ls ~ | sort -‐r
will give the same result as above, but quicker and cleaner. To find out how many files and directories we have in our home-‐directory, type
23
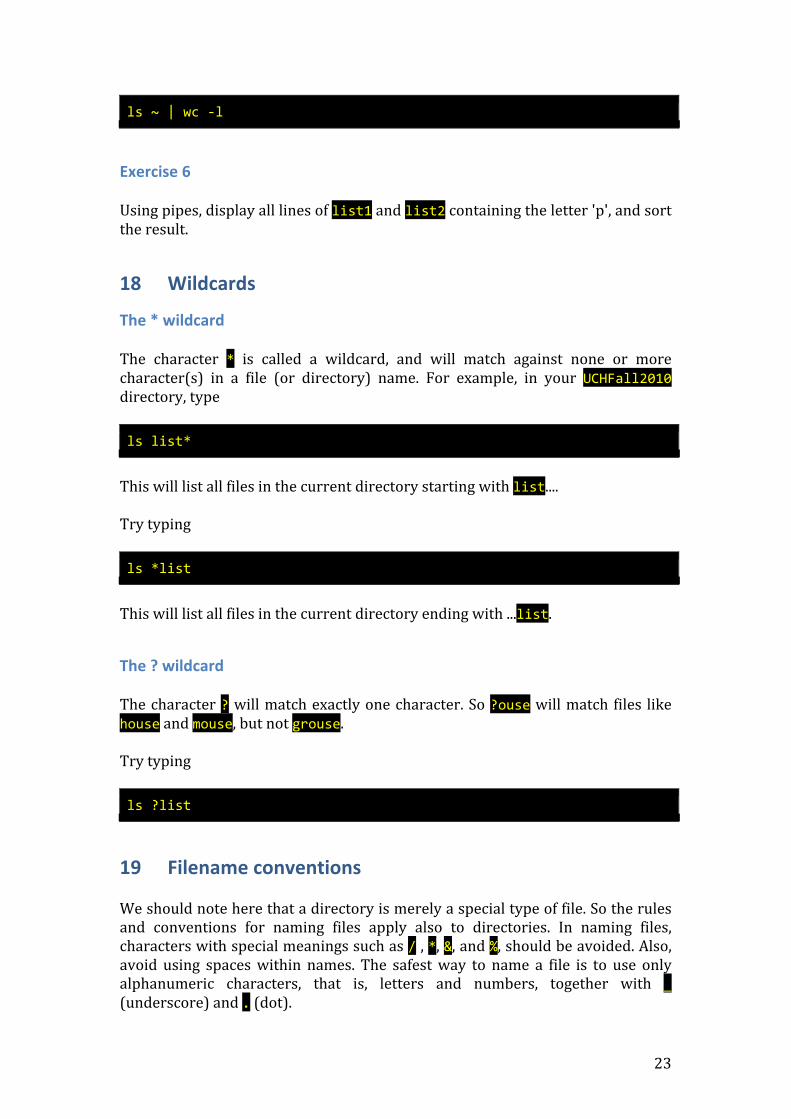
ls ~ | wc -‐l
Exercise 6 Using pipes, display all lines of list1 and list2 containing the letter 'p', and sort the result.
18 Wildcards
The * wildcard The character * is called a wildcard, and will match against none or more character(s) in a file (or directory) name. For example, in your UCHFall2010 directory, type ls list*
This will list all files in the current directory starting with list.... Try typing ls *list
This will list all files in the current directory ending with ...list.
The ? wildcard The character ? will match exactly one character. So ?ouse will match files like house and mouse, but not grouse. Try typing ls ?list
19 Filename conventions We should note here that a directory is merely a special type of file. So the rules and conventions for naming files apply also to directories. In naming files, characters with special meanings such as / , *, &, and %, should be avoided. Also, avoid using spaces within names. The safest way to name a file is to use only alphanumeric characters, that is, letters and numbers, together with _ (underscore) and . (dot).

24
20 Getting Help
The help option Most commands you will use in the Ubuntu terminal window will have some sort of help message that tells you which options a particular command can take, and how each option modifies the behavior of the command. This help message is usually displayed by invoking the command with the -‐-‐help or -‐h option. Some commands support both, some support only one of these, and for others these two options might produce different help messages. For example, to find out more about the sort command, type sort -‐-‐help
In case the help message is too large, you can pipe it to less to read through it more easily: sort –help | less
man (manual) There are also exist manual pages, which give you more detailed information about most commands. The manual pages tell you which options a particular command can take, and how each option modifies the behavior of the command. Type man <command> to read the manual page for a particular command. For example, to find out more about the wc (word count) command, type man wc
Alternatively whatis wc
gives a one-‐line description of the wc command, but omits any information about options etc.
apropos When you are not sure of the exact name of a command, apropos KEYWORD
25
will give you the commands with KEYWORD in their manual page header. For example, try typing apropos copy
21 Changing the keyboard layout to Danish or US Ubuntu has the US/International keyboard layout as its standard keyboard layout. For those of you who have not memorized where those keys are located, you can change the keyboard layout in Ubuntu. Select System > Preferences > Keyboard and go to the Layout pane. Click on Add and select Danish from one of the lists. Click on Add within that selection window and you should now see Denmark as one of the possible keyboard layouts. If you’re certain you only want to use the Danish layout, move it to the top of the list using Move Up, click on Apply System-Wide… and it should be switched to Danish.
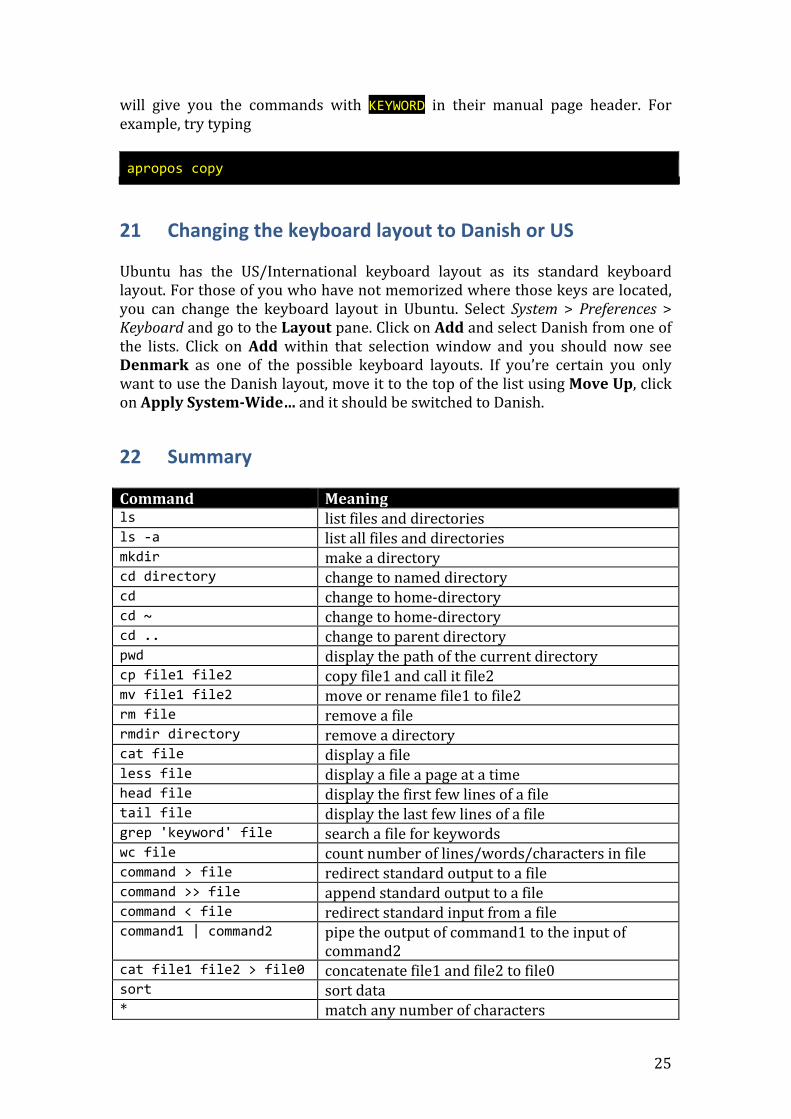
22 Summary Command Meaning ls list files and directories ls -‐a list all files and directories mkdir make a directory cd directory change to named directory cd change to home-‐directory cd ~ change to home-‐directory cd .. change to parent directory pwd display the path of the current directory cp file1 file2 copy file1 and call it file2 mv file1 file2 move or rename file1 to file2 rm file remove a file rmdir directory remove a directory cat file display a file less file display a file a page at a time head file display the first few lines of a file tail file display the last few lines of a file grep 'keyword' file search a file for keywords wc file count number of lines/words/characters in file command > file redirect standard output to a file command >> file append standard output to a file command < file redirect standard input from a file command1 | command2 pipe the output of command1 to the input of
command2 cat file1 file2 > file0 concatenate file1 and file2 to file0 sort sort data * match any number of characters

26
? match one character -‐-‐help, -‐h display the help message of a command man command read the online manual page for a command whatis command brief description of a command apropos keyword match commands with keyword in their man
pages