jewelry making. jewelry has been used for a number of reasons: 1: functional, generally to fix...
TRANSCRIPT
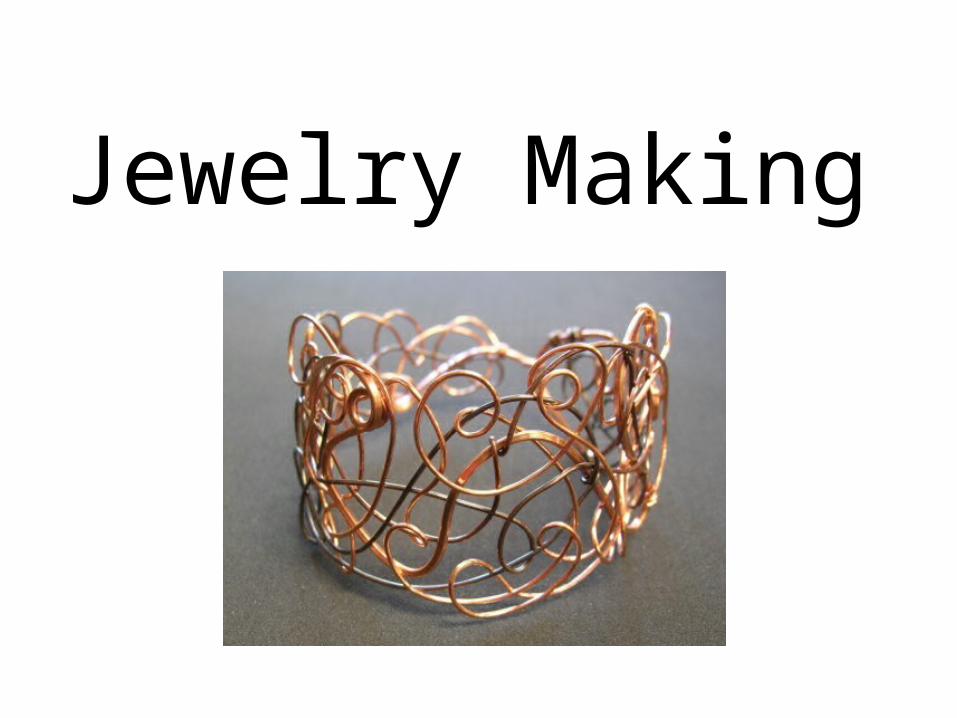
Jewelry Making
Jewelry has been used for a number of reasons:1: Functional, generally to fix clothing or hair in place, or to tell the time in the case of watches
2: As a marker of social status and personal status, as with a wedding ringAs a signifier of some form of affiliation, whether ethnic, religious or social.
3: Protection (in the form of amulets and magical wards)
4: Artistic display
Jewelry is traditionally bought as a gift usually celebrating the important occasions or events. Birthdays, graduations, weddings, even friendships.
Jewels were always part of human culture. Even from the times when humans first started using clothes and tools some 100,000 years ago, jewels were produced from any kind of materials that were available - stones, animal skins, feathers, plants, bones, shells, wood, and natural made semi-precious materials such as obsidian. As the time went on, advancing technology enabled artisans to start taming metals and precious gems into works of art that influenced entire cultures and many modern jewelry styles. However, even with all advancements of metallurgy and gem processing, the purpose of wearing jewelry always remained the same - they enabled wearer to express himself non-verbally, showcase wealth, rank, political and religious affiliation or affections toward someone. This enabled jewelry to become timeless and a target for constant development and refinement.

Much jewelry can be tracked back to the earliest civilizations:
An Egyptian 18th dynasty pharaonic era princess' crown.
Modern day wire jewelry inspired by the Egyptians “eye of Ra”
Development of early jewelry can be roughly divided across three ancient civilizations - Egypt, India and China. Egypt and Mesopotamia set standards in metallurgy, gem collecting, and glass manufacture. Their several thousand year long tradition of jewelry production laid a solid foundation for all European civilizations that came after them, and their unique style affected fashion trends even four thousand years later.
As technology's advanced the ability to make jewelry more beautiful and more ornate. As the tools got better the jewelry became more complex.
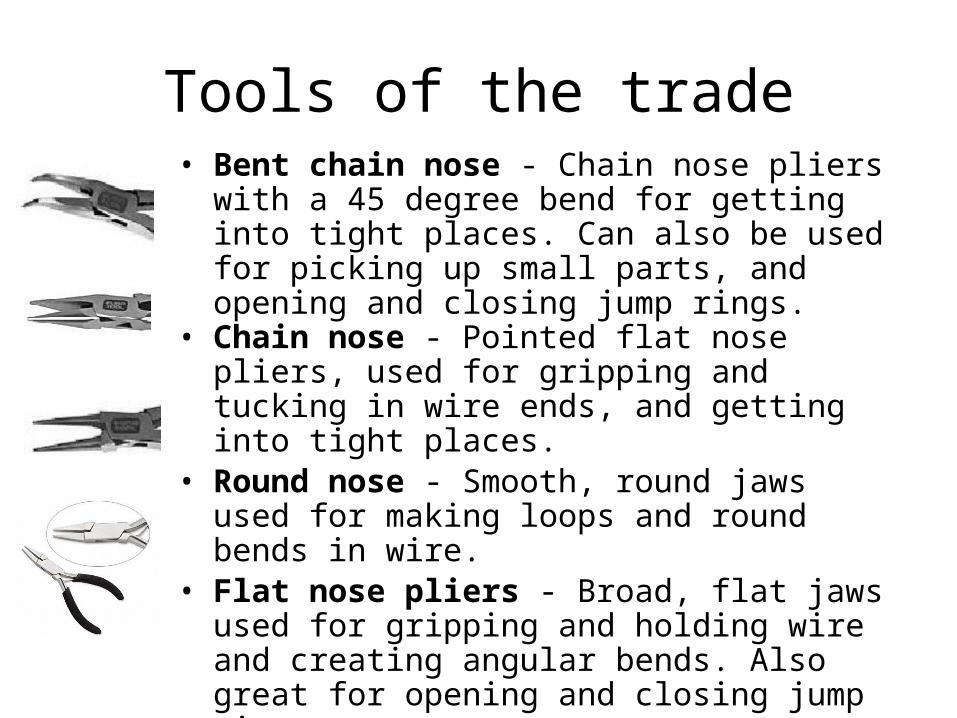
Tools of the trade• Bent chain nose - Chain nose pliers with a 45 degree
bend for getting into tight places. Can also be used for picking up small parts, and opening and closing jump rings.
• Chain nose - Pointed flat nose pliers, used for gripping and tucking in wire ends, and getting into tight places.
• Round nose - Smooth, round jaws used for making loops and round bends in wire.
• Flat nose pliers - Broad, flat jaws used for gripping and holding wire and creating angular bends. Also great for opening and closing jump rings.
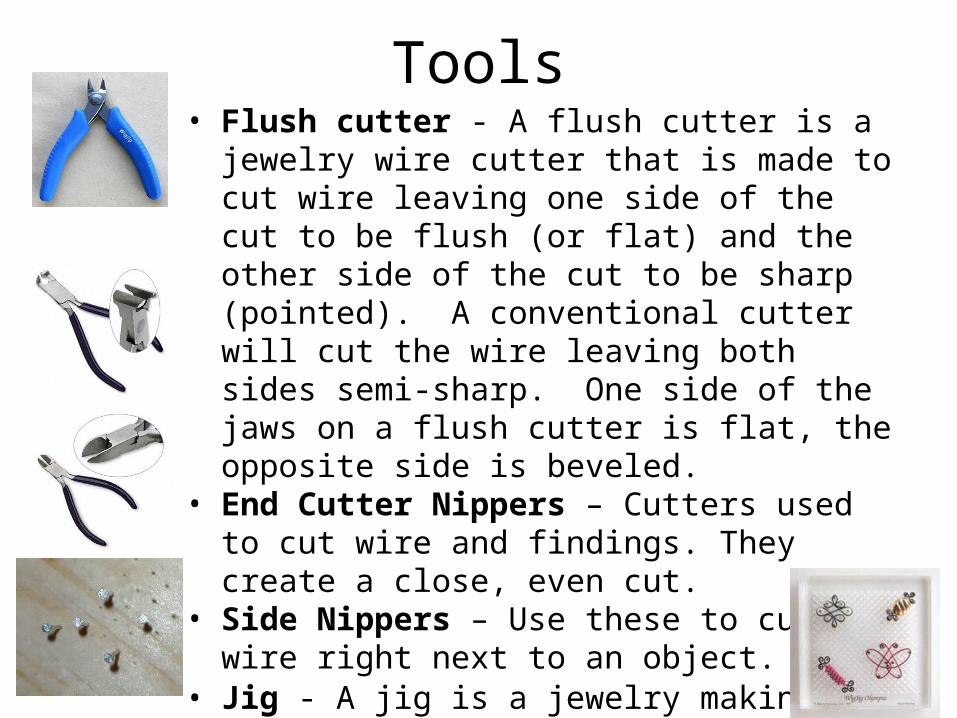
Tools• Flush cutter - A flush cutter is a jewelry wire cutter
that is made to cut wire leaving one side of the cut to be flush (or flat) and the other side of the cut to be sharp (pointed). A conventional cutter will cut the wire leaving both sides semi-sharp. One side of the jaws on a flush cutter is flat, the opposite side is beveled.
• End Cutter Nippers – Cutters used to cut wire and findings. They create a close, even cut.
• Side Nippers – Use these to cut wire right next to an object.
• Jig - A jig is a jewelry making tool with a series of pegs used to form or shape wire.

Gauges
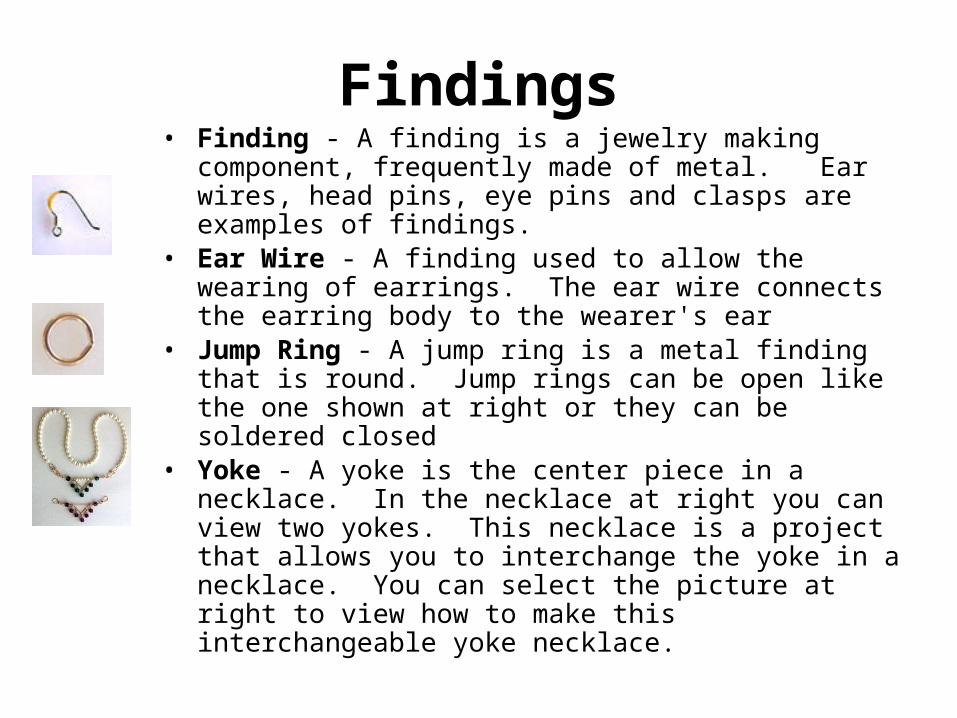
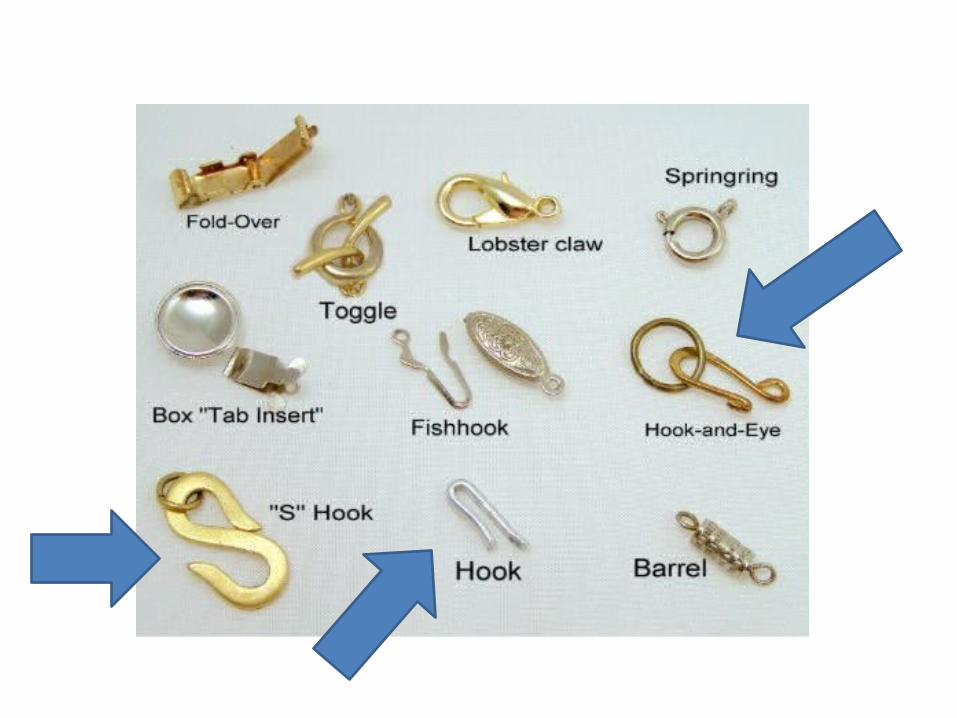
Findings• Finding - A finding is a jewelry making component, frequently
made of metal. Ear wires, head pins, eye pins and clasps are examples of findings.
• Ear Wire - A finding used to allow the wearing of earrings. The ear wire connects the earring body to the wearer's ear
• Jump Ring - A jump ring is a metal finding that is round. Jump rings can be open like the one shown at right or they can be soldered closed
• Yoke - A yoke is the center piece in a necklace. In the necklace at right you can view two yokes. This necklace is a project that allows you to interchange the yoke in a necklace. You can select the picture at right to view how to make this interchangeable yoke necklace.
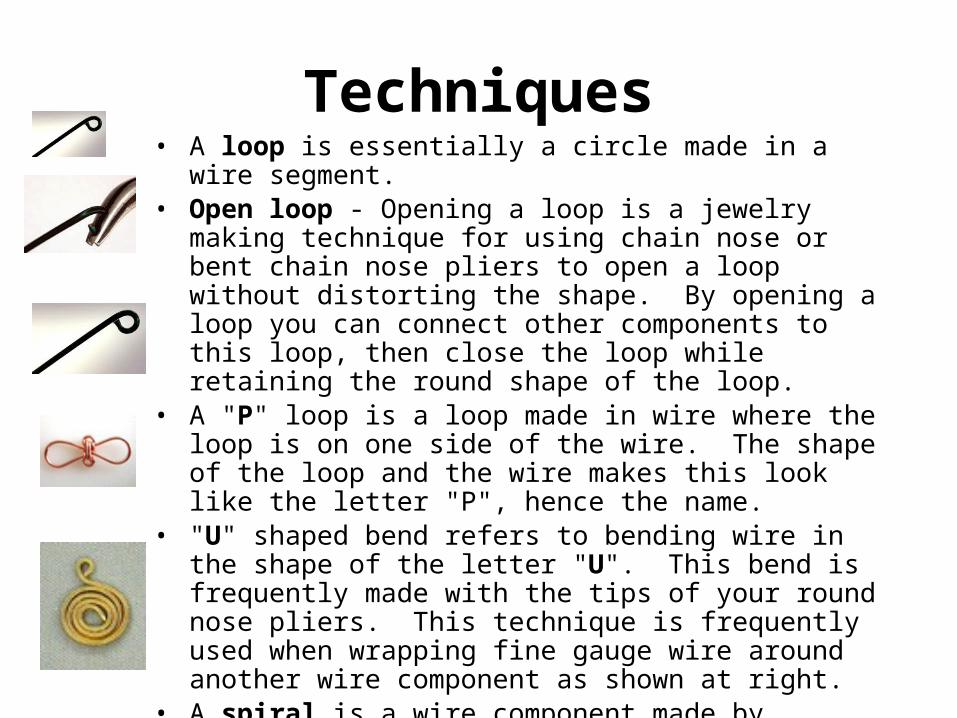
Techniques• A loop is essentially a circle made in a wire segment. • Open loop - Opening a loop is a jewelry making technique for
using chain nose or bent chain nose pliers to open a loop without distorting the shape. By opening a loop you can connect other components to this loop, then close the loop while retaining the round shape of the loop.
• A "P" loop is a loop made in wire where the loop is on one side of the wire. The shape of the loop and the wire makes this look like the letter "P", hence the name.
• "U" shaped bend refers to bending wire in the shape of the letter "U". This bend is frequently made with the tips of your round nose pliers. This technique is frequently used when wrapping fine gauge wire around another wire component as shown at right.
• A spiral is a wire component made by wrapping wire around itself in a flat plane. An example of a spiral is shown at right. Spirals can only be made in wire with a hardness of dead soft.
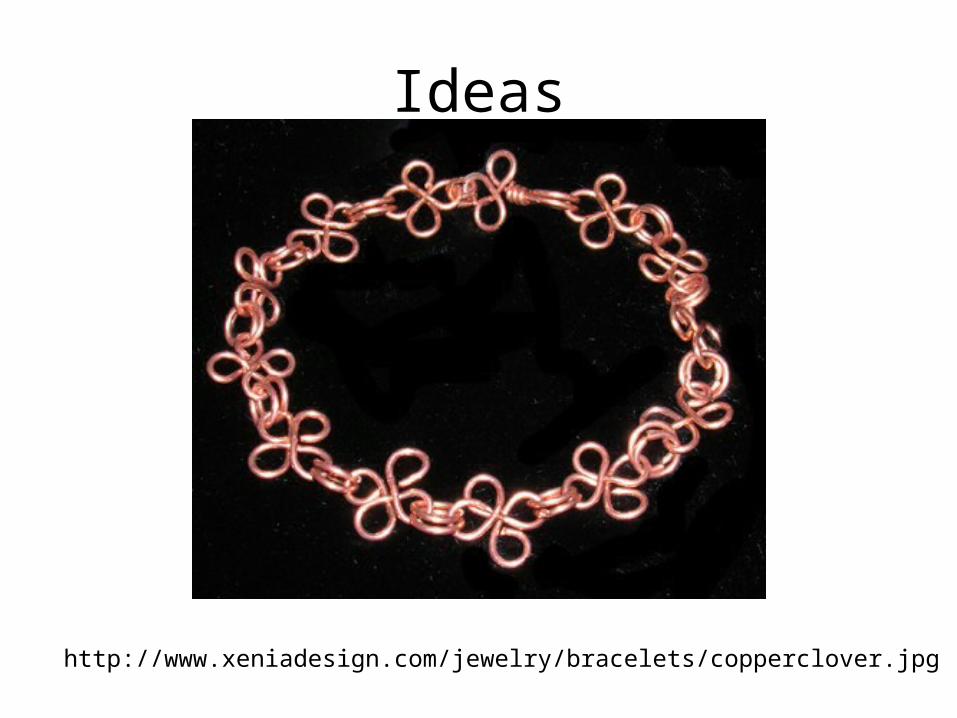
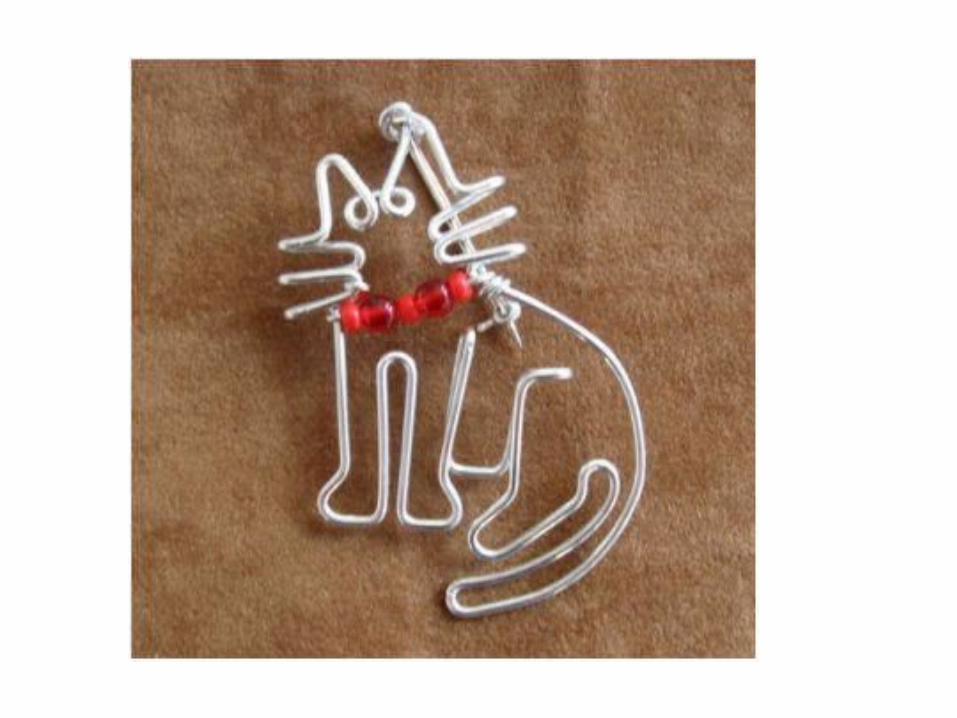
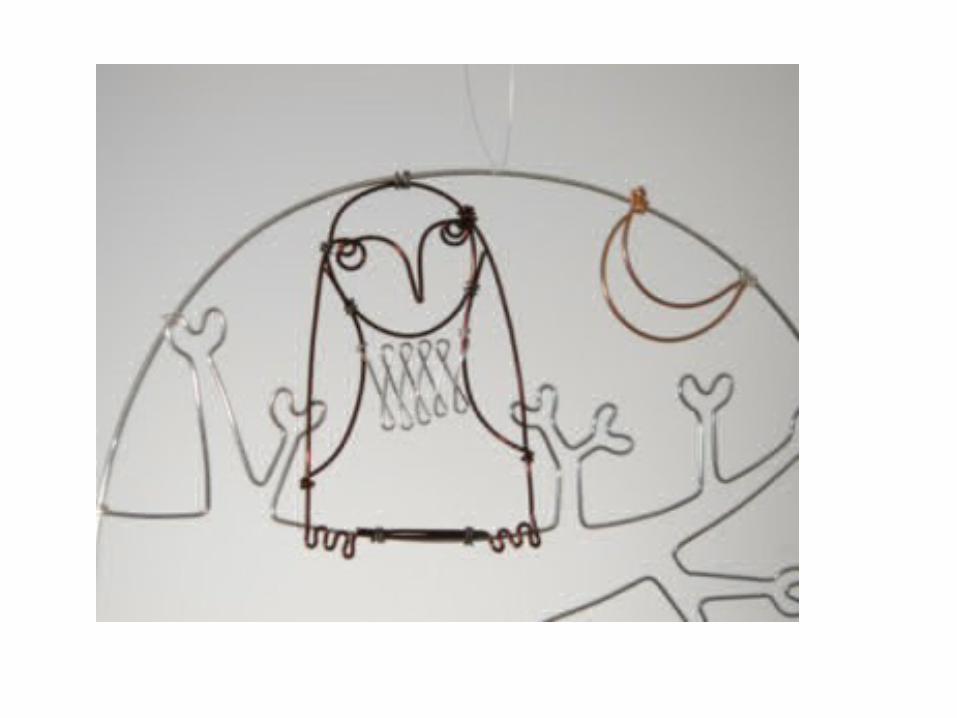
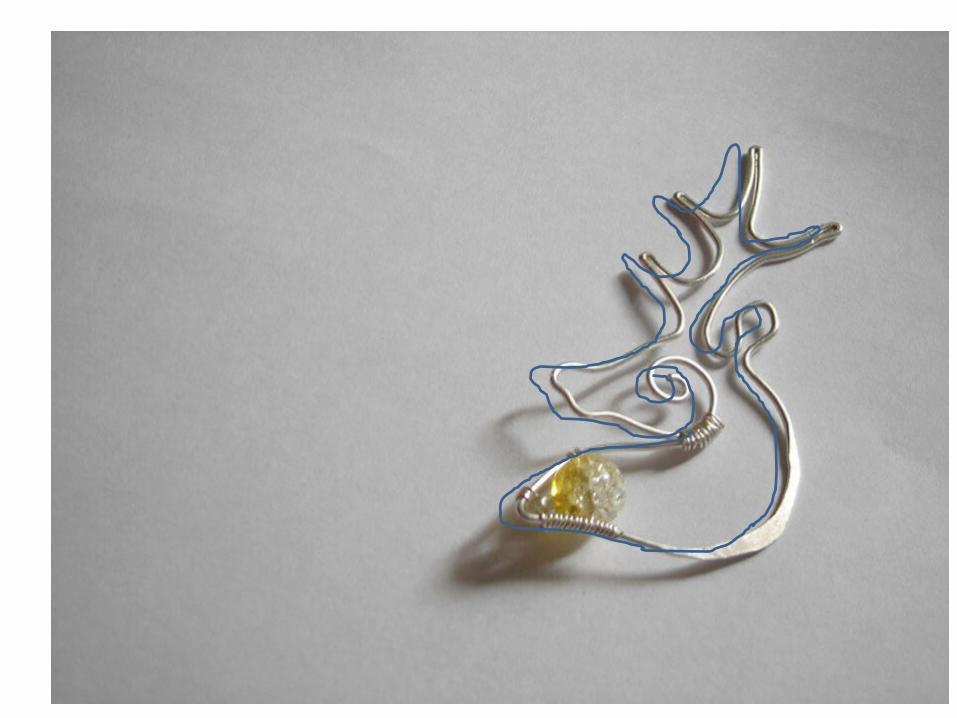
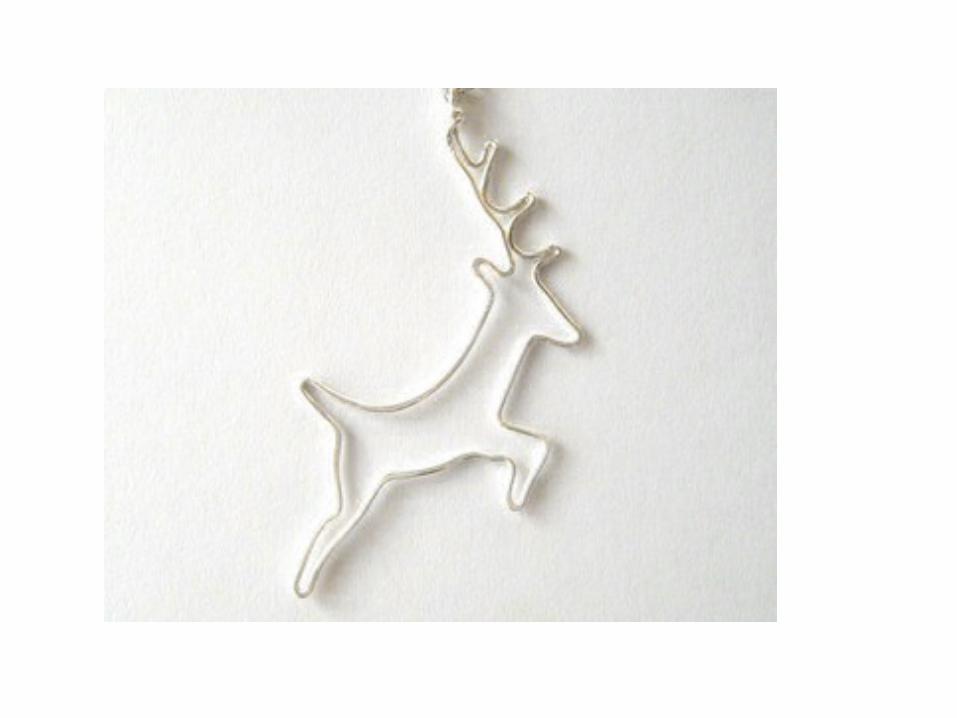
Ideas
http://www.xeniadesign.com/jewelry/bracelets/copperclover.jpg
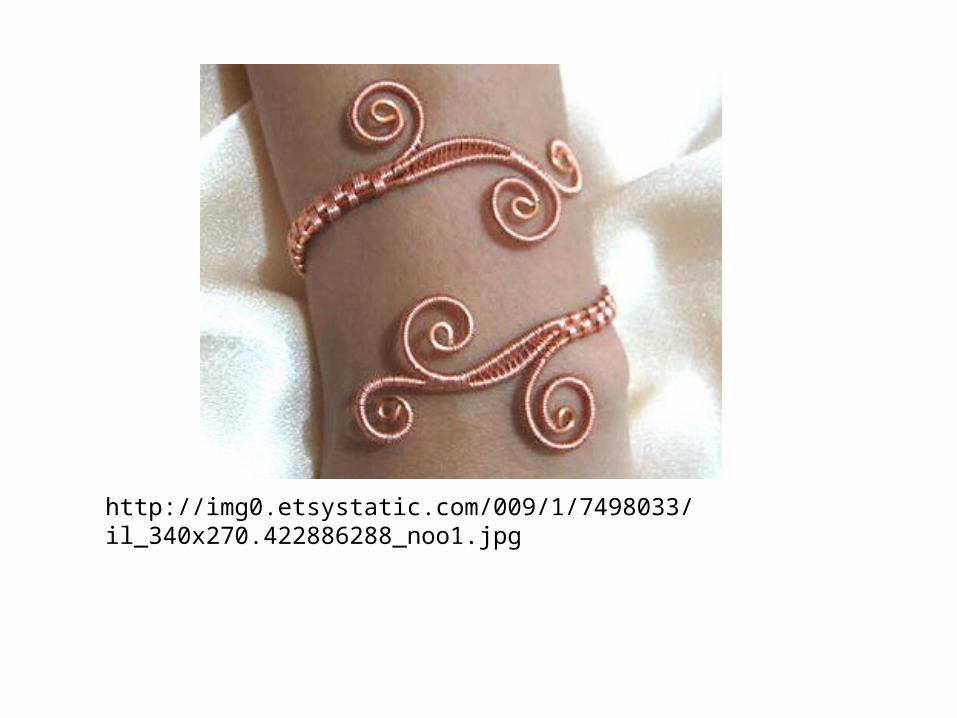
http://img0.etsystatic.com/009/1/7498033/il_340x270.422886288_noo1.jpg
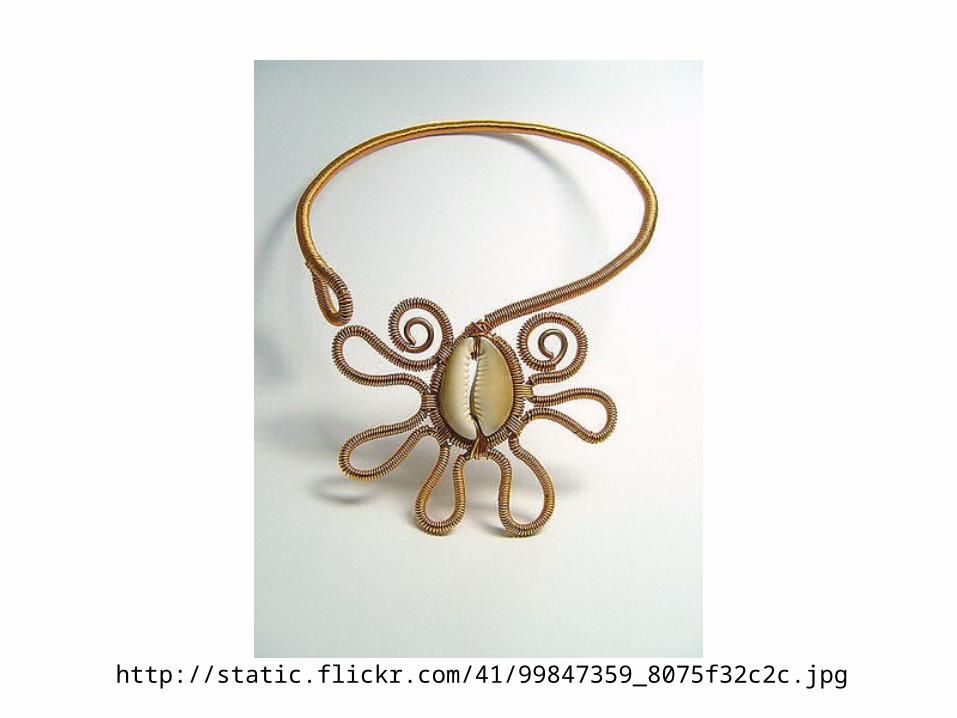
http://static.flickr.com/41/99847359_8075f32c2c.jpg
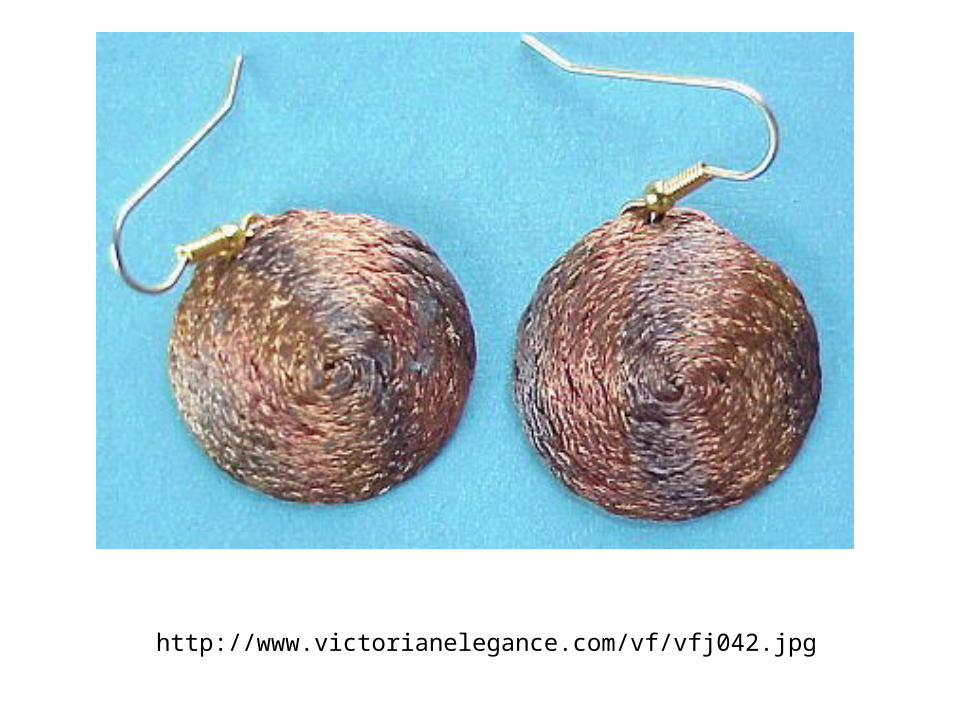
http://www.victorianelegance.com/vf/vfj042.jpg
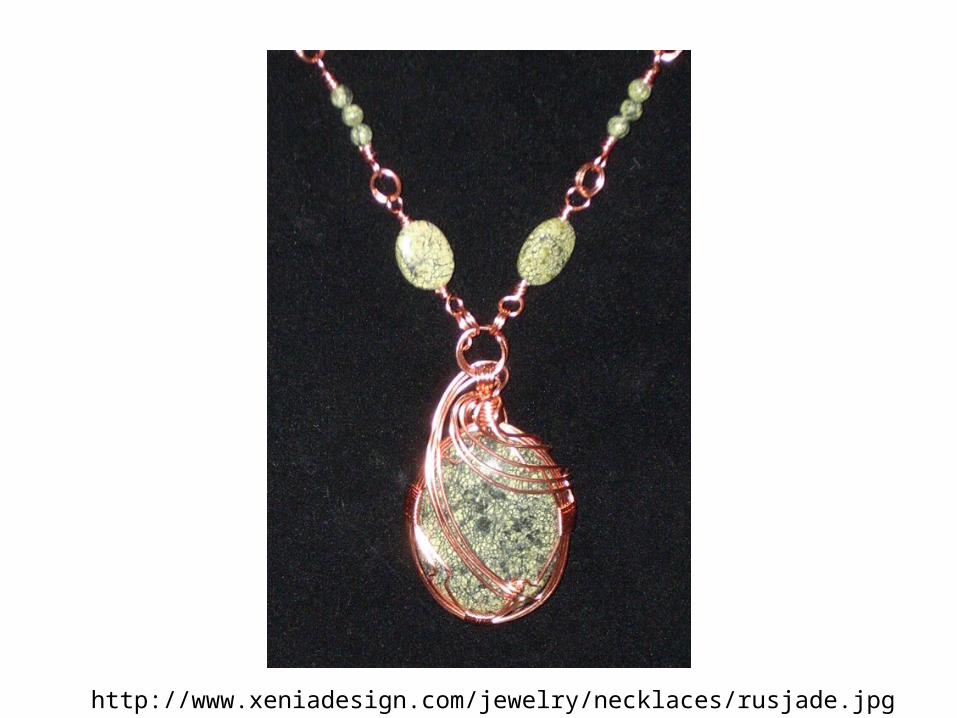
http://www.xeniadesign.com/jewelry/necklaces/rusjade.jpg
TODAY: I will demo some basic jewelry making techniques.
Take notes while I show you the demo. BEFORE YOU CAN START YOUR FINAL WORK YOU WILL NEED TO SHOW ME!
WRITE THIS DOWN
1. The homework of 3 images of jewelry you like.
2. a drawing of the jewelry they want to make. Your plan
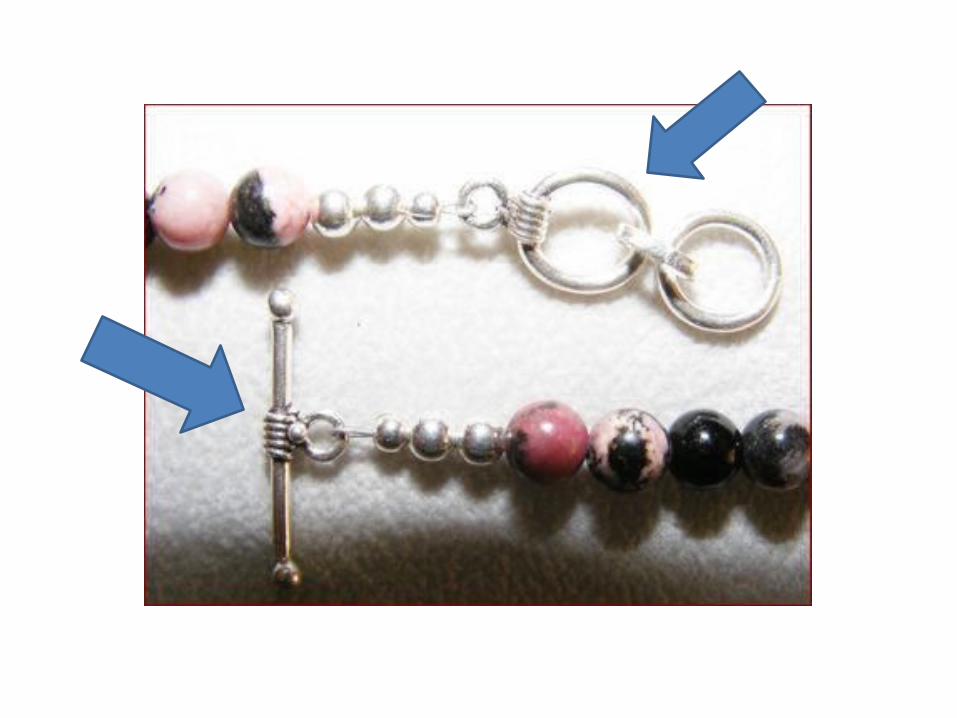
3. Jewelry work- 1a: 2 small clasps 2a: a simple chain3a: example of a rapped
object. ---------------> or use of beads and wire.
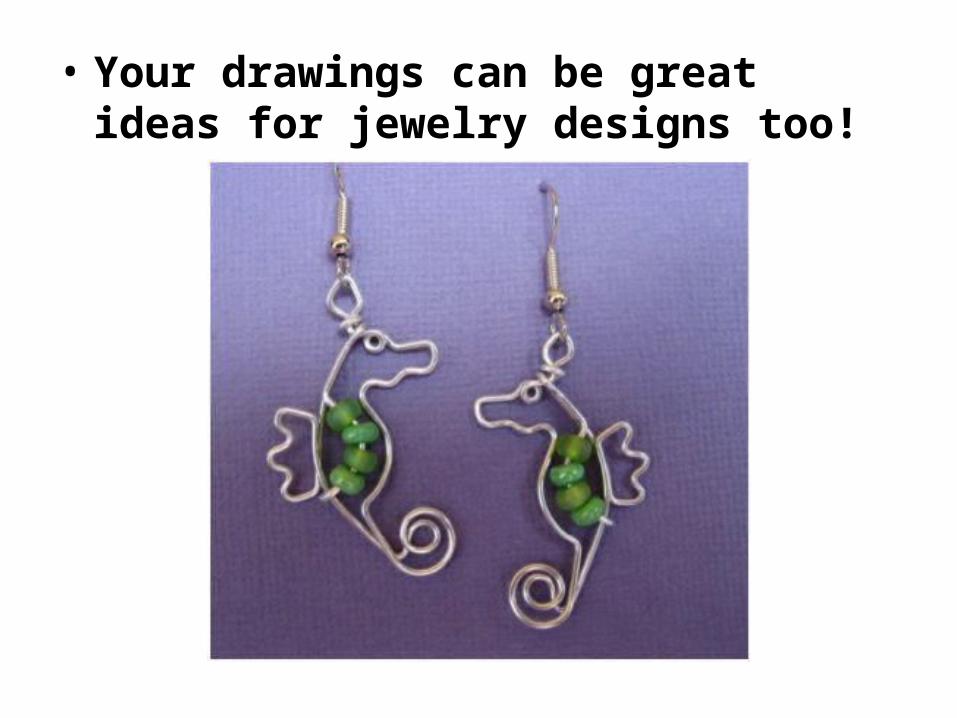
• Your drawings can be great ideas for jewelry designs too!
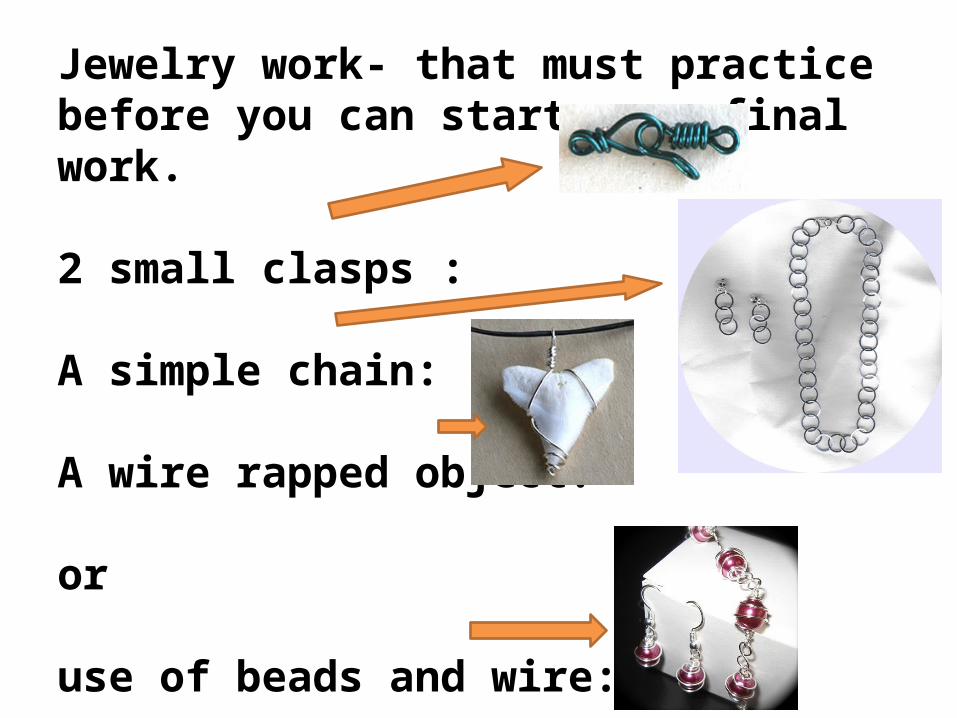
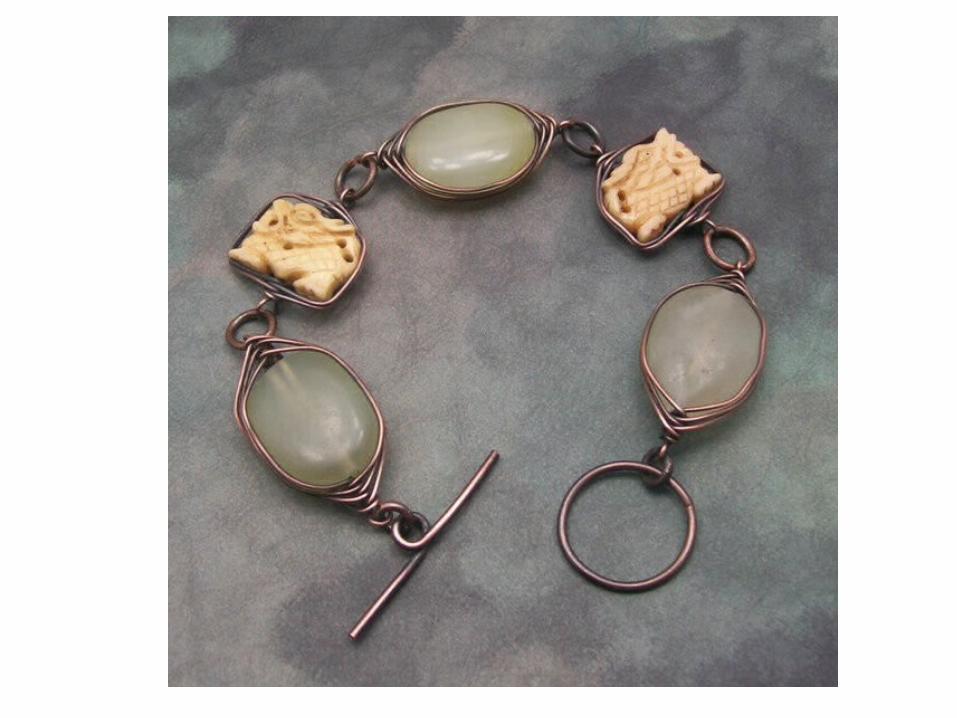
Jewelry work- that must practice before you can start your final work.
2 small clasps :
A simple chain:
A wire rapped object:
or
use of beads and wire:
And a drawing of what you want to make as a final design.
It will be checked by me as a homework.
Then you can start your final design.
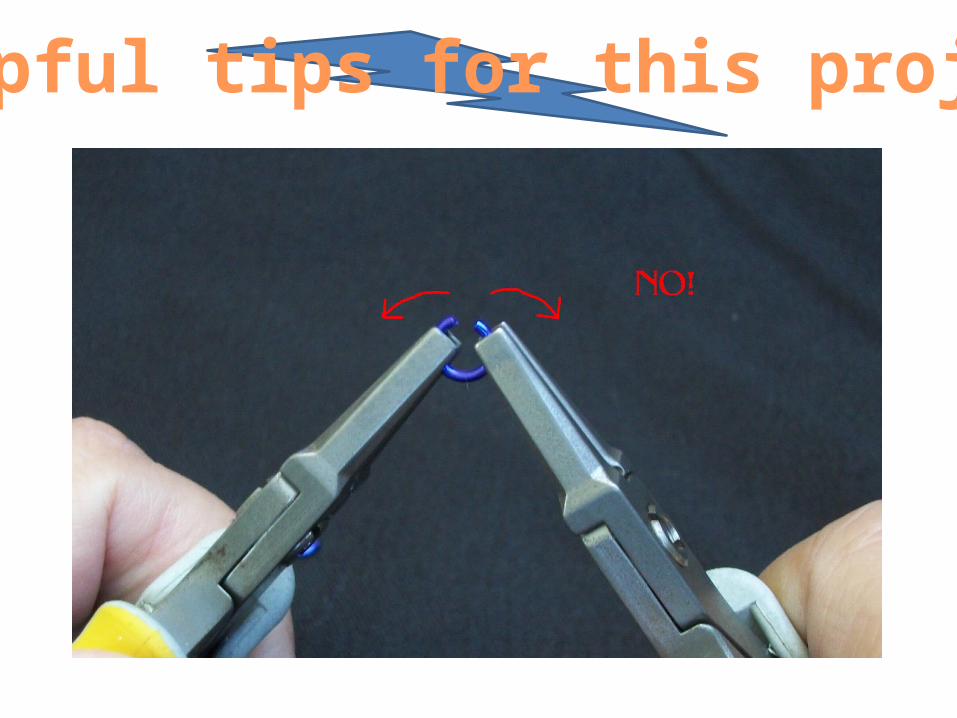
Helpful tips for this project
Take your time and design somethingyou will like.