introduction to android. slide 2 application components an android application is made of up one or...
TRANSCRIPT
INTRODUCTION TO ANDROID
Slide 2
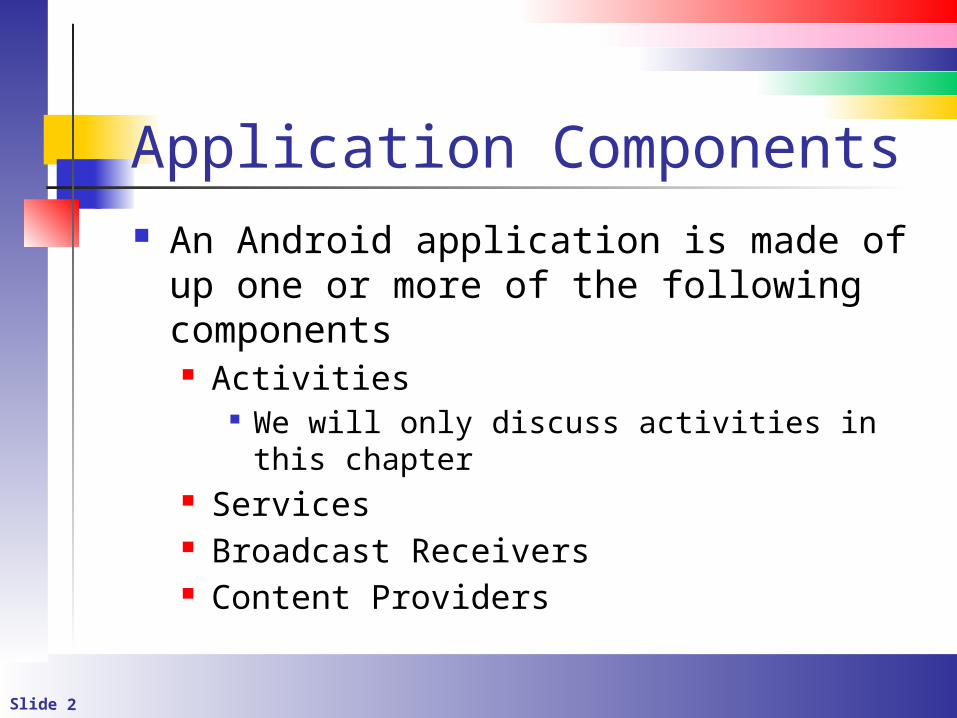
Application Components An Android application is made of up
one or more of the following components Activities
We will only discuss activities in this chapter
Services Broadcast Receivers Content Providers
Slide 3
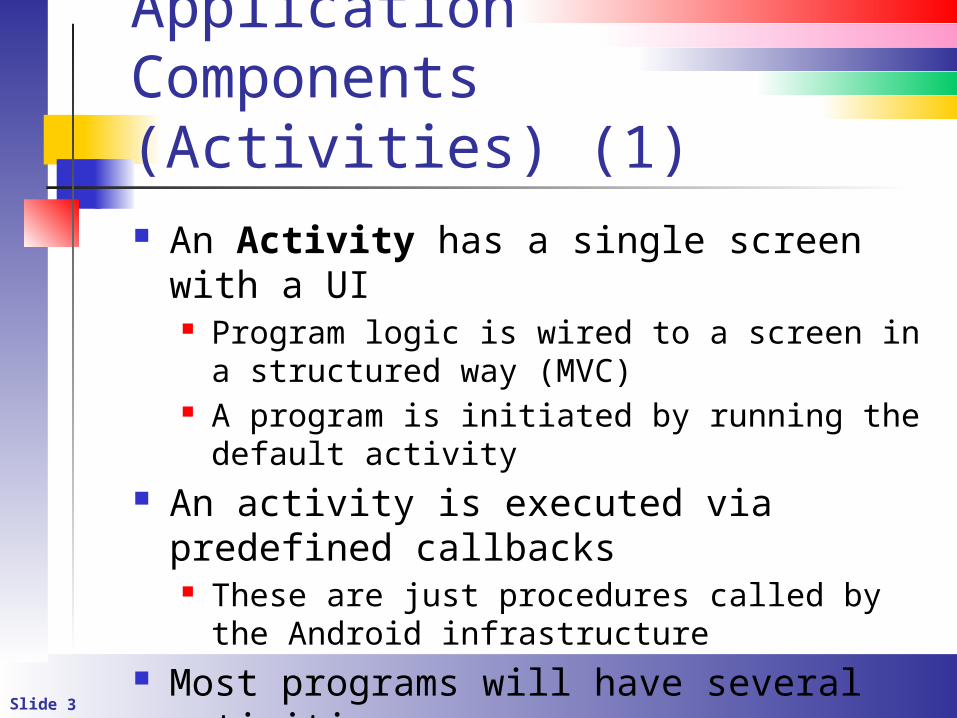
Application Components (Activities) (1) An Activity has a single screen with a
UI Program logic is wired to a screen in a
structured way (MVC) A program is initiated by running the default
activity An activity is executed via predefined
callbacks These are just procedures called by the
Android infrastructure Most programs will have several
activities
Slide 4
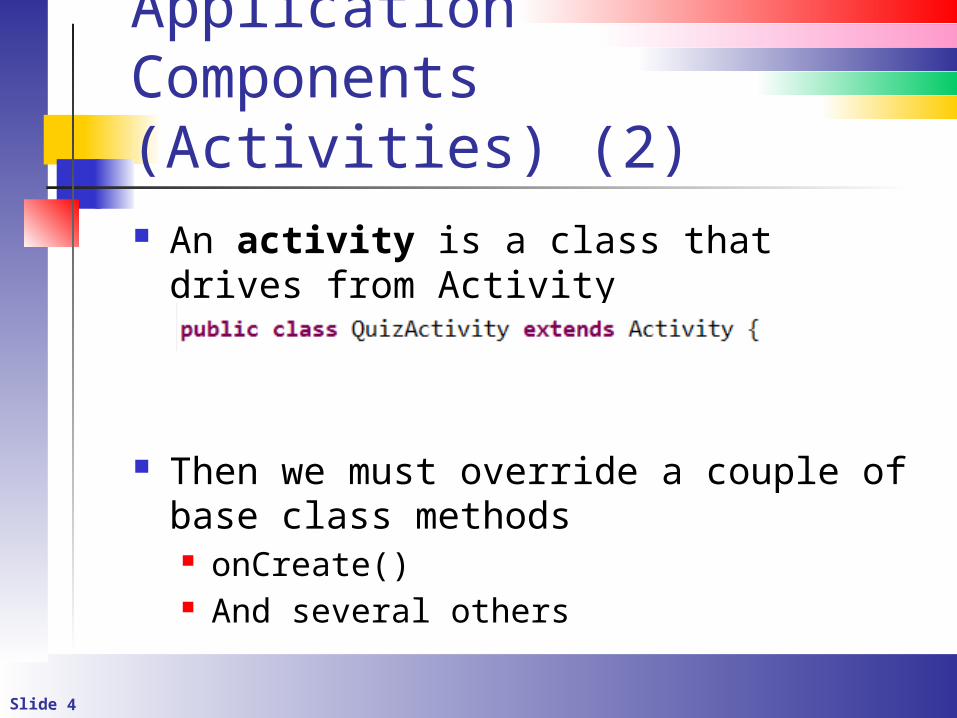
Application Components (Activities) (2) An activity is a class that drives from
Activity
Then we must override a couple of base class methods onCreate() And several others
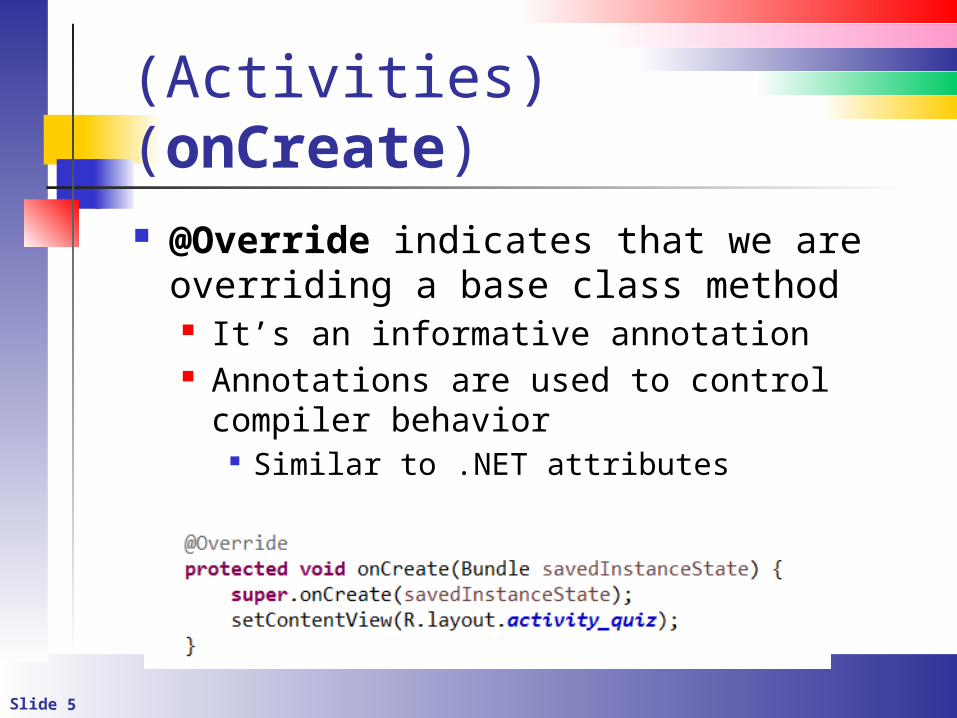
Slide 5
Application Components (Activities) (onCreate) @Override indicates that we are
overriding a base class method It’s an informative annotation Annotations are used to control compiler
behavior Similar to .NET attributes
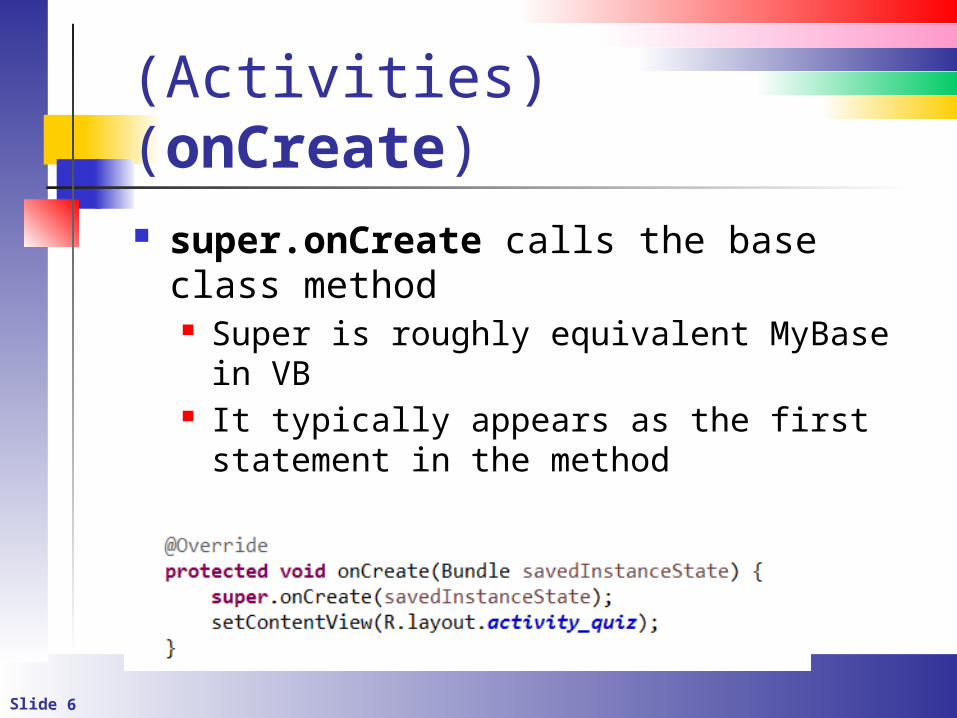
Slide 6
Application Components (Activities) (onCreate) super.onCreate calls the base class
method Super is roughly equivalent MyBase in VB It typically appears as the first statement
in the method
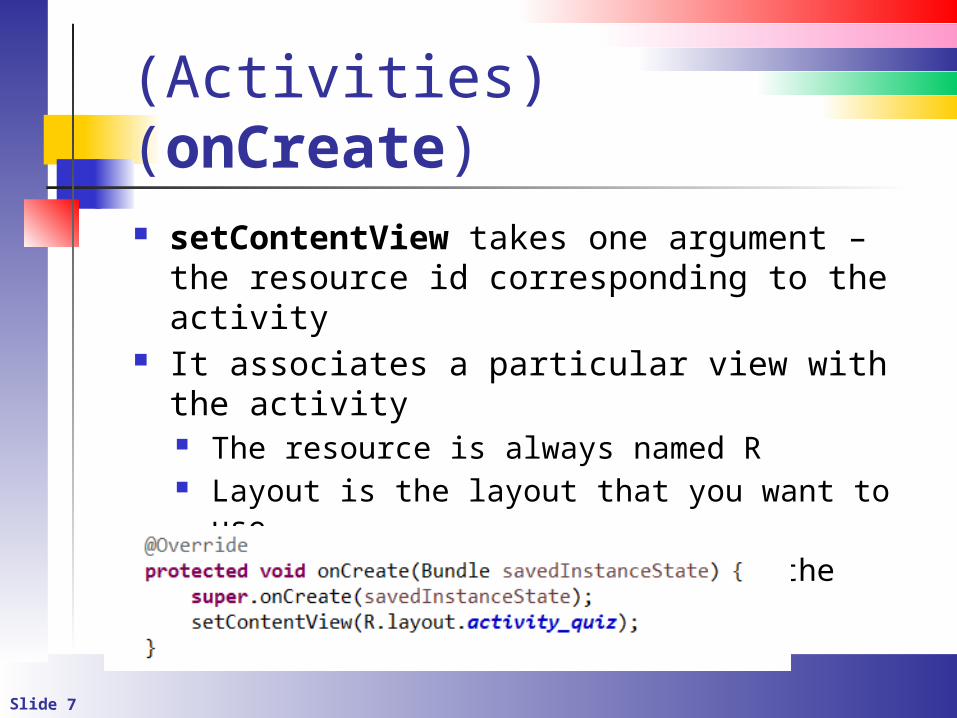
Slide 7
Application Components (Activities) (onCreate) setContentView takes one argument – the
resource id corresponding to the activity It associates a particular view with the
activity The resource is always named R Layout is the layout that you want to use Followed by the resource id of the layout
Slide 8
Application Components (Layout) (1) A layout describes the visual structure
for a UI, such as the UI for an activity It’s an XML document, so you need
some familiarity with XML Android provides an XML vocabulary
that corresponds to the View classes and subclasses, such as those for widgets and layouts
Slide 9
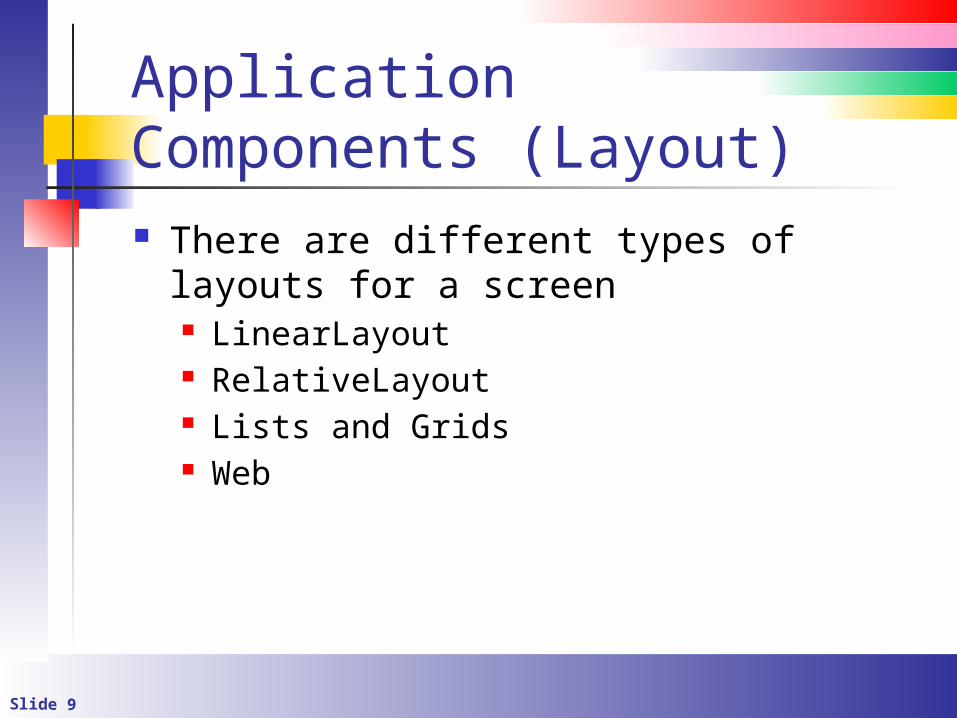
Application Components (Layout) There are different types of layouts for a
screen LinearLayout RelativeLayout Lists and Grids Web
Slide 10
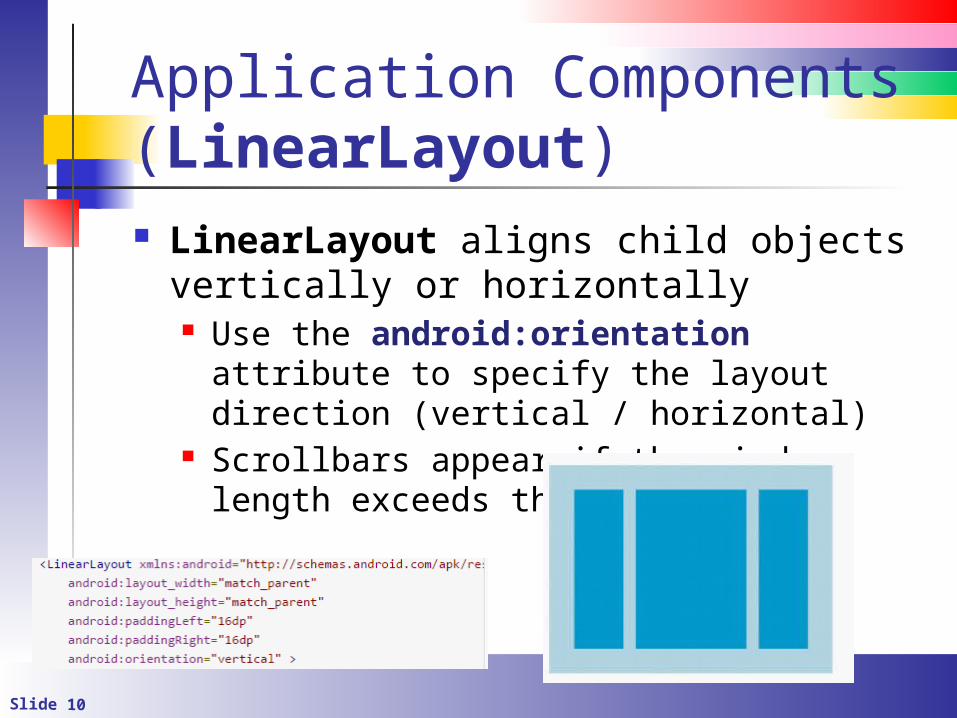
Application Components (LinearLayout) LinearLayout aligns child objects
vertically or horizontally Use the android:orientation attribute to
specify the layout direction (vertical / horizontal)
Scrollbars appear if the window length exceeds the screen length
Slide 11
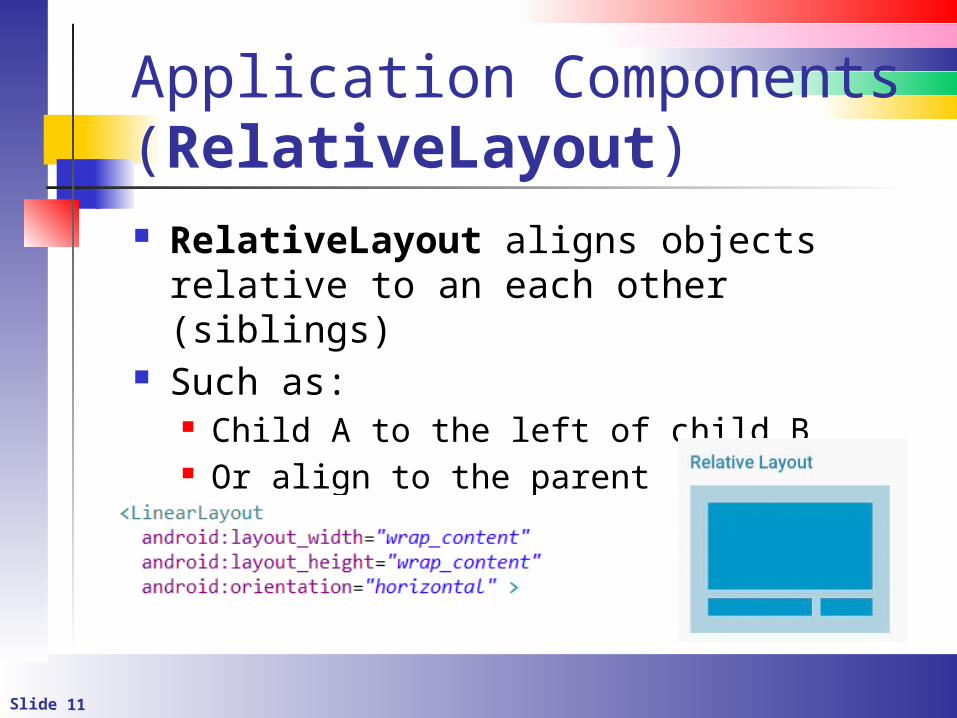
Application Components (RelativeLayout) RelativeLayout aligns objects relative
to an each other (siblings) Such as:
Child A to the left of child B Or align to the parent
Slide 12
Application Components(Buttons and Events) Like a VB button
Text or an icon can appear in the visible region
They respond to click events (although the syntax differs)
http://developer.android.com/guide/topics/ui/controls/button.html
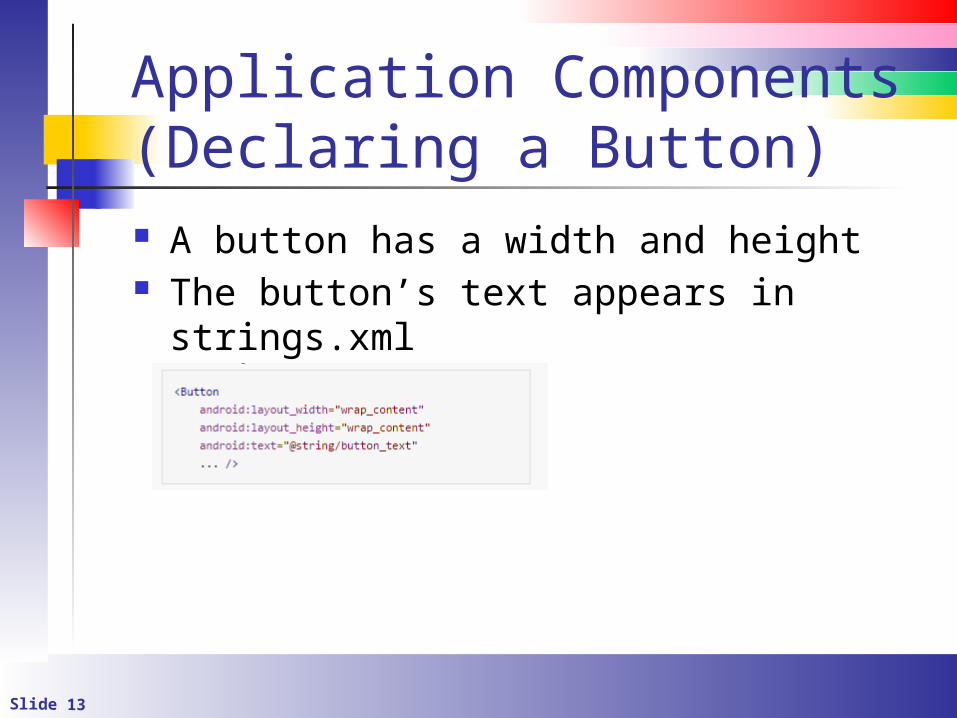
Slide 13
Application Components (Declaring a Button) A button has a width and height The button’s text appears in strings.xml
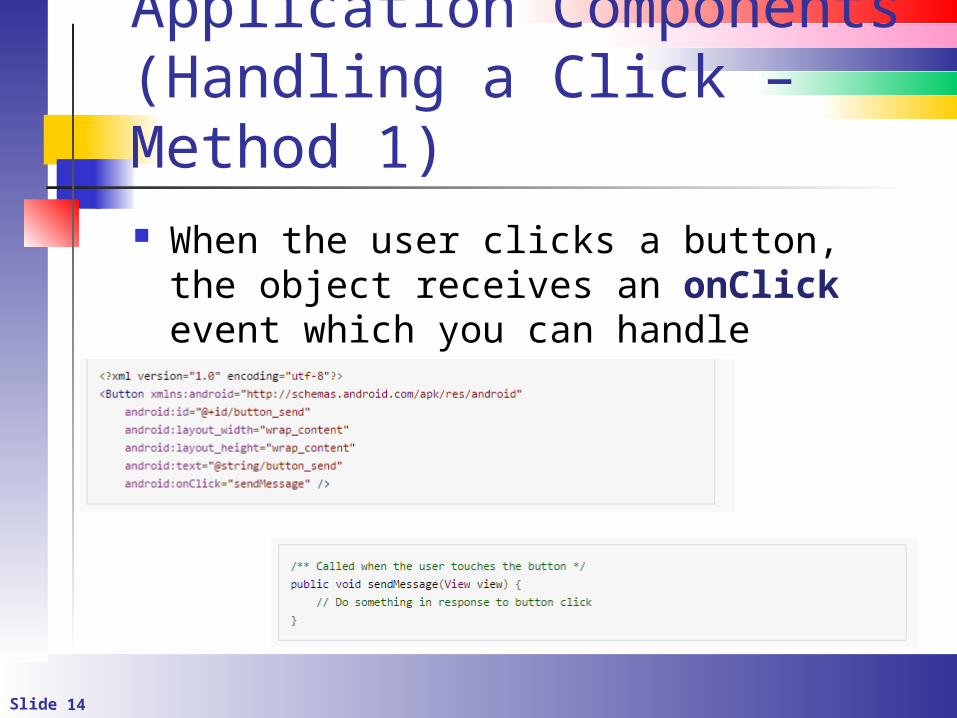
Slide 14
Application Components (Handling a Click – Method 1) When the user clicks a button, the
object receives an onClick event which you can handle
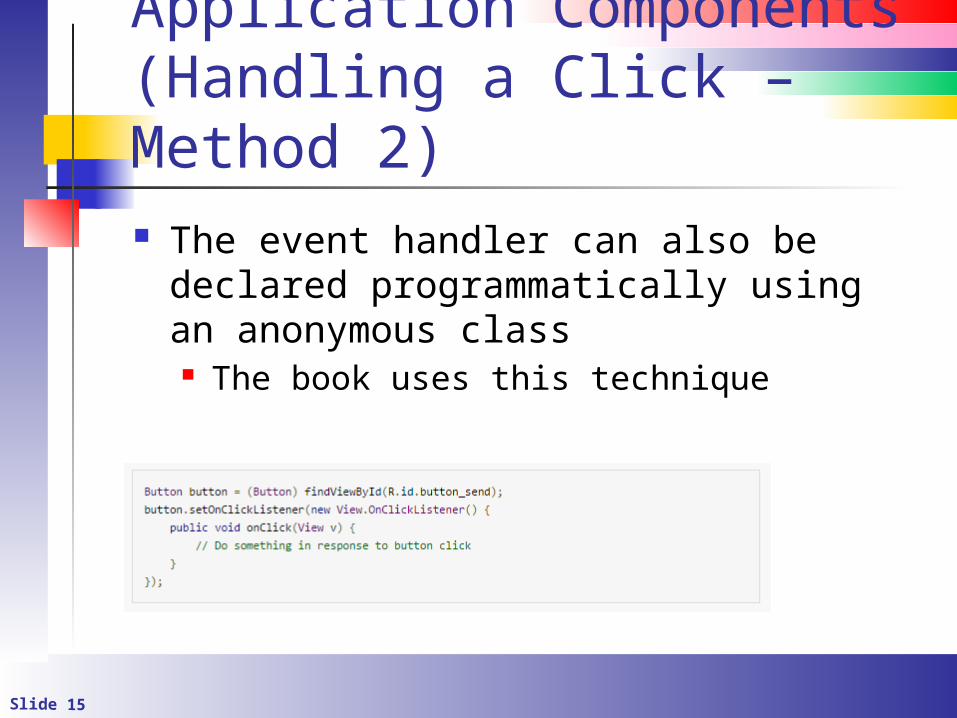
Slide 15
Application Components (Handling a Click – Method 2) The event handler can also be declared
programmatically using an anonymous class The book uses this technique
Slide 16
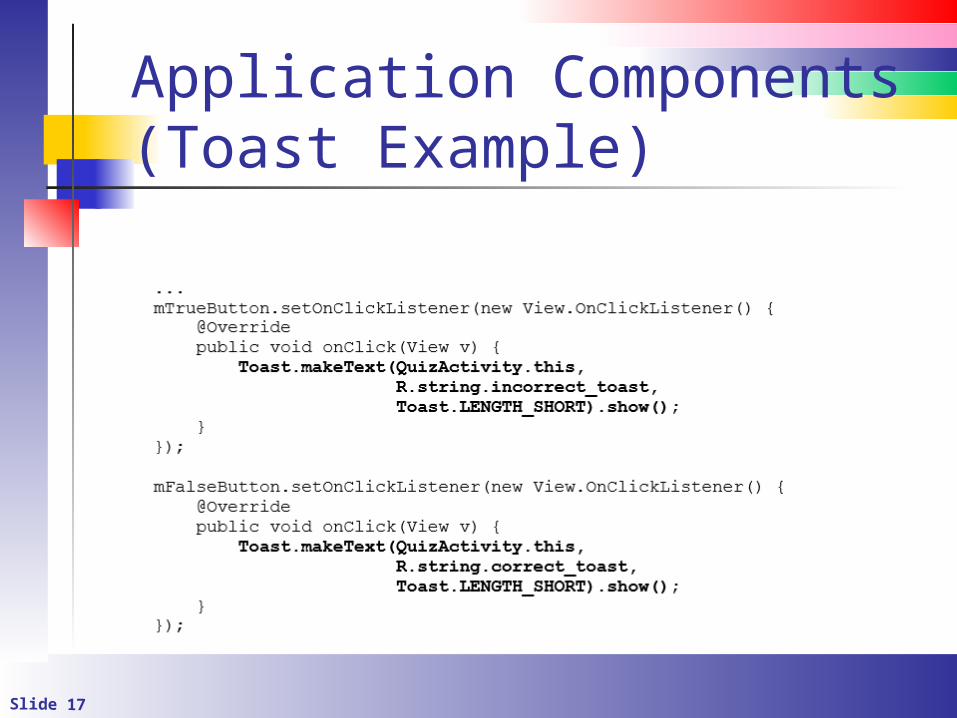
Application Components (Toast) A toast is a form of Android popup
The size of the popup is just large enough to render the message
If you want the user to respond, use a Notification instead of a toast
To create, use the makeText method of the Toast class
http://developer.android.com/guide/topics/ui/notifiers/toasts.html
Slide 17
Application Components (Toast Example)
Slide 18
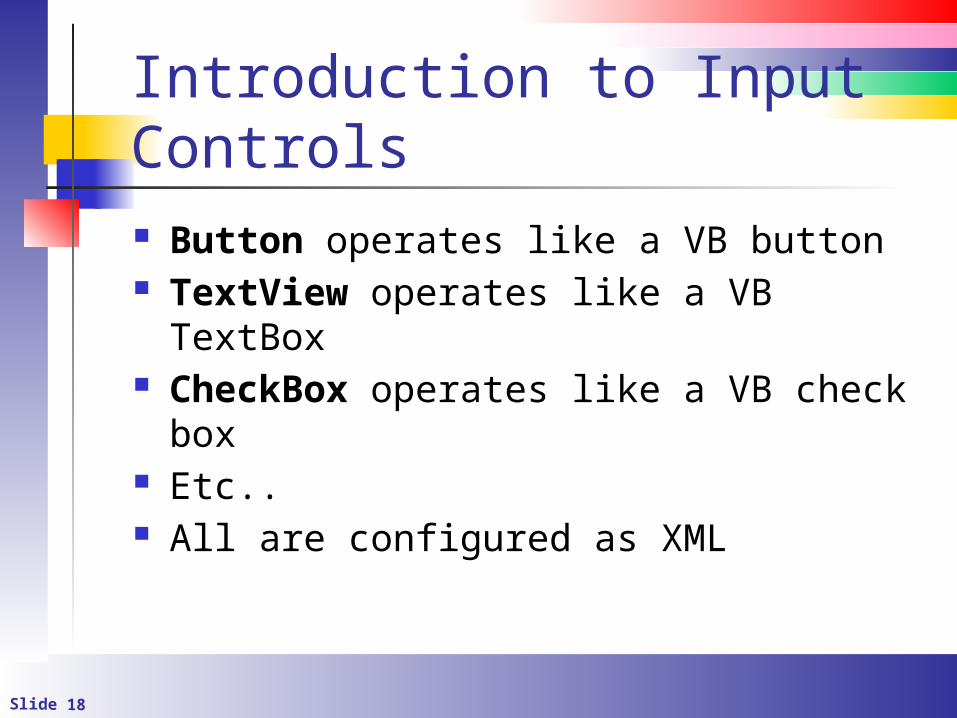
Introduction to Input Controls Button operates like a VB button TextView operates like a VB TextBox CheckBox operates like a VB check box Etc.. All are configured as XML
Slide 19
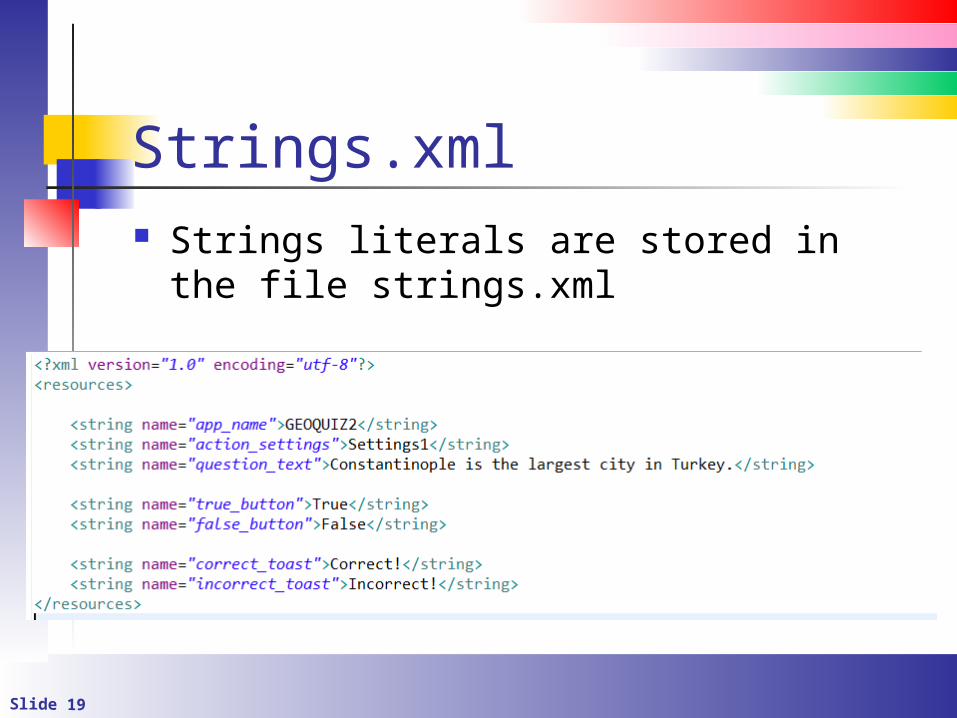
Strings.xml Strings literals are stored in the file
strings.xml
Slide 20
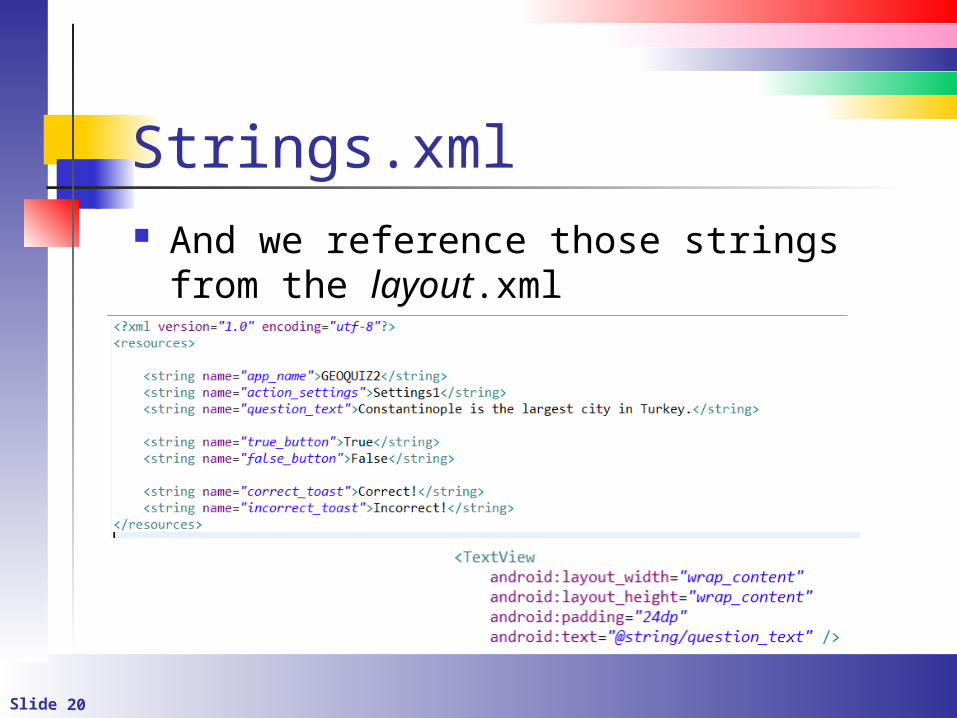
Strings.xml And we reference those strings from the layout.xml
Slide 21
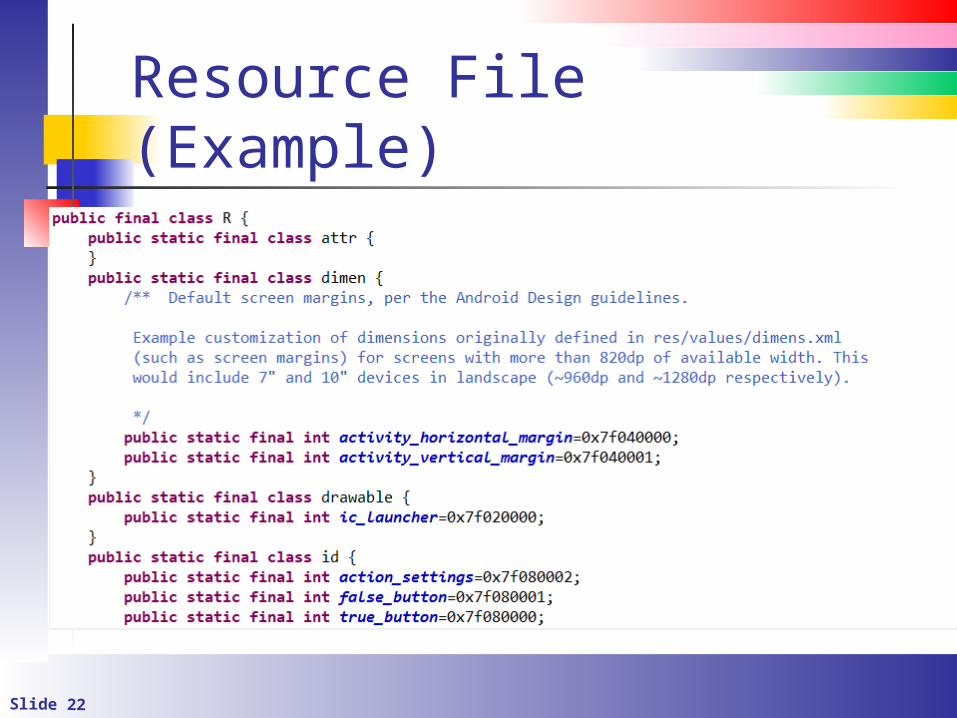
Resource Files Android R.java is an auto-generated
file by AAPT (Android Asset Packaging Tool) that contains resource IDs for all the resources of res/ directory
If you create any component in the activity_main.xml file, the id for the corresponding component is automatically created in this file The id can be used in the activity source
file to perform any action on the component
Slide 22
Resource File (Example)
Slide 23
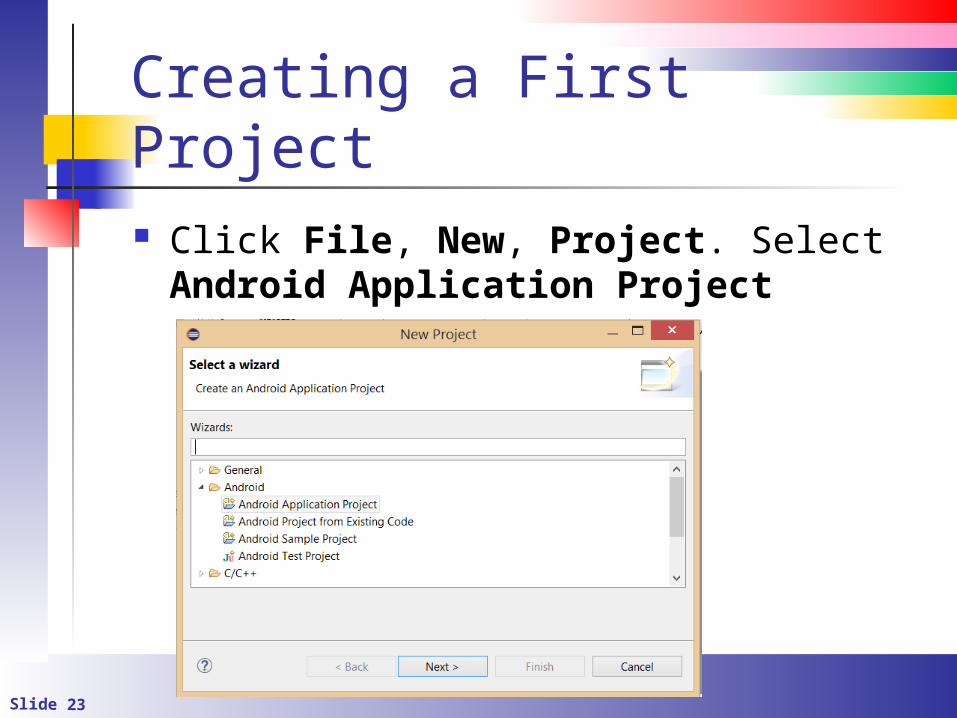
Creating a First Project Click File, New, Project. Select
Android Application Project

Slide 24
Define Application Parameters (1) Don’t use an
old MinimumRequired SDK
Slide 25
Define Application Parameters (1) The Application Name appears in the
store when deployed The Project Name is only relevant to
Eclipse The Package Name contains a reverse
domain name It must be unique and must not be
changed – this is how versioning is performed
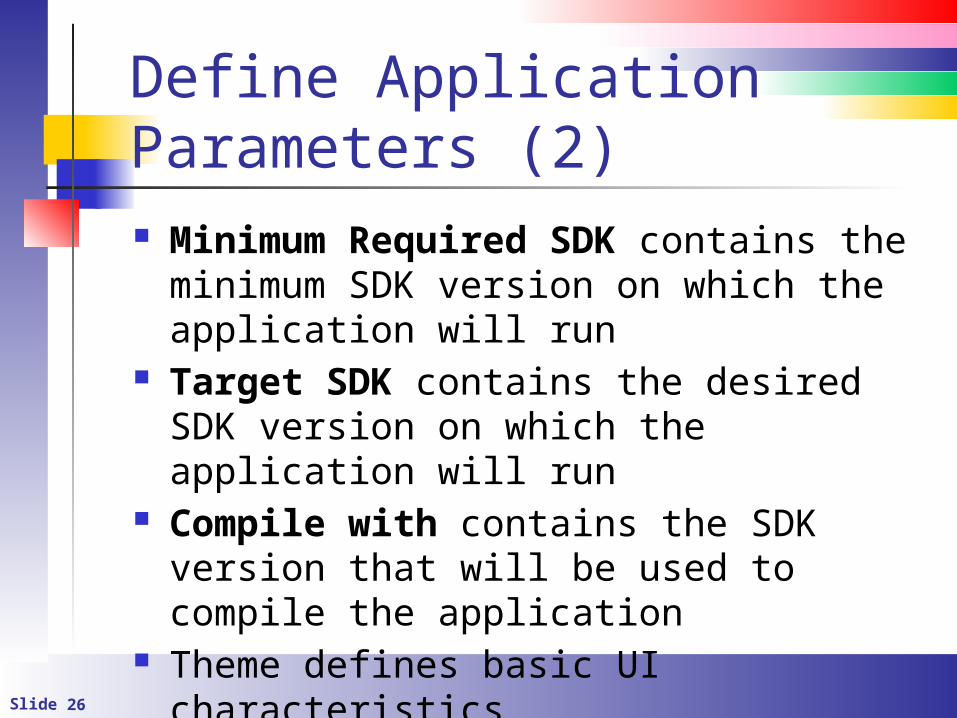
Slide 26
Define Application Parameters (2) Minimum Required SDK contains the
minimum SDK version on which the application will run
Target SDK contains the desired SDK version on which the application will run
Compile with contains the SDK version that will be used to compile the application
Theme defines basic UI characteristics
Slide 27
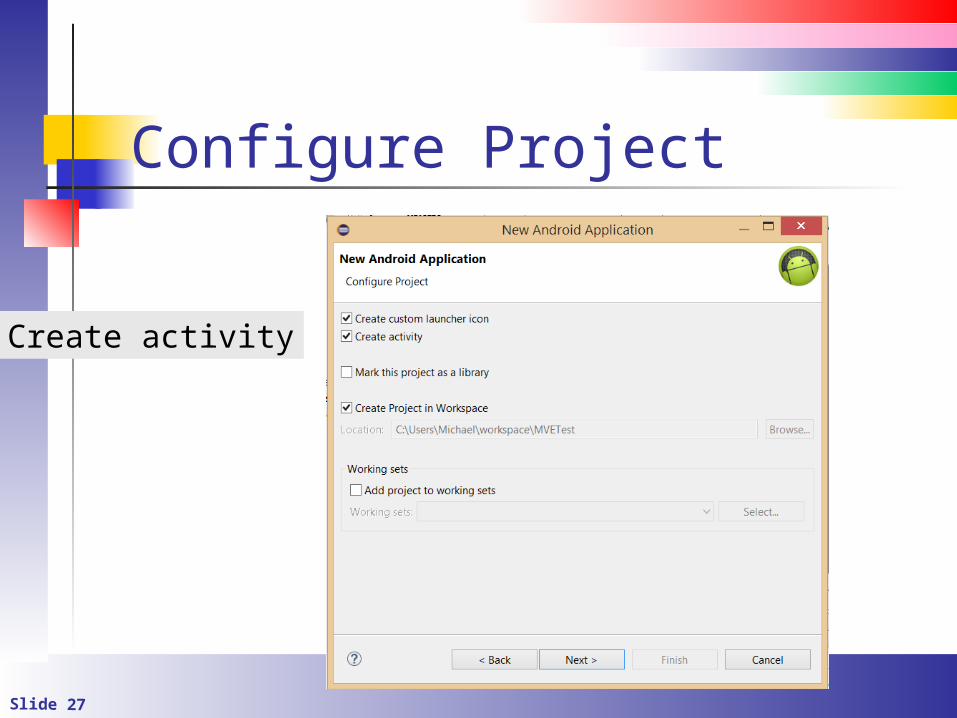
Configure Project
Create activity
Slide 28
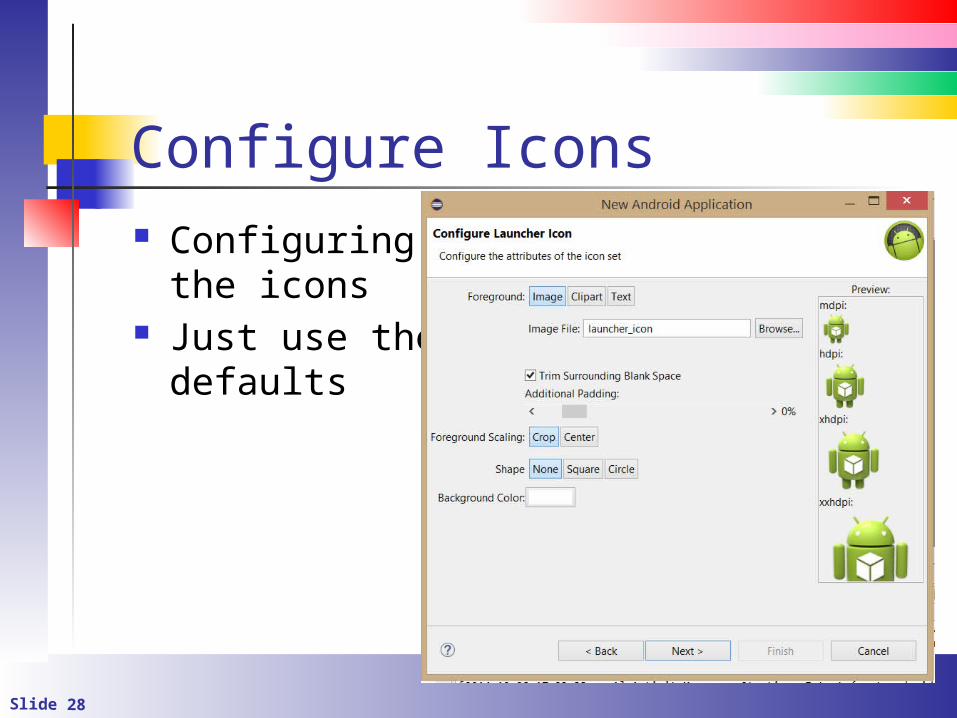
Configure Icons Configuring
the icons Just use the
defaults
Slide 29
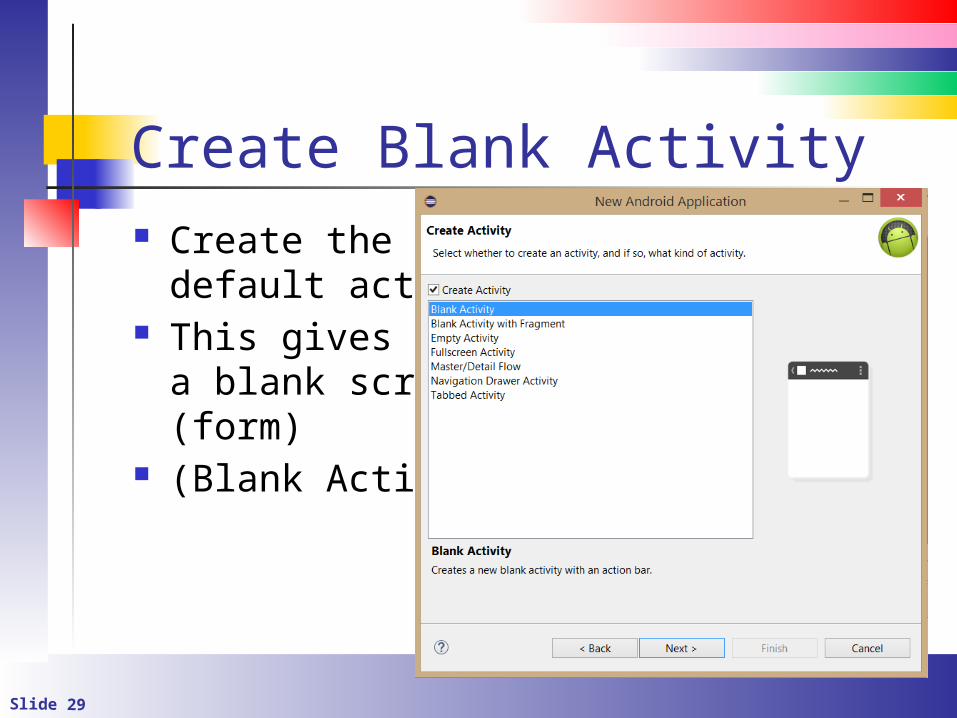
Create Blank Activity Create the
default activity This gives you
a blank screen(form)
(Blank Activity)
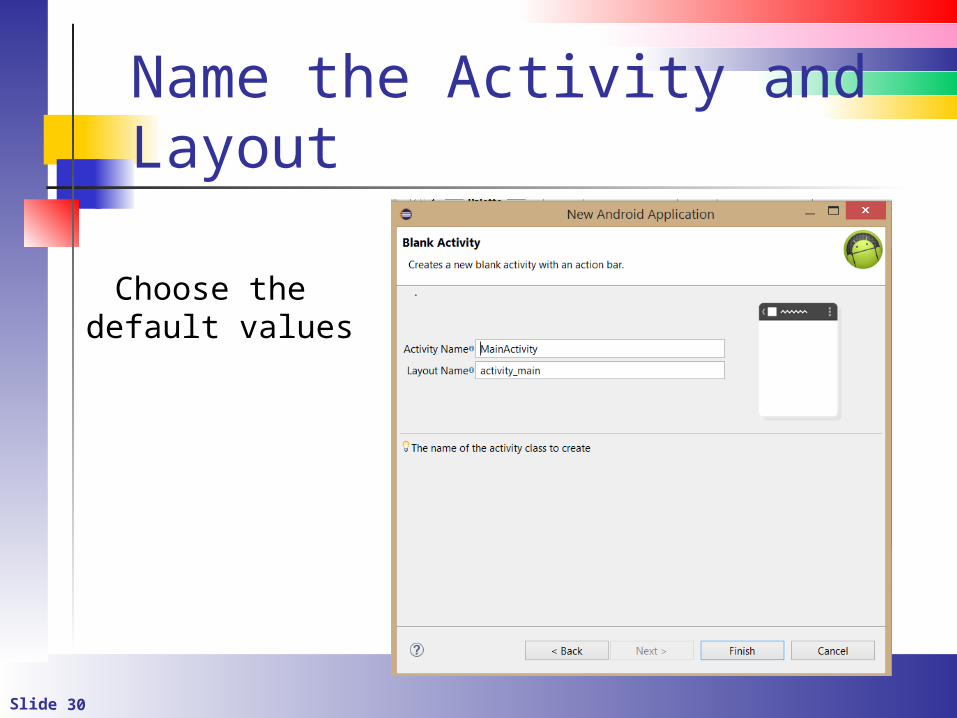
Slide 30
Name the Activity and Layout
Choose the default values
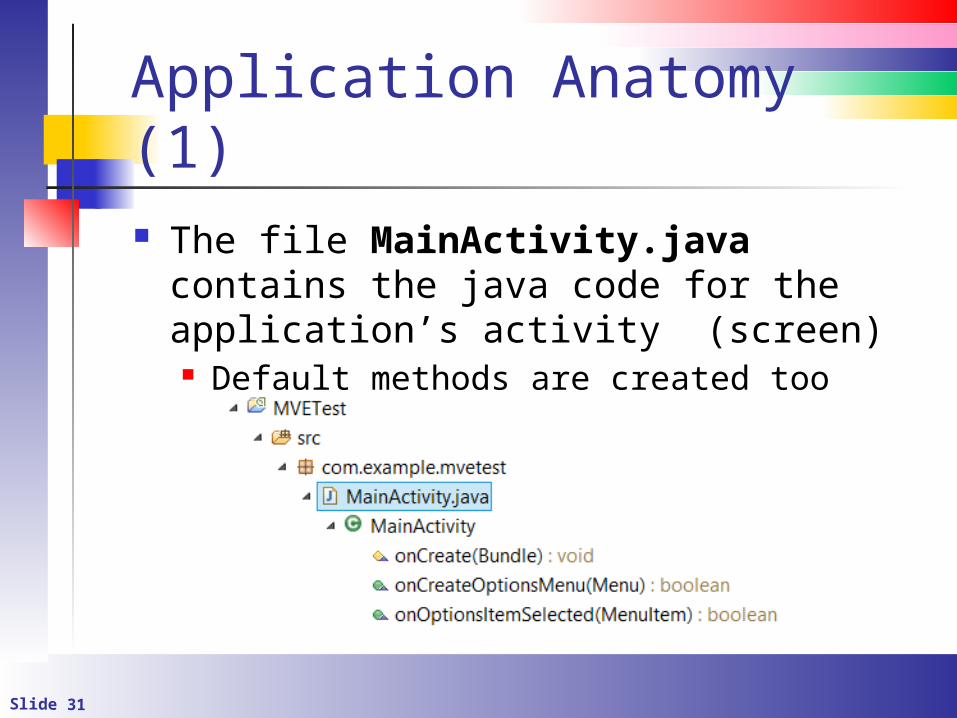
Slide 31
Application Anatomy (1) The file MainActivity.java contains the
java code for the application’s activity (screen) Default methods are created too
(onCreate, …)
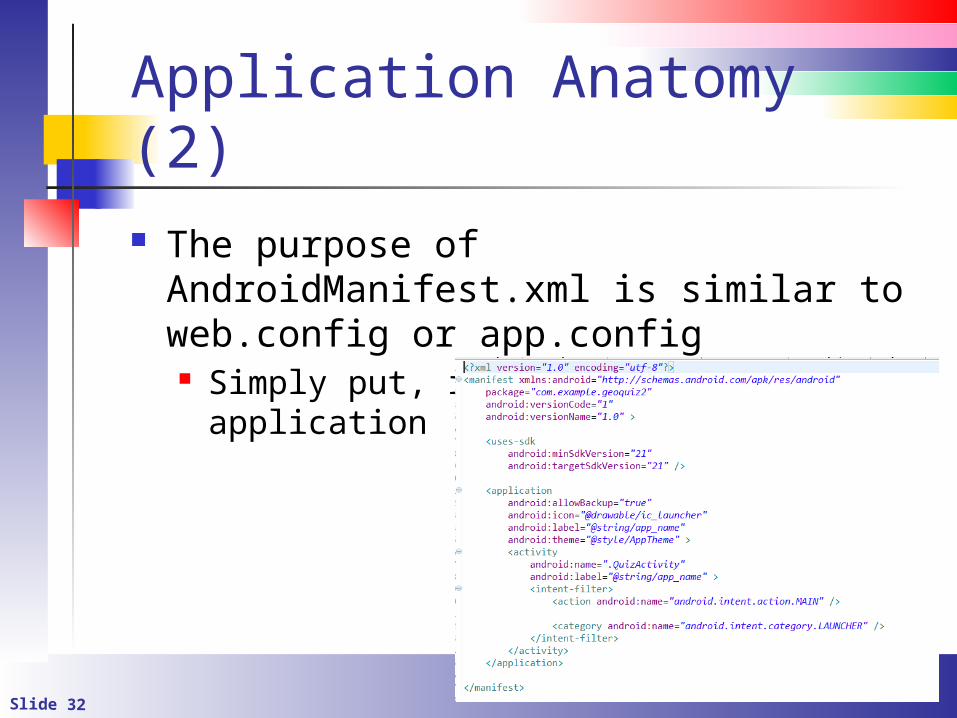
Slide 32
Application Anatomy (2) The purpose of AndroidManifest.xml is
similar to web.config or app.config Simply put, it describes the application
Slide 33
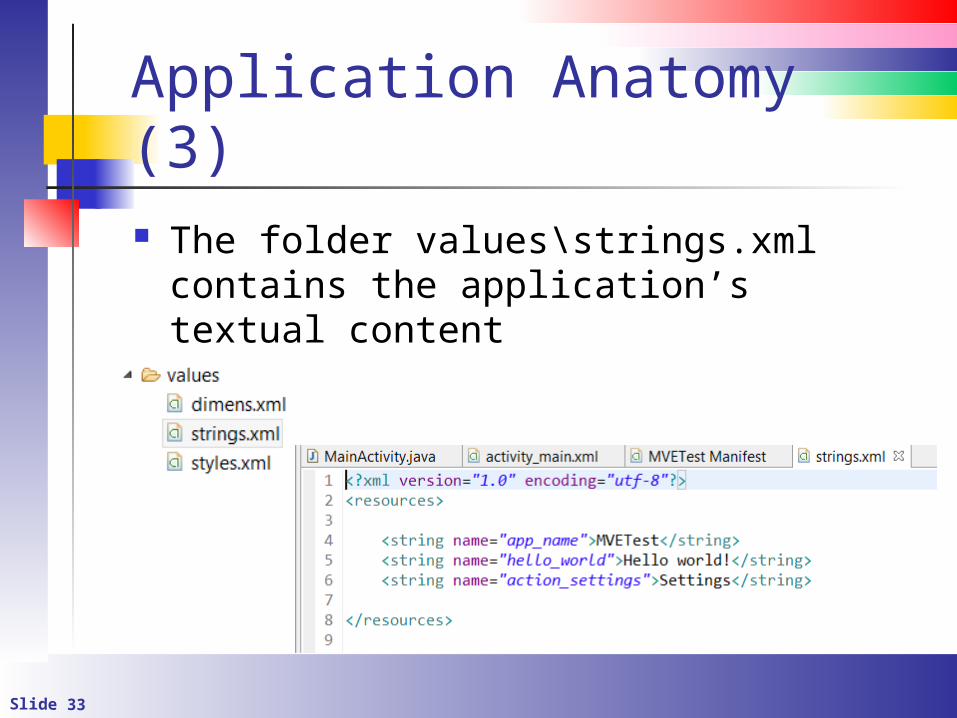
Application Anatomy (3) The folder values\strings.xml contains
the application’s textual content
Slide 34
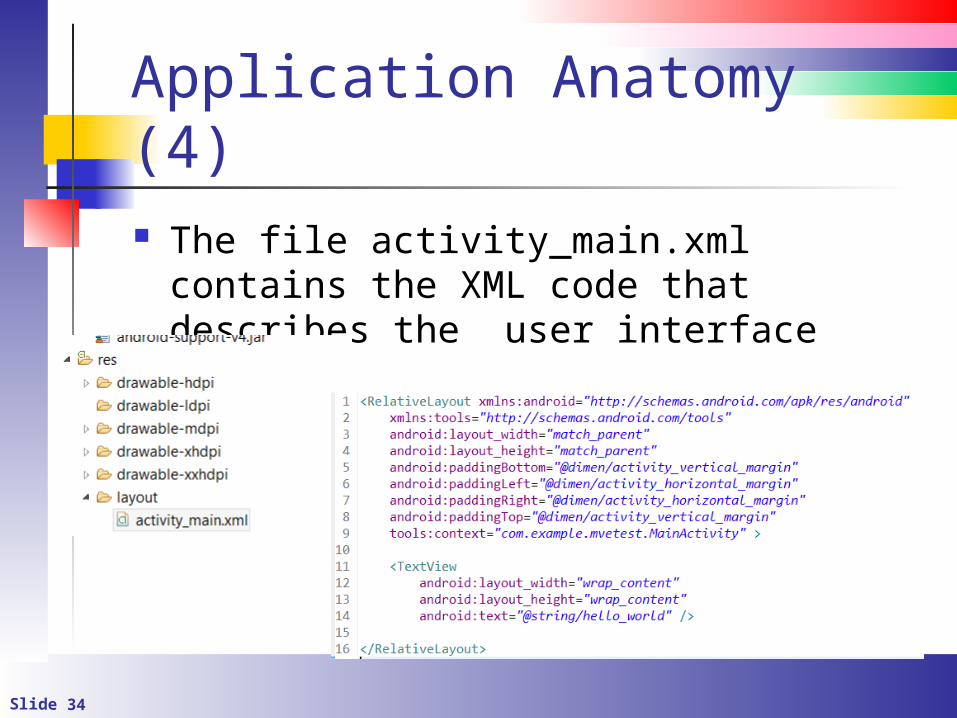
Application Anatomy (4) The file activity_main.xml contains the
XML code that describes the user interface layout
Slide 35
Setting up the Emulator (1) We can run programs via an emulator or
directly attached to a physical device Using windows, you might need the driver
from the device manufacturer

Slide 36
Setting up the Emulator (2) Click Window, Android Device
Manager Click Create to create the new device I suggest the following settings

Slide 37
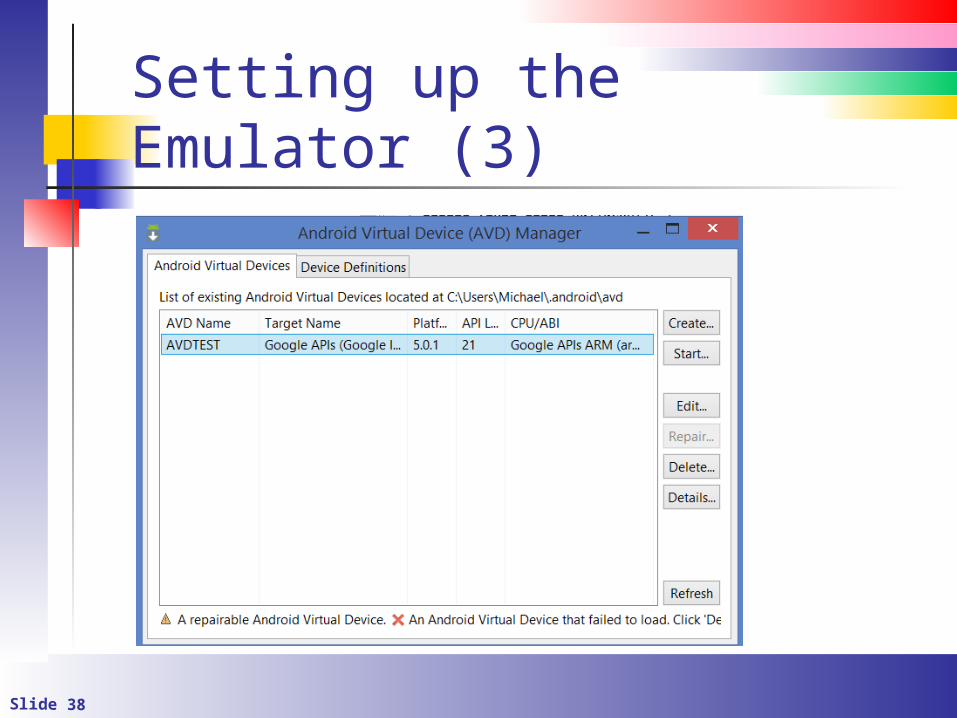
Setting up the Emulator (3) Under Windows set the memory to no
more than 512MB
Slide 38
Setting up the Emulator (3)
Slide 39
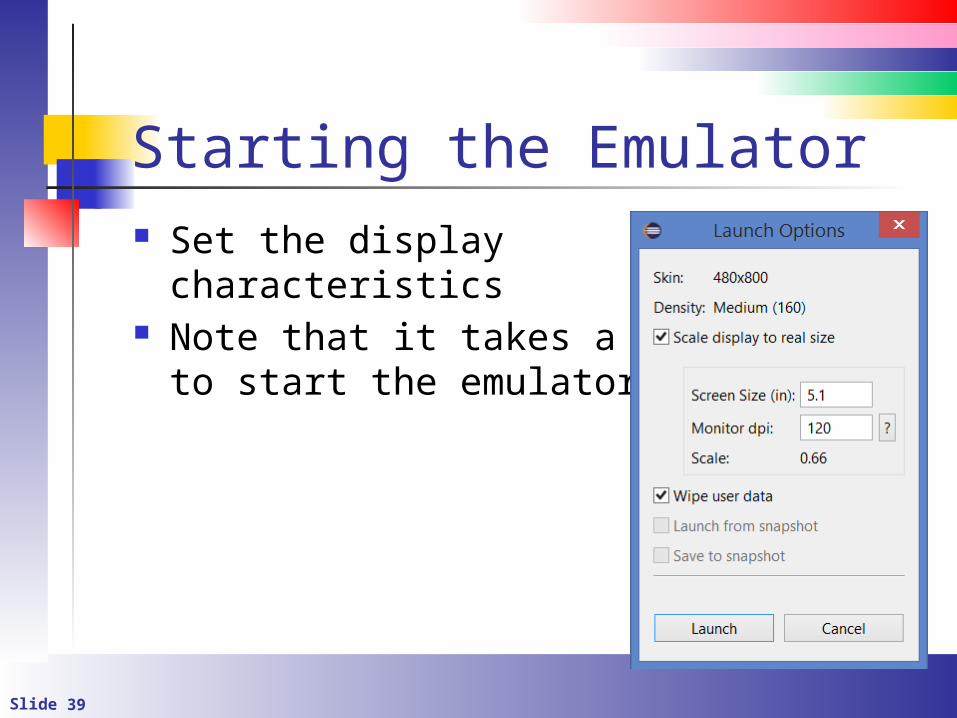
Starting the Emulator Set the display
characteristics Note that it takes a while
to start the emulator
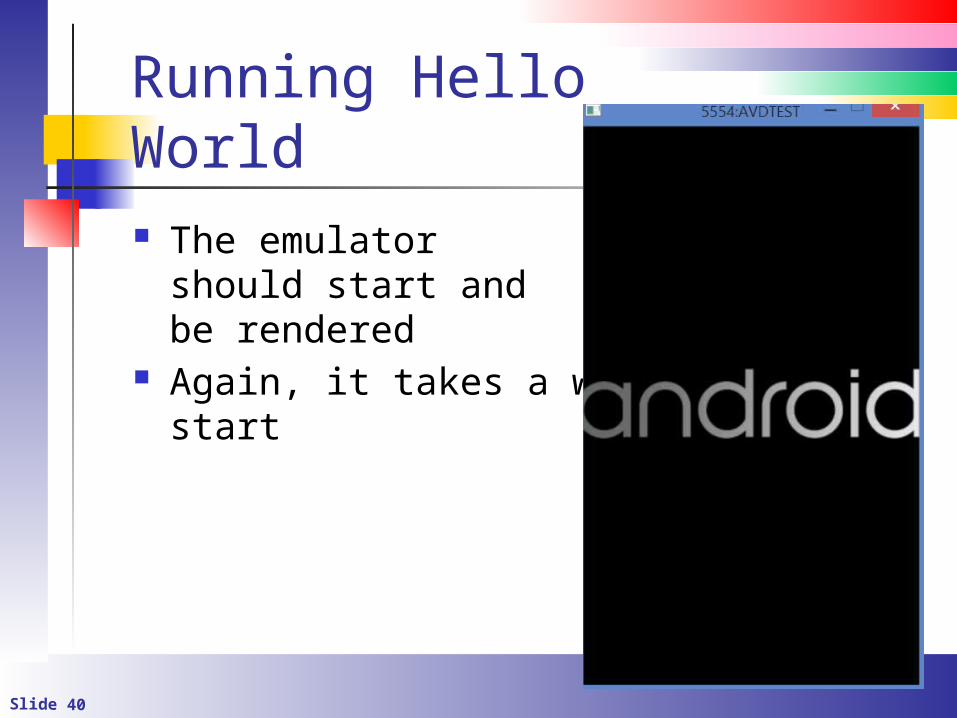
Slide 40
Running Hello World The emulator
should start and be rendered
Again, it takes a while tostart
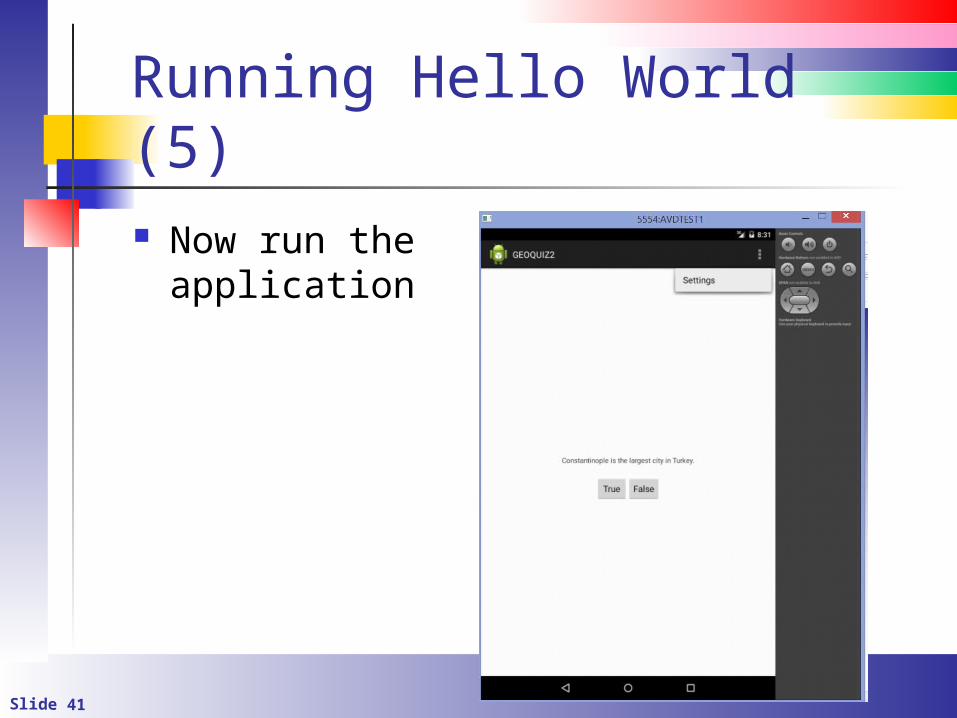
Slide 41
Running Hello World (5) Now run the
application
Slide 42
Guidelines for Running on a Native Host (1) First, plug the device in If running Windows, you will likely need
a device driver
Slide 43
References http://
developer.android.com/tools/extras/oem-usb.html