introducing screencasts winter 2012. a screencast is … video capture of what is displayed on a...
TRANSCRIPT

Introducing ScreencastsWinter 2012
A screencast is …
• Video capture of what is displayed on a computer screen• Usually accompanied by commentary/narration
A screencast can be a powerful form of instructional media!
From http://www.slideshare.net/kiranb/screencasting-presentation#btnNext
Why Screencast?• Screencasts provide an opportunity for creators to show,
rather than tell, someone else how to do something
Implications for the Classroom
• Screencast content can potentially be more engaging and interactive if used with purpose.
• Teachers can use screencasts to effectively teach through examples. Students can review steps as needed.
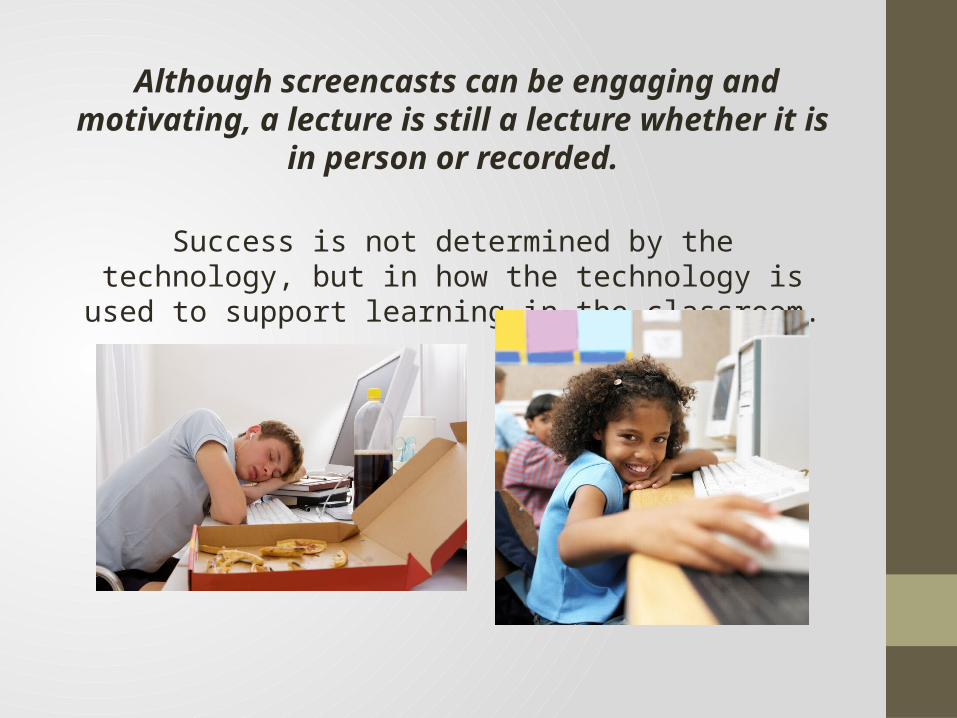
Although screencasts can be engaging and motivating, a lecture is still a lecture whether it is in person or recorded.
Success is not determined by the technology, but in how the technology is used to support learning in the classroom.

Determine Your Purpose• Why do you want to learn to screencast?
• How do you envision using screencasts in your classroom?
Defining your purpose is key to successfulimplementation of any technology!
• The following examples might help you define your own purpose …
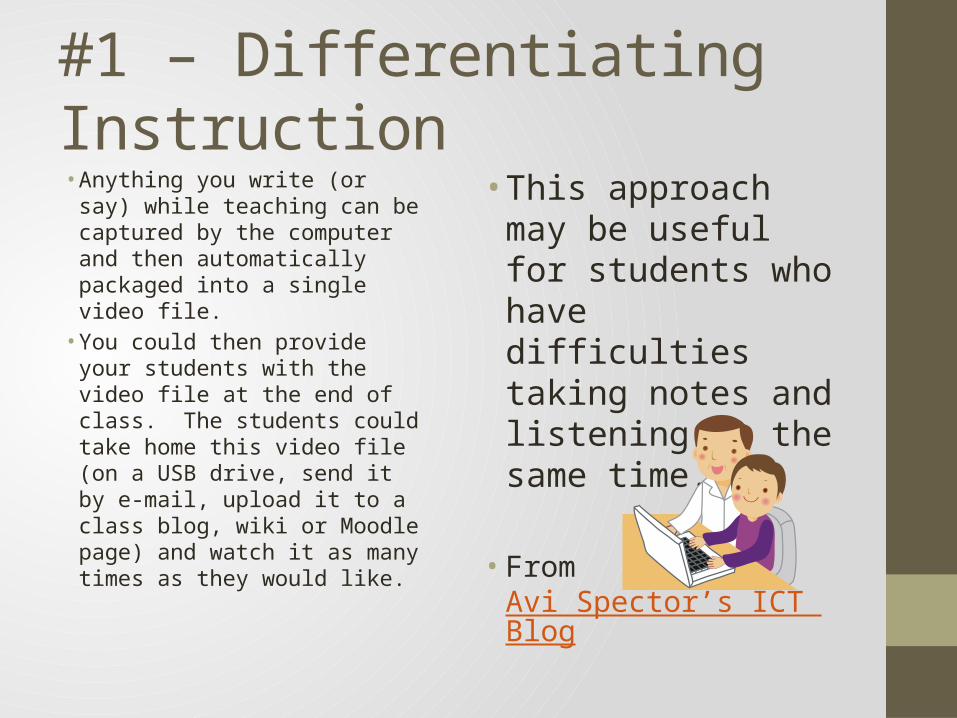
#1 – Differentiating Instruction• Anything you write (or say)
while teaching can be captured by the computer and then automatically packaged into a single video file.
• You could then provide your students with the video file at the end of class. The students could take home this video file (on a USB drive, send it by e-mail, upload it to a class blog, wiki or Moodle page) and watch it as many times as they would like.
• This approach may be useful for students who have difficulties taking notes and listening at the same time.
• From Avi Spector’s ICT Blog

#2 – The Flipped Classroom• “If you often find yourself
explaining the same concepts, why not create a small bank of video tutorials?
• If your students are receptive to learning with video, you could provide one of these videos to a student (explaining a particular concept) and then circulate around the class to help the others.
• Once your student is done watching the video file, you would come back and see if anything needs further clarifying.”
• From Avi Spector’s ICT Blog
• Khan Academy

#3 – Assessment Tool• Screencasts are not
only for teachers!
• Students can create screencasts to show their classmates, their teachers, their parents what they know about a particular learning outcome.
• Students can create “tutorial” screencasts to teach others which can be an empowering experience!
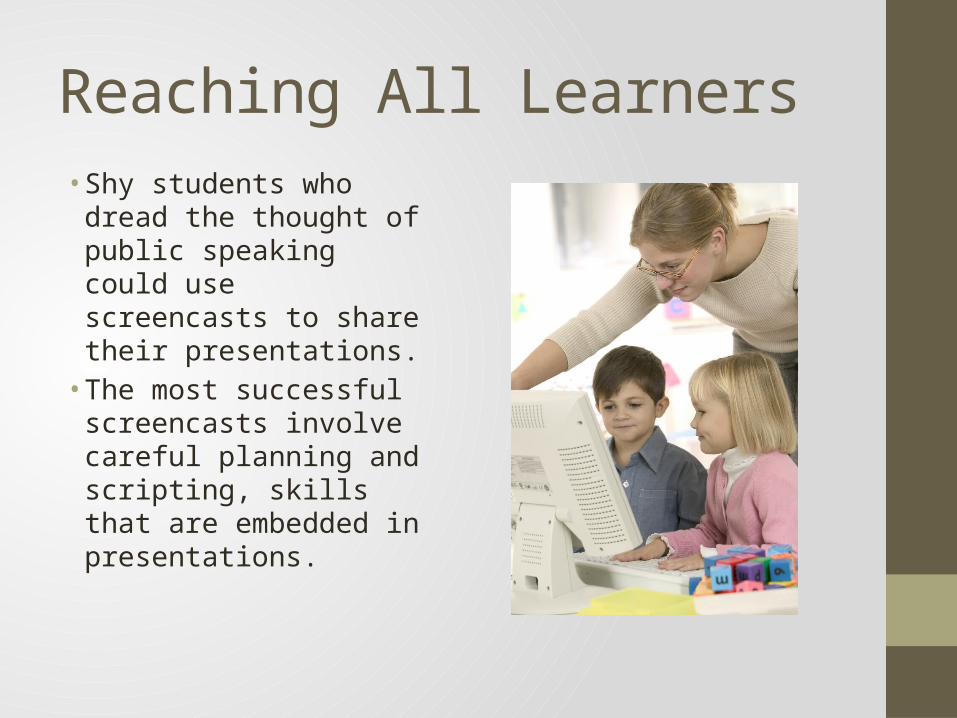
Reaching All Learners• Shy students who dread
the thought of public speaking could use screencasts to share their presentations.• The most successful
screencasts involve careful planning and scripting, skills that are embedded in presentations.
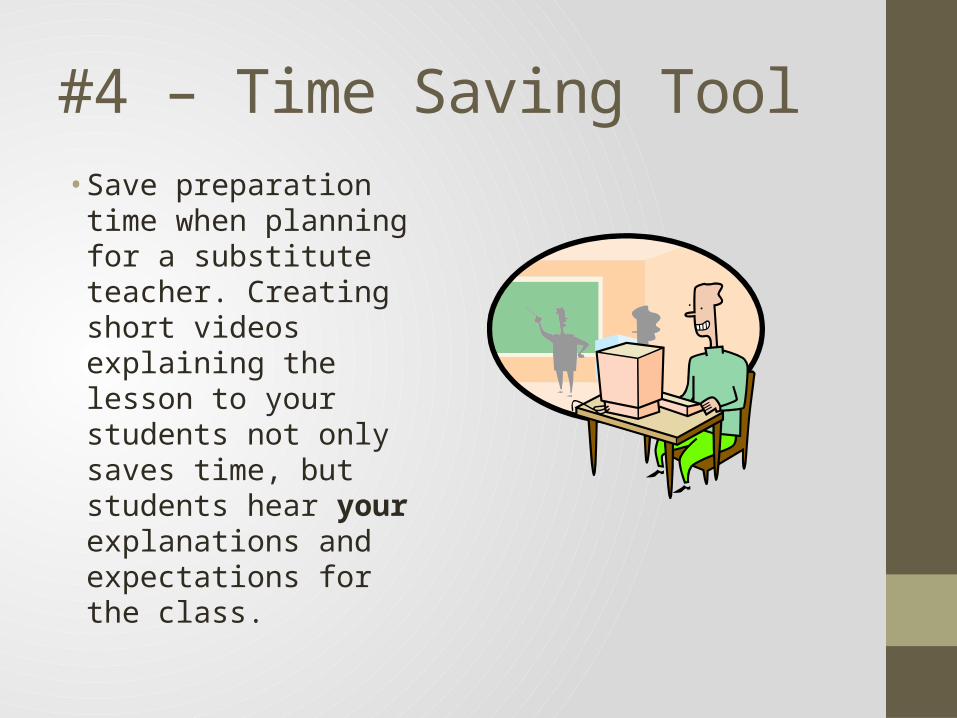
#4 – Time Saving Tool• Save preparation time
when planning for a substitute teacher. Creating short videos explaining the lesson to your students not only saves time, but students hear your explanations and expectations for the class.

Creating a Screencast• Takes some planning and preparation• 1. Decide on a topic• 2. Write a script/storyboard• 3. Think of the visuals if needed – e.g. Power Point
• Equipment• Microphone• Headphones speaker• Computer


SMART Recorder Tool• The SMART Recorder is a “screen capture” tool that allows you
to record yourself teaching on your SMARTBoard. • This recorder also allows you to record while sitting at your
computer!
• The SMART Notebook software and a microphone. A video camera is NOT required.

Accessing the SMART Recorder• 1. Search Smart Tools
in the Start Menu• 2. The Smart Tool bar
will appear on the left side of the computer. Click on the cog icon

• 3. Drag the recorder on to the side tool bar.
• 4. Click DONE.

• 5. Click on the recorder in the tool bar. The following dialogue box will appear.
• 6. To narrate a screencast, a microphone will also need to be set up.
• 7. Choose a location to save your file

Other Recording Tools• Sun West Computers• Cam Studio
• Online recorders• Screen-cast-o-matic• Jing

What Next?• Step One: Identify your purpose in using this technology in
your classroom.• Step Two: Develop a plan for using screencasts in your
classroom. How many screencasts will you create? How will students access the videos? Are you targeting a specific group of students or the entire class?
• Step Three: Experiment with the technology before recording your “final” versions. Don’t worry if your first attempts seem awkward! This is normal
• Step Four: Create your screencasts, complete with visuals and scripts if needed.
• Step Five: Make your screencasts available to students.
"If we teach today's students as we taught yesterday's, we rob them of tomorrow." --John Dewey