in-vehicle repair - crown vic the engine wiring harness retainers. 2. ... 303-01a-2 engine — 4.6l...
TRANSCRIPT
303-01A-1 303-01A-1Engine — 4.6L (2V)
IN-VEHICLE REPAIR
5. Disconnect the A/C compressor electricalValve Cover RHconnector.
Material
Item Specification
Silicone Gasket and WSE-M4G323-A4SealantF7AZ-19554-EA orequivalent
Metal Surface Cleaner WSE-M5B392-AF4AZ-19A536-RA
Removal and Installation
1. Disconnect the fuel line spring lock coupling.For additional information, refer to Section310-00A. 6. Disconnect the engine wiring harness retainers.
2. Remove LH engine mount. For additionalinformation, refer to Engine Mount — LH inthis section.
3. Disconnect the crankshaft position (CKP) sensorelectrical connector.
7. Lower the vehicle.
8. Remove the power distribution center electricalconnection cover.
4. Disconnect the power steering pressure (PSP)switch electrical connector.
Copyright 2002, Ford Motor CompanyLast updated: 2/2/2005 2003 Crown Victoria/Grand Marquis/Marauder, 7/2002
303-01A-2 303-01A-2Engine — 4.6L (2V)
IN-VEHICLE REPAIR (Continued)
9. Disconnect the power distribution centerelectrical connection.
13. Disconnect the evaporative emission (EVAP)canister purge valve hoses and the electricalconnector.
10. Disconnect the ground wire.
14. Disconnect the vacuum hose.11. Disconnect the electrical connectors.
12. Disconnect the A/C high pressure switchelectrical connector.
2003 Crown Victoria/Grand Marquis/Marauder, 7/2002
303-01A-3 303-01A-3Engine — 4.6L (2V)
IN-VEHICLE REPAIR (Continued)
15. Remove the nuts and the EVAP canister purge 18. Disconnect the ignition coil electricalvalve. connectors.
16. Disconnect the wiring harness and position 19. NOTE: The valve cover harness retaining studsaside. in positions 2 and 3 retain the fuel charging
wiring.
Disconnect the harness from the valve coverand position out of the way.
17. Disconnect the positive crankcase ventilation(PCV) hose.
20. Lower the engine.
2003 Crown Victoria/Grand Marquis/Marauder, 7/2002
303-01A-4 303-01A-4Engine — 4.6L (2V)
IN-VEHICLE REPAIR (Continued)
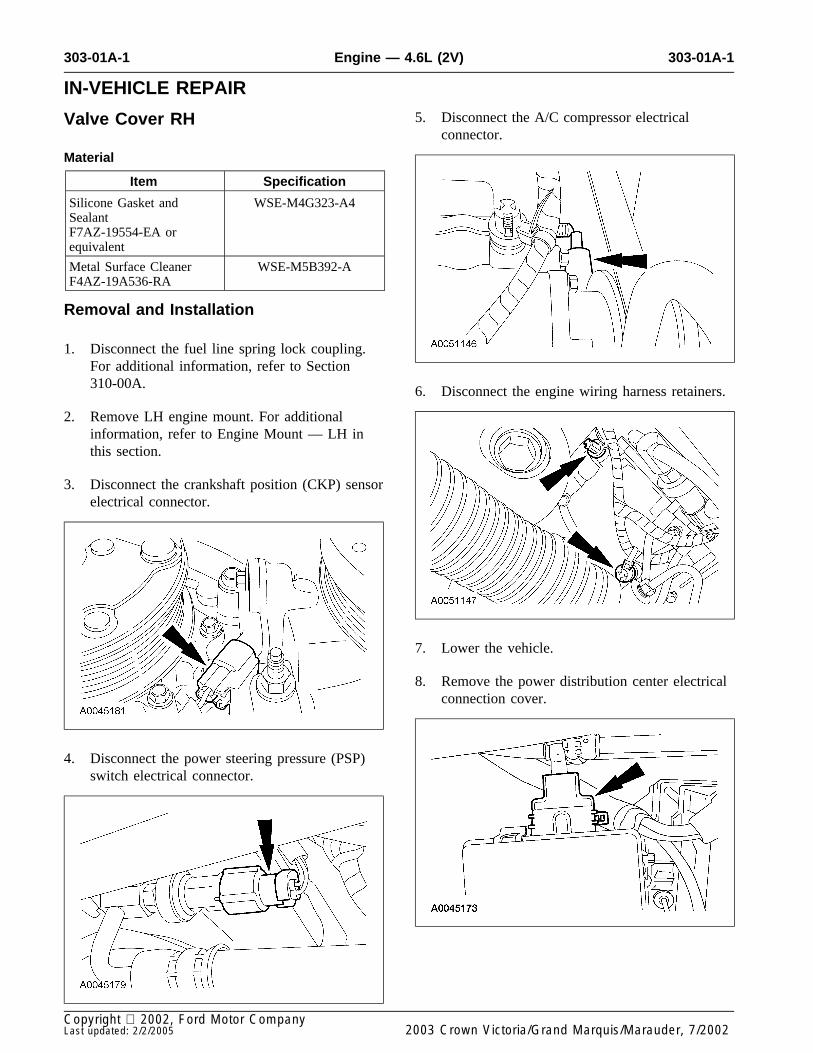
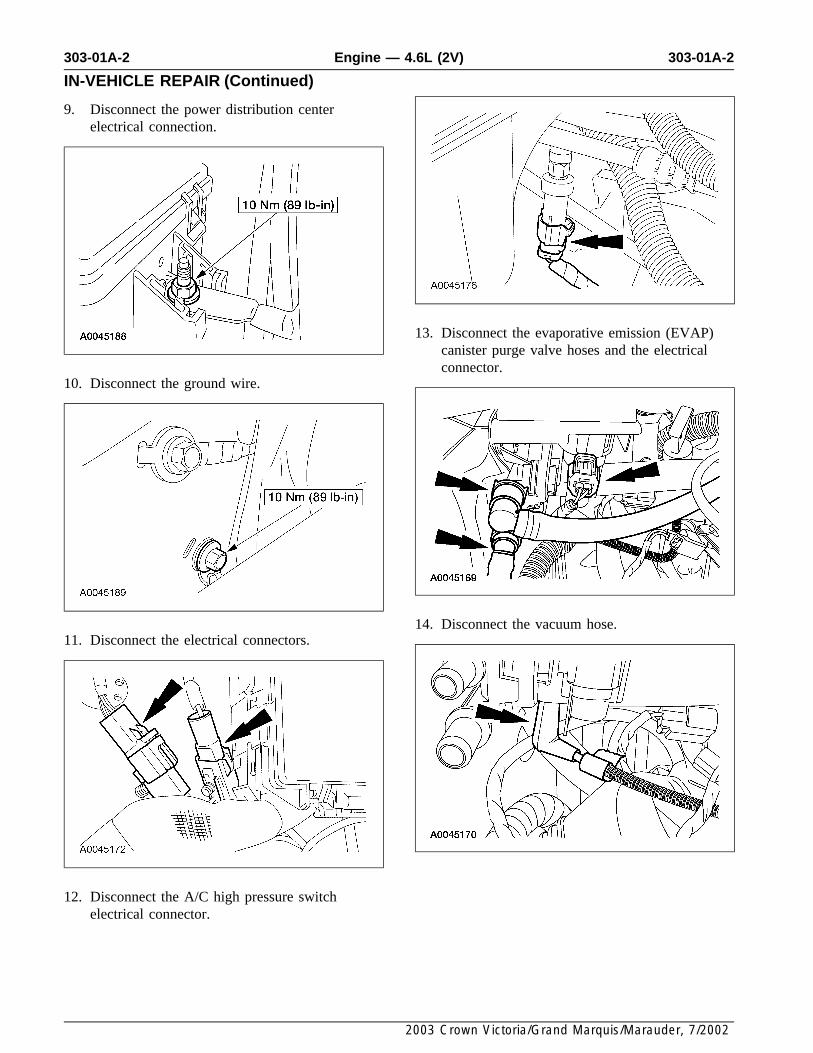
21. CAUTION: Do not use metal scrapers,wire brushes, power abrasive discs or otherabrasive means to clean the sealing surface.These tools cause scratches and gouges thatmake leak paths. Use a plastic scraping toolto remove all traces of the gasket material.
Remove the studs, the bolts and the valvecover.
• Clean the gasket surfaces with a plasticscraping tool and metal surface cleaner.
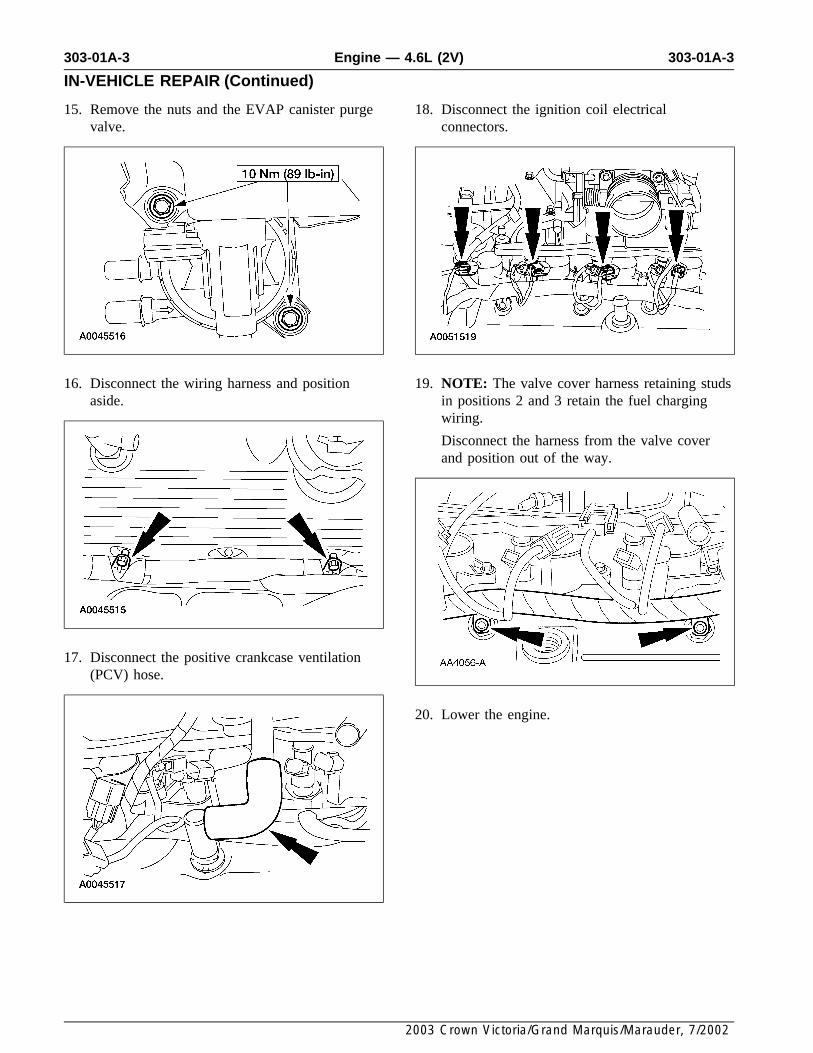
23. Tighten the bolts in the sequence shown.
22. NOTE: If not secured within four minutes, thesealant must be removed and the sealing areacleaned with metal surface cleaner. Allow todry until there is no sign of wetness, or fourminutes, whichever is longer. Failure to followthis procedure can cause future oil leakage.
To install, reverse the removal procedure.
• Apply sealant in the location shown.
2003 Crown Victoria/Grand Marquis/Marauder, 7/2002