impress with prezi! tech tip #7 brought to you by: tiffany zaleski medt 6467-02 spring 2010 all...
TRANSCRIPT

Impress with Impress with Prezi!Prezi!
Tech Tip #7 Brought to You by:
Tiffany ZaleskiMEDT 6467-02
Spring 2010
All photos of Prezis from www.prezi.com

Why Prezi?Why Prezi?
Last semester, I saw a presentation that
utilized Prezi. I was wowed! It looked fun,
yet easy. Eager to try it, this assignment
was just the push I needed to go find out
what it was all about… and just how to
design my own Prezi! The online software
is free to use and your presentations are
free to share!
Microsoft Office Online, 2008
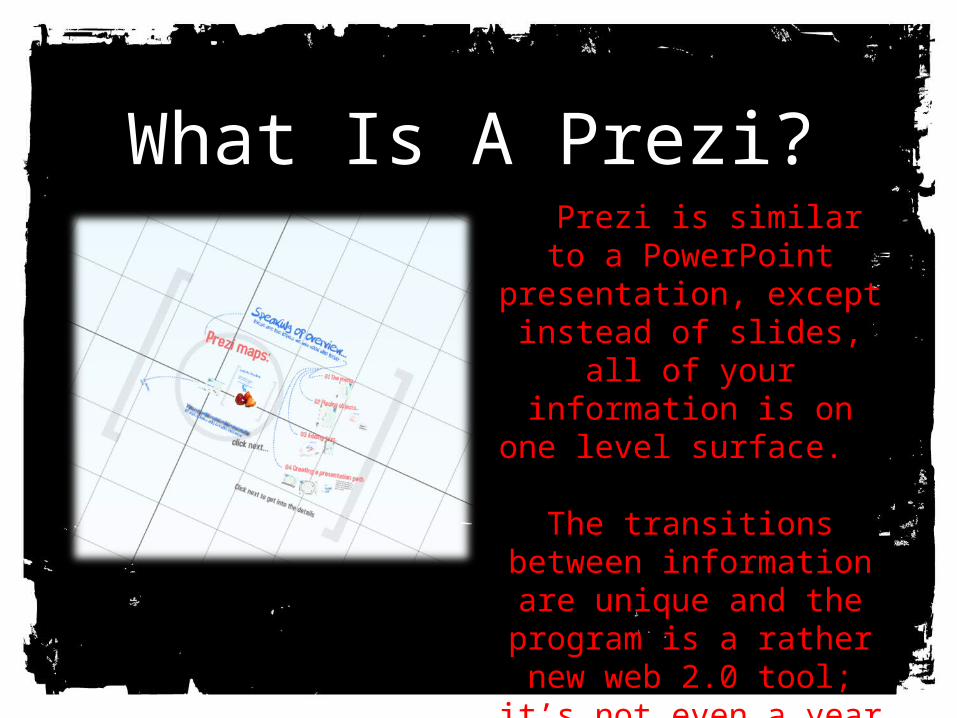
What Is A Prezi?What Is A Prezi?A Prezi is similar to a
PowerPoint presentation, except
instead of slides, all of your information is on
one level surface.
The transitions between information are unique and the program is a rather new web 2.0 tool; it’s not even a
year old yet!
What Is A Prezi?What Is A Prezi?
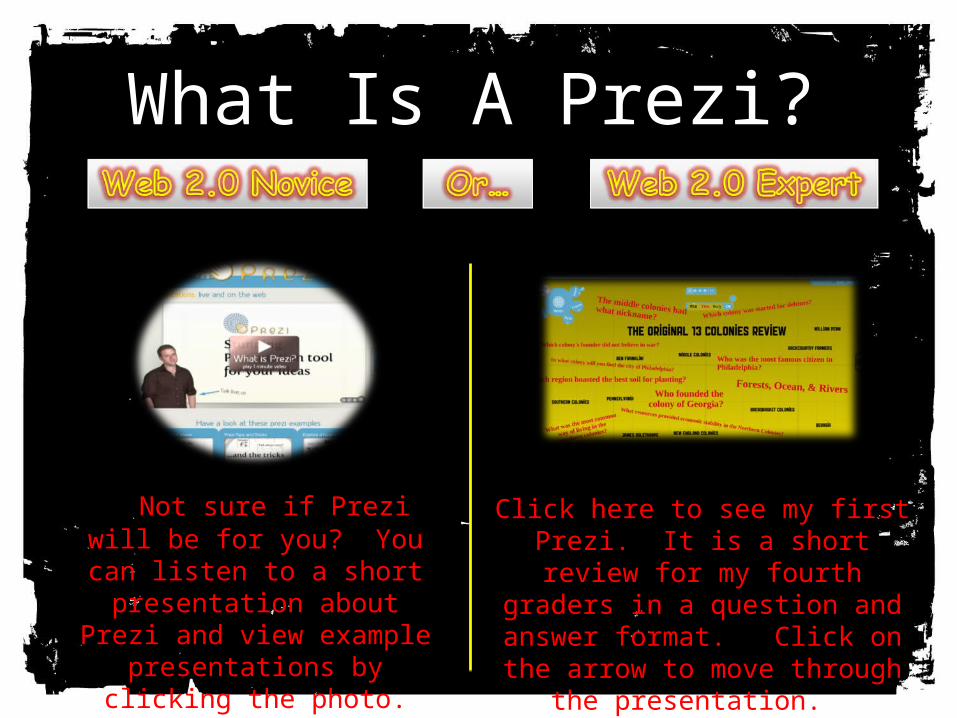
A Not sure if Prezi will be for you? You can listen to a
short presentation about Prezi and view example presentations by clicking
the photo.
Click here to see my first Prezi. It is a short review for my
fourth graders in a question and answer format. Click on
the arrow to move through the presentation.
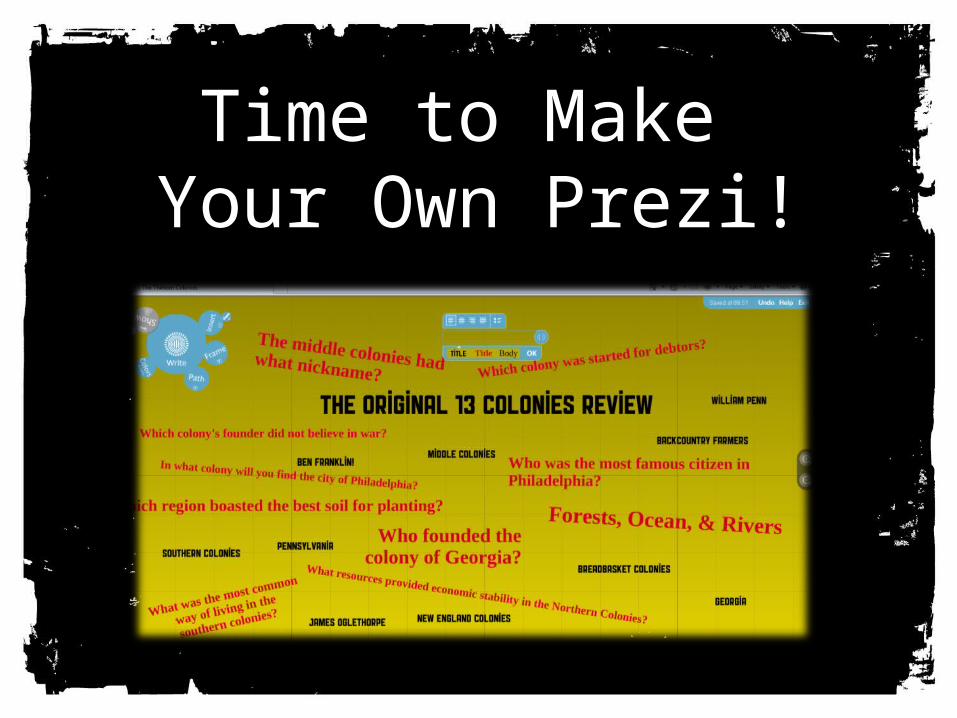
Time to Make Your Own Prezi!

Step 1Step 1Sign up!
Go to www.prezi.com
Click Sign Up!Click “Get” under the FREE
column. Fill in your information.
Click “Register” and “Continue”.
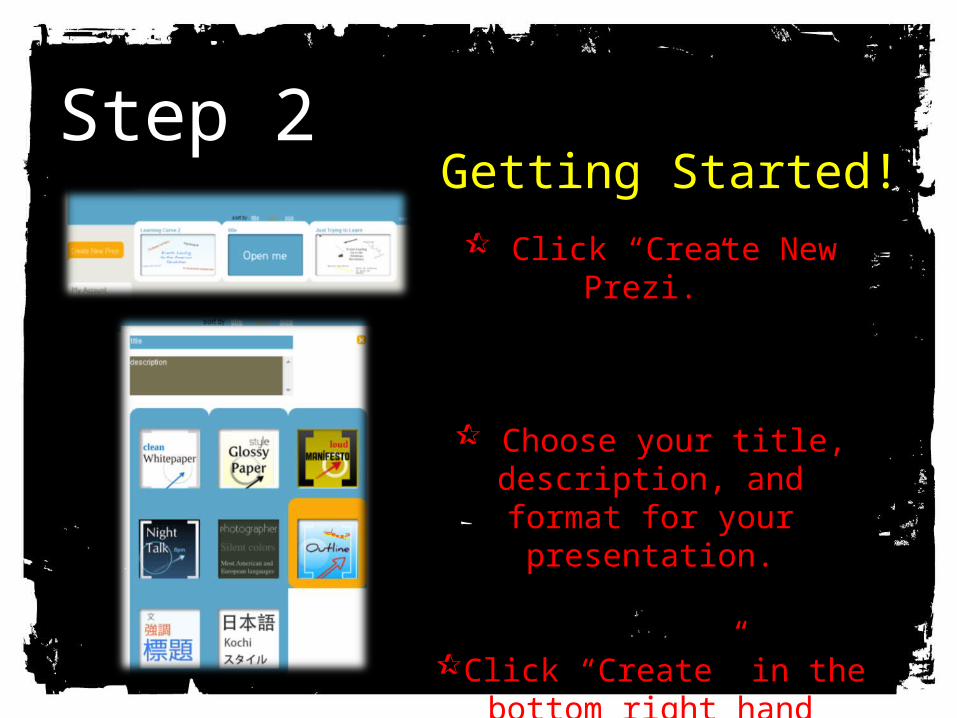
Step 2Step 2Getting Started! Click “Create New
Prezi.”
Choose your title, description, and format for
your presentation.
Click “Create” in the bottom right hand corner.
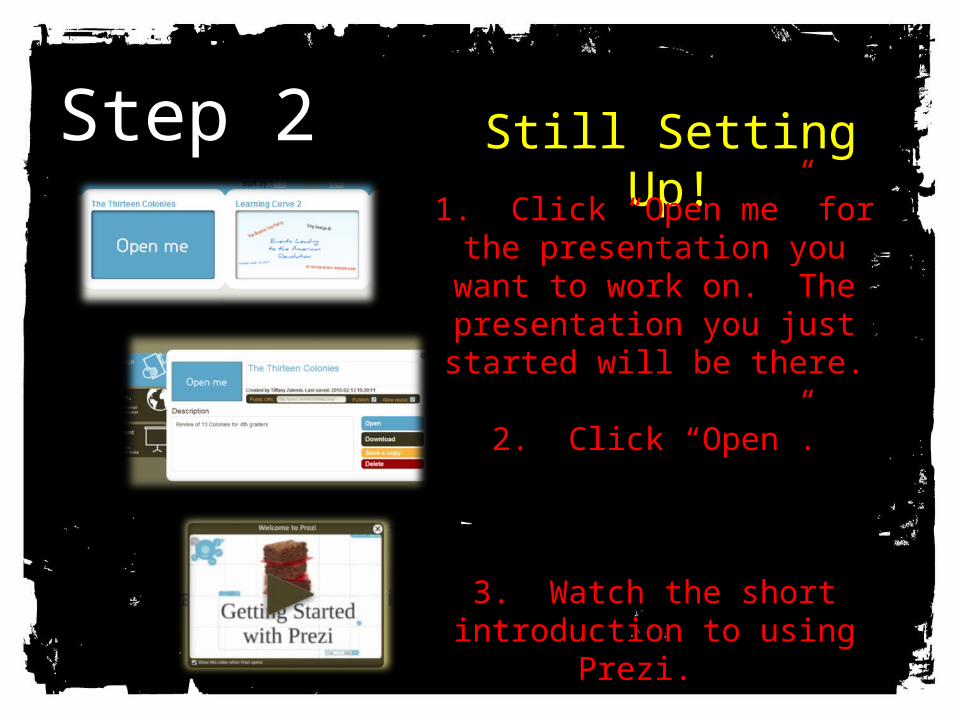
Step 2Step 2 Still Setting Up!
1. Click “Open me” for the presentation you want to
work on. The presentation you just started will be
there.
2. Click “Open”.
3. Watch the short introduction to using Prezi.
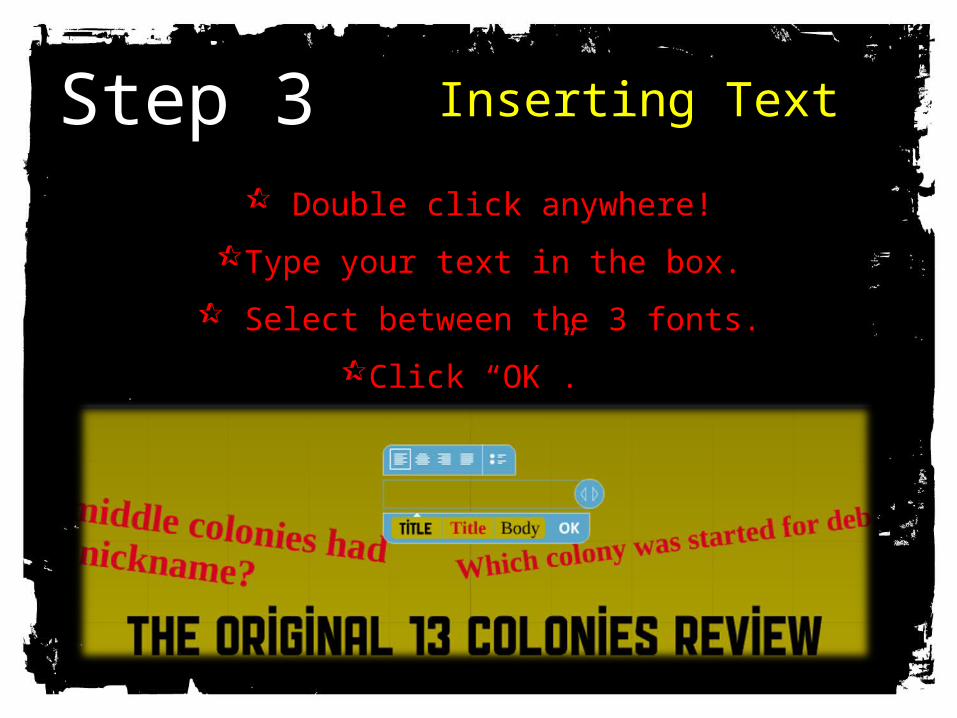
Step 3Step 3 Inserting Text
Double click anywhere!
Type your text in the box.
Select between the 3 fonts.
Click “OK”.

Step 4Step 4 Modify Your Text
Click on your text and the ZEBRA will appear!
THE ZEBRATHE ZEBRA
Click and drag the inner zebra lines move the location of the
text.
Click and drag the middle zebra lines to change the font
size.
Click and drag the outer zebra lines to rotate the text.

Step 5Step 5 Insert a Picture
1. Click “Insert”.
2. Click “Load File”.
3. Choose your picture, .pdf file, or other object you want to add. (Sorry, no clipart here unless you save
the clipart as a picture…) Your object will be uploaded.
4. Click on the photo and the ZEBRA will appear so you can change the size, rotation, or location of your
picture.
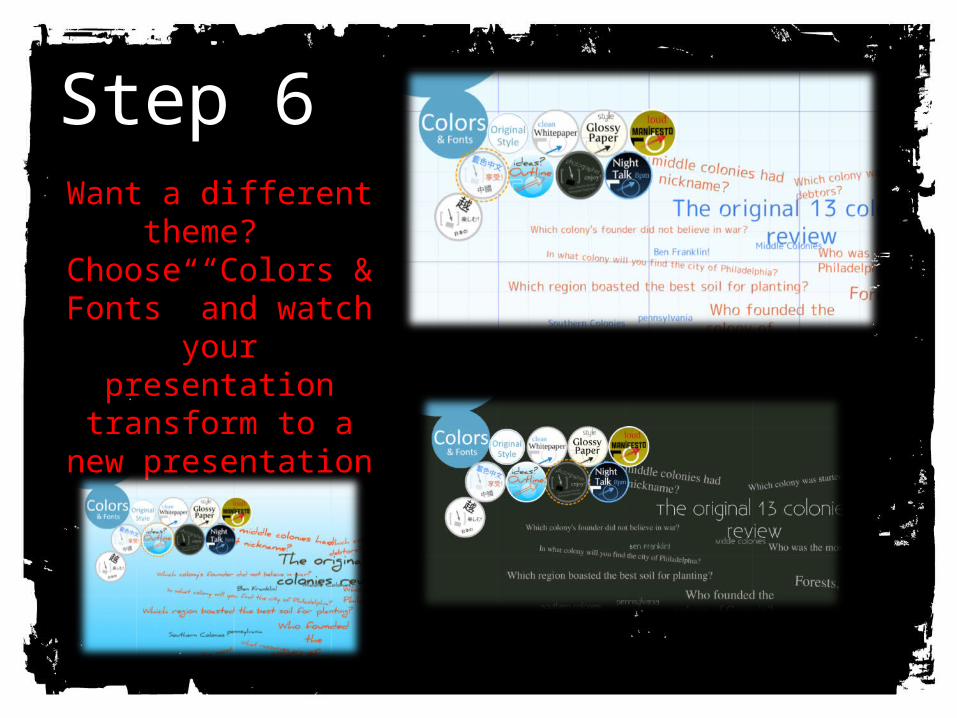
Step 6Step 6.Want a different
theme? Choose “Colors & Fonts” and watch your presentation
transform to a new presentation
theme!

Step 7Step 7 Create Your Path
1. Click “Path”.2. Click “Add”.
3. Click on the first item you want to display, then the second, etc. until
your path is complete.
If this were a PowerPoint, your
Path would be like arranging your slides in order
from the first slide you want to
display to the last.

Step 8Step 8 Save Your Prezi!!
Click “Save now?” in the upper right hand
corner.
Your Prezi will save as your create, so you don’t have to
worry about losing it while you work!

Step 9Step 9Viewing Your Prezi!!Viewing Your Prezi!!
Click “Show” and “Full screen”.
Click the right arrow to move forward.
Click the left arrow to go back.
Click the magnifying glass to zoom.

Step 10Step 10 Sharing Your Prezi!!
1. Click “Exit”.
2. Return to your presentations.
3. Choose to email your presentation, embed it, download, share it, or copy the public URL.
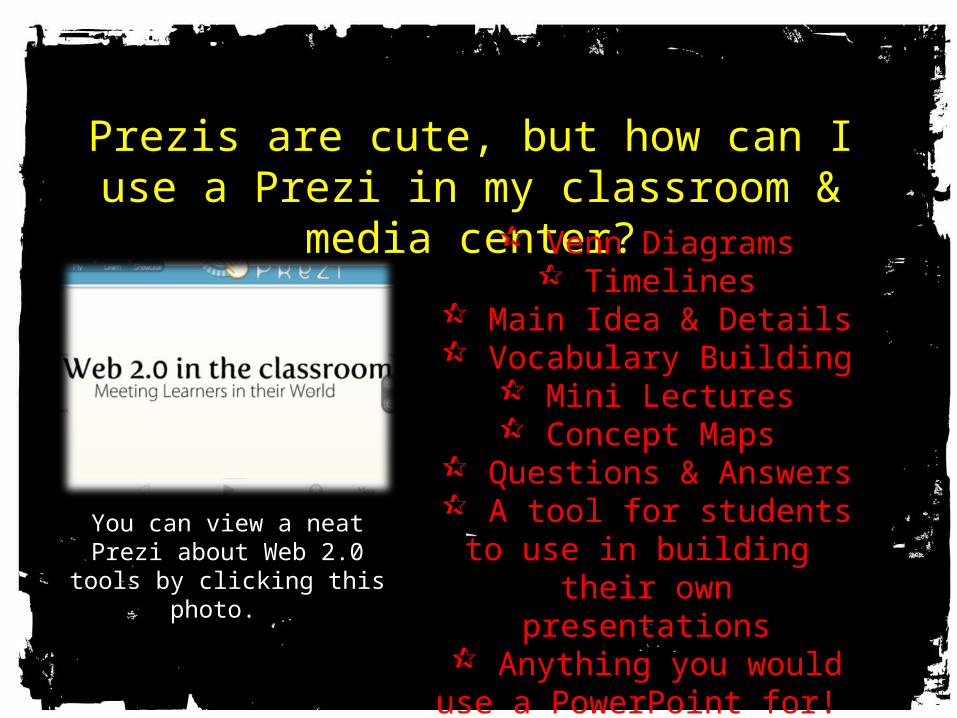
Prezis are cute, but how can I use a Prezis are cute, but how can I use a Prezi in my classroom & media Prezi in my classroom & media
center?center? Venn Diagrams Timelines
Main Idea & Details Vocabulary Building
Mini Lectures Concept Maps
Questions & Answers A tool for students to
use in building their own presentations
Anything you would use a PowerPoint for!
You can view a neat Prezi about Web 2.0 tools by
clicking this photo.