image processing in python - university of pennsylvania
TRANSCRIPT

Image Processing in PythonInstructor: Jorge Mendez

Logistics
• Homework 4 has been graded on Canvas• Homework 7 is out, due Friday!• No new homework this week
Image processing
• Apply transformations to images• Improve their quality, modify their shape/orientation• Extract some information from images

Computer vision
• Goal for AI: understand images• In practice: extract information from images• Image processing looks for “signal” information (e.g., find edges)• Computer vision looks for “semantic” information (e.g., is there a dog?)
• Image processing is often a component in CV algorithms• Idea: modify the image into something manageable by algorithms

Pillow
The Python Imaging Library
• PIL is the original image processing library• Pillow is an extension of PIL• PIL was not fun to use… Pillow is more “friendly”• PIL was discontinued ~8 years ago, Pillow is still maintained and
updated

Overview
• Add image processing capabilities to Python• Support for any image format you can think of• Like all previous libraries, highly optimized for common use-cases• Applications• Archival: batch processing, format conversion• Display: debug display with show(), support for external interfaces• Image processing: pixel operations, filters, resize/rotate
• Install• pip install Pillow• conda install –c anaconda pillow
The Image class
• Defined in PIL• from PIL import Image
• Create images from file, from other images, or from scratch• Attributes• im.format — if read from file, the source file type (jpeg, ppm, png…) • im.size — tuple of (width, height)• im.mode — basically the color scheme (RGB, L for grayscale, HSV…)
• im.show() — debugging display method

Image mode concepts
• Bands: what we called “channels” in the Pytorch lecture• e.g., ‘R’, ‘G’, ‘B’• Can get the names as a tuple with im.getbands()
• Mode: type and depth of a pixel• ‘1’: 1-bit for B&W• ‘L’: 8-bit for grayscale (L stands for luminance)• ‘RGB’: 3x8-bit• ‘RGBA’: 4x8-bit, RGB-alpha (transparency)• ‘HSV’: 3x8 Hue, Saturation, Value
Reading and writing images
• Image.open(filename) — loads image from file• The format is derived from the file contents• Reads only properties at loading time, and leaves actual data until needed
• Useful for checking e.g. 1,000 image sizes without explicitly storing their data
• Image.save(filename, format=None) — store the image to file• Format is derived from filename if format is not given• Non-standard extensions require format being passed in explicitly

Live Example

Cropping and pasting
• im.crop(box) — returns a cropped region of the image• box is a (left, top, right, bottom) tuple of 0-based coordinates• (top, left) of the image is (0, 0)• right, bottom are not inclusive
• im.paste(region, box) — modify im’s box area with region• region’s size must match box• box must be entirely within im• im and region do not need to be the same mode

Live Example
Splitting and merging bands
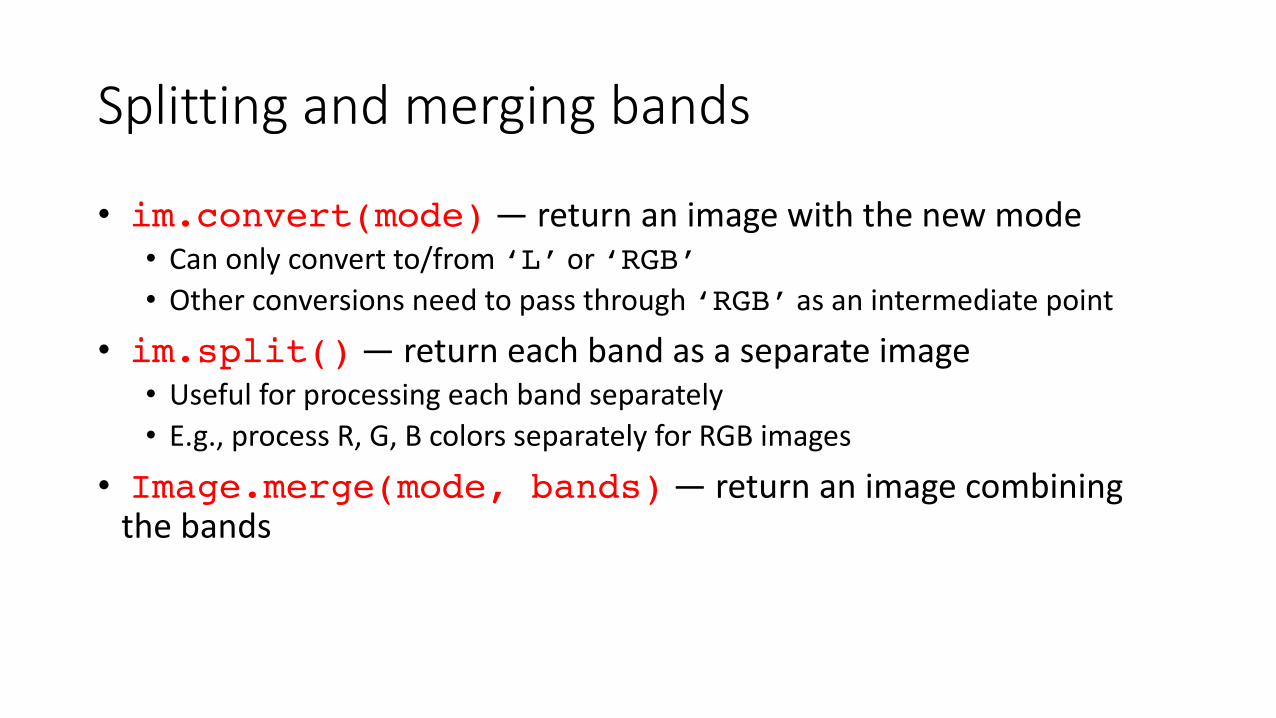
• im.convert(mode) — return an image with the new mode• Can only convert to/from ‘L’ or ‘RGB’• Other conversions need to pass through ‘RGB’ as an intermediate point
• im.split() — return each band as a separate image• Useful for processing each band separately• E.g., process R, G, B colors separately for RGB images
• Image.merge(mode, bands) — return an image combining the bands

Live Example

Geometrical transformations
• im.resize(newsize) — return image with modified size• im.rotate(angle) — degrees counter-clockwise• im.transpose(type) — flip or rotate in 90-degree intervals• type can be Image.FLIP_LEFT_RIGHT, Image.FLIP_TOP_BOTTOM, Image.ROTATE_90/180/270
• im.transform(size, method) — englobes other more complex geometric transformations• These are common for “data augmentation” in deep learning!

Live Example

Image enhancement
• from PIL import ImageFilter, ImageEnhance• im.filter(filtertype) — filtertype are defined in ImageFilter• BLUR, DETAIL, CONTOUR, EDGE_ENHANCE, EDGE_ENHANCE_MORE, EMBOSS, FIND_EDGES, SHARPEN, SMOOTH, SMOOTH_MORE
• im.point(operation) — apply operation to each point• operation must be a function expecting one argument (pixel value)
• enh=ImageEnhance.Color/Contrast/Brightness/Sharpness(im) — create enhancement operator for im• enh.enhance(factor) — 1.0 returns the original image, lower values mean
less color, higher values mean more color

Live Example

Between PIL and NumPy
• np.array(im) — create NumPy array from image data• Very commonly used for doing machine learning on images• We did just that in HW 5!
• Image.fromarray(im) — create image from array• As we saw in HW 5, we need the array to be of type unit8

Back to ML: PCA
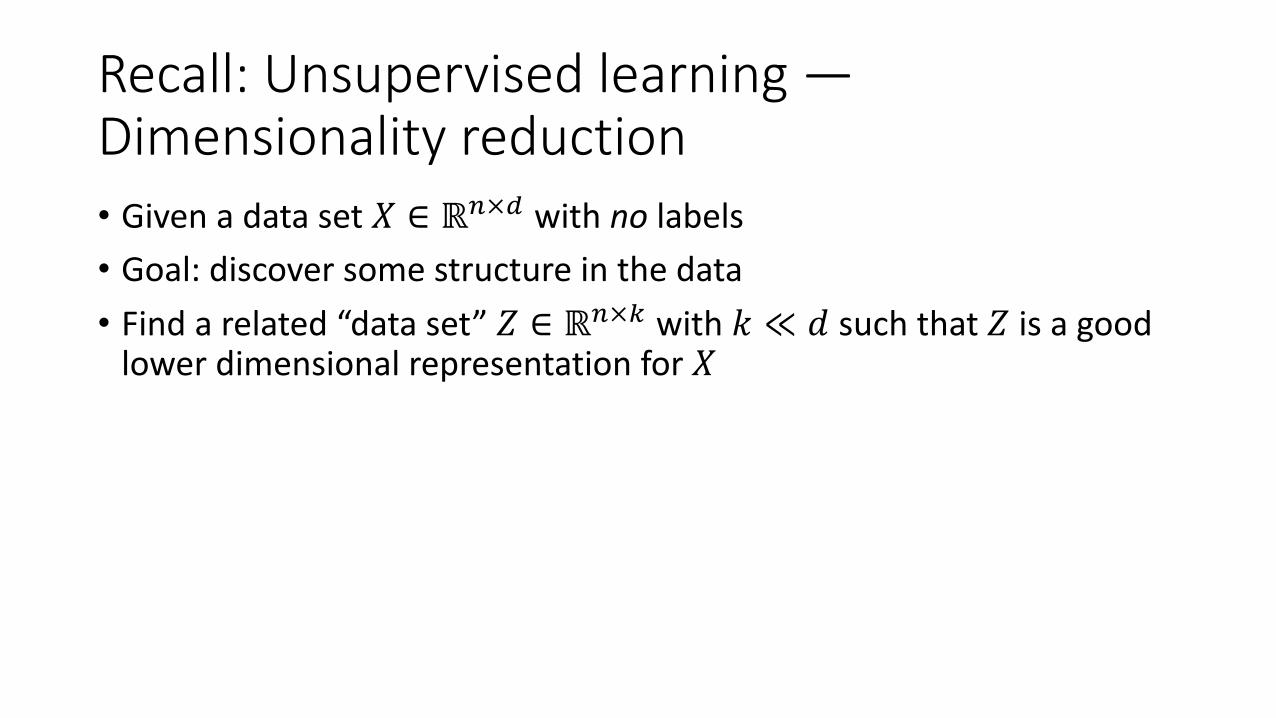
Recall: Unsupervised learning —Dimensionality reduction• Given a data set 𝑋 ∈ ℝ!×# with no labels• Goal: discover some structure in the data• Find a related “data set” 𝑍 ∈ ℝ!×$ with 𝑘 ≪ 𝑑 such that 𝑍 is a good
lower dimensional representation for 𝑋

Principal Component Analysis (PCA)
• 𝑍 = 𝑋 ⋅ 𝑊• 𝑊 ∈ ℝ#×$, with 𝑘 ≪ 𝑑• Each column is a principal component of 𝑋
• Idea: minimize 𝑍 ⋅ 𝑊% −𝑋• Reconstruction error• Achieved if 𝑊 is the eigen-basis of 𝑋!𝑋
• Intuition: each principal component is a useful combination of features

Application of PCA: Eigenfaces
• Dataset is a set of images of faces 𝑋 ∈ ℝ!× &'
• Flattened image pixels
• Find 𝑘 principal components: 𝑊 ∈ ℝ &' ×$
• Each represents a “face” (ℎ×𝑤 image)
• Idea: these are the 𝑘 most representative images• Can use for learning a classifier!• Train classifier on 𝑍 = 𝑋 ⋅ 𝑊• This is known as semi-supervised learning: dimensionality reduction learned
without labels, classifier learned with labels

Live Example

Takeaways
• PIL/Pillow allow us to handle images as Python types
• It is possible to load, convert, display images easily
• Also possible to apply image transformations like rotations• We can apply filters to enhance our image as needed