html in brief asp.net. html hypertext markup language markup languages contain instructions and data...
Post on 22-Dec-2015
250 views
TRANSCRIPT

HTML in Brief
ASP.NET

HTML• Hypertext Markup Language
• Markup languages contain instructions and data in the same file …– Unlike procedural languages, i.e. C/C++, Visual Basic,
Java
– Does not include internal logic (if statements and loops) or data structures
• HTML documents are text-only files
http://www.jalfrezi.com/iniframe.htm

HTML Tags• Formatting codes that instruct the browser
how to display page elements
• Tags are enclosed in angle brackets (<…>) …
• Most tags are two-sided …– First tag tells browser to turn on feature
– Second tag instructs browser to turn it off
– i.e. <b> begins boldface, </b> turns it off

Sections of a Web Document • Web pages usually divided into two main
sections …– head: defines the title of the page, information about
the page to help search engines find it, style sheets, etc.
– body: specifies the content (visual elements) of the Web page
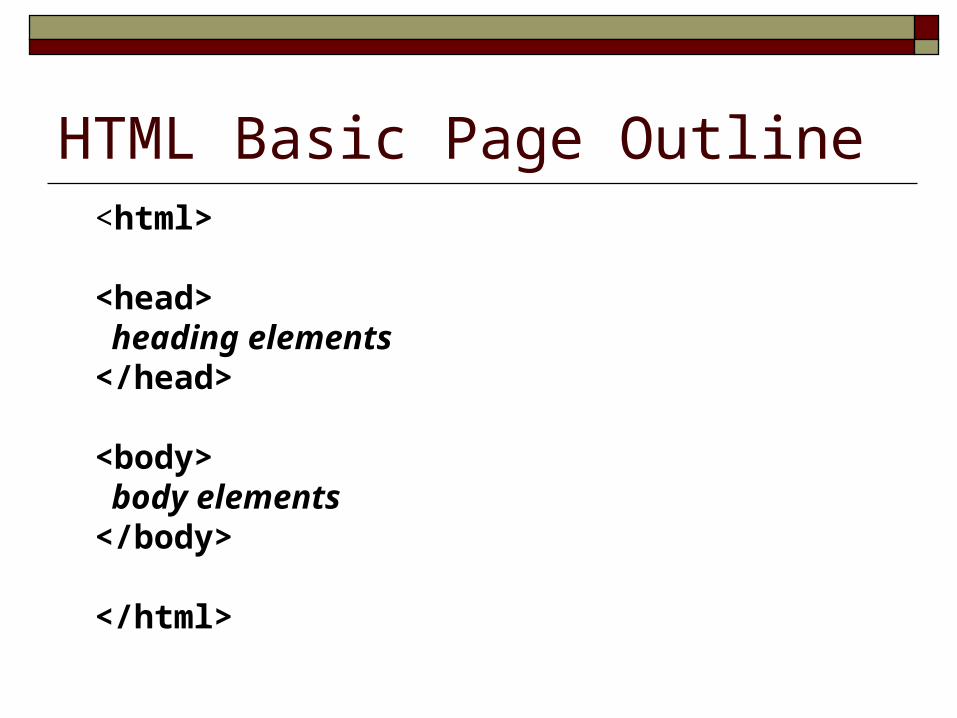
HTML Basic Page Outline<html>
<head> heading elements</head>
<body> body elements</body>
</html>

<html>• Encloses the entire HTML file
• Identifies the file to browser software as one containing HTML code, i.e.– Microsoft Internet Explorer
– Netscape Navigator
• Closing tag is </html>

<head>• Encloses the heading elements of an HTML
file, i.e.– <title> (the title bar element)
– <bgsound> (background sound file)
– <style> (links to style sheet files)
– <meta> (provides links for search engines)
• Except for <title> elements are not visible to viewer
• Closing tag is </head>

<title>• Defines text displayed in the browser's title
bar when the page is displayed
• Appears inside the <head> … </head> block
• A required element
• Title directly reflects page's ranking in most search engines
• Closing tag is </title>

<body>• Encloses body elements of HTML file …
– Elements that appear on the Web page
• May include background attribute, i.e.– Format:
<body background = "filename">– Example:
<body background = "back.gif">
• Closing tag is </body>
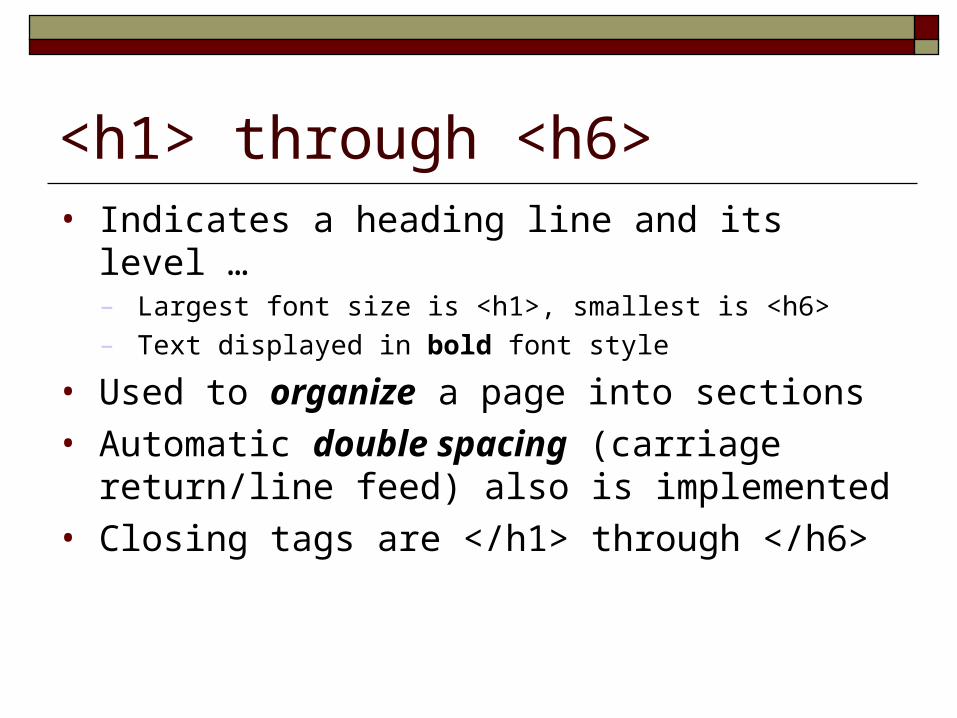
<h1> through <h6>• Indicates a heading line and its level …
– Largest font size is <h1>, smallest is <h6>
– Text displayed in bold font style
• Used to organize a page into sections
• Automatic double spacing (carriage return/line feed) also is implemented
• Closing tags are </h1> through </h6>

<p>• Divides text into paragraphs
• Automatic double spacing also is implemented within this tag
• Closing tag is </p>– Not required but important if formatting attributes are
added to the paragraph

<br>• Forces a new line (break) in the text …
– Line feeds typed in the text editor are not recognized by the browser
• There is no closing tag for <br>

The HTML font Tag• The <font> tag is used to change typeface,
size, and color of text
• Format:<font face = "Font name 1[, Font name 2, …]"
size = "n/+n/-n"
color = "Color name/#HexValue">
Text
</font>

<font> is a Deprecated Tag• The W3C (World Wide Web Consortium) hopes
to eliminate it in the future from the official specification …– Many current pages use it, not likely to be eliminated from
future browser versions
• Would replace it and other formatting with cascading style sheets (CSS) …– Coding is more complex
– Current browsers still do not completely follow W3C specification for style sheets

Attributes• Many tags include additional data which
modify how the element will render
• The values are assigned to these attributes
• Format:<tagName attribute = "value" […]>
• Example:<font face = "verdana" size = 2>

The face Attribute• The face attribute selects font by name
• Comma-separated list gives browser a choice of installed fonts in order
• Format:<font face = "Font name 1[, Font name 2, …"]>Text</font>
• Example:<font face = "Lucida Sans, Arial, Sans Serif"> This will
probably display in Lucida Sans.</font>

The size Attribute• Selects a change in font size
– Valid range from 1 to 7
• Can be set relative to the current size
• Format:<font size = "n/+n/-n">Text</font>
• Examples:<font size = "7">Displays very large.</font>
<font size = "-1">Will display one size smaller than previous.</font>

The <basefont> Tag• Sets an alternate default size for page
• Use <basefont> only once in each HTML document
• This is a deprecated tag
• Format:<basefont size = "n">
• Example:<basefont size = "3">

The color Attribute• To select font color as a(n):
– Color name, i.e. Blue
– 6-digit hexadecimal RGB value, i.e. #00FF00
• Format:<font color = "color name/#HexValue">Text </font>
• Examples:<font color = "blue">Displays blue</font>
<font color = "#00FF00">Displays green</font>

The text Attribute• Placed within the <body> tag to set default
font color for text on the page
• This is a deprecated attribute
• Format:<body text = "color name/#HexValue">
• Examples:<body text = "blue">
<body text = "#00FF00">

The <b> (Bold) Tag• Displays text in a bold style
• Format:<b>Text</b>
• Example:Displays text in a <b>bold</b> style
• The <strong> tag may also be used for bold
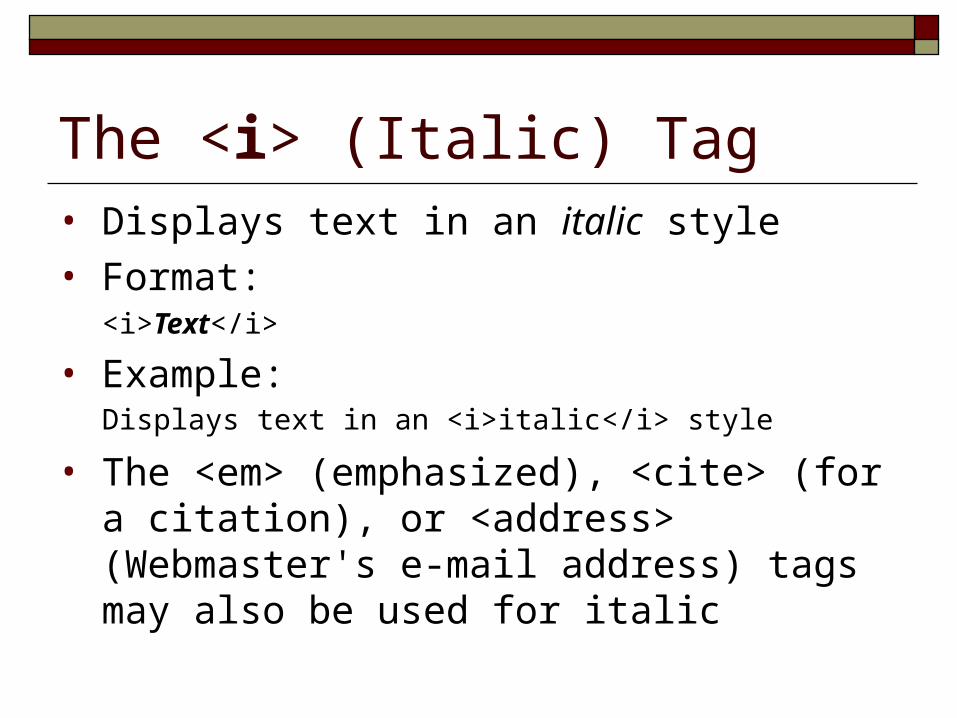
The <i> (Italic) Tag• Displays text in an italic style
• Format:<i>Text</i>
• Example:Displays text in an <i>italic</i> style
• The <em> (emphasized), <cite> (for a citation), or <address> (Webmaster's e-mail address) tags may also be used for italic

The <u> (Underline) Tag• Displays text in an underline style
• Underlining is often associated with hyperlinks and may confuse users
• This is a deprecated tag
• Format:<u>Text</u>
• Example:Displays text in an <u>underline</u> style

The align Attribute• An attribute used with several tags to control
horizontal alignment– Format:
<TagName align = "left/center/right/justify">Text</TagName>
(justify means even left and right margins)
– Example:<h2 align = "center">This Title Is Centered</h2>

Adding Comments• Text that displays in the HTML editor, but not
in the browser window
• Useful for describing what developer intended when using a specific tag
• Beginning comment symbol is <!--
• End of comment symbol is -->
• Example:<!--This text is a comment-->

The <img> (Image) Tag• The src attribute must be used to name an
image (graphic) file to be displayed on page
• Path is required if file is not located in same directory as the HTML document
• Format:<img src = "Path/filename">
• Example:<img src = "images/sccclogob.jpg">

The border Attribute• Places a border (box) around image
– n is the size (width of line) in pixels
• Format:<img src = "path/filename" border = "n">
• Example:<img src = "sccclogob.jpg" border = "1">
• Use value of zero (0) for no border

The width and height Attributes (Page 1)
• Sets the image's size displayed in width and height (measured in pixels)
• If browser knows how much room to allow, it can fill in the rest of the text as the image continues to load
• It is better to avoid using width and height to make the image smaller …– Create smaller image in graphics program– Will load faster and look better

The width and height Attributes (Page 2)
• Format:<img src = "path/filename" width = "n"
height = "n">
• Example:<img src = "sccclogob.jpg" width = "330"
height = "109">

The alt Attribute• Displays text that will appear if the image
does not• In Windows, displays a tool tip when mouse
pointer hovers over the image• Format:
<img src = "path/filename" alt = "Alternate text">
• Example:<img src = "sccclogob.jpg" alt = "SCCC
Logo">

The <hr> (Horizontal Rule) Tag• Displays a horizontal line across page• Attributes are color, width (default: 100%) and
size (height—default: 1)• Format:
<hr color = "ColorName/#Hexadecimal" width = "n/n%" height = "n/n%>
• Examples:<hr>
<hr color = "Blue" width = "75%" size = "2">

Unordered Lists• Also called a bulleted list
• A block contained within the HTML tags <ul> … </ul> (unordered list)
• The tag for each item is <li> (list item)
• The unordered list automatically indents each item in the list to the second level

Format of the <ul> Tag• Format:
<ul type = "disc/circle/square">
<li type = "disc/circle/square">text</li>
<li …
</ul>
• The type attribute is discouraged in the W3C standard in favor of style sheets

Ordered Lists• Also called a numbered list
• A block contained within the HTML tags <ol> … </ol> (ordered list)
• The tag for each item is <li> (list item)
• The ordered list automatically indents each item in the list to the second level

Format of the <ol> Tag• Format:
<ol type = "1/A/a/I/i" start = "n">
<li type = "1/A/a/I/i " value = "n"> text</li>
<li …
</ol>
• The type, start and value attributes are discouraged in the W3C standard in favor of style sheets

The <a> (Anchor) Tag• The href (hyperlink reference) attribute of
<a> (anchor) tag links to another Web page
• Format:<a href = "http://URL">text/object</a>
• Example:<a href =
"http://www2.sunysuffolk.edu/struckc">
Home page</a>– Appears in Web page as: Home page

Bookmarks• A named location within a Web page• Enables a hyperlink to quickly access the
location on the same page

Hyperlink to a Bookmark• Similar to a hyperlink to another Web page
– href attribute within an <a> (anchor) tag
• Format:<a href = "#bookmarkName">text/object</a>
– # symbol means the link is to a bookmark
• Example:<a href = "#InterestNo1">Interest No. 1</a>
– Appears in Web page as: Interest No. 1

The name Attribute• Creates an anchor (the bookmark) within a
Web page so user may link to that location
• Format:<a name = "Bookmark name">text/object</a>
• Example:<a name = "InterestNo1"></a>– The bookmark itself is not visible in the Web page, so text
or object is optional

Hyperlink to E-mail Address• Uses mailto: reference in href (hyperlink reference)
option of the <a> (anchor) tag• Launches e-mail software--addresses message• Format:
<a href = "mailto:e-mailAddress">text/object</a>
• Example:<a href = "mailto:[email protected]">
Send e-mail to Prof. Struck</a>– Appears in the Web page as:
Send e-mail to Prof. Struck

Creating a Table• A table is a block inserted within the tags:
<table> … </table>
• The </table> tag must be included– Netscape will not display the entire table if the closing tag
is missing
• Rows are inserted within the <table> using:<tr> … </tr>
• Cells are inserted into the <row>'s using:<td> … </td>

Creating a Table Example• Example:
<table> <tr> <td>Some data</td> <td>More data</td> <td>End of line</td> </tr></table>

The border Attribute• Width of border (lines) around the table and
around all cells as a value– Default is 1 pixel
• Format:<table border = "n">
• Example:<table border = "1">
• A value of zero (0) will turn off all borders around and within the table

Inserting a Row• Rows are inserted into a table using the <tr>
(table row) tag• Format:
<table> <tr> … cells_within_the_row … </tr></table>
• Some browsers add extra spaces between cells if </tr>and </td> tags are omitted

• Content is inserted into cells within the table using the <td> (table data) tag
• Format for a single cell:<td>content within the cell</td>
• Example:<table> <tr> <td>Some data</td> </tr></table>
Creating Cells and Entering Data

Adding Table Headers• Titles displayed in bold and centered above
each of the columns of the table• Use <th> tags within the first <tr> (row) of
the table to add the headings• Usually include as many headings as there are
columns
• Example:<th>Monday</th>

User Input Forms• Designed to get information from users of
the Web presentation
• Might include:– Reader feedback (comments, complaints, etc.)
– On-line orders
– Database entry

HTML Form Syntax• The basic form is created using the <form>
and </form> tags
• All form elements are contained within these tags
• Format:<form>
[form elements]
</form>

Form Dialog Elements• There are three basic groups of form
dialog elements:– <input>
• One-line text box, password box, radio button, check box and buttons
– <select>• Drop-down menu and select (list) box
– <textarea>• Scrolling (multi-line) text box

One-Line Text Box• Created by using the …
– <input> tag
– type = "text" attribute and value
• Format:<input type = "text" [attributes]>
• Example:<input type = "text" name = "name" size
= "33">

One-Line Text Box—Attributes• name = "FieldName"
– Fieldname that identifies the text box results to a file for processing
• size = "n | n% | npx"– The horizontal width of the box in number of
characters (average font), percentage or pixels
• value = "Initial string value"– Initial value stored in the field when the form loads

Radio Button• Created by using the …
– <input> tag
– type = "radio" attribute and value
• Format:<input type = "radio" [attributes]>
• Example:<input type = "radio" name = "age" value
= "under18">

Radio Button—Attributes• name = "GroupName"
– The name given to all buttons in group
• value = "ValueName"– A value saved for processing when that button is
selected from within the group
• checked– Optional attribute used for only one button to make it
the default selection

Select Box (Page 1)
• Created by using the <select> and </select> tags
• The list choices are inserted into the menu between the <option>… </option> tags
• Format:<select [attributes]>
<option>A menu choice</option>
[ … ]
</select>

Select Box (Page 2)
• Example:<select>
<option>Request appointment</option>
<option>Request information</option>
<option>Make suggestion</option>
<option>Solve a problem</option>
<option>Other</option>
</select>

• name = "Fieldname"– Fieldname that identifies the drop-down menu results to a
file for processing
• size = "n | n% | npx"– The vertical height of the box in number of lines/rows (or
percentage)
– Value greater than one (1) turns drop-down menu into a list box
Select Box—Attributes

• Allows the user to select more than one option from the menu
• Requires use of the <Ctrl> and/or the <Shift> key on the keyboard while clicking the item (or click and drag)
• Example:<select size = "3" multiple>– The multiple attribute should be set only if size is two
(2) or greater (list box)
Select Box--multiple Attribute

• Used to insert list values into the drop-down menu or list box
• Format:<option [attributes]>List text</option>
• Example:<option>Make a suggestion</option>
Select Box—the <option> Tag

The <option> Tag—value Attribute• The value attribute is the value saved for
processing when the option is selected
• Format:<option value = "Text value">List
text</option>
• Example:<option value = "Suggestion">Make a
suggestion</option>

Scrolling Text Box• Created by using the <textarea> and </textarea> tags
• Format:<textarea [attributes]>
Default text</textarea>
• Example:<textarea name = "Comments"
rows = "4" cols = "65">
</textarea>

Scrolling Text Box—Attributes• name = "Fieldname"
– Fieldname that identifies the scrolling text box results to a file for processing
• rows = "n | n%"– The vertical height of the box in number of text lines (or
percentage)
• cols = "n | n% | npx"– Horizontal width of the box in number of characters,
percentage or pixels
• wrap– Automatically word wraps text (default)

• Created by using the …– <input> tag
– type = "checkbox" attribute and value
• Example:<input type = "checkbox" [Attributes]>
Check Box

• name = "Fieldname"– Fieldname that identifies the check box results to a file
for processing
• value = "Text value"– The value stored if the state is checked when the form
is submitted
• checked– Displays the box in the checked (on) state when the
form loads
Check Box—Attributes

• Created by using the …– <input> tag
– type = "password" attribute and value
• Example:<input type = "password" [attributes]>
Password Box

• name = "FieldName"– Fieldname that identifies the password box results to a file
for processing
• size = "n | n% | npx"– The horizontal width of the box in number of characters
(average font), percentage or pixels
• maxlength = "n"– Maximum number of characters that may be entered in box
Password Box—Attributes

• Created by using the …– <input> tag
– type = "buttonType" attribute and value
• Examples:<input type = "submit">
<input type = "reset">
<input type = "button">
Button

• name = "Fieldname"– Fieldname that identifies the push button results to a file
for processing
• value = ”Label value"– The value displayed as a label on the button
Button—Attributes
