how to build a storage cube - · pdf filepine timber or any other wood of your choice from...
TRANSCRIPT

PROJECTS YOU CAN DO YOURSELFCUT OUT AND COLLECTCut o
ut and co
llect HOW TO BUILD ASTORAGE CUBE

Building your cubeMaking your own storage cube is made easy with our step-by-step guide. All it takes is a little bit of planning and the right tools.
1. To build one storage cube (350mm high x 350mm wide x 300mm deep), get a 1.5m length of 300 x 19mm dressed pine timber or any other wood of your choice from your timber hardware store.
2. Measure and cut four 350mm long pieces using a hand saw, circular saw or table saw. Alternatively you can request your timber supplier to cut these pieces for you.
3. Using the edge of the timber piece (19mm), mark across both ends of the cut pieces. This way you will get the correct gauge of timber for cutting the dove joint.
4. Divide the marked ends into seven equal segments (40mm wide) and mark them accordingly.
5. Mark alternate segments (tails) with an “X” on two of your four wooden pieces.
6. Mark the opposing segments (sockets) with a “Y” on the other two of your four wooden pieces.
7. Cut the segments marked “X” and “Y” on all these pieces. Use a saw for the longitudinal cuts and a sharp chisel (12mm) for the cross cuts. You can also use a multifunction
1
Building your storage cube
ARTICLE Sudhakar Das PHOTOGRAPHY Scott Espie STORAGE CUBE PLANS Gareth Poley STORAGE CUBE BUILD Subramani Gaunder STORAGE CUBE FINISH Vinesh Rao MATERIALS for this project were kindly supplied by Placemakers New Lynn.

tool for the cross cuts. It’s best to use a sliding clamp to hold the pieces firmly on the work benchtop.
8. Once all the tails and sockets are cut, tidy the edges using sand paper.
9. Join the matching pieces at right angles to form a cube using wood glue. Use one or two 40mm panel nails to secure the joints properly.
10. Punch the nails in and fill the nail heads and any gaps with wood putty or wood filler for woodworks.
11. Sand all surfaces and edges.
12. Paint or stain the cube to your choice. If you choose to useood stain, ensure you use matching coloured putty.
Customise your cubeGet creative and build a set of different storage cubes. With the below building options you can customise your storage cubes and create fun furniture for your lounge or your kids’ rooms.
1. Single shelving
Make a cube using steps 1 to 9. Then cut a piece of timber to size and nail this (from the outside) into the cube at its midpoint. Carry out steps 10 to 12 above.
2. Diagonal cubicles
After making the four-sided storage cube as described above, measure and cut two lengths of timber equivalent to the length of the diagonal. Cut a 90 degree double mitre at the end of each piece. Mark and make a cross halving joint
(also known as half housing joint) using the two pieces. Push the above piece into the storage cube. It should stay in place firmly on its own but you can place a few nails if required. Carry out steps 10 to 12 of building the cube.
3. Full drawer
Make a cube using steps 1 to 9. To make the drawer cut four pieces of timber to 310mm. Mark out a line 10mm above the bottom edge of the four pieces. Using a skill saw or a router make a 4.75mm groove along this line. Apply wood glue along the line and then nail the front and the two side pieces together carefully aligning the grooves. Use 40mm panel pins. Cut to size a 4.75mm thick custom wood and slide this into the grooves of the above to make the base of the drawer. Fix the back piece ensuring that the piece sits in the groove properly. Push the drawer into the cube ensuring that it has sufficient clearance to slide in and out with ease.
2
Cut o
ut and co
llect

Personalise your projects
Firebox
Make your cube stand out from the crowd with Resene Daredevil. This bright orange red really shines when combined with Resene White Thunder.
Two-tone
Resene Pukeko and Resene Birdcage make a great combo for the shelf units. Alternatively, try two tones of your favourite colour.
The naturalist
Bring a touch of the New Zealand bush home with Resene Koru. Green is a fantastic nature-inspired colour that looks great in most settings.
Oceanic
Inspired by the blue waters of the Pacific we painted our basic cube in Resene Float, making it a sparkling accessory.
Popsicle
If you like pink, you’ll love Resene Glamour Puss. Simply apply two coats and enjoy a pop of colour!
Wood stains are another great way to colour your cubes. Stains are transparent and enhance the natural beauty of the wood. A wide range of stain colours is available at Resene (www.resene.co.nz).
If you’ve enjoyed building a storage cube and are keen to try your hands at another project, visit www.renovatemagazine.co.nz for inspiration. You’ll be able to access plans for building a planter box, a birdhouse and a letterbox.
Sandpaper any rough edges if required. Use an electric drill with a 25mm spade drill bit to make a 25mm hole approx 50mm from the top of the drawer for pulling.
Carry out steps 10 to 12.
3. Half drawer
Complete steps as described for single shelving and full drawer, but reduce the size of the drawer timber to fit the bottom cavity.
Colour your cubeWe visited colour consultant Nikki Morris at the Resene colour store in Newmarket for some advice on our colour selection, so here are some ideas to help you get started. We’d love to see photos of your creations – you can post them on our Facebook page www.facebook.com/renovatemagazine.
3
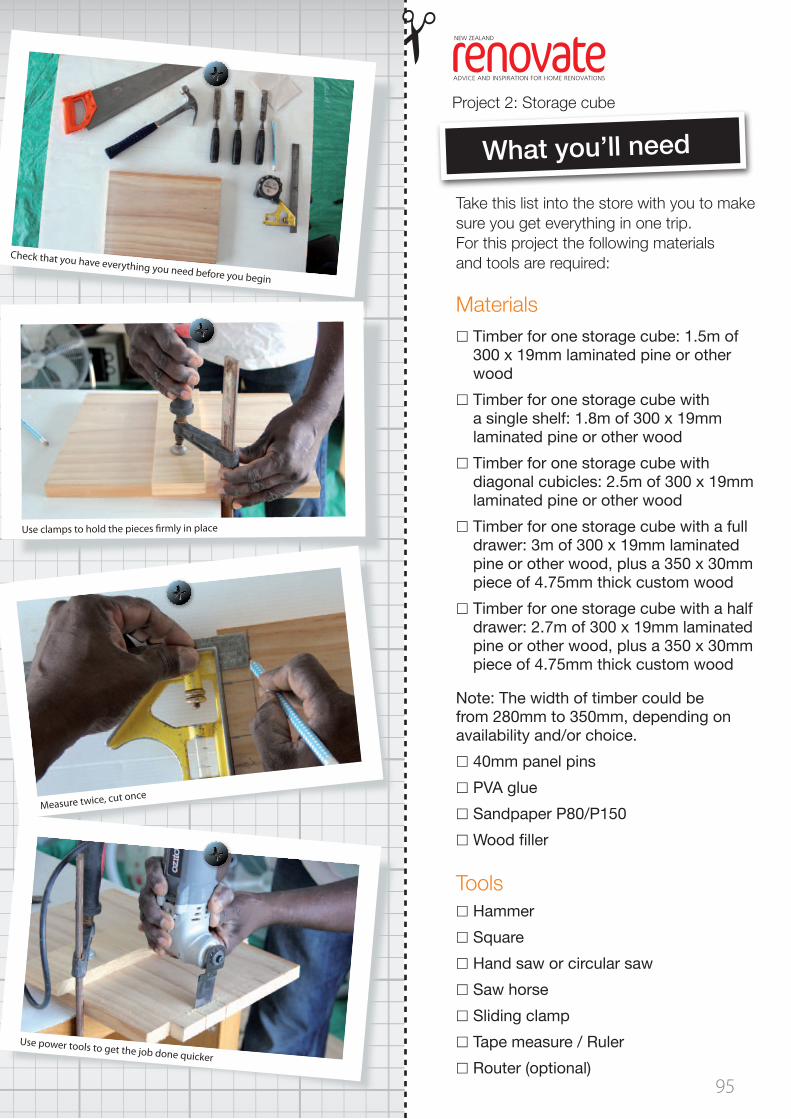
What you’ll need
Materials☐ Timber for one storage cube: 1.5m of
300 x 19mm laminated pine or other wood
☐ Timber for one storage cube with a single shelf: 1.8m of 300 x 19mm laminated pine or other wood
☐ Timber for one storage cube with diagonal cubicles: 2.5m of 300 x 19mm laminated pine or other wood
☐ Timber for one storage cube with a full drawer: 3m of 300 x 19mm laminated pine or other wood, plus a 350 x 30mm piece of 4.75mm thick custom wood
☐ Timber for one storage cube with a half drawer: 2.7m of 300 x 19mm laminated pine or other wood, plus a 350 x 30mm piece of 4.75mm thick custom wood
Note: The width of timber could be from 280mm to 350mm, depending on availability and/or choice.
☐ 40mm panel pins
☐ PVA glue
☐ Sandpaper P80/P150
☐ Wood filler
Tools☐ Hammer
☐ Square
☐ Hand saw or circular saw
☐ Saw horse
☐ Sliding clamp
☐ Tape measure / Ruler
☐ Router (optional)
Take this list into the store with you to makesure you get everything in one trip.For this project the following materialsand tools are required:
Project 2: Storage cube
Check that you have everything you need before you begin
Use power tools to get the job done quicker
Use clamps to hold the pieces firmly in place
Measure twice, cut once
ADVICE AND INSPIRATION FOR HOME RENOVATIONS
NEW ZEALAND
95