history of the microscope 1590: the first compound microscope was used 1655 – robert hooke used a...
TRANSCRIPT

MICROSCOPE
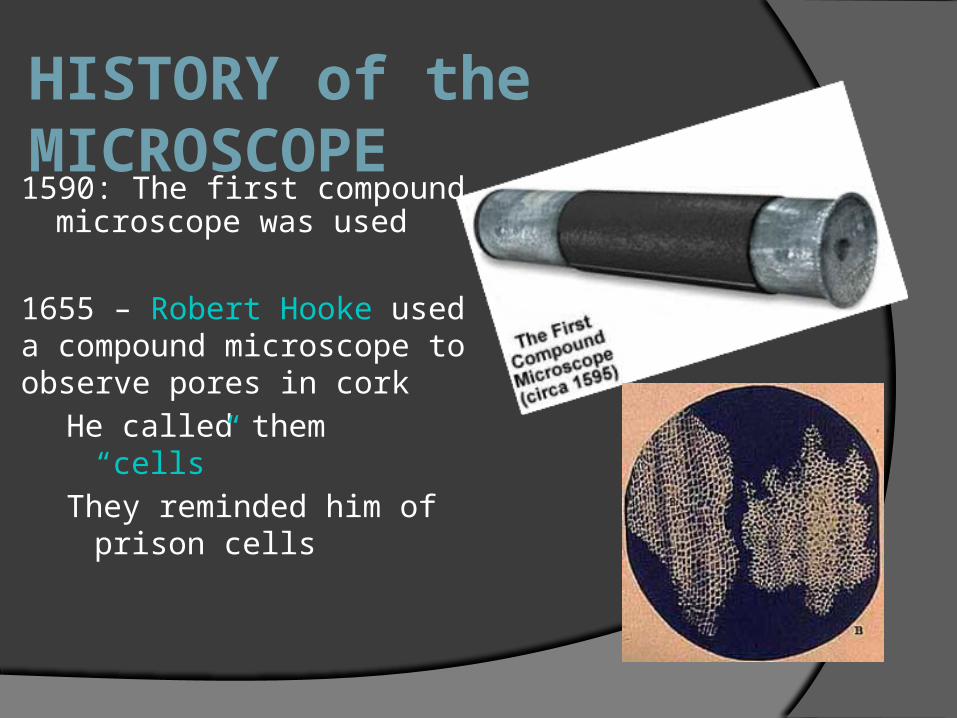
HISTORY of the MICROSCOPE1590: The first compound
microscope was used
1655 – Robert Hooke used a compound microscope to observe pores in cork
He called them “cells”They reminded him of
prison cells
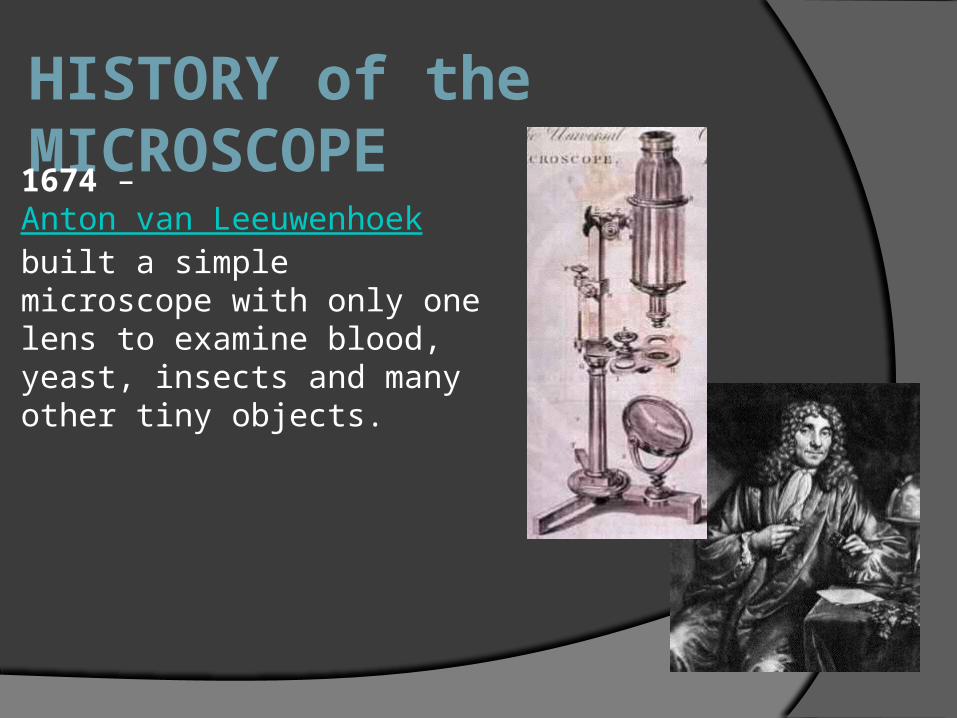
HISTORY of the MICROSCOPE1674 – Anton van Leeuwenhoek built a simple microscope with only one lens to examine blood, yeast, insects and many other tiny objects.
Compound Microscopestandard microscope
two lenses: ocular lens and objective lenstwo or three objective lenses (low, medium, and high magnification)Better than magnifying glass, but…
Specimens must be thin so light can pass throughSpecimens may need to be stained to see
structuresImage viewed is a mirror image of the object

Parts of the Microscope
Eyepiece
Body Tube
Revolving NosepieceArm
Objective Lens
StageStage Clips
Coarse Focus
Fine Focus
Base
Diaphragm
Light
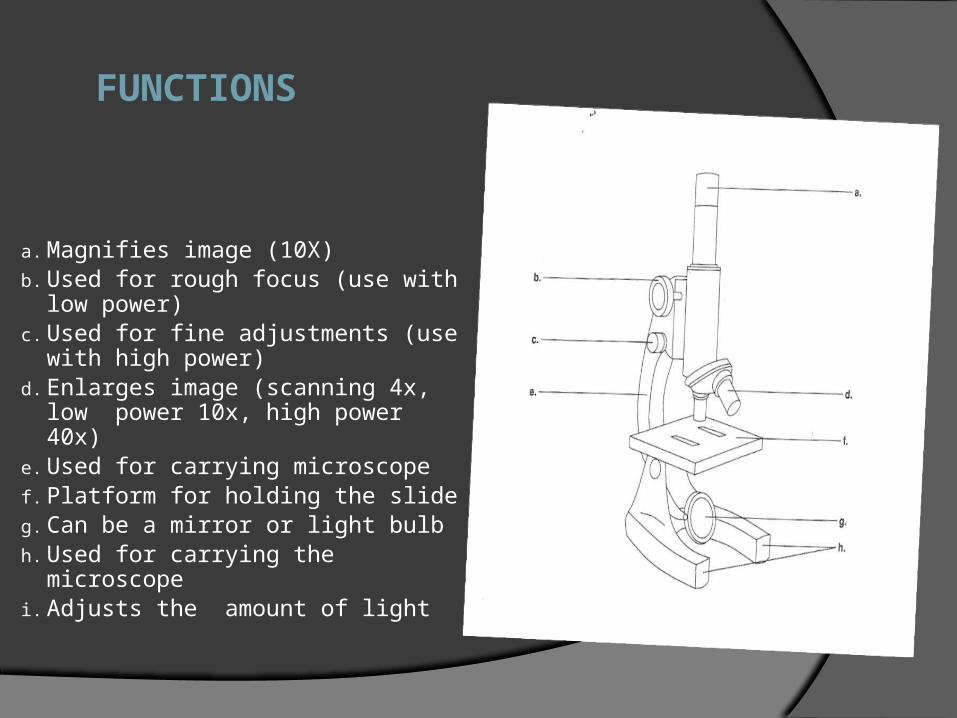
FUNCTIONS
a. Magnifies image (10X)b. Used for rough focus (use
with low power)c. Used for fine adjustments
(use with high power)d. Enlarges image (scanning 4x,
low power 10x, high power 40x)
e. Used for carrying microscopef. Platform for holding the slideg. Can be a mirror or light bulbh. Used for carrying the
microscopei. Adjusts the amount of light
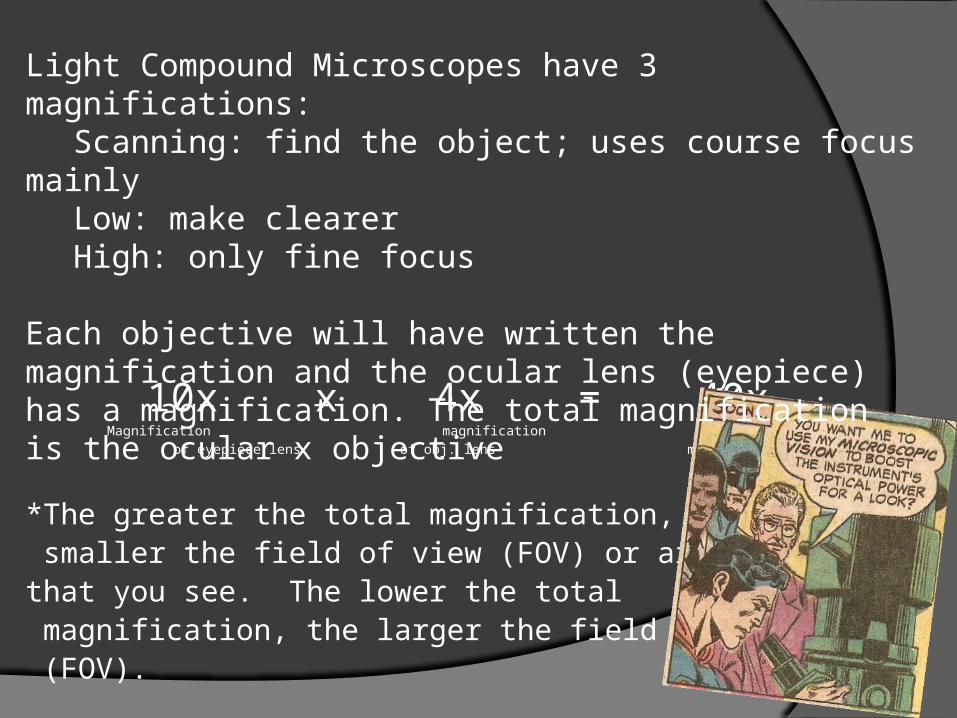
10x x 4x = 40xMagnification magnification total
of eyepiece lens of obj. lens magnification
*The greater the total magnification, the smaller the field of view (FOV) or area that you see. The lower the total magnification, the larger the field of view (FOV).
Light Compound Microscopes have 3 magnifications: Scanning: find the object; uses course focus
mainlyLow: make clearerHigh: only fine focus
Each objective will have written the magnification and the ocular lens (eyepiece) has a magnification. The total magnification is the ocular x objective

Microscope Magnification Calculate the total magnification:
Eyepiece Lens
Objective Lens
Total Magnification
a. 10x 4x
b. 10x 10x
c. 10x 40x
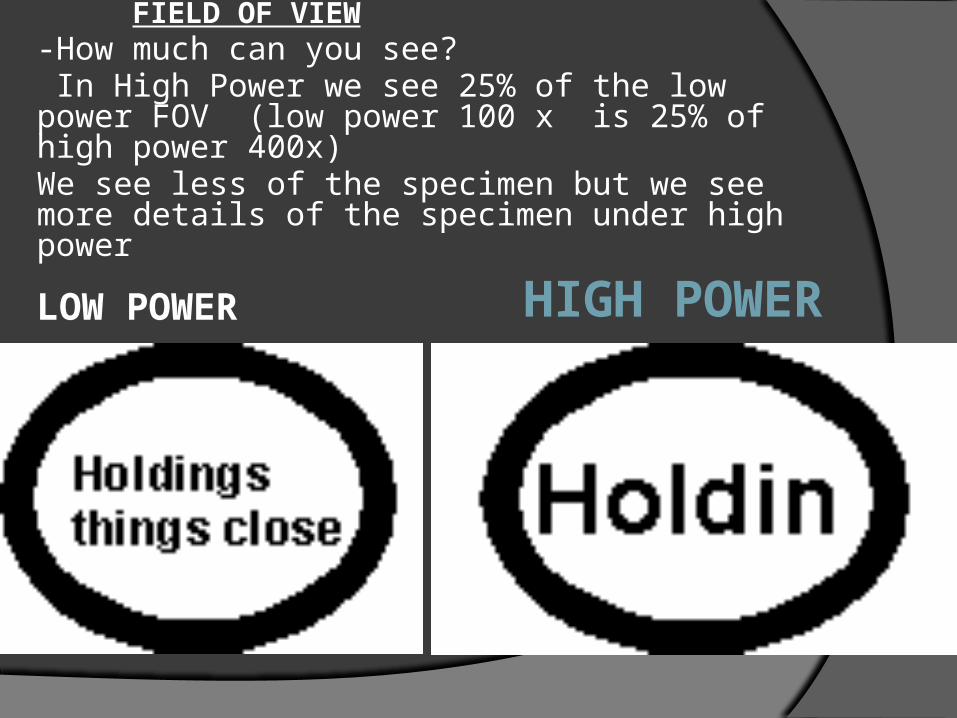
HIGH POWER
FIELD OF VIEW-How much can you see? In High Power we see 25% of the low power FOV (low power 100 x is 25% of high power 400x) We see less of the specimen but we see more details of the specimen under high power
LOW POWER
Answer the following Questions
1. After switching from high power to low power the area of the field of view will appeara. larger and brighterb. Smaller and brighterc. larger and darkerd. smaller and darker
2. What should a student adjust if the field of view seems too dark?
________________________________3. Is the field of vision smaller or larger
under low power? _______________________________
4. To locate and observe a specimen under a slide, a student should begin by using what objective and what adjustment knob?
5. What adjustment knob should you use if you are using high power?
6. Why should a specimen be centered in the middle of the field of view when focusing under low power?

Microscope Vocabulary
Magnification: increase of an object’s apparent size
Resolution: power to show details clearly
Both are needed to see a clear image

Stereoscopic Microscope(Dissecting Microscope)
An ocular lens for each eyeGives a 3-D imageCan view whole organismsGreat for studying external or surface structure of a specimenImages are not reversed
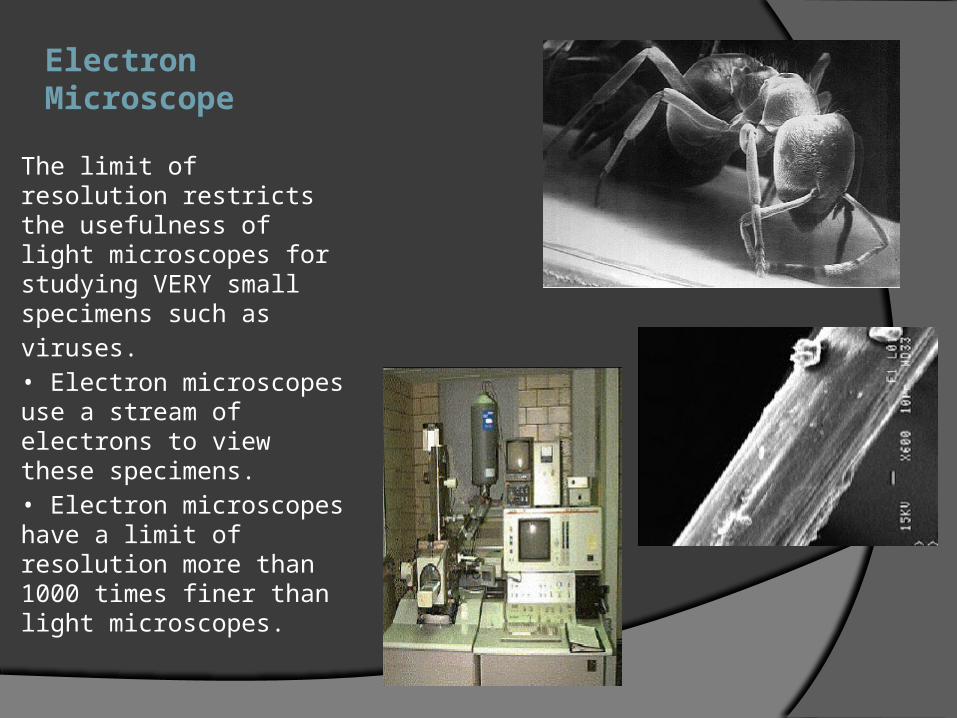
Electron Microscope
The limit of resolution restricts the usefulness of light microscopes for studying VERY small specimens such as
viruses.
• Electron microscopes use a stream of electrons to view these specimens.
• Electron microscopes have a limit of resolution more than 1000 times finer than light microscopes.

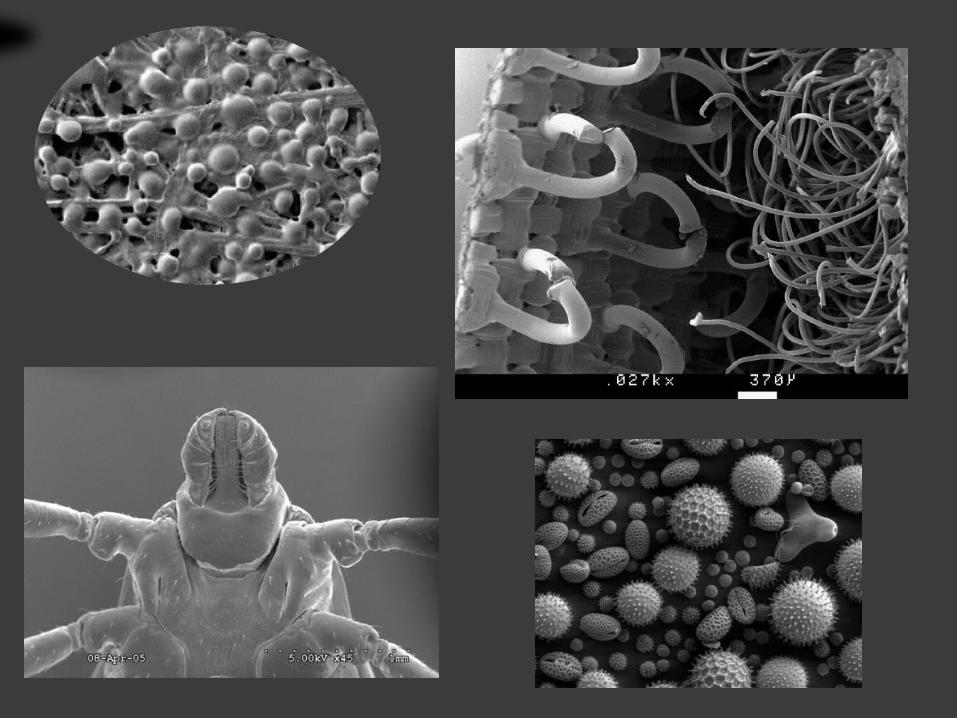
Electron Microscope: TEM
Best magnification (250,000 X)Can see things that are smaller than a cell (organelles and viruses)Objects must be thinly sliced and stained with metal for viewing
Bamboo Fiber Cells

Electron Microscope: SEM
Best detail / depthLess magnification than a TEMAble to view a whole organism and provide a 3-D image
Foot of House Fly
staple

FIELD OF VIEW
How do we find the FOV of a microscope?
Low Power (100x)1. Find the diameter of the LP FOV2. Use the clear metric ruler (mm
side)3. Be sure to line up the first mm
mark with the left side of the field.
LP FOV = 1.5 mm

The mm is too large to
measure microscopic objects, so you need to
use the micron
(micrometer) µm
1 mm = 1,000 µm
1 µm = 1/1000 mm or 0.001mm
LP FOV = 1500µm

So how do we determine how big something is in the microscope?
Use the following formula:
FOV# of cells
(that can fit across diameter)
Let’s see how it works:
FOV = 2mm = .5mm # of 4 cellsOR .5mm x 1000 =500 microns

CARRYING THE MICROSCOPE
A B

FOCUSING
1. Always start with the SCANNING objective.
Odds are, you will be able to see something on this setting.
Use the Coarse Knob to focus then the fine adjustment knob until clear, image may be small
**Do not use stage clips, try moving the slide around until you find something.
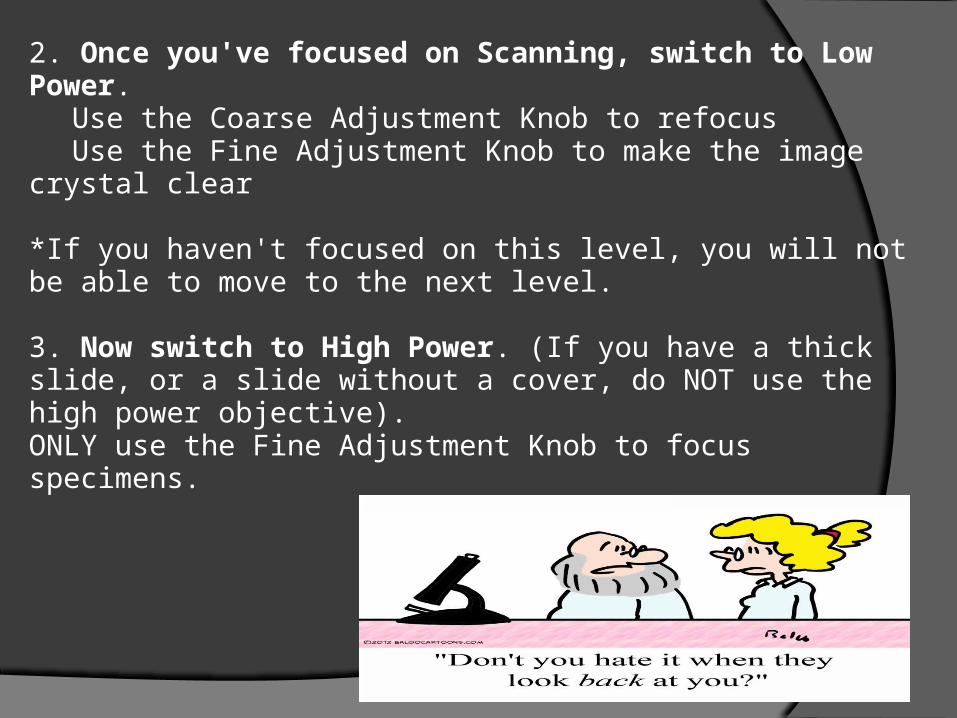
2. Once you've focused on Scanning, switch to Low Power.
Use the Coarse Adjustment Knob to refocusUse the Fine Adjustment Knob to make the image crystal clear
*If you haven't focused on this level, you will not be able to move to the next level.
3. Now switch to High Power. (If you have a thick slide, or a slide without a cover, do NOT use the high power objective). ONLY use the Fine Adjustment Knob to focus specimens.
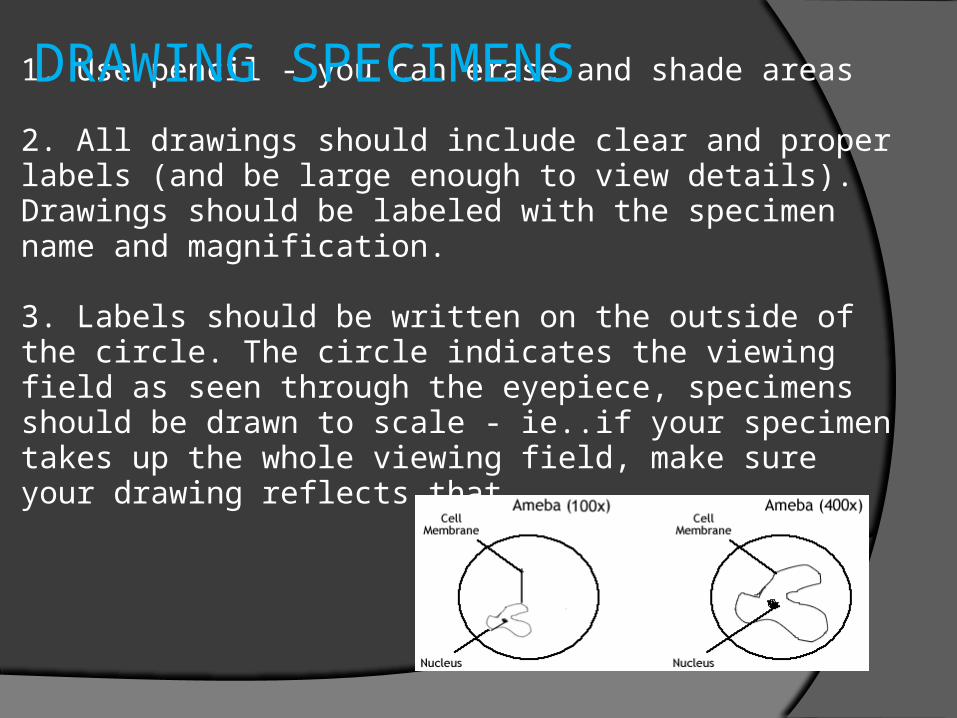
1. Use pencil - you can erase and shade areas
2. All drawings should include clear and proper labels (and be large enough to view details). Drawings should be labeled with the specimen name and magnification.
3. Labels should be written on the outside of the circle. The circle indicates the viewing field as seen through the eyepiece, specimens should be drawn to scale - ie..if your specimen takes up the whole viewing field, make sure your drawing reflects that.
DRAWING SPECIMENS

Occasionally you may have trouble with working your microscope. Here are some common problems and solutions.
1. Image is too dark!
Adjust the diaphragm, make sure your light is on.
2. There's a spot in my viewing field, even when I move the slide the spot stays in the same place!
Your lens is dirty. Use lens paper, and only lens paper to carefully clean the objective and ocular lens. The ocular lens can be removed to clean the inside. The spot is probably a spec of dust.
3. I can't see anything under high power!
Remember the steps, if you can't focus under scanning and then low power, you won't be able to focus anything under high power. Start at scanning and walk through the steps again.
4. Only half of my viewing field is lit\
You probably don't have your objective fully clicked into place..
TROUBLESHOOTING

OTHER TOOLSMetric Ruler: Length (meters)
Graduated Cylinder: Volume (g/mL) To read the volume, you must look at the bottom of the _____________ which is a curve surface.
Triple Beam Balance: Mass (grams)
M
VD

OTHER TOOLS
a magnifying glassOne lensLow magnification and low resolution
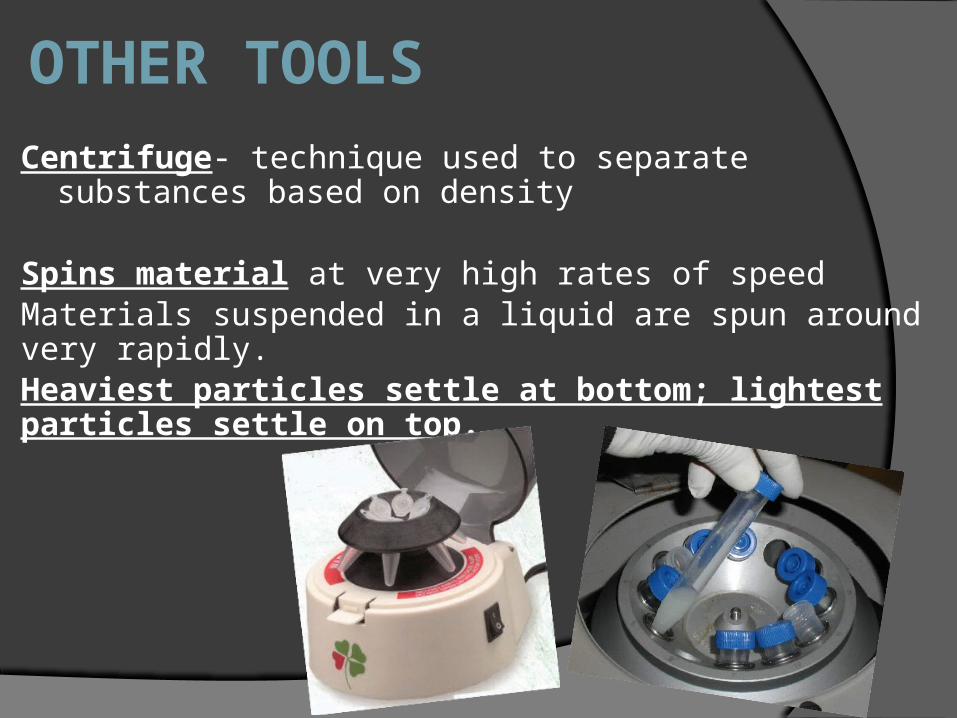
OTHER TOOLSCentrifuge- technique used to separate substances
based on density
Spins material at very high rates of speedMaterials suspended in a liquid are spun around very rapidly.Heaviest particles settle at bottom; lightest particles settle on top.
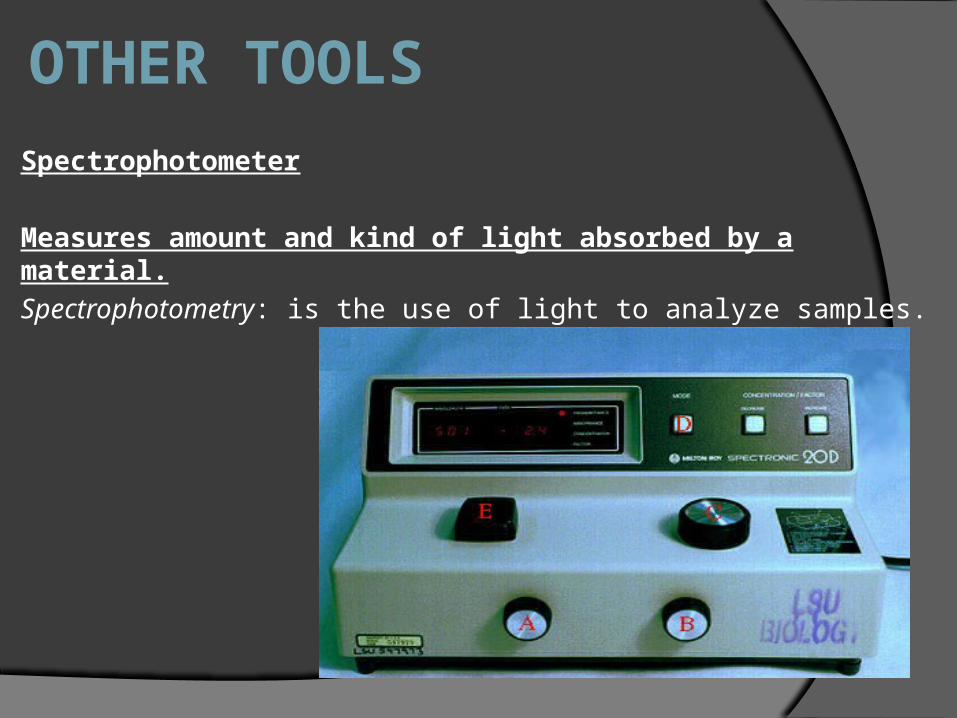
OTHER TOOLSSpectrophotometer
Measures amount and kind of light absorbed by a material.Spectrophotometry: is the use of light to analyze samples.

OTHER TOOLSChromotography- technique used to separate substances based on their chemical make up ( the different colors of leaves are separated this way)
A family of techniques for the separation of mixtures.Separates different substances from each other on the basis of their chemical or physical propertiesBe familiar with paper chromatography
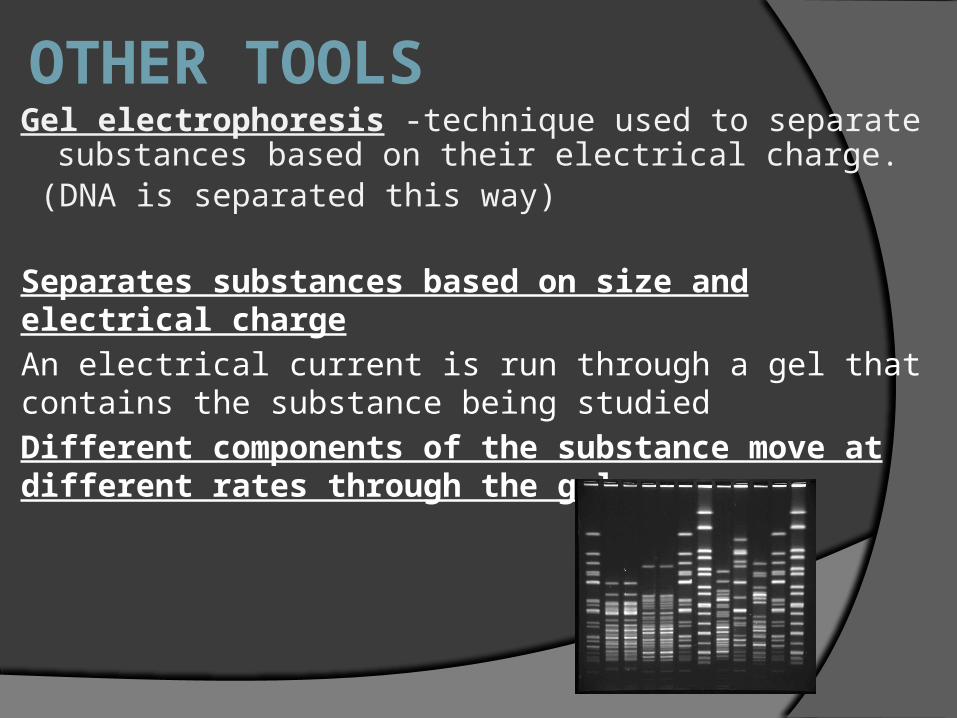
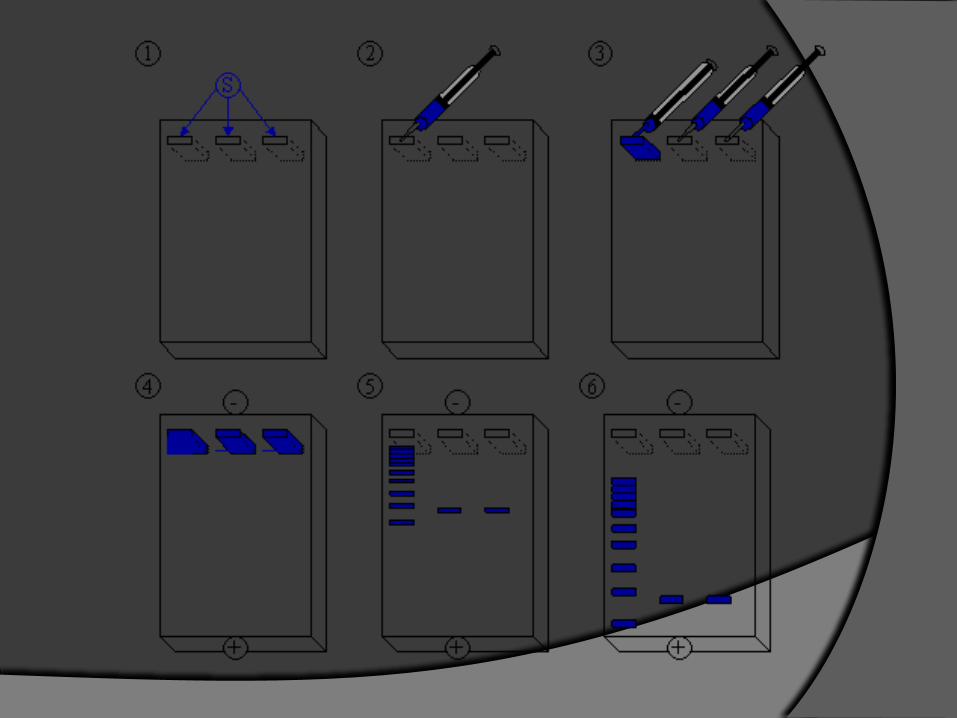
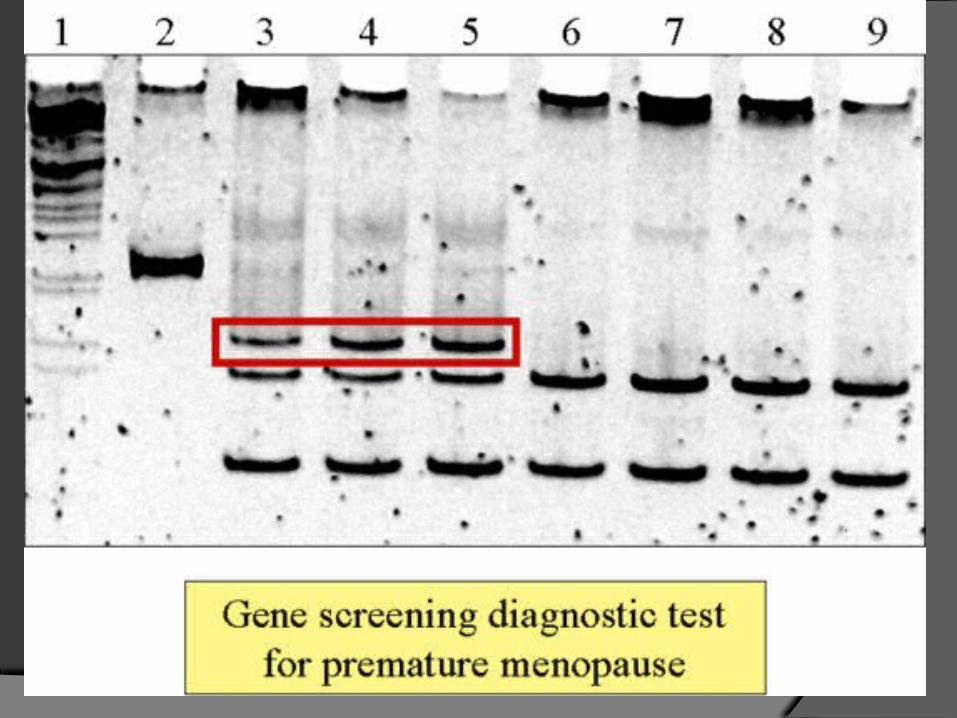
OTHER TOOLSGel electrophoresis -technique used to separate
substances based on their electrical charge. (DNA is separated this way)
Separates substances based on size and electrical chargeAn electrical current is run through a gel that contains the substance being studiedDifferent components of the substance move at different rates through the gel