google tag manager for ecommerce
TRANSCRIPT

GOOGLETAG MANAGERFOR ECOMMERCE
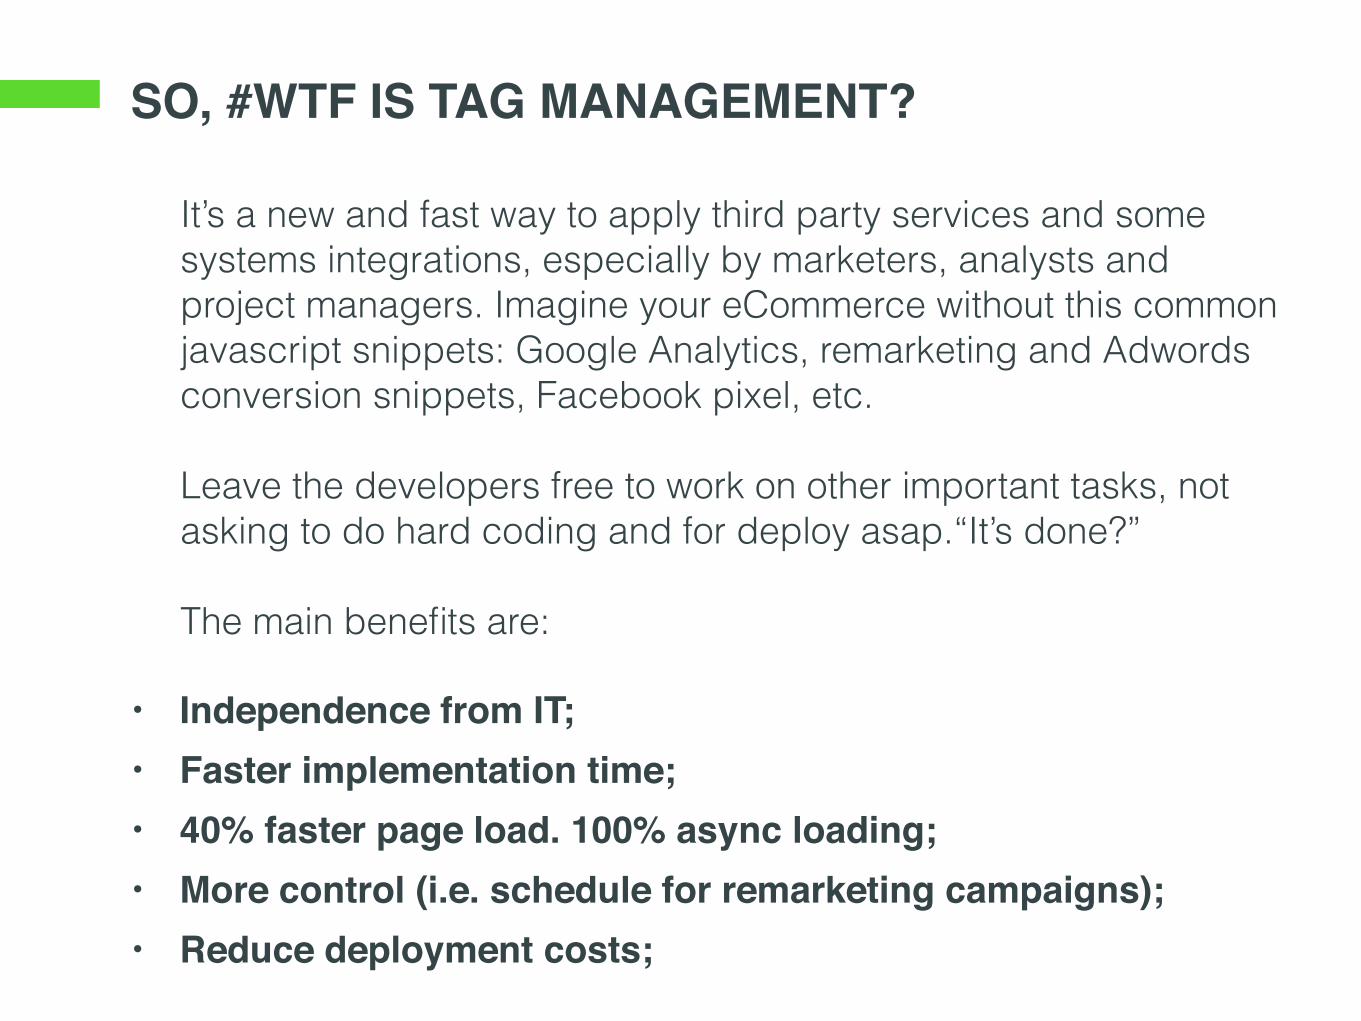
SO, #WTF IS TAG MANAGEMENT?
It’s a new and fast way to apply third party services and some systems integrations, especially by marketers, analysts and project managers. Imagine your eCommerce without this common javascript snippets: Google Analytics, remarketing and Adwords conversion snippets, Facebook pixel, etc.
Leave the developers free to work on other important tasks, not asking to do hard coding and for deploy asap.“It’s done?”
The main benefits are:
• Independence from IT;• Faster implementation time;• 40% faster page load. 100% async loading;• More control (i.e. schedule for remarketing campaigns);• Reduce deployment costs;
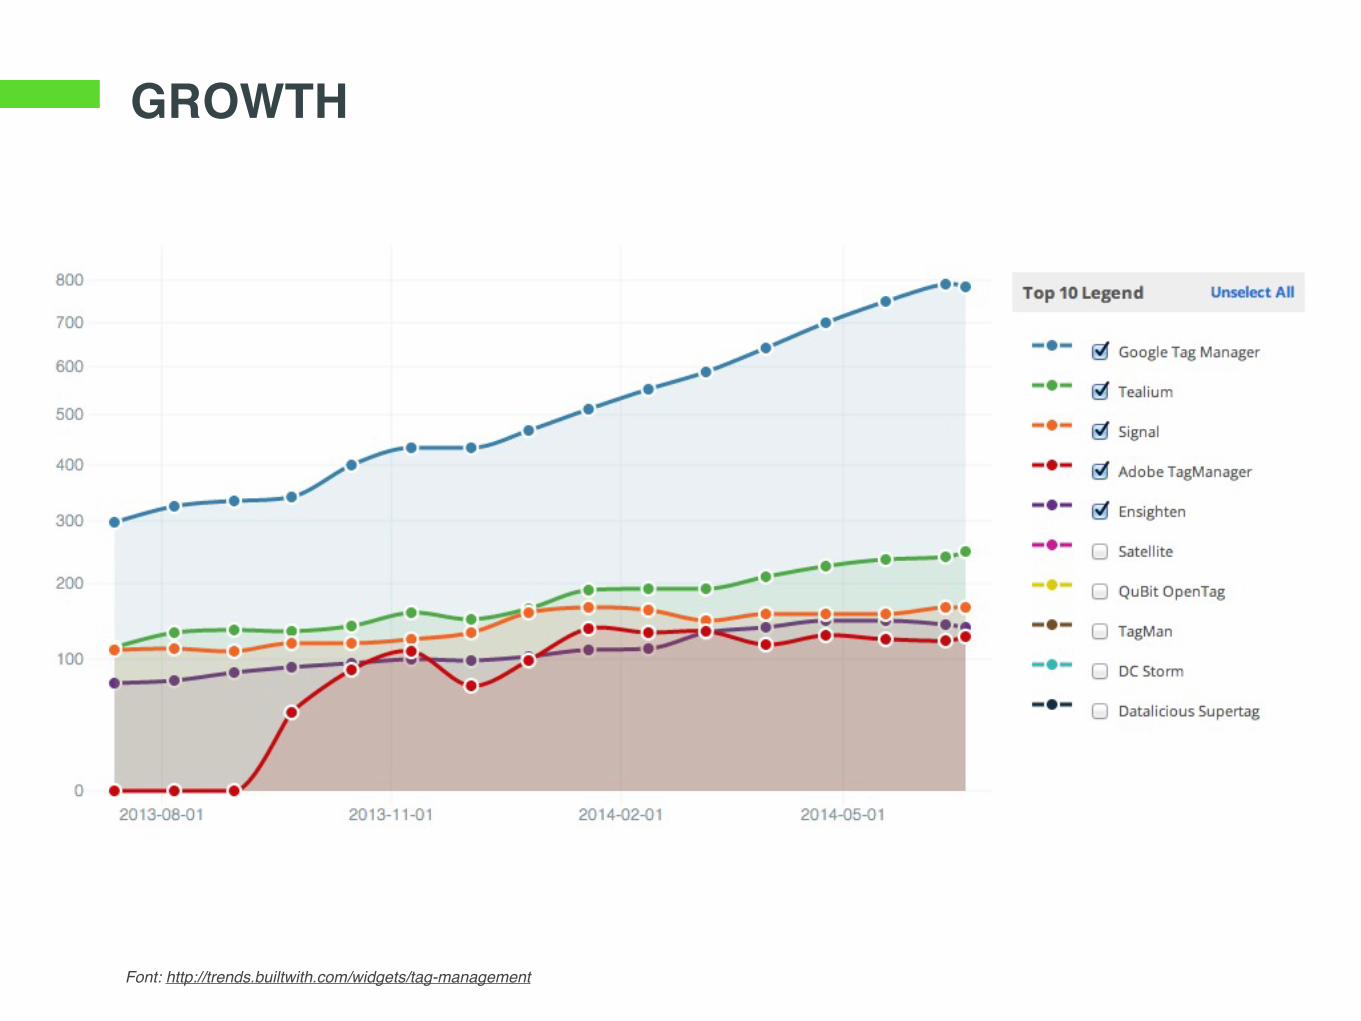
GROWTH
Font: http://trends.builtwith.com/widgets/tag-management
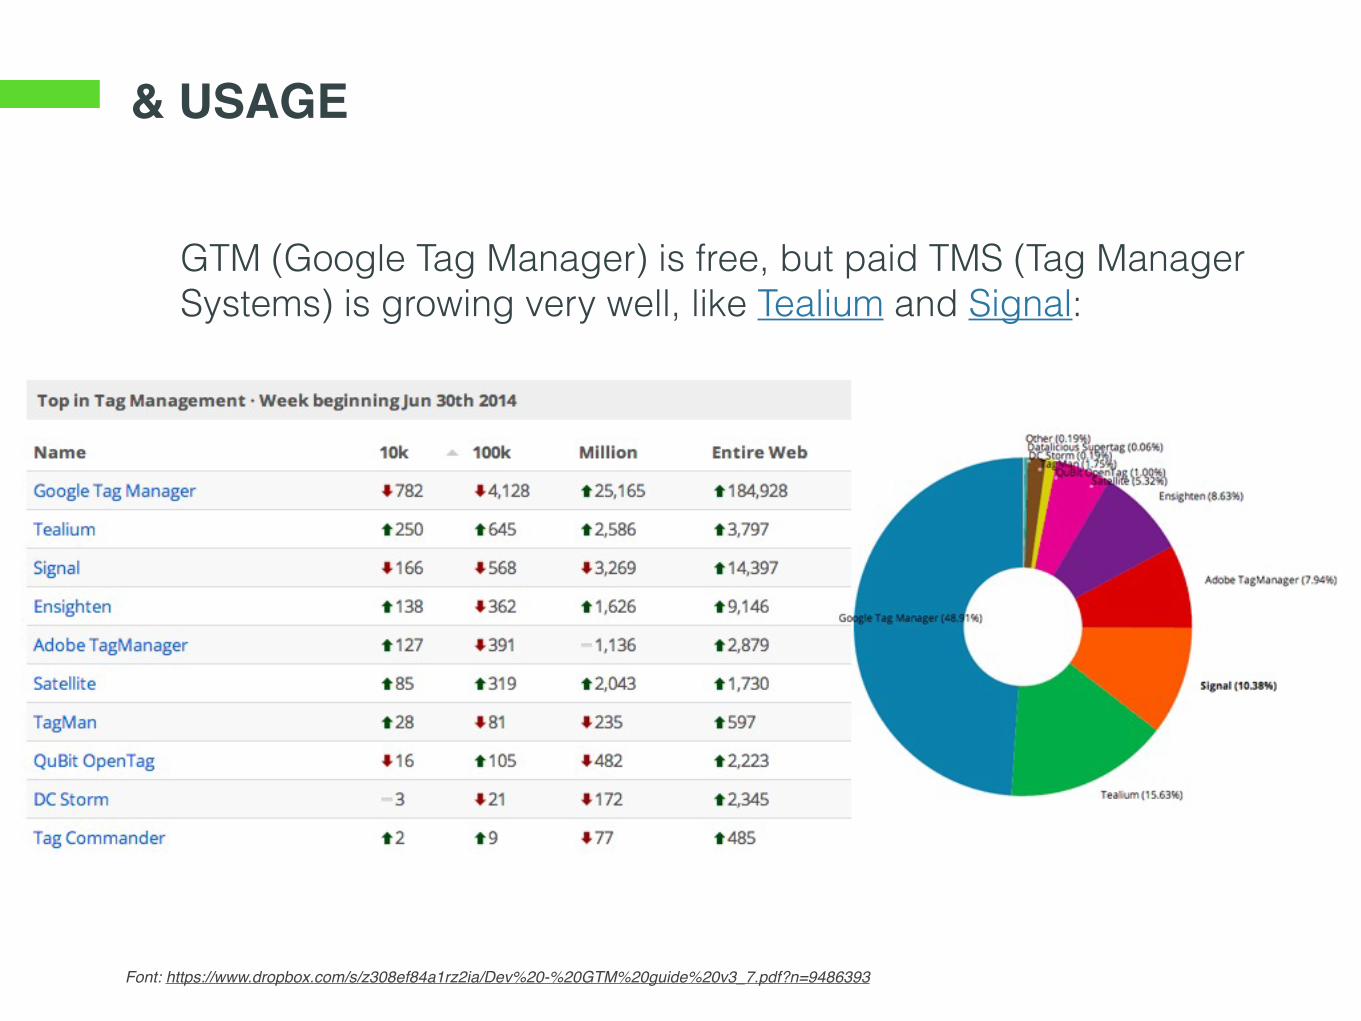
& USAGE
Font: https://www.dropbox.com/s/z308ef84a1rz2ia/Dev%20-%20GTM%20guide%20v3_7.pdf?n=9486393
GTM (Google Tag Manager) is free, but paid TMS (Tag Manager Systems) is growing very well, like Tealium and Signal:
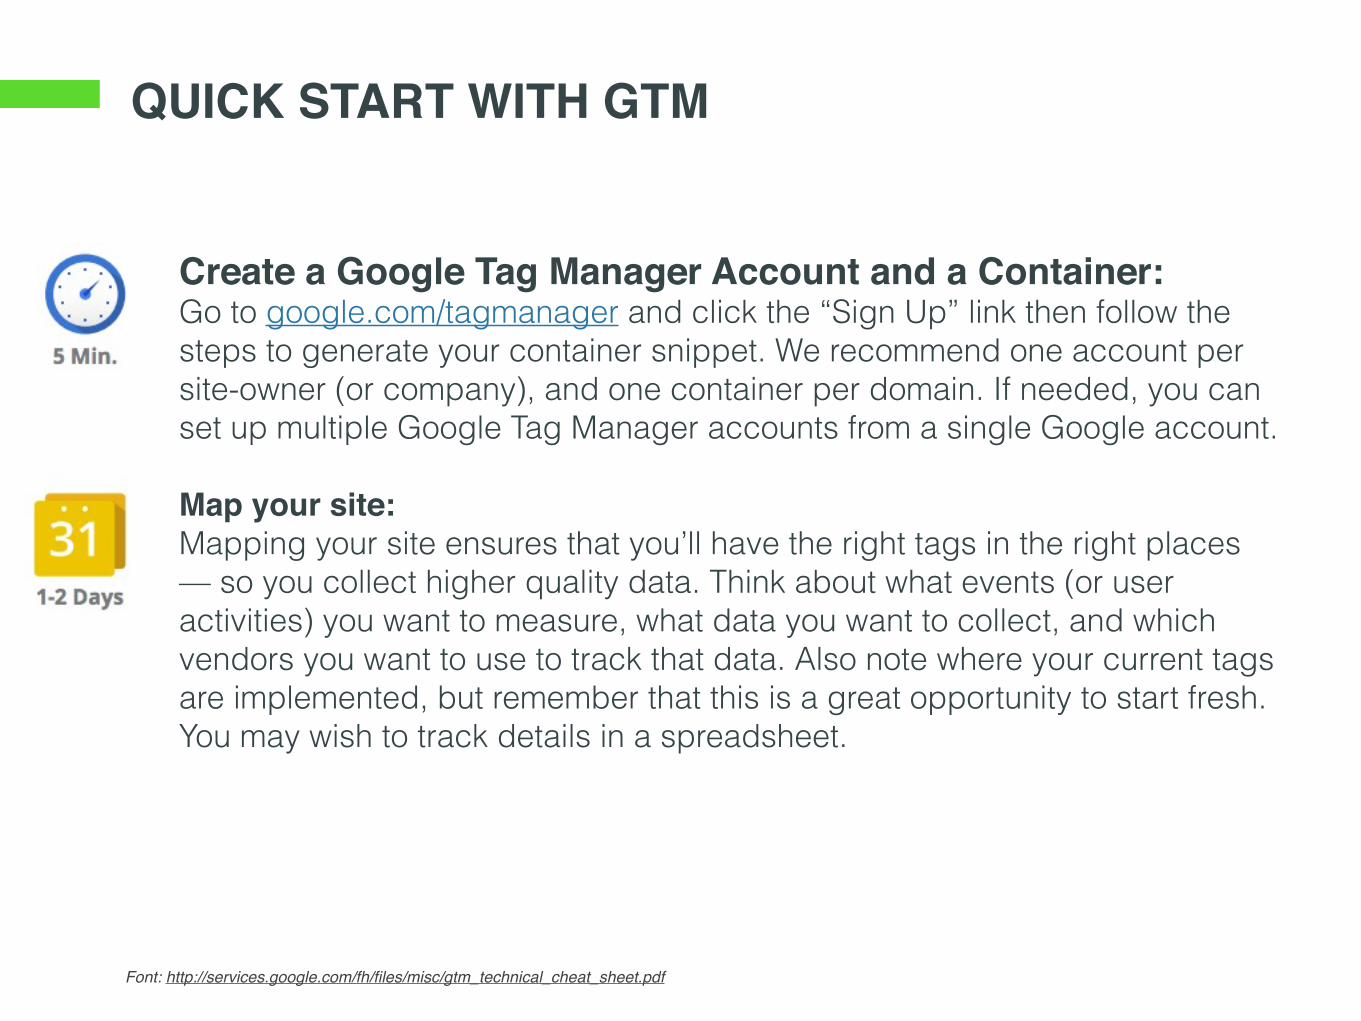
QUICK START WITH GTM
Font: http://services.google.com/fh/files/misc/gtm_technical_cheat_sheet.pdf
Create a Google Tag Manager Account and a Container:Go to google.com/tagmanager and click the “Sign Up” link then follow the steps to generate your container snippet. We recommend one account per site-owner (or company), and one container per domain. If needed, you can set up multiple Google Tag Manager accounts from a single Google account.
Map your site: Mapping your site ensures that you’ll have the right tags in the right places — so you collect higher quality data. Think about what events (or user activities) you want to measure, what data you want to collect, and which vendors you want to use to track that data. Also note where your current tags are implemented, but remember that this is a great opportunity to start fresh. You may wish to track details in a spreadsheet.
QUICK START WITH GTM
Font: http://services.google.com/fh/files/misc/gtm_technical_cheat_sheet.pdf
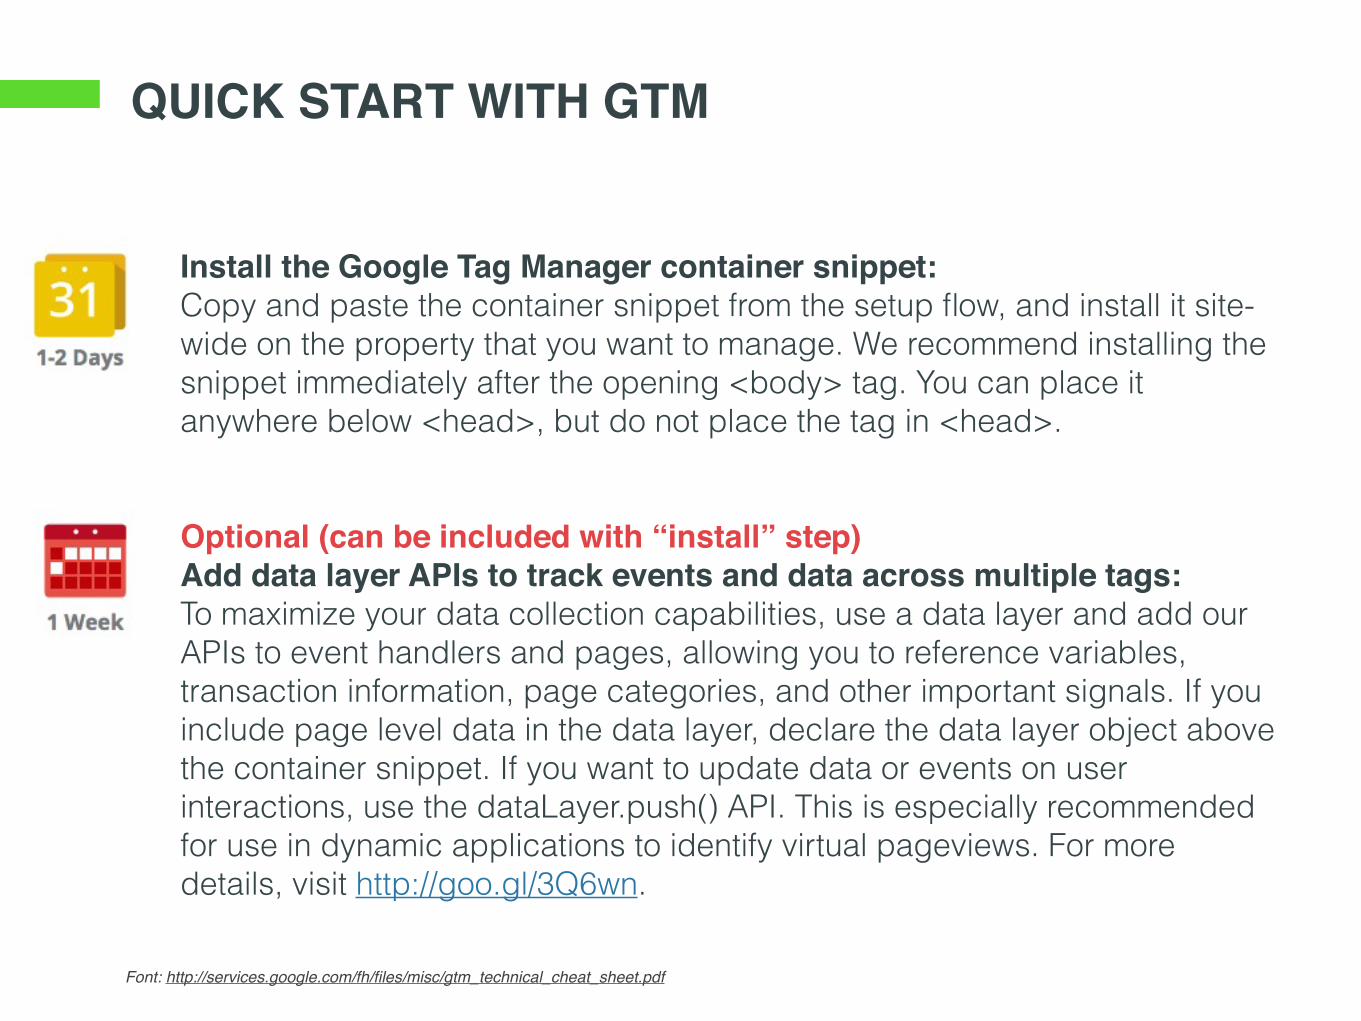
Install the Google Tag Manager container snippet: Copy and paste the container snippet from the setup flow, and install it site-wide on the property that you want to manage. We recommend installing the snippet immediately after the opening <body> tag. You can place it anywhere below <head>, but do not place the tag in <head>.
Optional (can be included with “install” step) Add data layer APIs to track events and data across multiple tags: To maximize your data collection capabilities, use a data layer and add our APIs to event handlers and pages, allowing you to reference variables, transaction information, page categories, and other important signals. If you include page level data in the data layer, declare the data layer object above the container snippet. If you want to update data or events on user interactions, use the dataLayer.push() API. This is especially recommended for use in dynamic applications to identify virtual pageviews. For more details, visit http://goo.gl/3Q6wn.
QUICK START WITH GTM
Font: http://services.google.com/fh/files/misc/gtm_technical_cheat_sheet.pdf
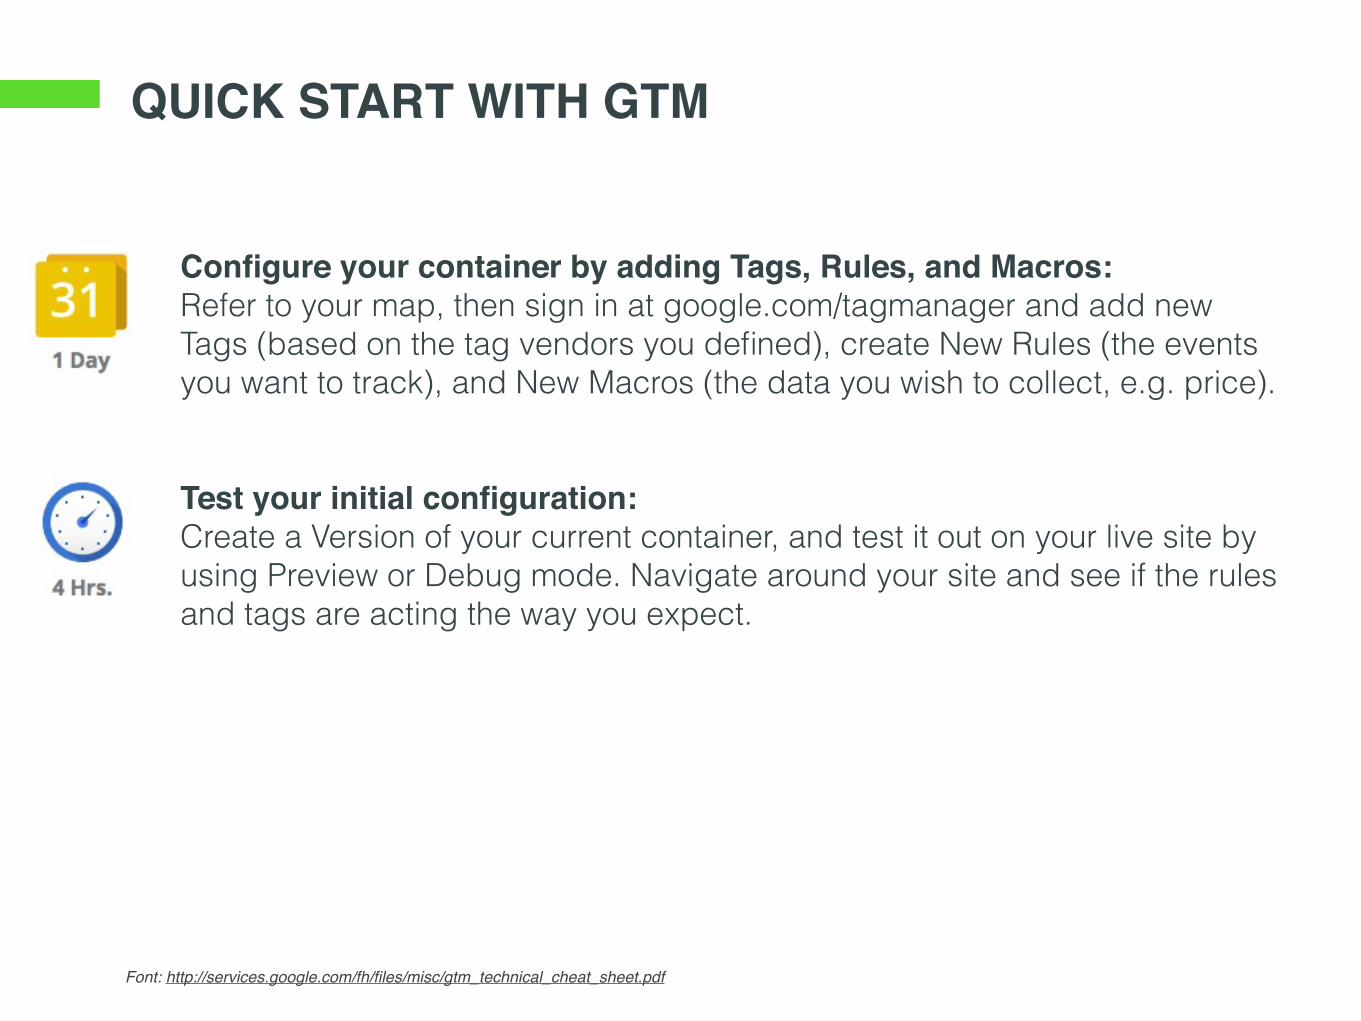
Configure your container by adding Tags, Rules, and Macros: Refer to your map, then sign in at google.com/tagmanager and add new Tags (based on the tag vendors you defined), create New Rules (the events you want to track), and New Macros (the data you wish to collect, e.g. price).
Test your initial configuration: Create a Version of your current container, and test it out on your live site by using Preview or Debug mode. Navigate around your site and see if the rules and tags are acting the way you expect.
QUICK START WITH GTM
Font: http://services.google.com/fh/files/misc/gtm_technical_cheat_sheet.pdf
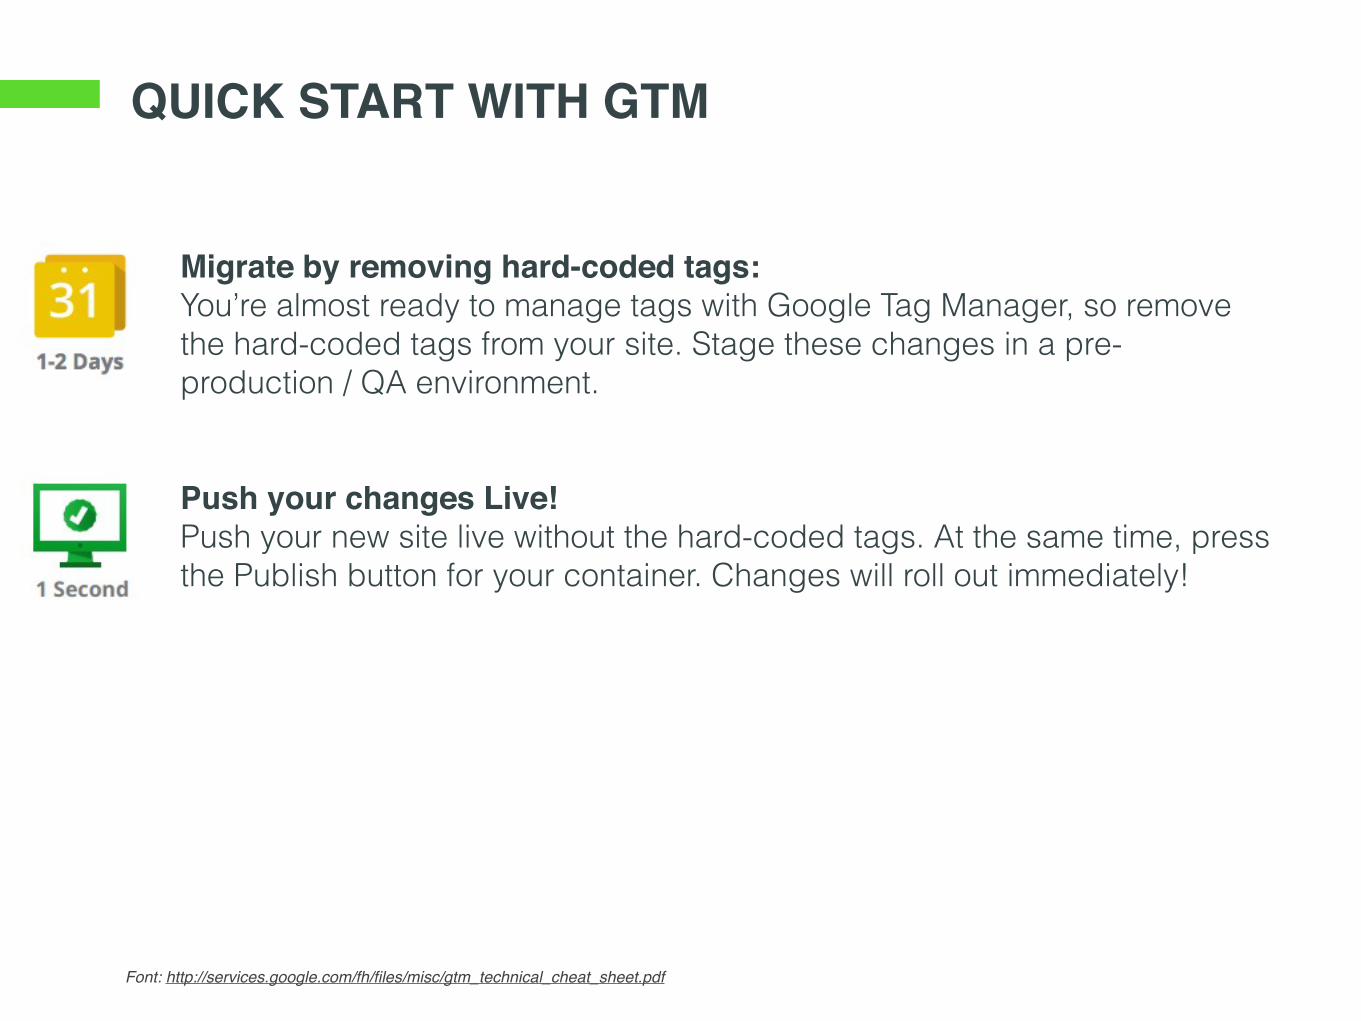
Migrate by removing hard-coded tags: You’re almost ready to manage tags with Google Tag Manager, so remove the hard-coded tags from your site. Stage these changes in a pre-production / QA environment.
Push your changes Live! Push your new site live without the hard-coded tags. At the same time, press the Publish button for your container. Changes will roll out immediately!
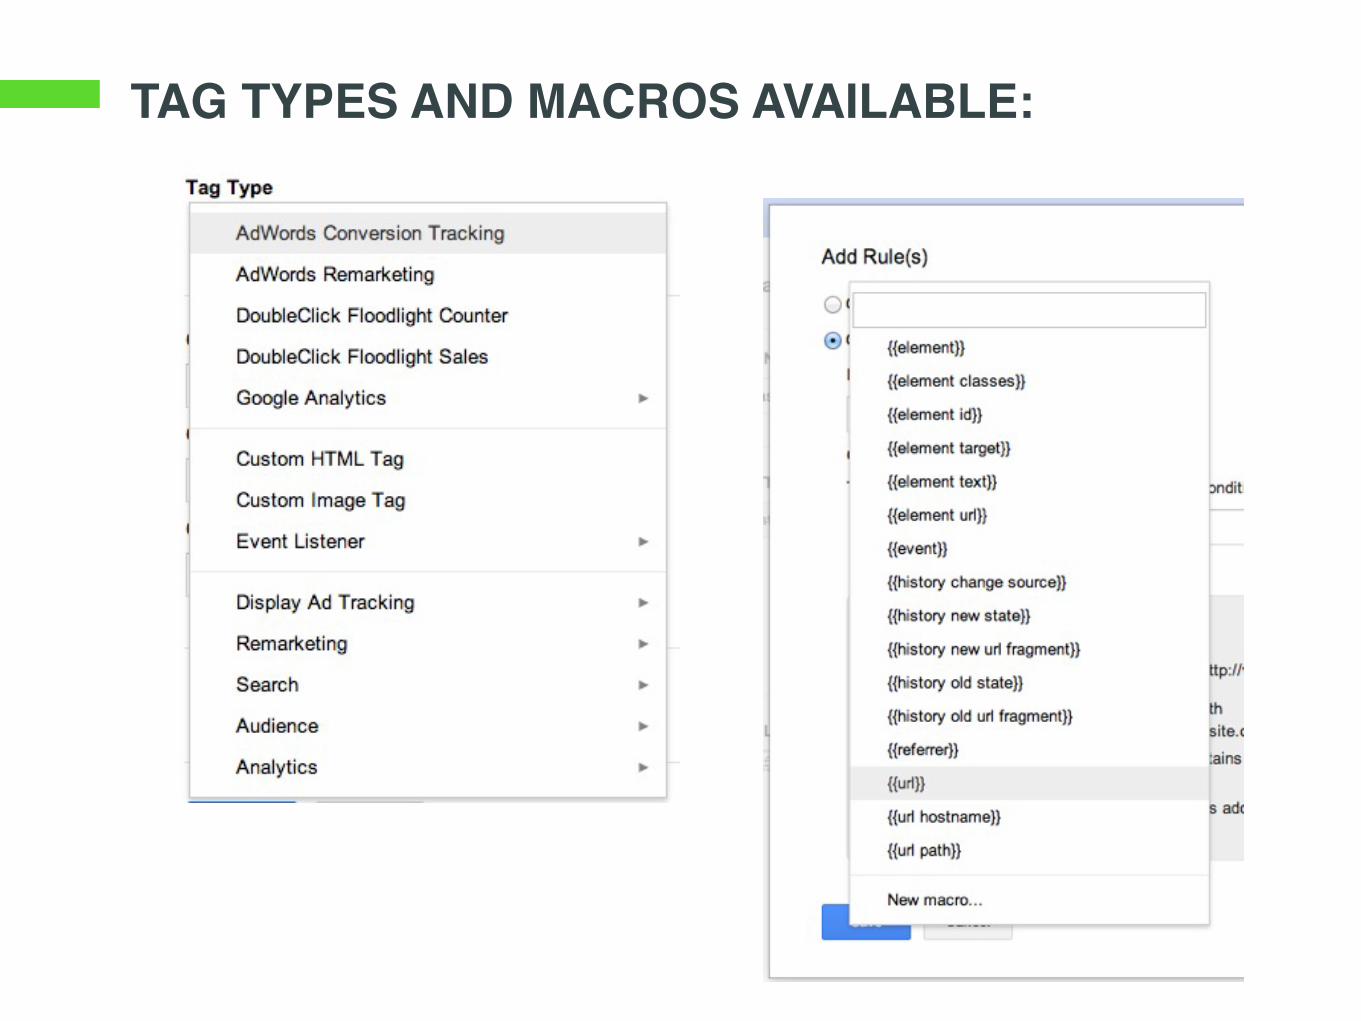
TAG TYPES AND MACROS AVAILABLE:
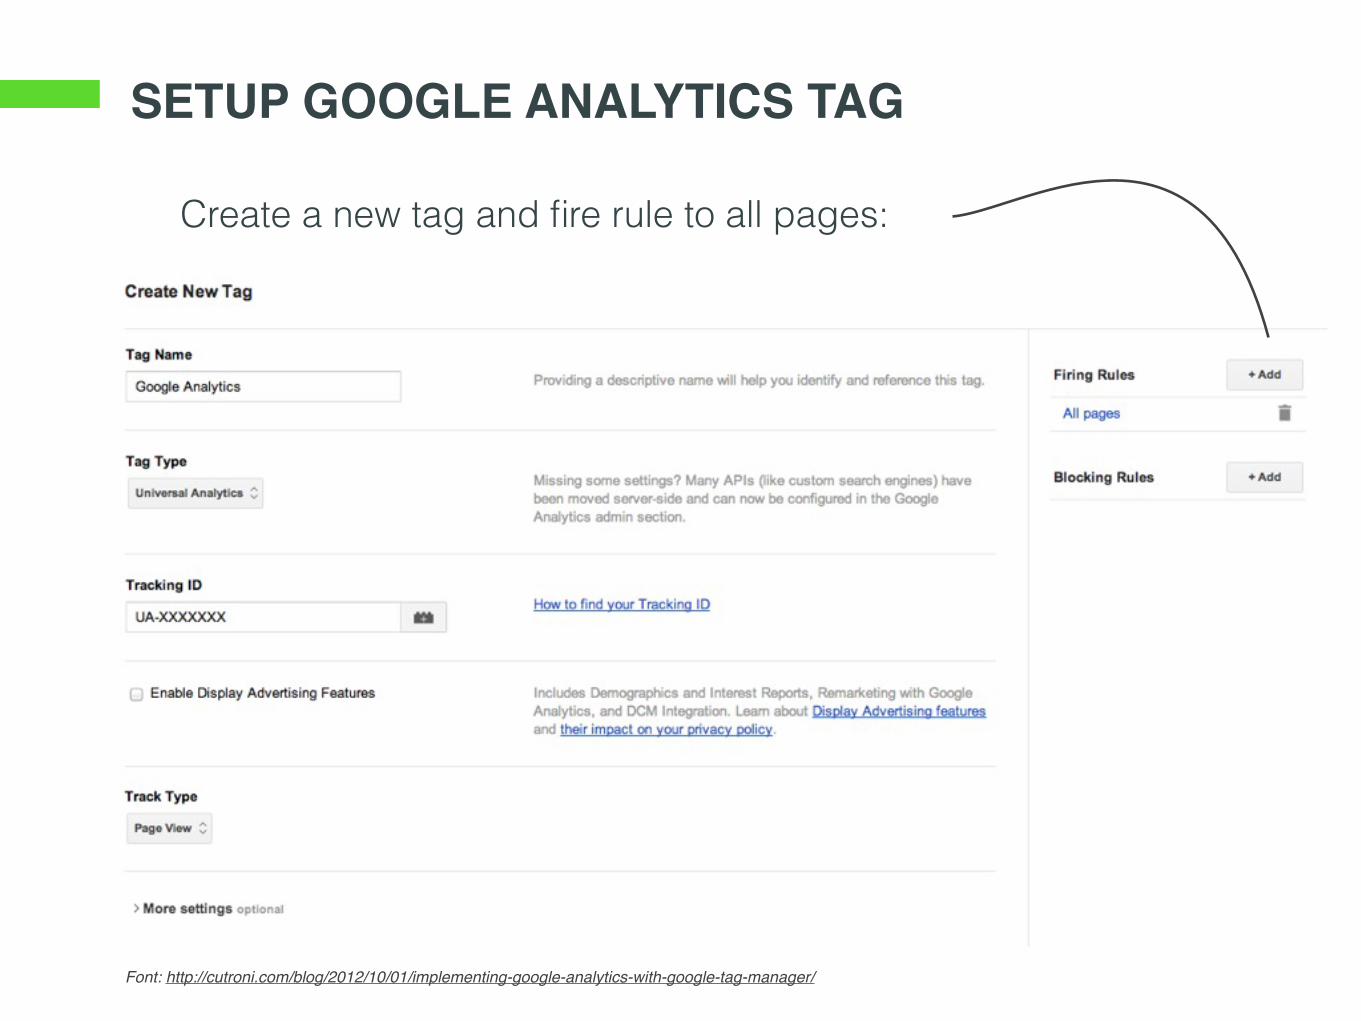
SETUP GOOGLE ANALYTICS TAG
Font: http://cutroni.com/blog/2012/10/01/implementing-google-analytics-with-google-tag-manager/
Create a new tag and fire rule to all pages:
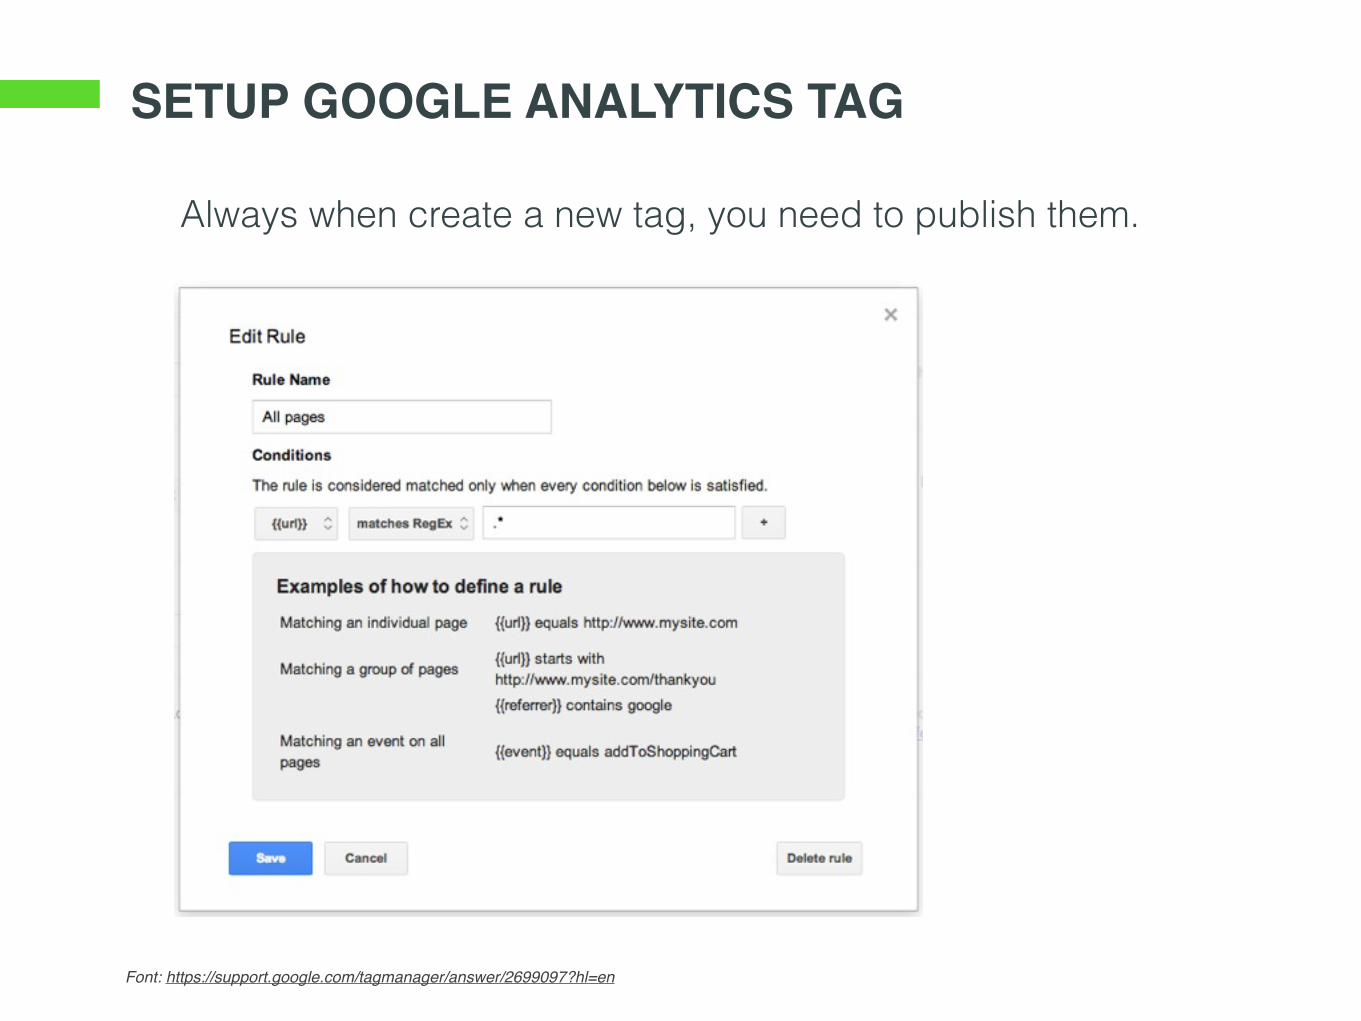
SETUP GOOGLE ANALYTICS TAG
Font: https://support.google.com/tagmanager/answer/2699097?hl=en
Always when create a new tag, you need to publish them.
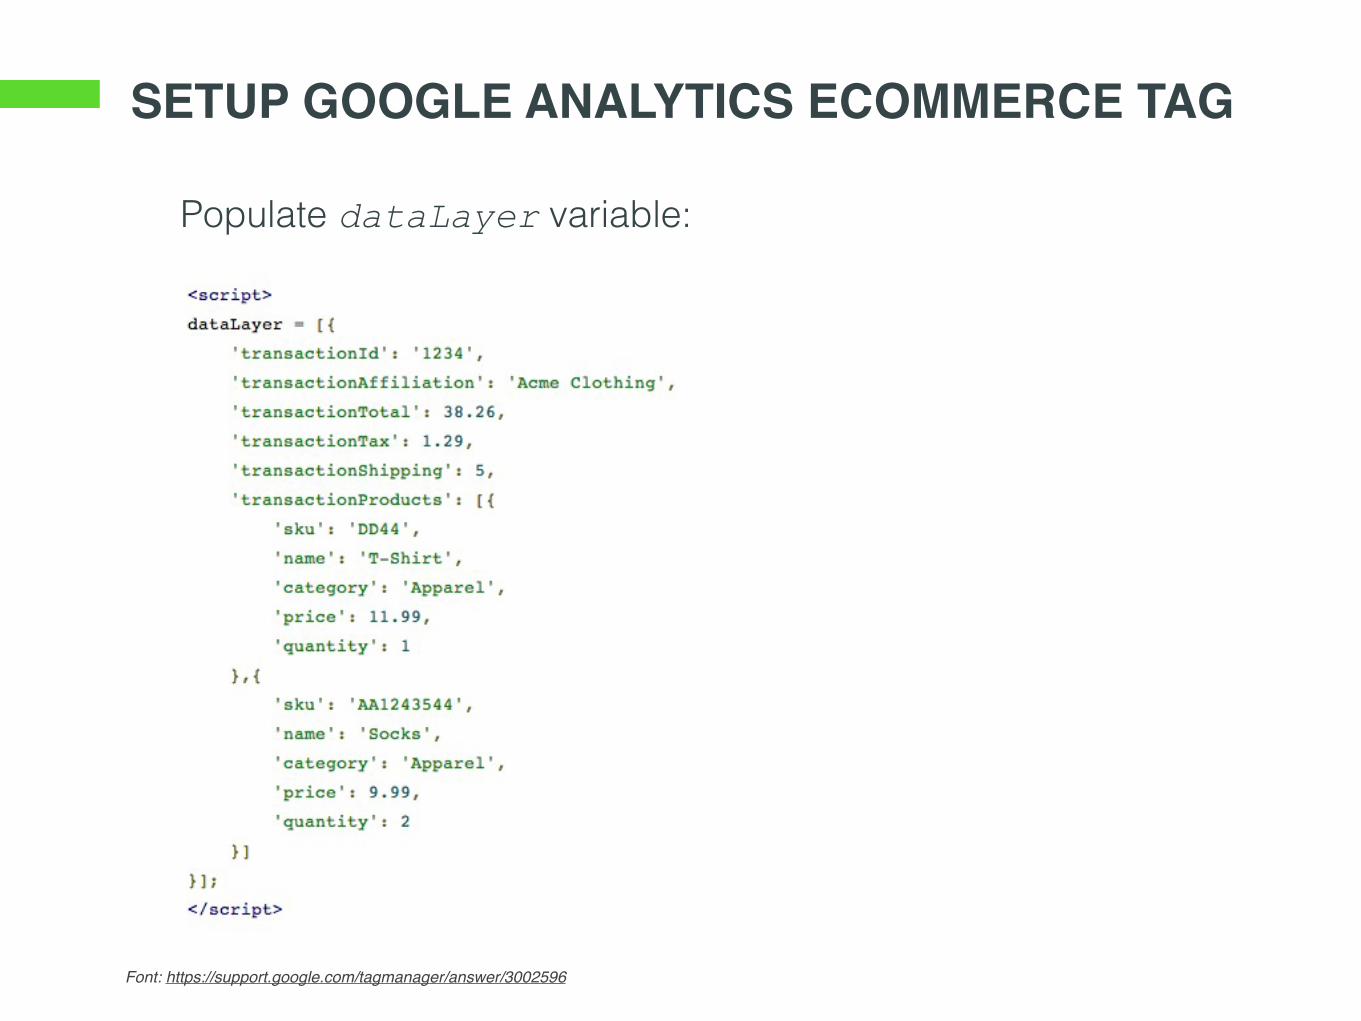
SETUP GOOGLE ANALYTICS ECOMMERCE TAG
Font: https://support.google.com/tagmanager/answer/3002596
Populate dataLayer variable:
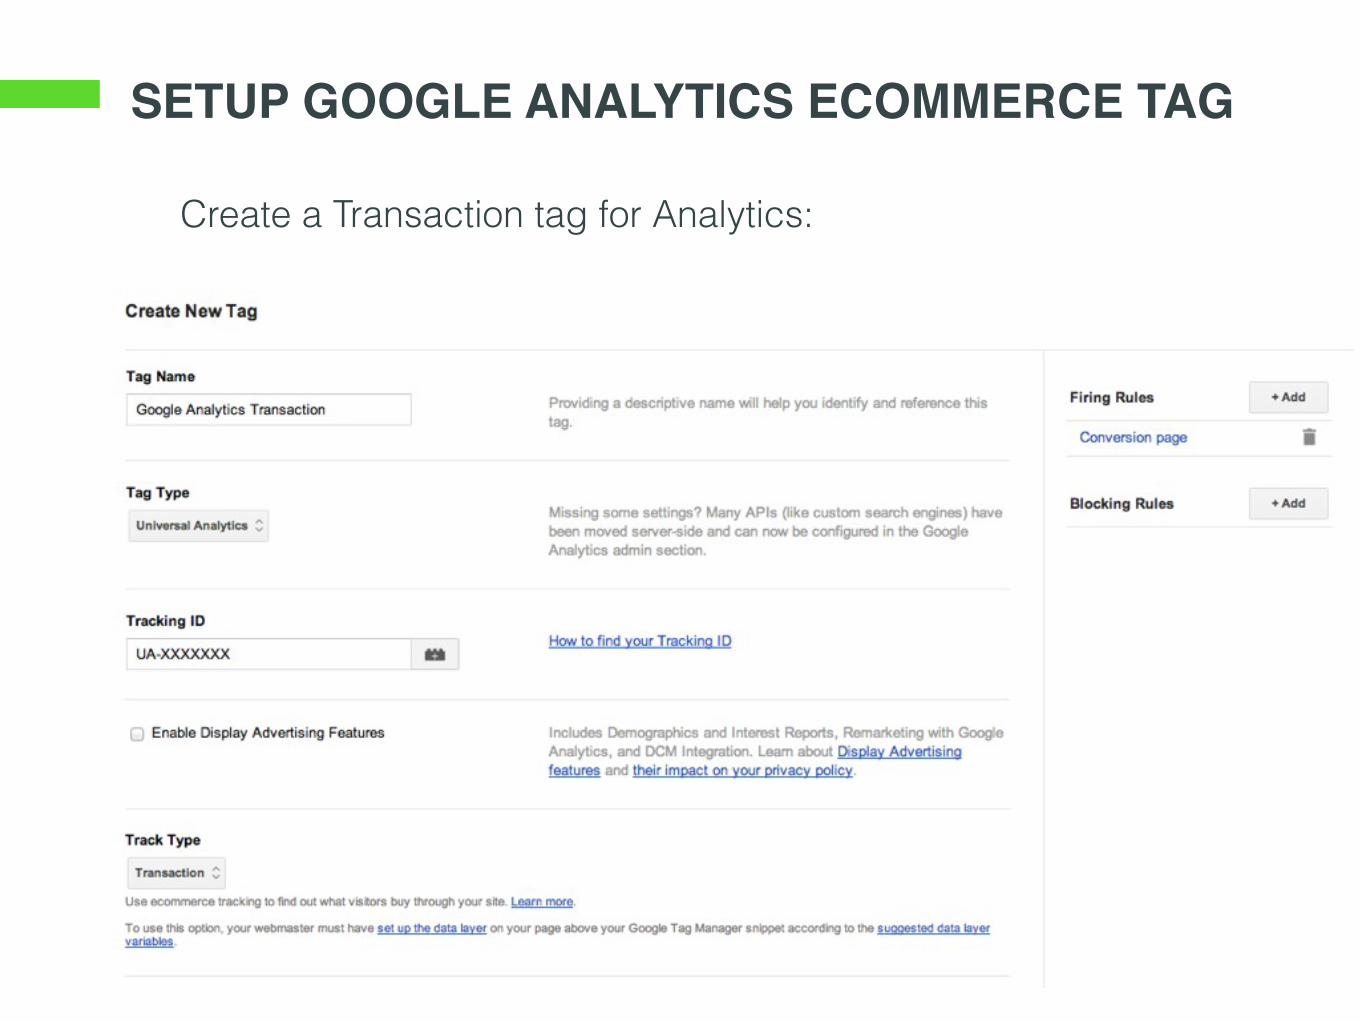
SETUP GOOGLE ANALYTICS ECOMMERCE TAG
Create a Transaction tag for Analytics:
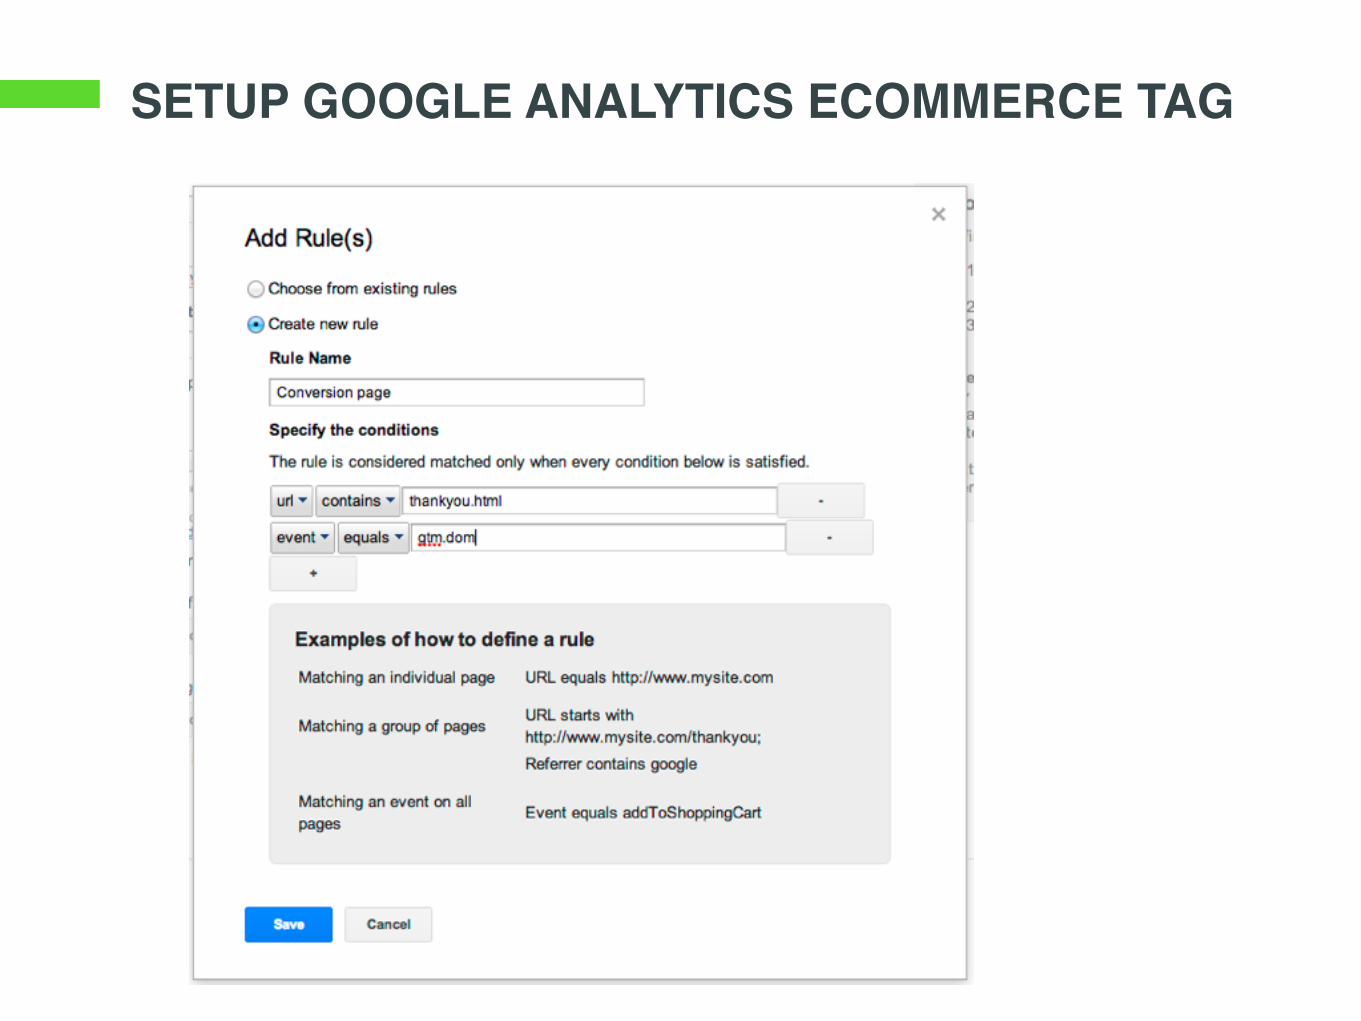
SETUP GOOGLE ANALYTICS ECOMMERCE TAG
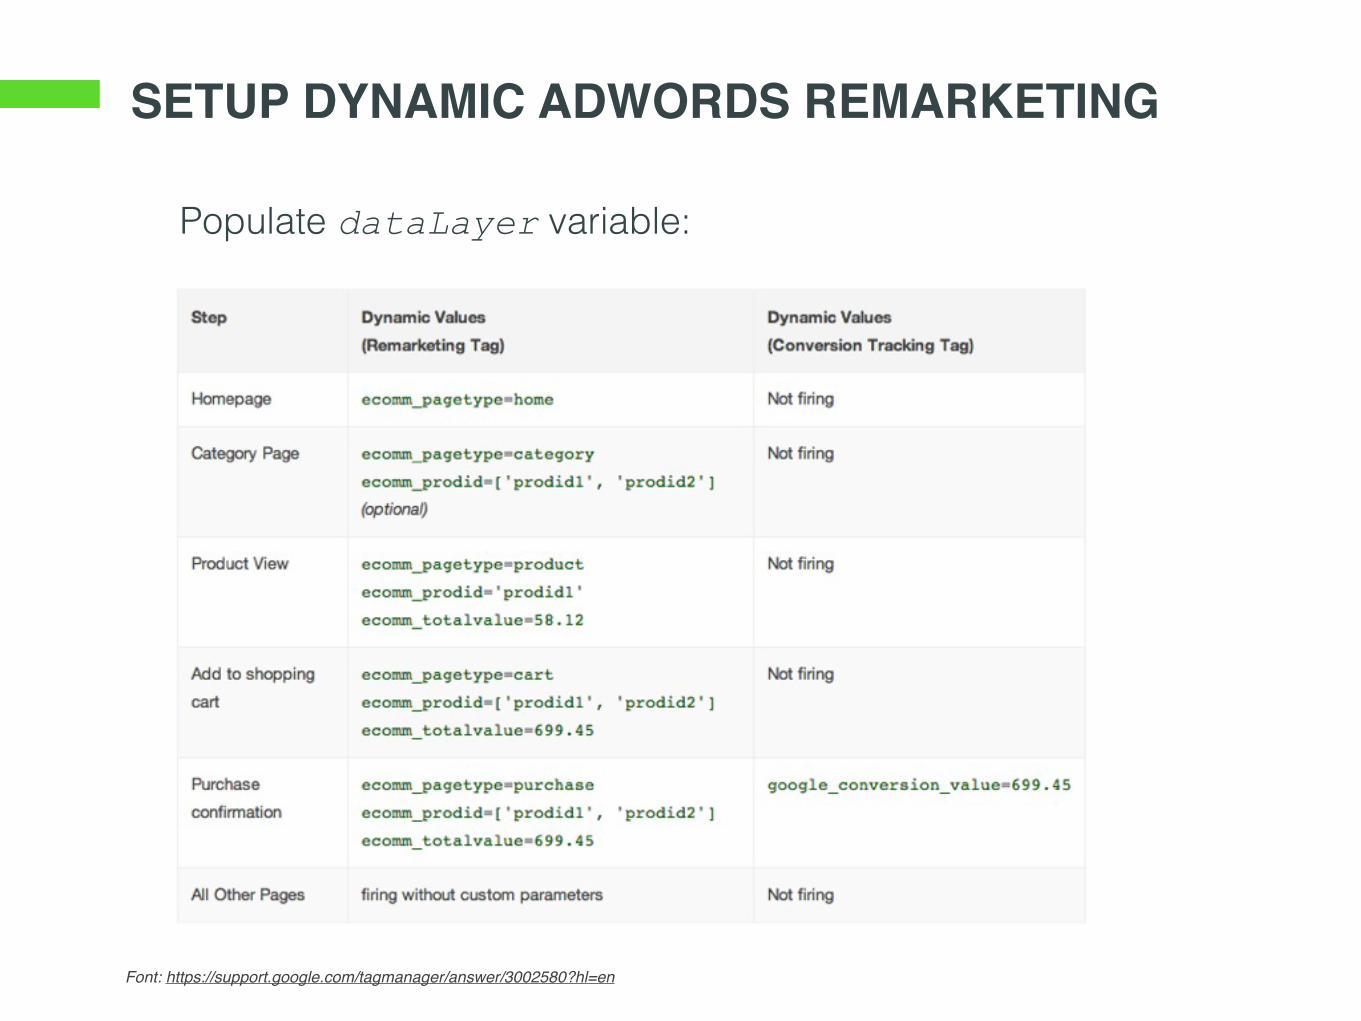
SETUP DYNAMIC ADWORDS REMARKETING
Font: https://support.google.com/tagmanager/answer/3002580?hl=en
Populate dataLayer variable:
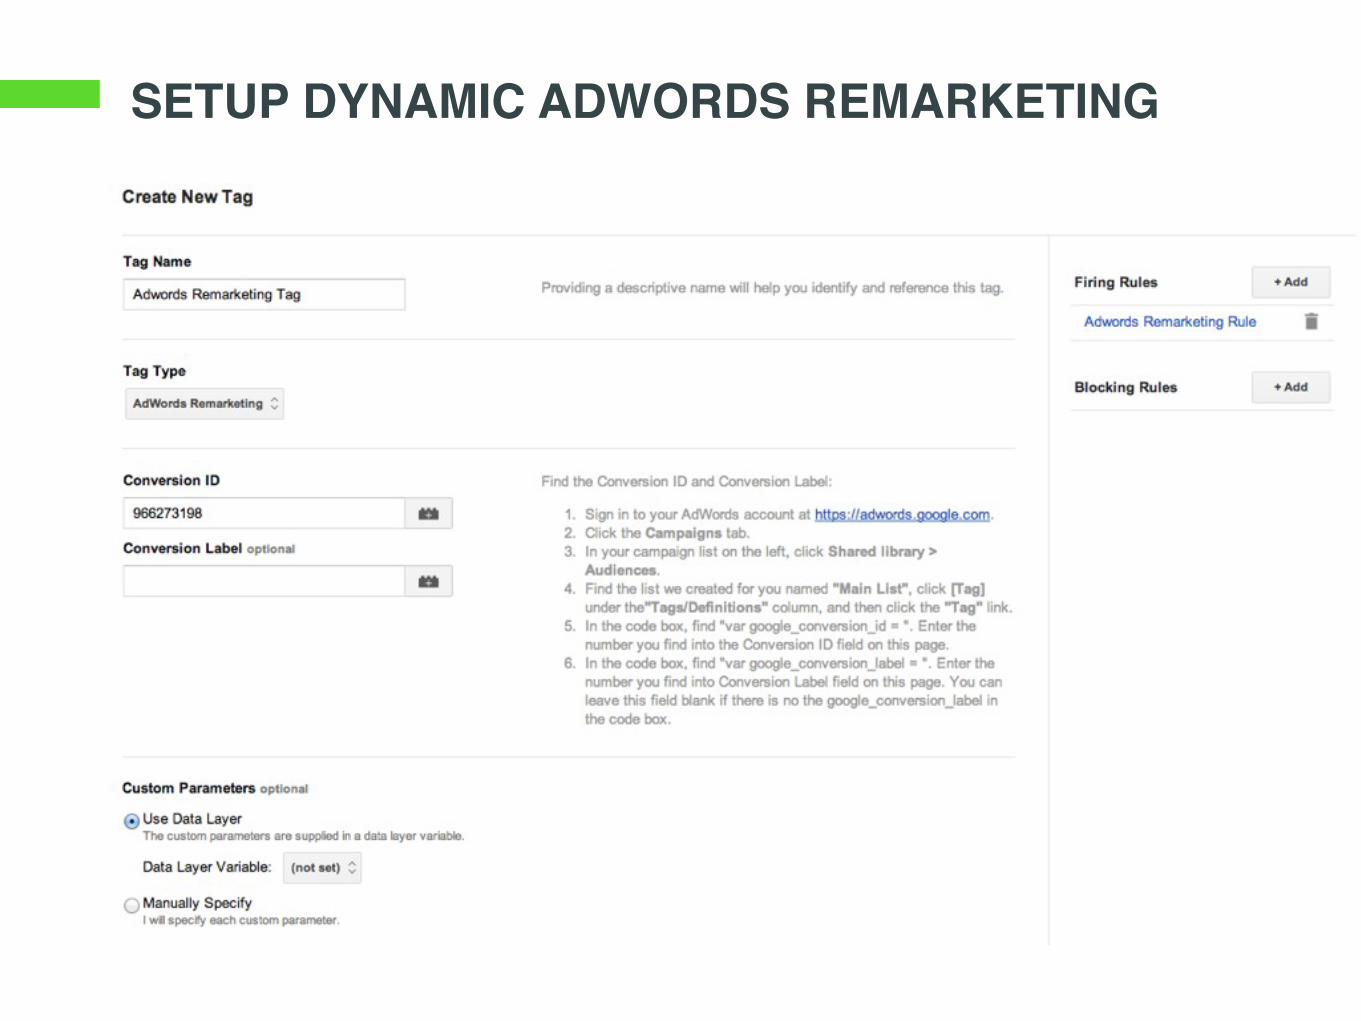
SETUP DYNAMIC ADWORDS REMARKETING
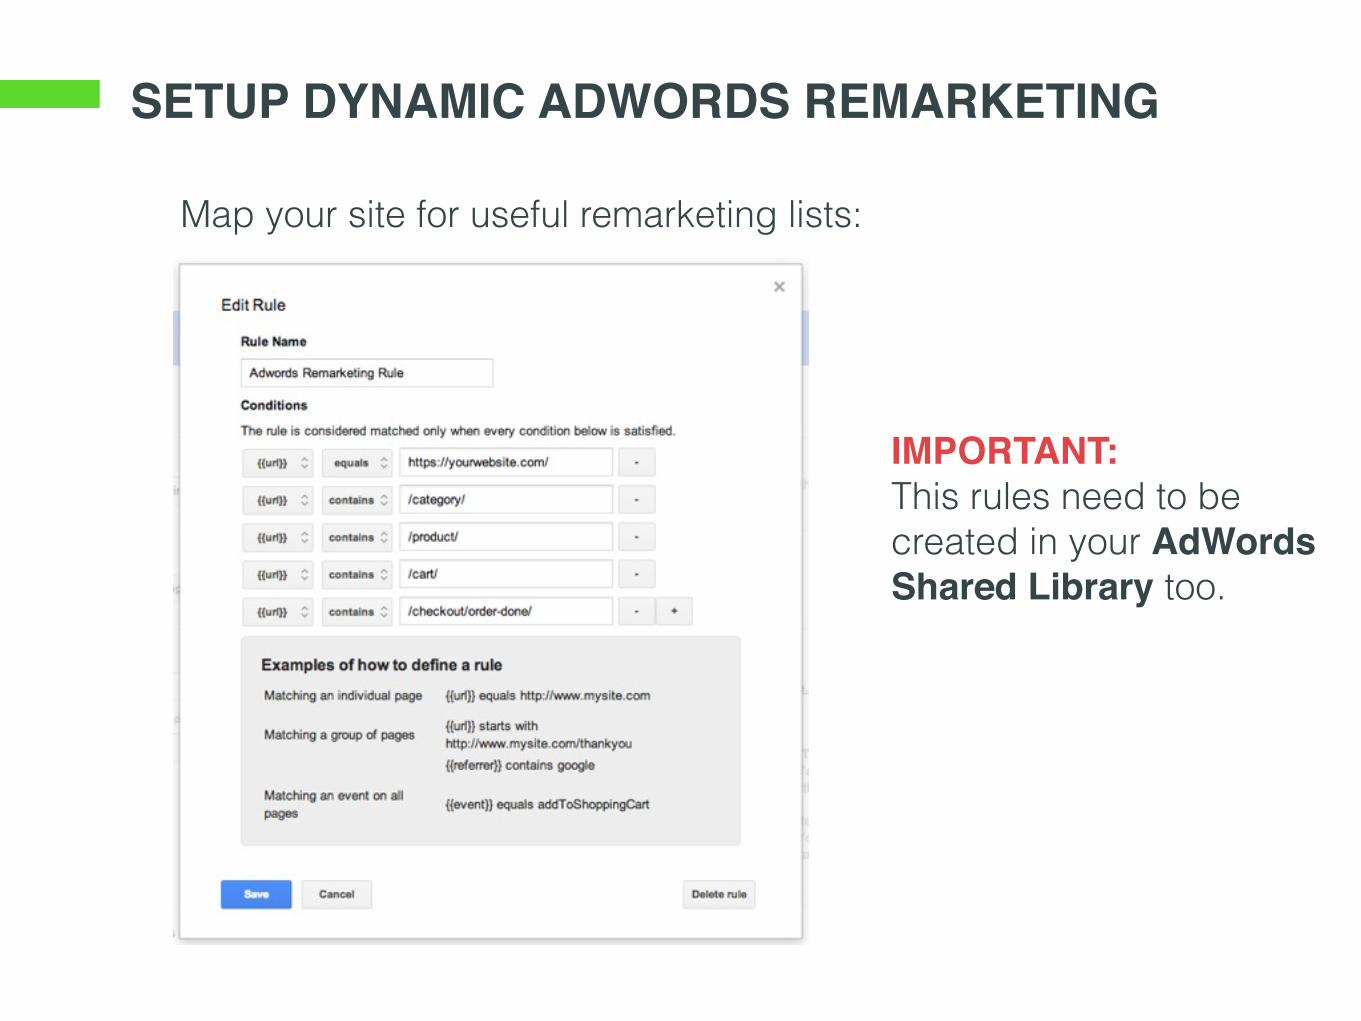
SETUP DYNAMIC ADWORDS REMARKETING
Map your site for useful remarketing lists:
IMPORTANT:This rules need to be created in your AdWords Shared Library too.
REFERENCES• http://trends.builtwith.com/widgets/tag-management
• https://www.dropbox.com/s/z308ef84a1rz2ia/Dev%20-%20GTM%20guide%20v3_7.pdf?n=9486393
• http://services.google.com/fh/files/misc/gtm_technical_cheat_sheet.pdf
• http://cutroni.com/blog/2012/10/01/implementing-google-analytics-with-google-tag-manager/
• https://support.google.com/tagmanager/answer/2699097?hl=en
• https://support.google.com/tagmanager/answer/3002596
• https://support.google.com/tagmanager/answer/3002580?hl=en
• http://www.google.com/tagmanager/faq.html
TAG ASSYSTANT - CHROME EXTENSION• http://goo.gl/Qi51yO
GIST• https://gist.github.com/leoberdu/40cc2902d7cfcf44985b