getting started with raspberry pi and arduino
TRANSCRIPT

Raspberry Pi
Arduino
Getting Started with …

http://www.slideshare.net/chadmairn
@cmairn
Agenda
• Learn what an Arduino and Raspberry Pi are and what they can do
• Explore the Arduino and Raspberry Pi Development Environments
• See innovative Arduino and Raspberry Pi projects
• Start a resource kit for future project ideas
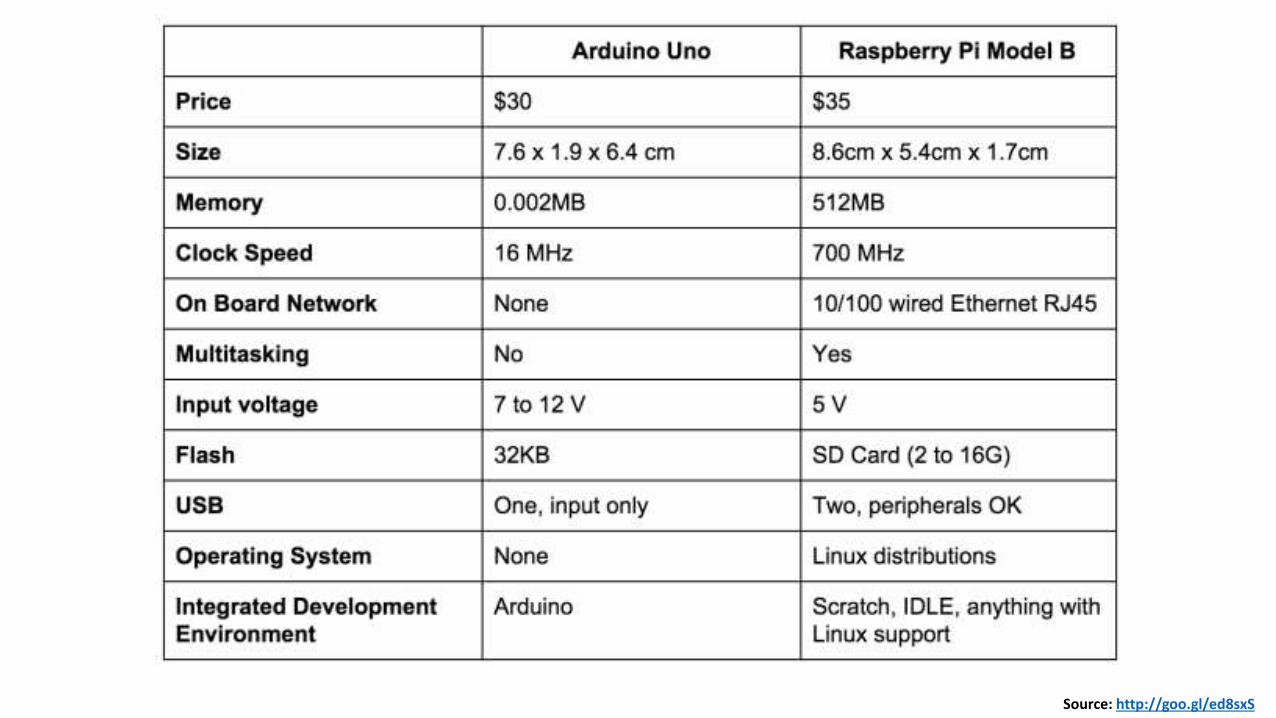
What’s the difference?

• A mini-computer
• Requires an operating system
• Has a micro-SD card for storage
• Built-in Ethernet
• Plug in a keyboard and monitor
• Can run Linux
• Is very cool!
Raspberry Pi
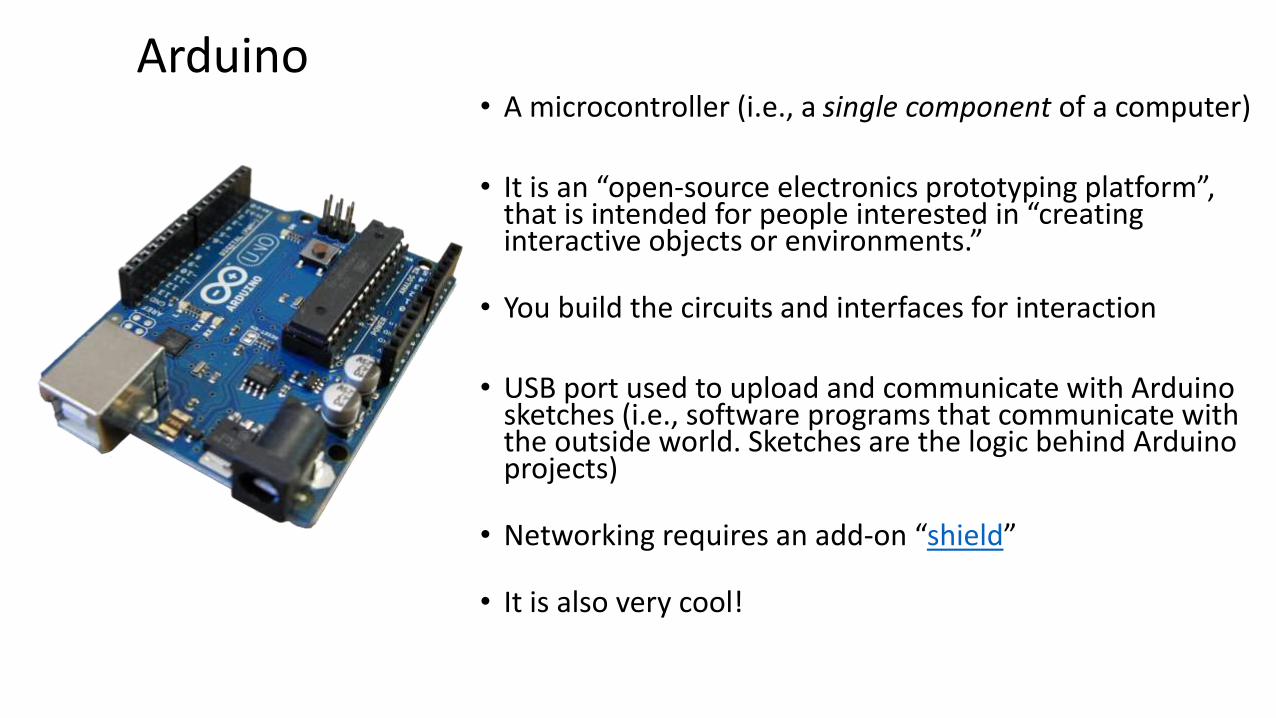
• A microcontroller (i.e., a single component of a computer)
• It is an “open-source electronics prototyping platform”, that is intended for people interested in “creating interactive objects or environments.”
• You build the circuits and interfaces for interaction
• USB port used to upload and communicate with Arduino sketches (i.e., software programs that communicate with the outside world. Sketches are the logic behind Arduino projects)
• Networking requires an add-on “shield”
• It is also very cool!
Arduino
Which one should you get?
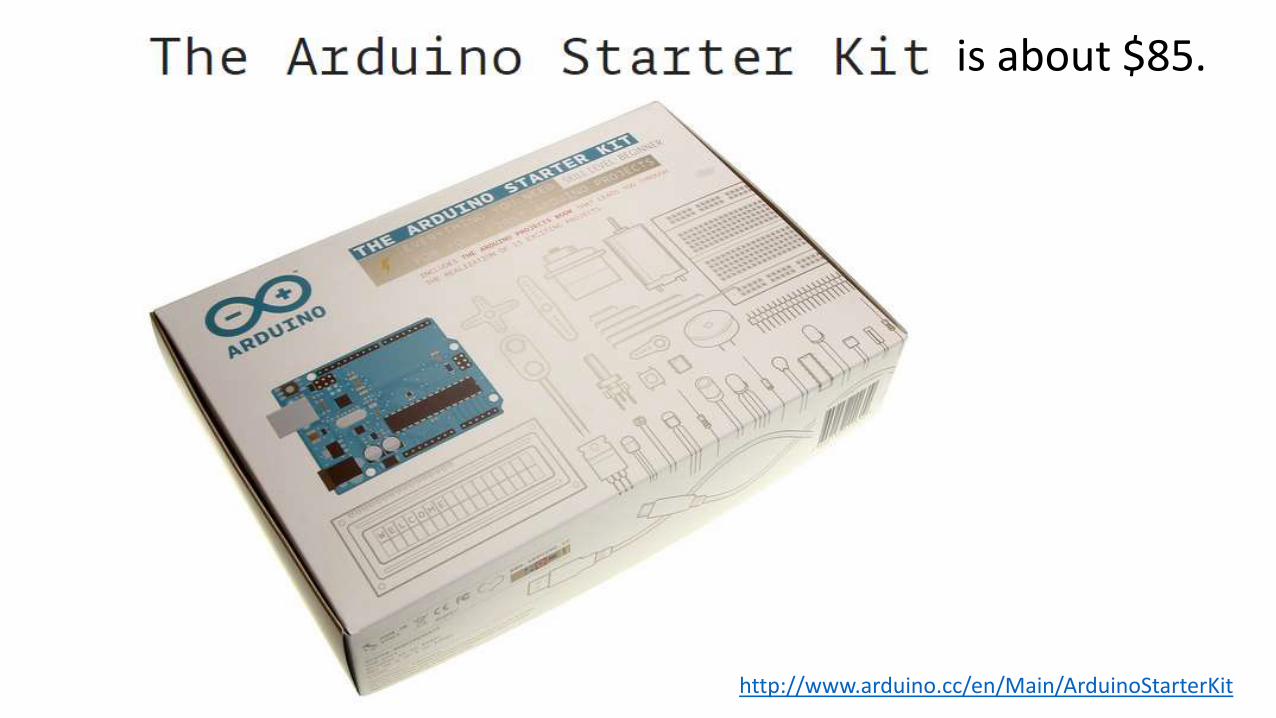
http://www.arduino.cc/en/Main/ArduinoStarterKit
is about $85.
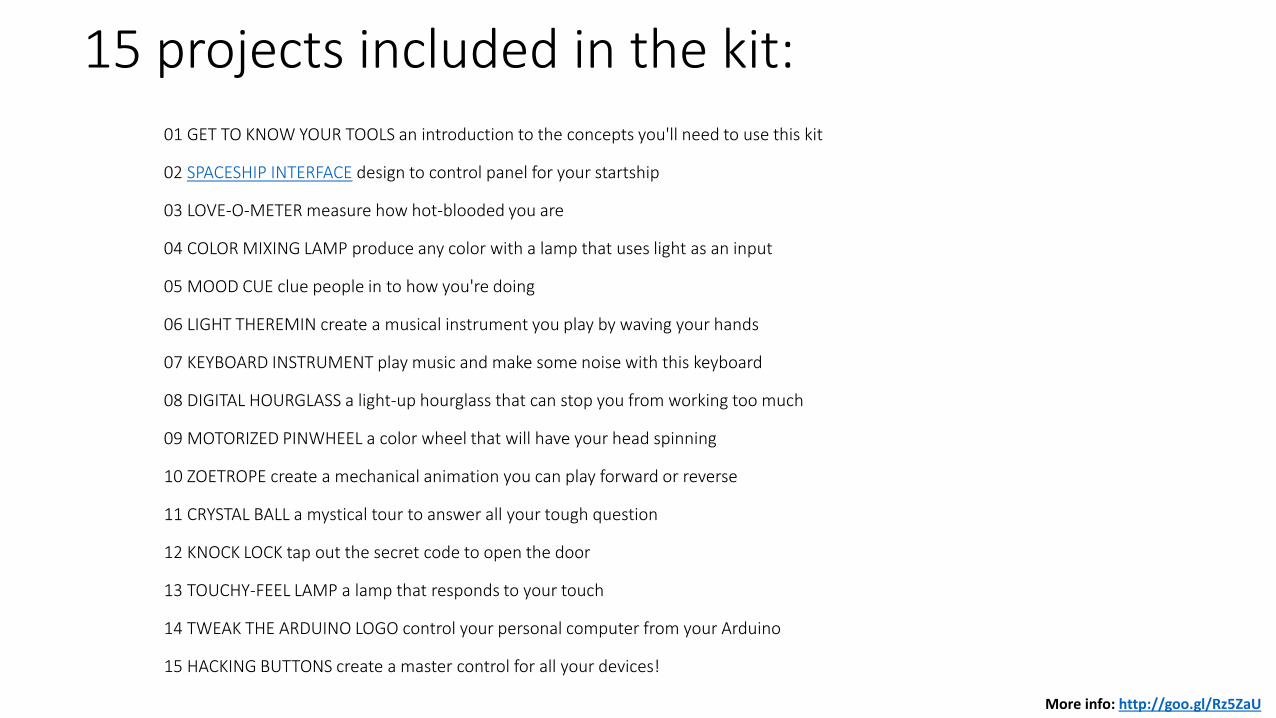
15 projects included in the kit:01 GET TO KNOW YOUR TOOLS an introduction to the concepts you'll need to use this kit
02 SPACESHIP INTERFACE design to control panel for your startship
03 LOVE-O-METER measure how hot-blooded you are
04 COLOR MIXING LAMP produce any color with a lamp that uses light as an input
05 MOOD CUE clue people in to how you're doing
06 LIGHT THEREMIN create a musical instrument you play by waving your hands
07 KEYBOARD INSTRUMENT play music and make some noise with this keyboard
08 DIGITAL HOURGLASS a light-up hourglass that can stop you from working too much
09 MOTORIZED PINWHEEL a color wheel that will have your head spinning
10 ZOETROPE create a mechanical animation you can play forward or reverse
11 CRYSTAL BALL a mystical tour to answer all your tough question
12 KNOCK LOCK tap out the secret code to open the door
13 TOUCHY-FEEL LAMP a lamp that responds to your touch
14 TWEAK THE ARDUINO LOGO control your personal computer from your Arduino
15 HACKING BUTTONS create a master control for all your devices!
More info: http://goo.gl/Rz5ZaU

The Arduino Uno Board
Image source: http://goo.gl/bzIvDY
Other Arduino hardware
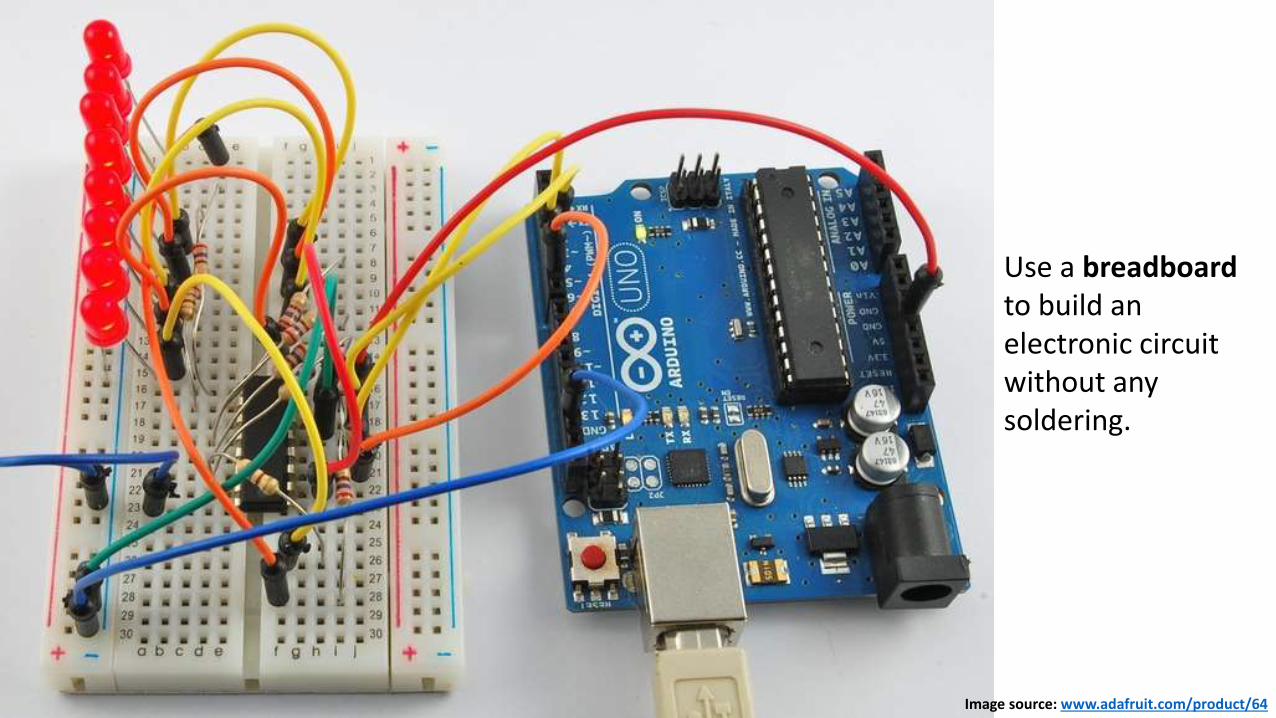
Image source: www.adafruit.com/product/64
Use a breadboard to build an electronic circuit without any soldering.

Electronic ComponentsBattery SnapCapacitorsDiodeGelsH-bridgeJumper wiresLight Emitting DiodesMale Header PinsOptocouplerPiezoPhotoresistorPotentiometerPushbuttonsResistorsTilt sensorTemperature SensorTransistor
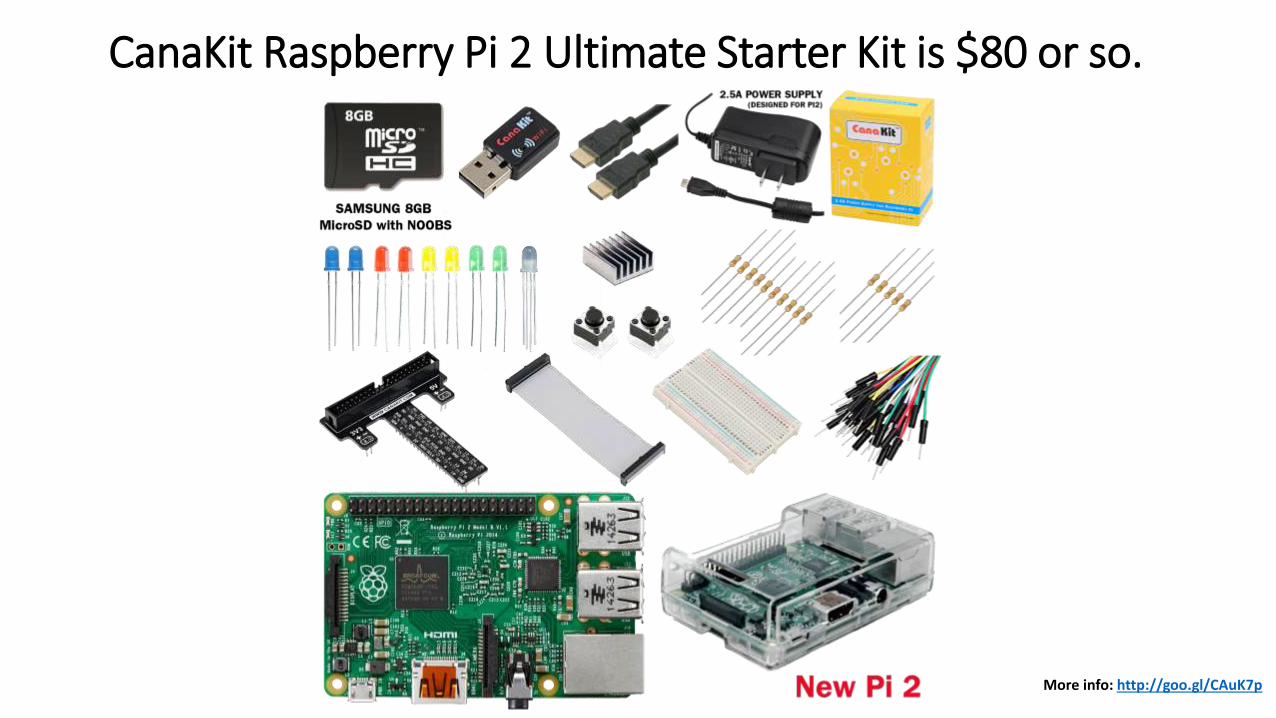
CanaKit Raspberry Pi 2 Ultimate Starter Kit is $80 or so.
More info: http://goo.gl/CAuK7p

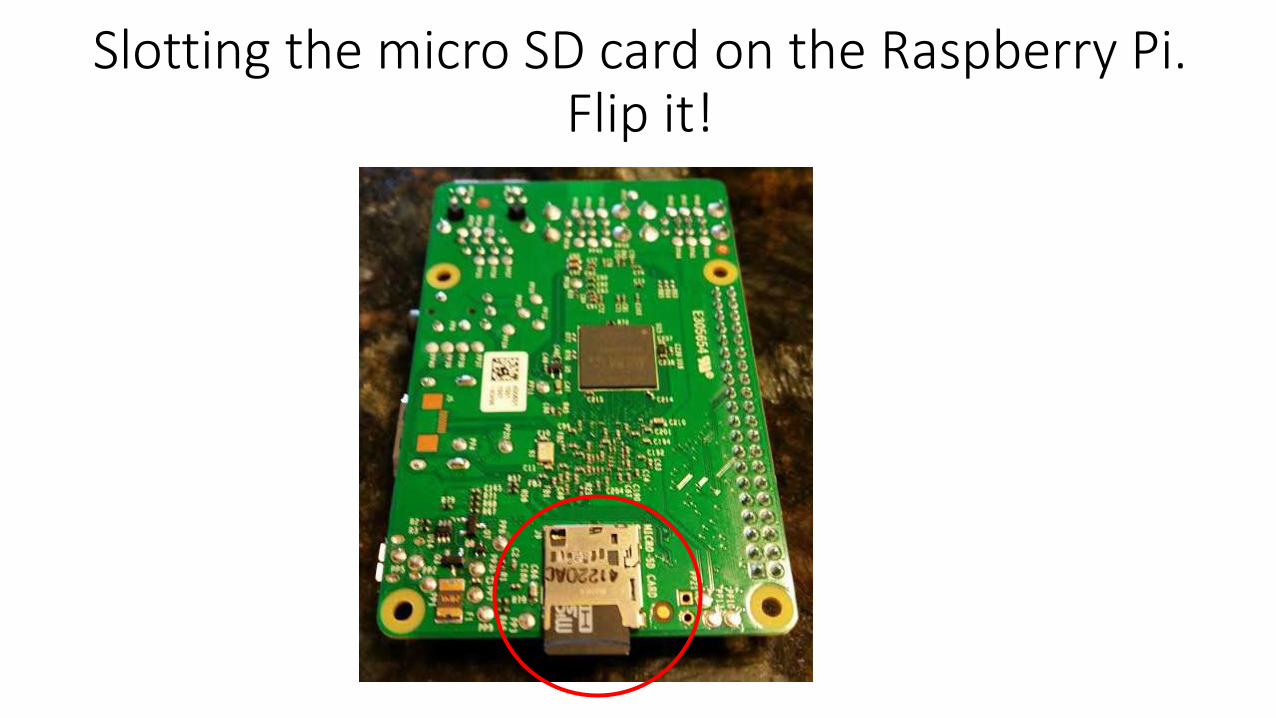
Slotting the micro SD card on the Raspberry Pi. Flip it!
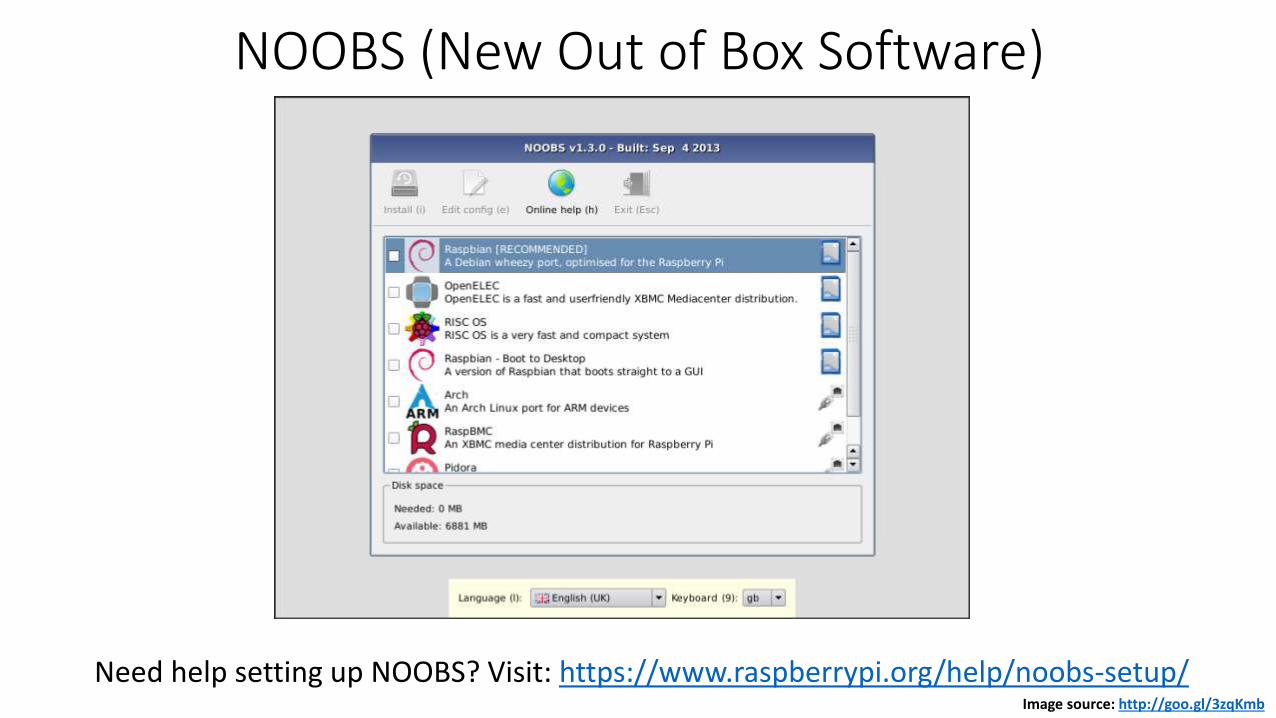
NOOBS (New Out of Box Software)
Image source: http://goo.gl/3zqKmb
Need help setting up NOOBS? Visit: https://www.raspberrypi.org/help/noobs-setup/
Integrated Development Environment (IDE)
An IDE is a software application that provides
comprehensive facilities to computer programmers for
software development. An IDE normally consists of a source
code editor, build automation tools and a debugger.
Arduino IDE download: http://www.arduino.cc/en/Main/SoftwareRaspberry Pi Operating System downloads: https://www.raspberrypi.org/downloads/Top 8 IDE’s for Programmers, Coders and Beginners on the Raspberry Pi: http://goo.gl/kP8uci
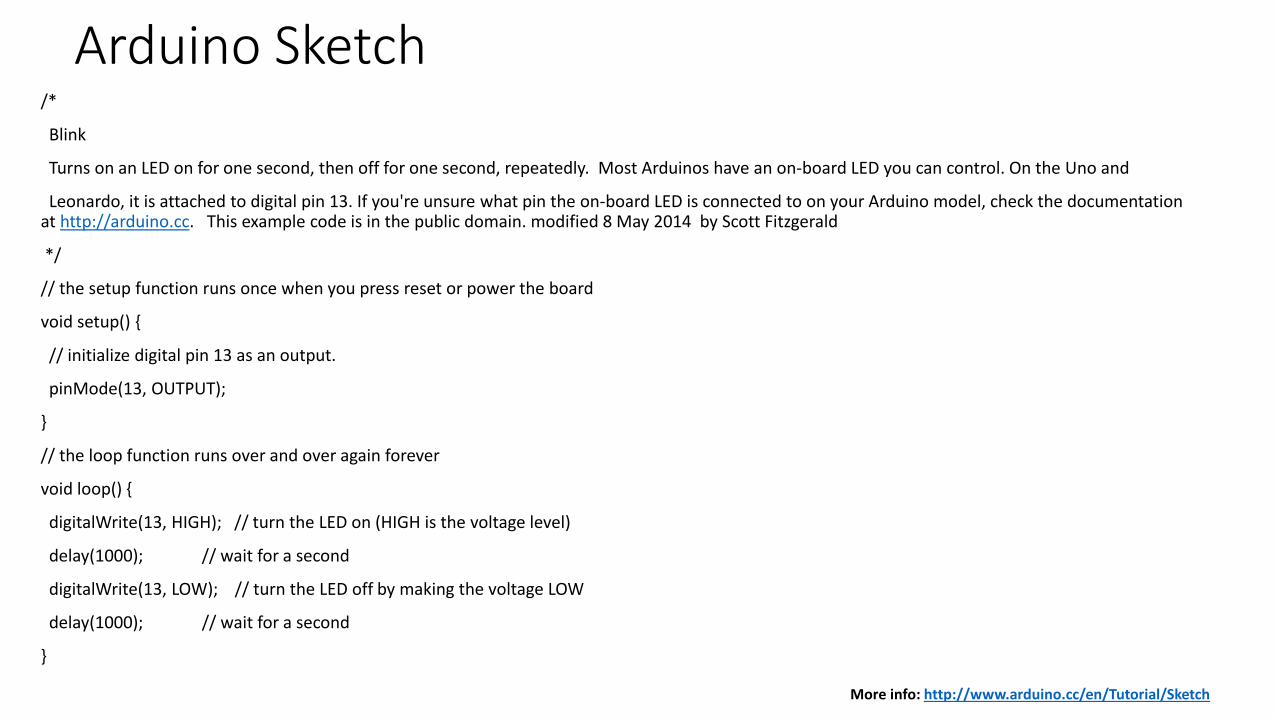
Arduino Sketch/*
Blink
Turns on an LED on for one second, then off for one second, repeatedly. Most Arduinos have an on-board LED you can control. On the Uno and
Leonardo, it is attached to digital pin 13. If you're unsure what pin the on-board LED is connected to on your Arduino model, check the documentation at http://arduino.cc. This example code is in the public domain. modified 8 May 2014 by Scott Fitzgerald
*/
// the setup function runs once when you press reset or power the board
void setup() {
// initialize digital pin 13 as an output.
pinMode(13, OUTPUT);
}
// the loop function runs over and over again forever
void loop() {
digitalWrite(13, HIGH); // turn the LED on (HIGH is the voltage level)
delay(1000); // wait for a second
digitalWrite(13, LOW); // turn the LED off by making the voltage LOW
delay(1000); // wait for a second
}
More info: http://www.arduino.cc/en/Tutorial/Sketch
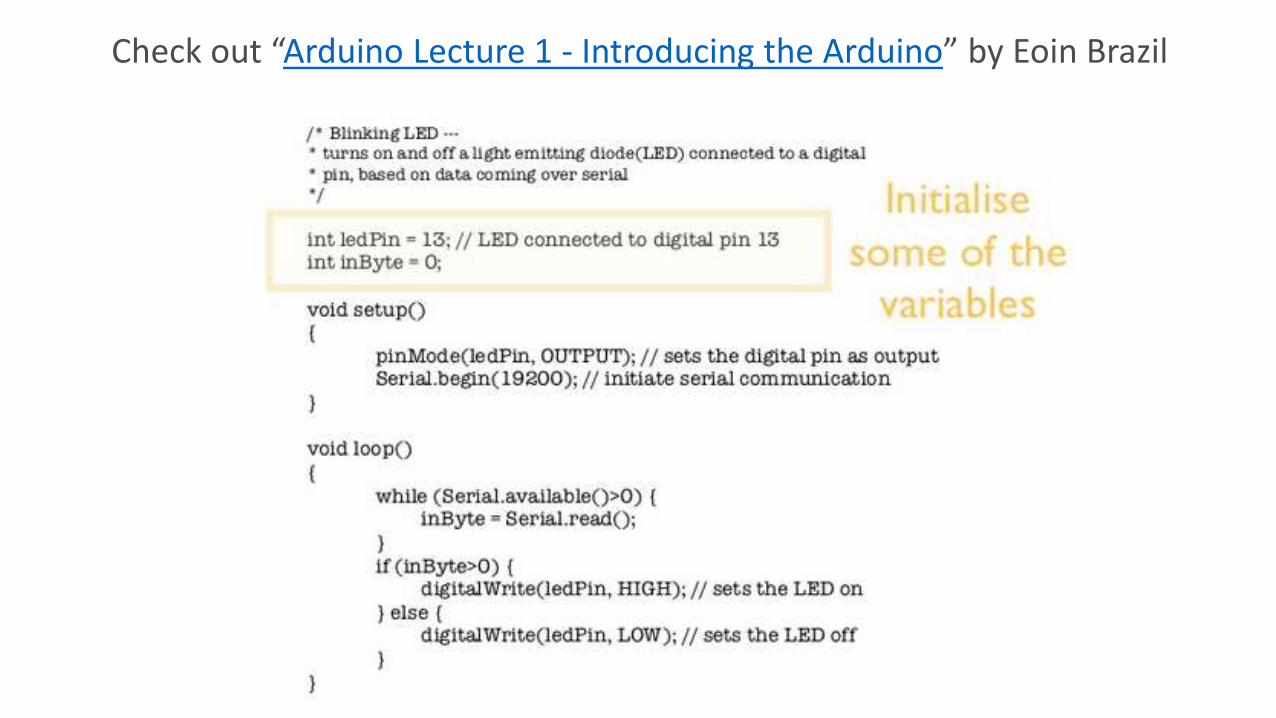
Check out “Arduino Lecture 1 - Introducing the Arduino” by Eoin Brazil

Introducing Dylan Harvey, an SPC iLab Volunteer.
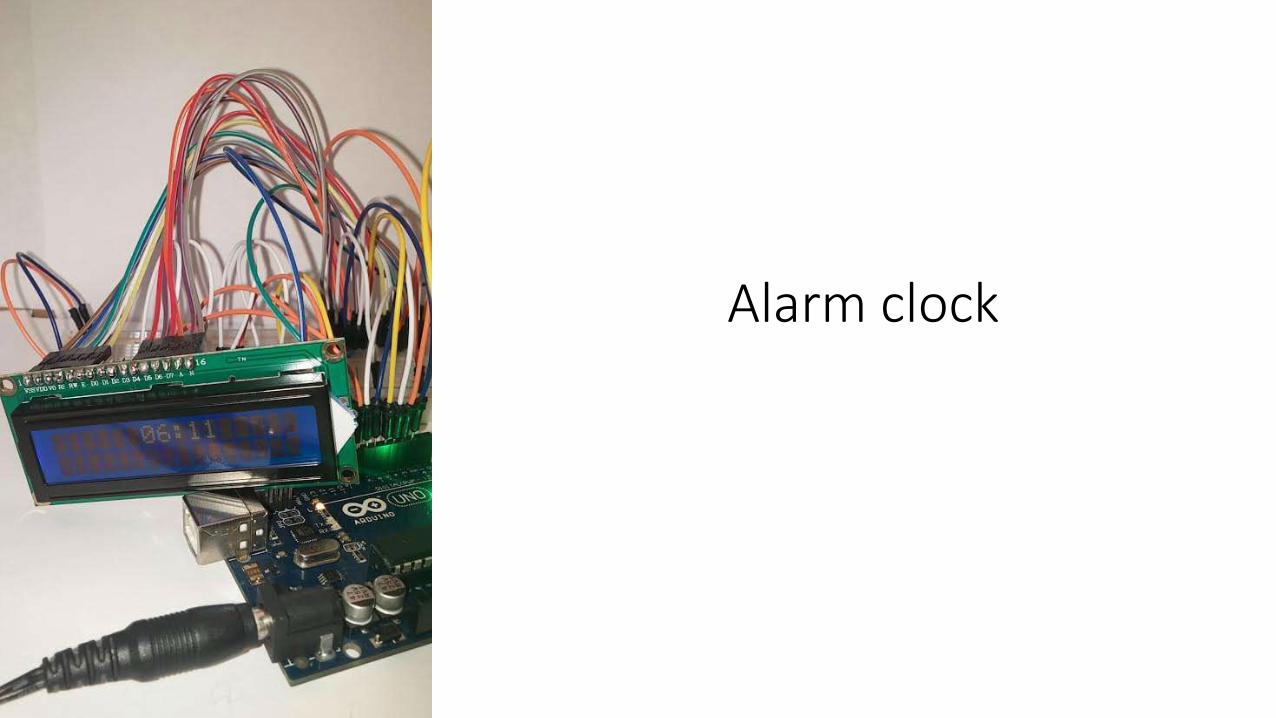
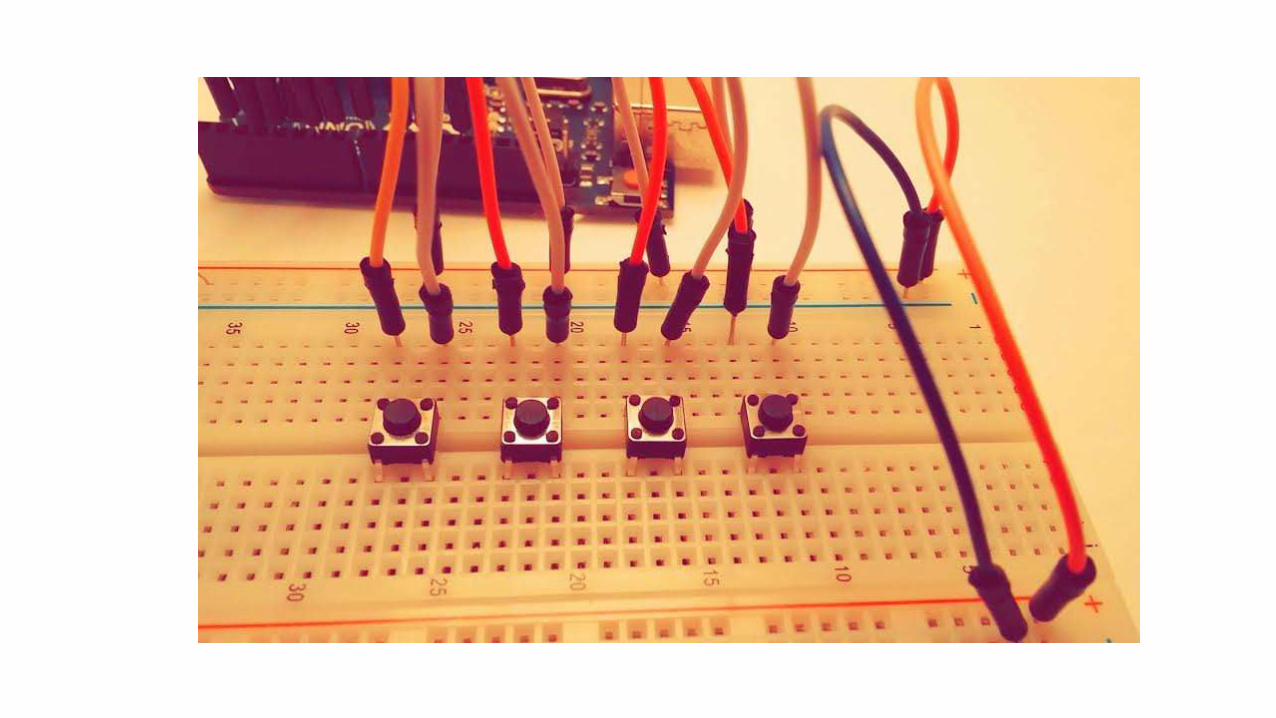
Alarm clock
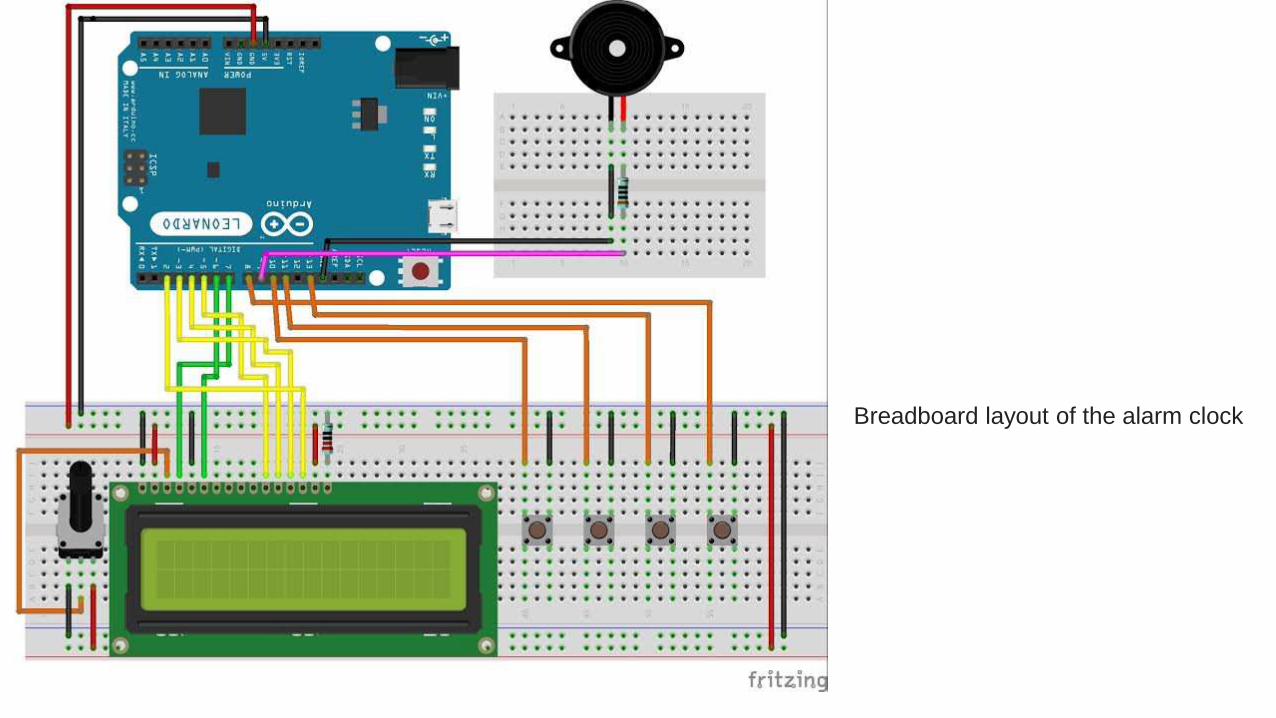
Breadboard layout of the alarm clock

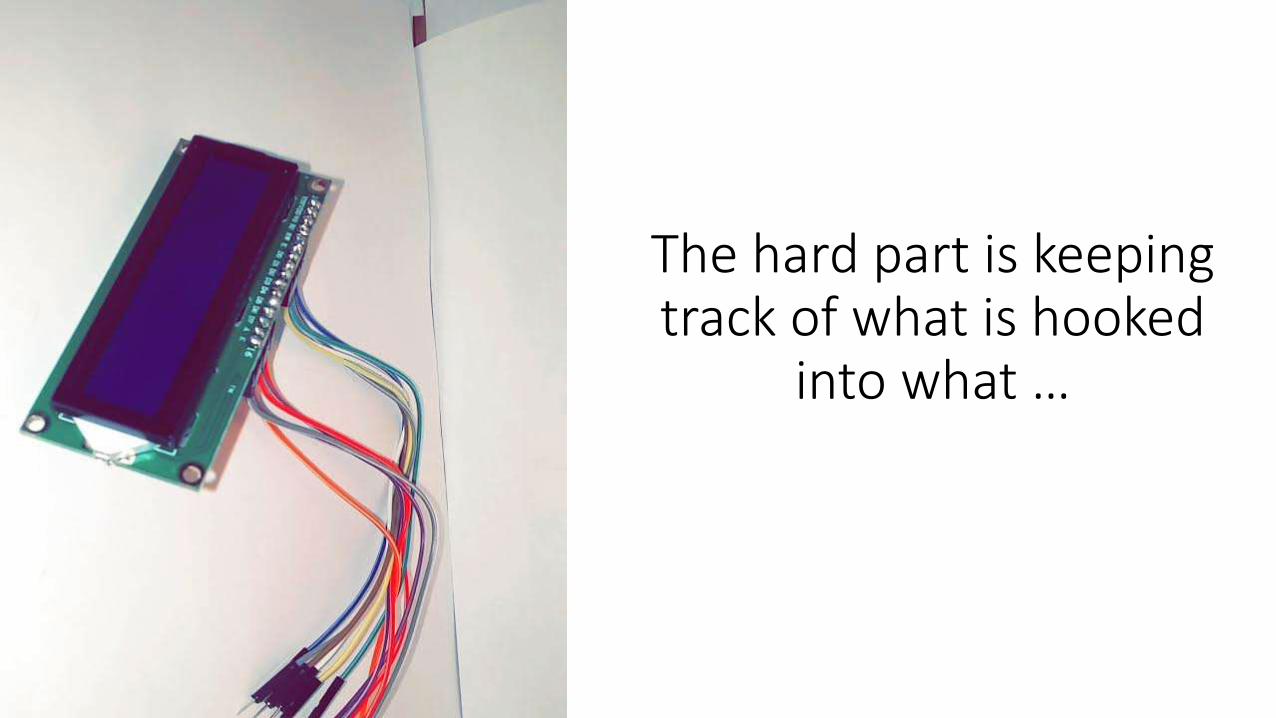
The hard part is keeping track of what is hooked
into what …
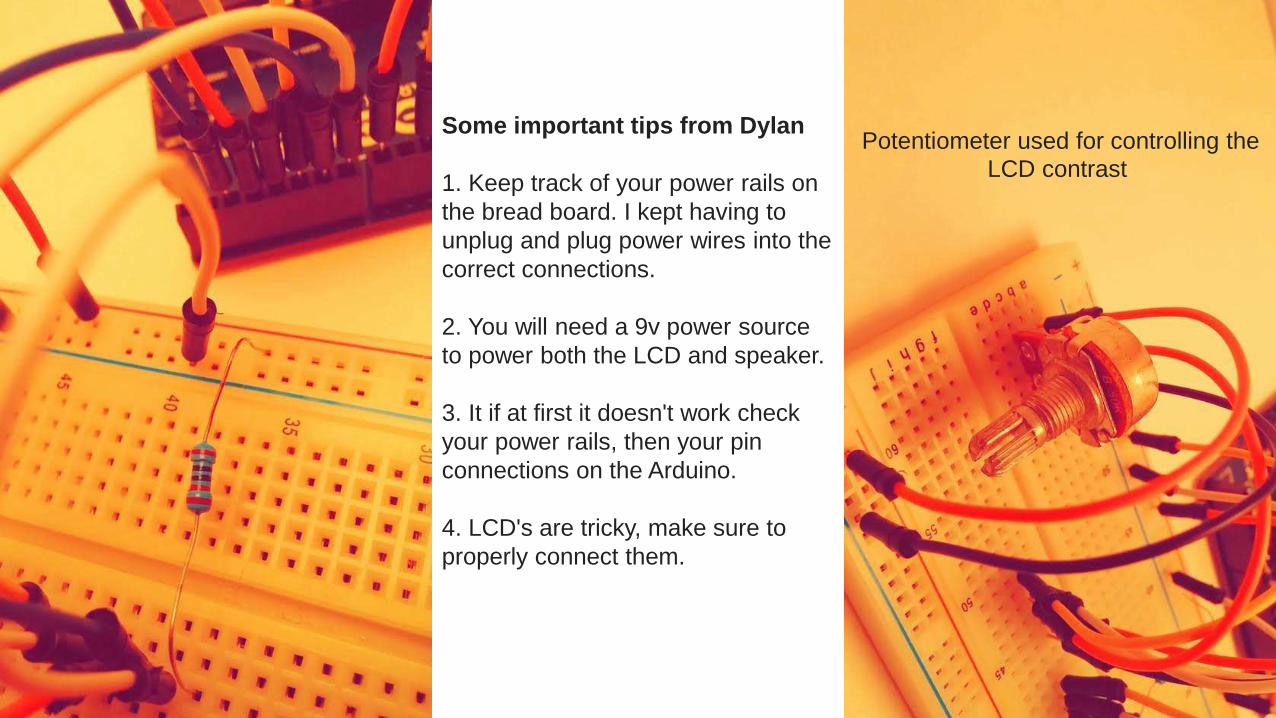
Potentiometer used for controlling the
LCD contrast
Some important tips from Dylan
1. Keep track of your power rails on
the bread board. I kept having to
unplug and plug power wires into the
correct connections.
2. You will need a 9v power source
to power both the LCD and speaker.
3. It if at first it doesn't work check
your power rails, then your pin
connections on the Arduino.
4. LCD's are tricky, make sure to
properly connect them.
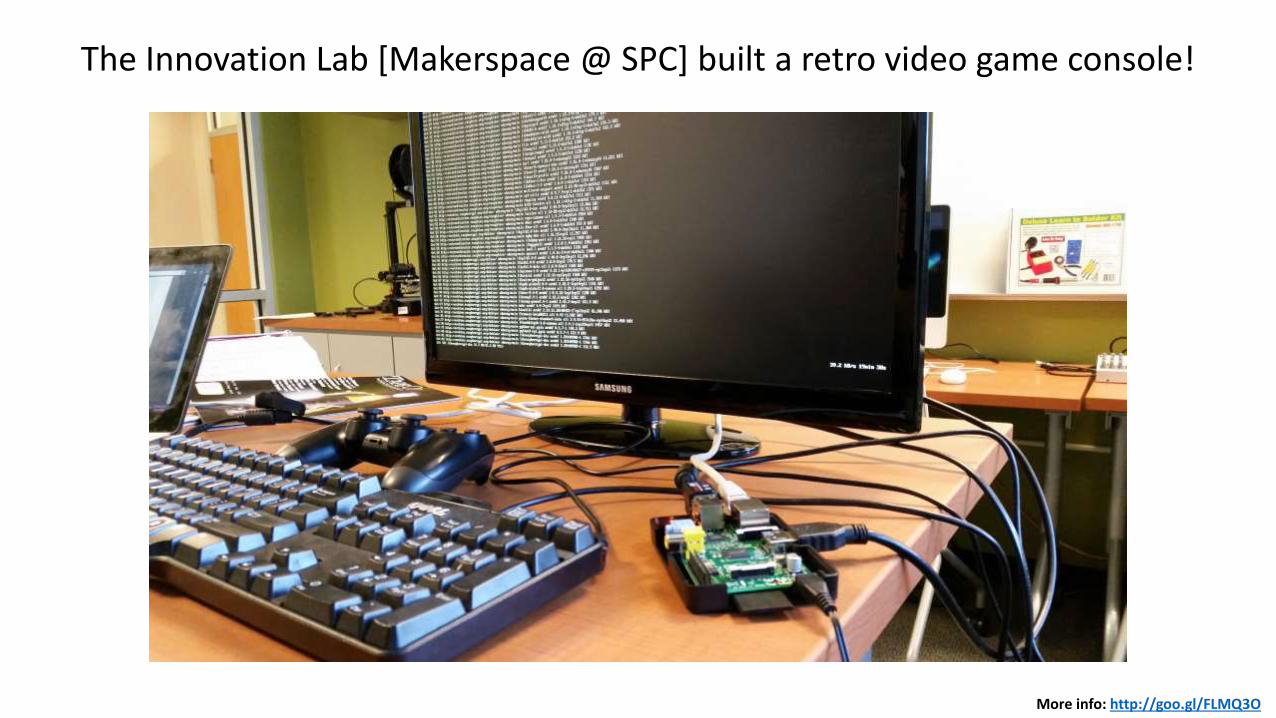
More info: http://goo.gl/FLMQ3O
The Innovation Lab [Makerspace @ SPC] built a retro video game console!

Select Arduino Projects
• Live Electronics Systems with Maxuino
• Create Interactive Electronic Instruments with MaxMSP
• How Arduino And Raspberry Pi Can Enhance Your Connected Home
• Burglar/Fire alarm
• LCD AC Thermostat
• Internet of Things Camera
• Hanging Garden
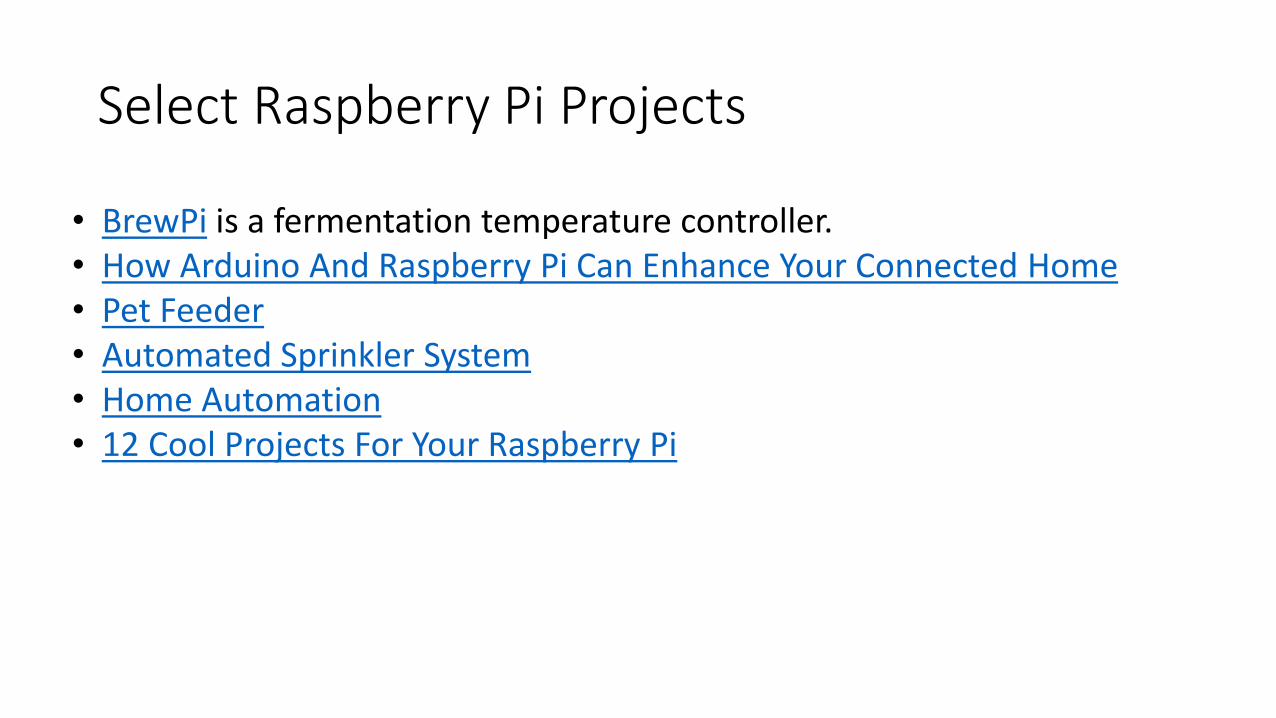
Select Raspberry Pi Projects
• BrewPi is a fermentation temperature controller.• How Arduino And Raspberry Pi Can Enhance Your Connected Home• Pet Feeder • Automated Sprinkler System• Home Automation• 12 Cool Projects For Your Raspberry Pi
Resource Kit
• Arduino YouTube Channel
• Raspberry Pi IV Beginners YouTube Channel
• Adafruit Industries, Unique & fun DIY electronics and kits
• Adafruit Learning System
• Arduino Development Tools
• Raspberry Pi Tools and Resources
• Scratch + Arduino = S4A
Raspberry Pi Resources
• The Raspberry Pi Foundation — FAQs
• The Raspberry Pi Foundation — Project Forums
• Learn Raspberry Pi with Adafruit
• Element 14 (Pi’s manufacturer) Raspberry Pi Community
• The Raspberry Pi Wiki
• Raspberry Pi Downloads
Arduino Resources
• Arduino’s Official Getting Started Guide
• Arduino Playground
• Arduino Official Forums
• Learn Arduino with Adafruit
• r/arduino on Reddit
spcilab. .com
Connect with the iLab …
/groups/spcilab
spcilab. .com
.com/innovation-lab-makerspace-spc

What are you doing?

http://www.slideshare.net/chadmairn
@cmairn
Let’s
Hangout!
gplus.to/chadmairn