geometry in the world of art...this unit connects geometry with art. students explore geometric...
TRANSCRIPT

GEOMETRY IN THE WORLD OF ART !
USING ARTISTS SUCH AS WASSILY
KANDINSKY TO EXPLORE MATHEMATIC
CONCEPTS IN THE FIFTH GRADE.

OVERVIEW OF THE UNIT:
This unit connects geometry with art. Students explore geometric shapes and concepts using a geoboard. Students use the Internet to research the Russian artist Wassily Kandinsky. They define geometric shapes and lines within his works and design their own piece of art using Kandinsky’s techniques and their knowledge of geometry.

EXPECTATIONS FOR THE UNIT
ART FORMS USED:
Fine arts Creating geometric figures with lines of symmetry. Creating their own Kandinsky style art works. Art appreciation
Researching artist Wassily Kandinsky and analyzing his work.
OBJECTIVES:
• Describe location and movement using common language and geometric vocabulary.
• Build and draw geometric objects.
• Create and describe mental images of objects, patterns, and paths.
• Recognize geometric ideas and relationships and apply them to other disciplines and to problems that arise in the classroom or in everyday life.

Finding Lines of Symmetry Students identify lines of symmetry and congruent figures. They explore these concepts with paper cutting and modeling on the geoboard.
Who Was Wassily Kandinsky? This lesson provides students with n exploration of the geometric figures Wassily Kandinsky used in his art. Students participate in a scavenger hunt to become familiar with Kandinsky’s works and the geometric figures used in his paintings. Students use paintings in the to connect their knowledge of geometric shapes and terms with Kandinsky’s use of geometric figures.
Mirroring Kandinsky This lesson allows students to apply what they have learned in previous lessons by designing their own art. Students use Kandinsky's style of art and their own creativity to make paintings that reflect their understanding of geometry.
LESSON PLAN ORDER

DOCUMENTATION AND MATERIALS NEEDED FOR LESSONS.
Materials: • Geoboards or
• Virtual Boards using internet accessible computers.
• Colored paper
• Scissors (each student)
• Dot Paper
• Mirrors
• Creating Lines of Symmetry Activity Sheets
• Lines of Symmetry Overhead
Grade 4, Geometry CCSS.Math.Content.4.G.A.3
Recognize a line of symmetry for a two-dimensional figure as a line across the figure such that the figure can be folded along the line into matching parts. Identify line-symmetric figures and draw lines of symmetry.
Students will:
Make symmetrical shapes
Make similar and congruent shapes
Record shapes on dot paper
LESSON ONE
CREATIVITY WHEEL: Original responses and ideas: I can find new ways to do things.
Duration: 1 Session
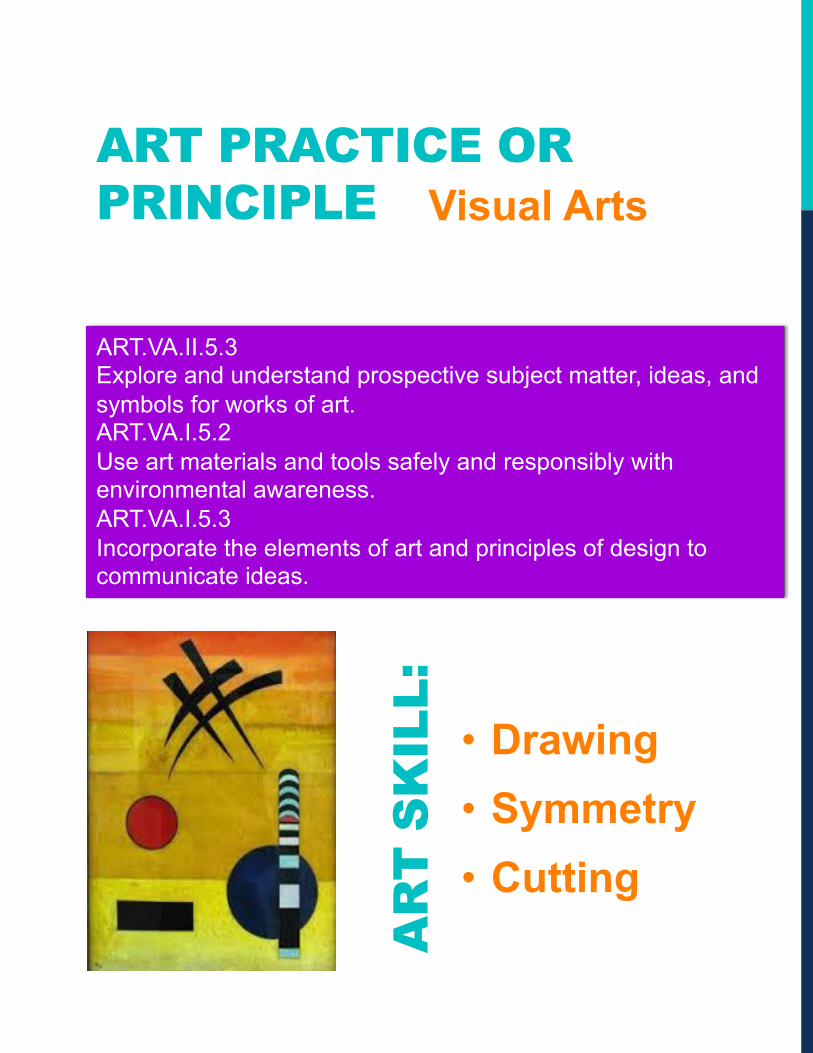
Visual Arts
• Drawing • Symmetry • Cutting
ART PRACTICE OR PRINCIPLE
AR
T S
KIL
L:
ART.VA.II.5.3 Explore and understand prospective subject matter, ideas, and symbols for works of art. ART.VA.I.5.2 Use art materials and tools safely and responsibly with environmental awareness. ART.VA.I.5.3 Incorporate the elements of art and principles of design to communicate ideas.

To assess students' prior knowledge, ask students to fold a piece of colored paper in half and cut a heart shape, leaving the fold attached as they would do to make valentines to share with classmates. When they are finished, direct students to open their folded piece of paper to see that both sides are equal and are a reflection of the other. It may be helpful to have mirrors available so that students can see how dividing a figure with a line of symmetry creates a mirror image of the opposite side. An excellent way to connect seasonal holidays with mathematics is to have students cut a shamrock, heart, pilgrim’s hat, snowflake, or other holiday symbol by folding paper and cutting symmetrical figures. This activity engages students in problem solving that requires spatial and visual thinking. The symmetrical figures can be used as the border on a class bulletin board. To begin the lesson, distribute one geoboard strung with rubber bands to each student. Ask students to use one rubber band to create a figure and use a second rubber band to divide it into two equal parts. If you do not define how to divide the figure, students may create many different lines of symmetry, which allows for a rich discussion. The rotations and lines of symmetry teacher resource sheet provides a reference. It is important to note that some figures will not be able to be divided into congruent shapes. As students are attempting to divide their shapes, walk around the classroom to identify examples of shapes which have line symmetry. Ask those students to share their examples. Also talk about which examples do not have line symmetry and why. This will allow for a rich discussion. Next, have students compare their figure with those of a partner and discuss how the figures are the same and how they are different. They should be alike because they are equally divided and one side is the reflection of the other. Have a pair of students show their figures and share the content of their conversation. Listen for students’ understanding of the meaning of symmetry. Ask pairs of students to repeat this process in order to hear the ideas of multiple students. This will help you understand what students know as you begin the lesson so that you can make adjustments. Discuss with the class the meaning of symmetry. It is important to model line and reflectional symmetry and rotational symmetry. You may wish to project the lines of symmetry overhead for students to discuss lines of symmetry in common geometric figures.
OVERVIEW/DESCRIPTION

Encourage students to discuss what they learned by cutting figures that were different from the figures on the geoboard. Discuss flips, turns, and slides. Next, give each student a copy of the creating lines of symmetry activity sheet. Ask students to use a pencil to draw as many lines of symmetry as possible for each figure. Have students discuss their product. Then place a transparent copy of the student learning guide on the overhead and have students volunteer to draw lines of symmetry on each figure. Have students cut out a shape of their choice from the student learning guide. Ask them to cut along one of the lines of symmetry and try to fit the two pieces one on top of the other. The pieces should fit exactly. Flipping and rotating may be necessary to align the sides and angles. Tell students that when two figures are the same size and shape, they are said to be congruent. Repeat the activity once or twice. Model how to make a rectangle with one rubber band using the geoboard. Use a second rubber band to create a line of symmetry. Depending on the experience of your students, it may be best to begin with obvious and frequently presented lines of symmetry. This enables you to accommodate the varying levels of knowledge of your students during whole class instruction. Now that students have experimented with creating symmetrical figures with paper, distribute to each student a geoboard strung with five rubber bands. Direct students to duplicate the same figures on their geoboard that appear on the creating lines of symmetry activity sheet. Ask them to use rubber bands to show lines of symmetry. Provide dot paper so that students may draw the figure as it appears on the geoboard. Keep these as a record of the student’s work. Make notes about the level of understanding students demonstrate on their recording. Use this information to determine the next instructional activity that is appropriate for the students as individuals or as a group. (Formative Assessment)
OVERVIEW/DESCRIPTION
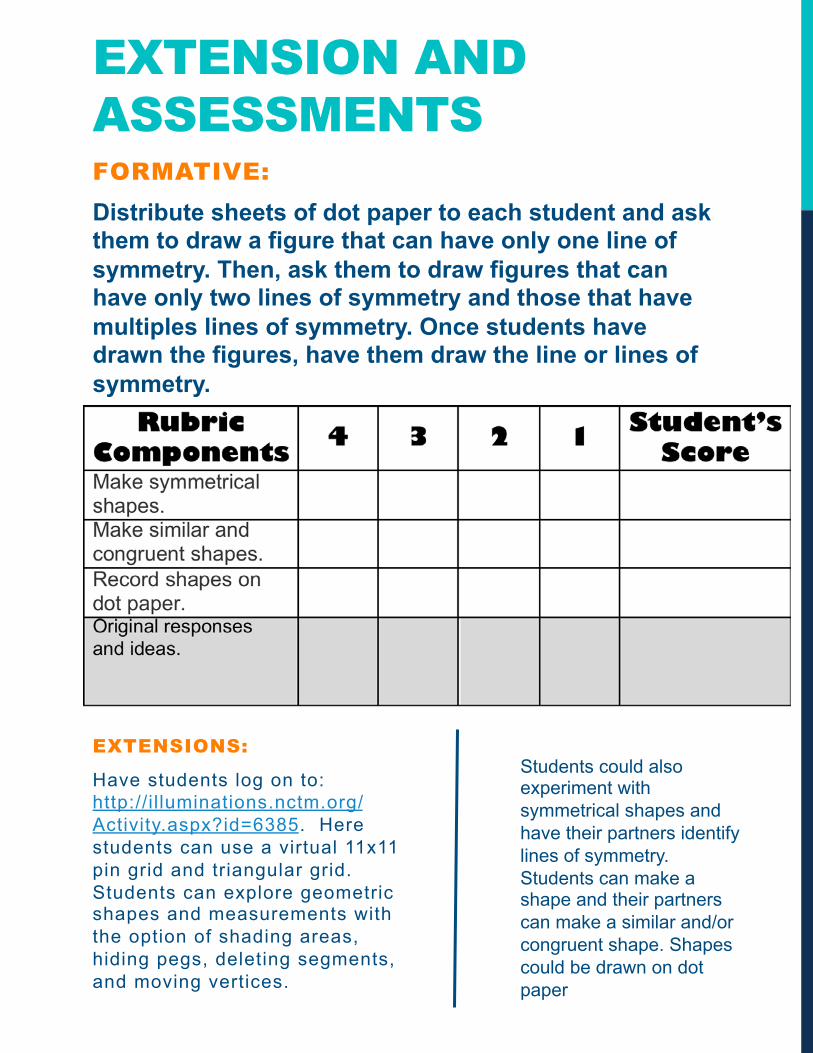
EXTENSION AND ASSESSMENTS FORMATIVE: Distribute sheets of dot paper to each student and ask them to draw a figure that can have only one line of symmetry. Then, ask them to draw figures that can have only two lines of symmetry and those that have multiples lines of symmetry. Once students have drawn the figures, have them draw the line or lines of symmetry.
EXTENSIONS:
Have students log on to: http://il luminations.nctm.org/Activity.aspx?id=6385. Here students can use a virtual 11x11 pin grid and triangular grid. Students can explore geometric shapes and measurements with the option of shading areas, hiding pegs, deleting segments, and moving vertices.
Students could also experiment with symmetrical shapes and have their partners identify lines of symmetry. Students can make a shape and their partners can make a similar and/or congruent shape. Shapes could be drawn on dot paper
Materials: • Computer with Internet Access
• Online Art Encyclopedia
• Scavenger Hunt Activity Sheet
• “The Greedy Triangle” by Marilyn Burns
Grade 5, Geometry
CCSS.Math.Content.5.G.B.4
Classify two-dimensional figures in a hierarchy based on properties.
CCSS.Math.Practice.MP4
Model with mathematics.
Students will:
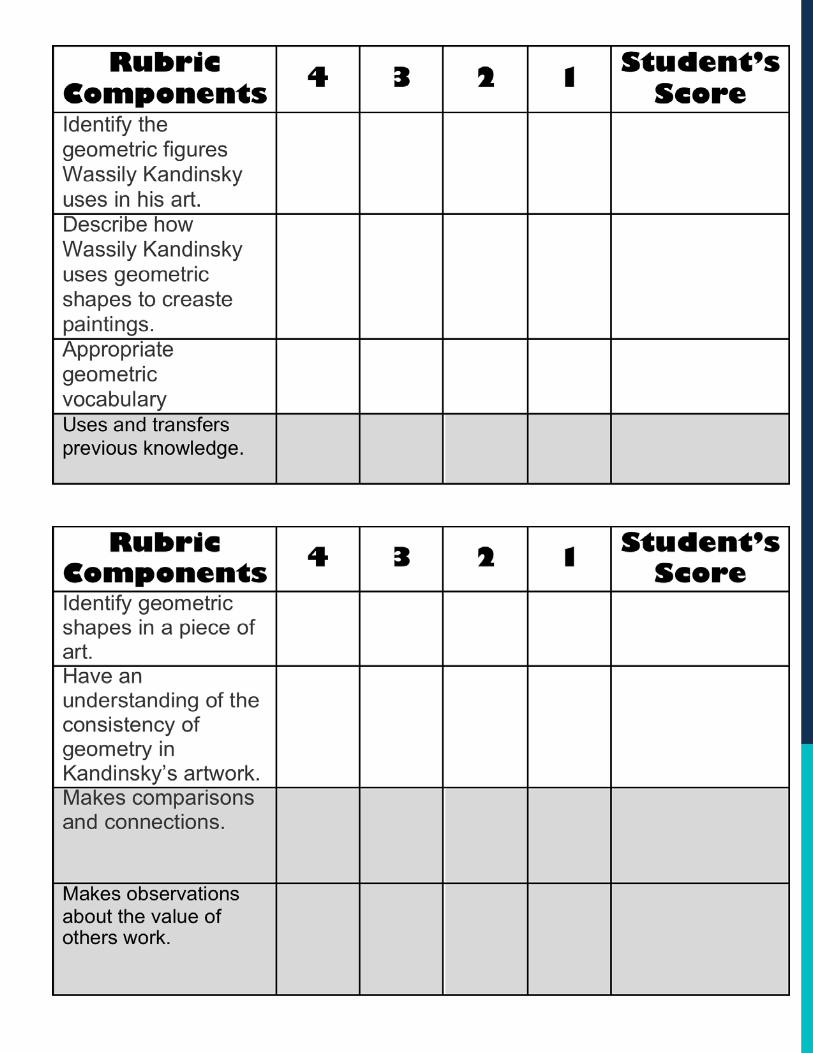
Identify the geometric figures Wassily Kandinksy used in his art.
Describe how Wassily Kandinksy used geometric shapes to create paintings.
Identify geometric shapes in a piece of art
Compare the use of consistency of geometry in several pieces of Kandinsky’s artwork.
LESSON TWO
CREATIVITY WHEEL: q Uses and transfers previous knowledge q Makes comparisons and connections. q Makes observation about the value of
others work.
CCSS.ELA-LITERACY.RI.5.7 Draw on information from multiple print or digital sources, demonstrating the ability to locate an answer to a question quickly or to solve a problem efficiently.
Duration: 2 Sessions

• Art Appreciation • Art History
• Drawing • Abstract Art,
make animals from shapes
• Identify shapes in art
ART PRACTICE OR PRINCIPLE
AR
T S
KIL
L:
ANALYZE IN CONTEXT Standard 4: Understand, analyze, and describe the arts in their historical, social and cultural contexts. ART.VA.IV.5.3 Demonstrate how history, culture, and the visual arts interrelate in making and studying works or art. ANALYZE AND MAKE CONNECTIONS Standard 5: Recognize, analyze and describe connections among the arts; between the arts and other disciplines’ between the arts and everyday life. ART.VA.V.5.1 Explain how visual arts have inherent relationships to everyday life. ART.VA.V.5.4 Synthesize connections between the visual arts and other disciplines in he curriculum.

To assess prior learning, have students identify different shapes and lines used in the classroom. Discuss the relationship between these shapes and lines and those in previous lessons. Ask students to use only a square to create a simple picture of an animal. Have students describe how the shape they selected dictated the animal they created or how the animal they selected dictated the shape they used. This focuses student’s attention on the relationship between properties of figures and their uses. To begin the lesson, organize students in pairs at computers, and ask them to research the artist Wassily Kandinsky. Give them 5-7 minutes to find several sites with Kandinsky paintings, and then encourage them to identify the various geometric figures Kandinsky used in his paintings. If printers are available, you may wish to have each pair of students print images of Kandinsky's work and share them with the class while describing the geometric figures that they found. After a period of exploration, distribute the scavenger hunt activity sheet. Have each pair of students select one painting that is their favorite. Explain that the class will discuss the location of each of the items on the list once the pairs of students complete their searches. Collect the scavenger hunt results from each student to use in the next lesson. (Formative Assessment) Have students write a description of the shapes, color schemes, and designs Kandinsky used in his paintings. Collect these work samples and review them for students’ understanding of geometric figures and their properties. (Formative Assessment)
OVERVIEW/DESCRIPTION

Read aloud The Greedy Triangle by Marilyn Burns. Focus students’ attention on the use of shapes in the environment. Ask students to recall the different geometric shapes (triangle, square, rectangle, pentagon, hexagon, octagon, decagon, trapezoid) and list the properties they have studied in previous lessons. Ask them to describe the different types of lines (parallel, perpendicular, intersecting). Select a Kandinsky painting from the web, and project a copy of it so that each student can easily view the painting. Have students identify different geometric elements of the painting. Have students locate one of the paintings discussed in the previous lesson. Have them work independently to study and list all of the geometric shapes in one painting. Ask them to work with a partner to compare their results. Remind them to check for figures within figures and lines that might serve as sides of figures. Continue the lesson by having students repeat these steps with four more paintings. This activity helps develop observation skills required for science activities. Have students record and compare the different geometric concepts used in the set of paintings. This will help students see the repetition of certain shapes for specific purposes. Have students write a response to the following prompts: Which shapes did Kandinsky use most frequently in his paintings? What properties of these shapes make them adaptable for his paintings?
OVERVIEW/DESCRIPTION

EXTENSION AND ASSESSMENTS
EXTENSIONS
*As group discussion or a take home assignment.
What types of lines do you see in the paintings? What function do they serve?
What shapes are in Shapes, Shapes, Shapes, The Greedy Triangle, and in Kandinsky’s art?
Which shapes did you see that have more than four sides?
Select a Kandinsky painting. How do you think Kandinsky selected the name of the painting
ASSESSMENT
Collect the student work samples and review them to measure the knowledge students have gained about geometric shapes since beginning this series of lessons. This information will be helpful as you determine the performance of each student in meeting the objectives of this lesson. As you read the student descriptions of Kandinsky’s work, watch for appropriate and inappropriate uses of geometric vocabulary.
Pair students and have them take turns making shapes. Have each partner identify the vertices, numbers of sides, types of lines (parallel, perpendicular, intersecting), and types of angles.

Materials: • Colored paper
• Paints and brushes
• You Are the Artist Activity Sheet
• Thinking About My Drawing Activity Sheet
• Class Notes
• Questions for Writing About Kandinsky Overhead
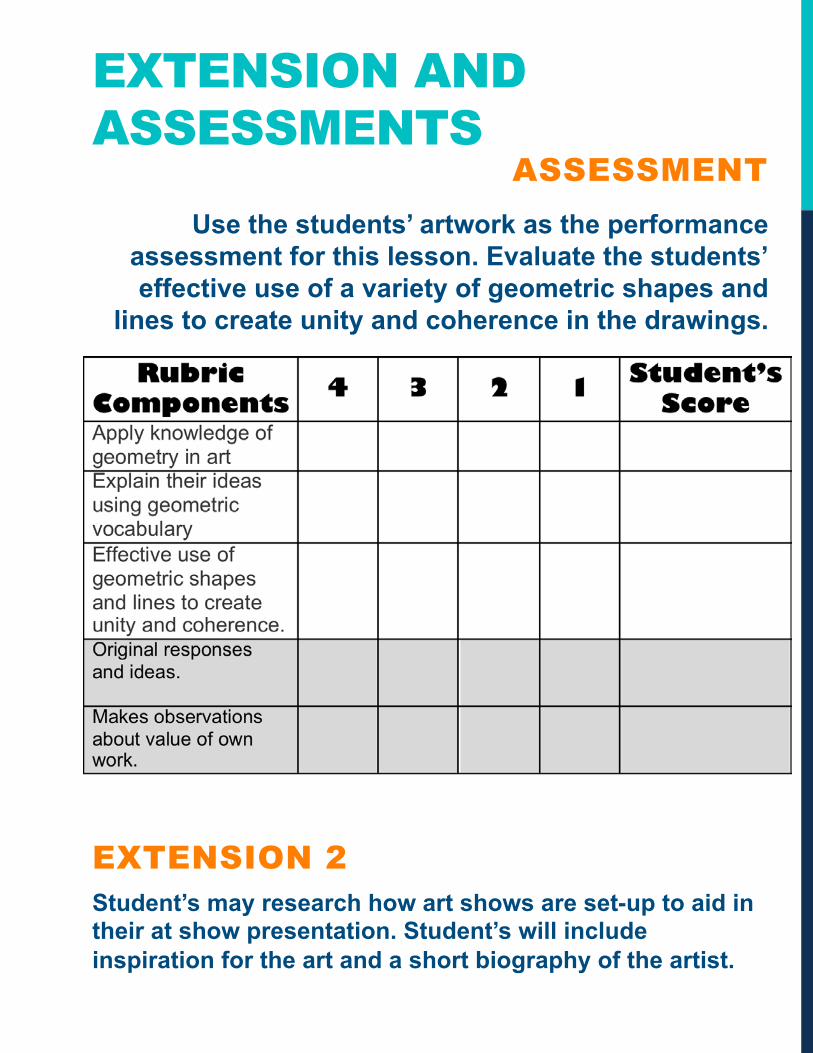
Students will: Apply their knowledge of geometry by creating their own artwork.
Explain their designs using geometric vocabulary.
Grade 5, Geometry CCSS.Math.Content.5.G.B.4
Classify two-dimensional figures in a hierarchy based on properties.
CCSS.Math.Practice.MP4
Model with mathematics.
NCTM Standards and Expectations Describe location and movement using common language and geometric vocabulary.
Build and draw geometric objects.
Create and describe mental images of objects, patterns, and paths.
Recognize geometric ideas and relationships and apply them to other disciplines and to problems that arise in the classroom or in everyday life.
LESSON THREE
CREATIVITY WHEEL: Original responses and ideas. • I can find new ways to do
things. Makes observations about value of own work. • I can see if my work has
achieved its purpose.
Duration: 1 Session

Fine Arts
Abstract painting using Kandinsky style shapes and lines.
ART PRACTICE OR PRINCIPLE
AR
T S
KIL
L:
ART.VA.I.5.4 Participate in the process and delivery of a final product for exhibition or presentation. ART.VA.II.5.1 Synthesize the knowledge of materials, techniques, and processes to create artwork.

Introduce the lesson by telling students that they are going to become artists. Explain that their art needs to contain geometric elements (triangles, points, lines, line segments, squares, circles) similar to Kandinsky's artwork. Cut different geometric shapes from colored paper and model how to create a picture using the shapes. Have students identify all of the geometric elements found in one of Kandinsky's paintings using samples from previous lessons. This should take about several minutes and should be done independently. Discuss as a class the students’ findings and compare what different students observed. By this time, students should see that Kandinsky's art contains many of the same geometric shapes. Have students design a rough draft of their picture on the you are the artist activity sheet. Use the list of terms as a guide. Allow time for students to revise their draft. Then distribute paper to the students and have them create a final drawing using markers or crayons. As you move around the room, ask students to explain why they selected the geometric figures for their particular drawing. Ask them to describe the properties that make the best choice for the picture they created. Gather the class together and invite students to share their drawings. Encourage them to describe how the properties work in their drawings to create a picture. The drawings will be used in an art show at a local community dinner. Posting some of the students’ responses allows others to understand the mathematical connections with the art.
OVERVIEW/DESCRIPTION
EXTENSION AND ASSESSMENTS
ASSESSMENT Use the students’ artwork as the performance
assessment for this lesson. Evaluate the students’ effective use of a variety of geometric shapes and
lines to create unity and coherence in the drawings.
EXTENSION 2 Student’s may research how art shows are set-up to aid in their at show presentation. Student’s will include inspiration for the art and a short biography of the artist.

SUMMATIVE ASSESSMENT
Ask students to study their drawing from the lesson. Then ask them to create a model such as the Graphic Organizer. Use this as a planning tool for organizing writing. Ask the students to write an essay that addresses most of the questions on the Questions for Writing About Kandinksy Overhead. Before they begin writing, ask students to explain the decisions they had to make before drawing, during drawing, and after drawing. Ask them to organize the questions above into three categories. You might wish to use the Thinking About My Drawing Student activity sheet. Remind students to explain how their study of Kandinsky’s paintings helped them understand how to use geometric shapes in art. When the students are ready, ask them to read their paper and show their artwork to the class. Encourage them to pose and answer questions that can be answered looking at the artwork. Ask them to make connections between their process for drawing and their finished product with those of their classmates.
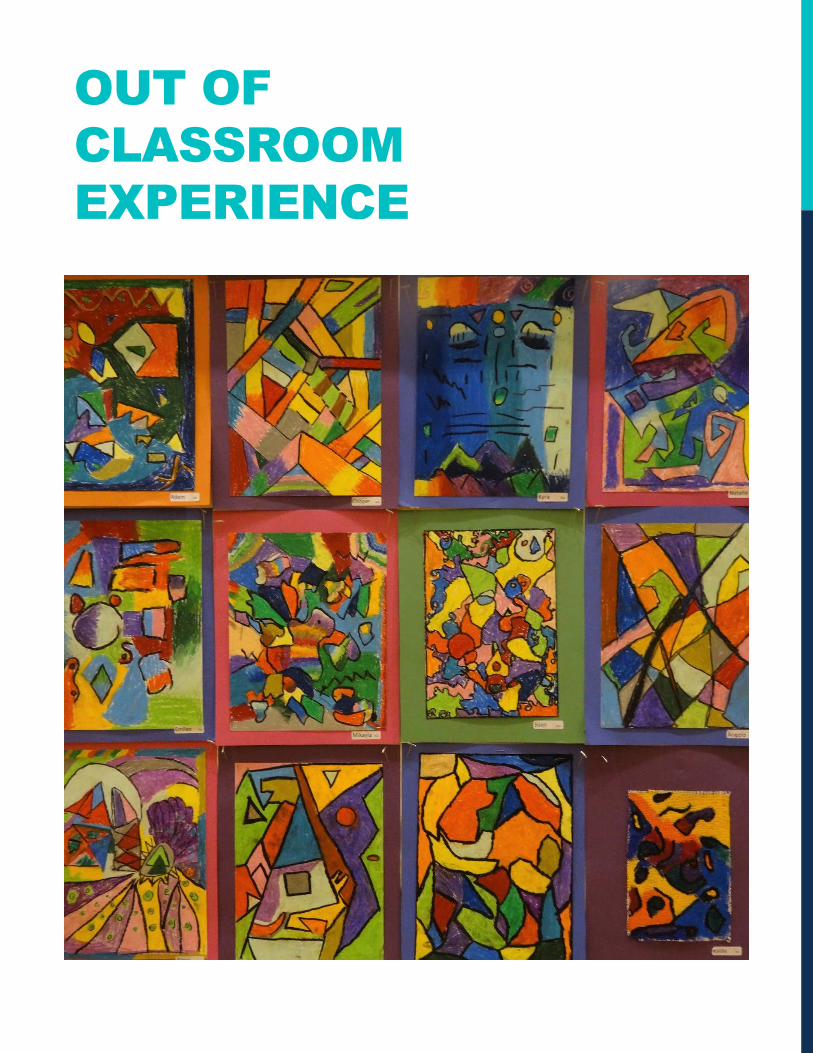
OUT OF CLASSROOM EXPERIENCE

Children will display their art work at a local community dinner. Students will collaborate and decide how to display the art work. Art work will also be accompanied by the written essay done in lesson 4. Students will research examples of art shows and what should be included, for examples artist biographies.
ART SHOW AT COMMUNITY DINNER

RE
SO
UR
CE
S
q http://illuminations.nctm.org
q https://www.michigan.gov/documents/mde/Complete_VPAA_Expectations_June_2011_356110_7.pdf
q http://www.corestandards.org
q https://artsedge.kennedy-center.org/educators
q http://educationcloset.com

© 2008 National Council of Teachers of Mathematics http://illuminations.nctm.org
KWL Chart
What I What I Want What I Know to Know Learned

© 2008 National Council of Teachers of Mathematics http://illuminations.nctm.org
Dot Paper NAME ___________________________
• • • • • • • • • • • • •
• • • • • • • • • • • • •
• • • • • • • • • • • • •
• • • • • • • • • • • • •
• • • • • • • • • • • • •
• • • • • • • • • • • • •
• • • • • • • • • • • • •
• • • • • • • • • • • • •
• • • • • • • • • • • • •
• • • • • • • • • • • • •
• • • • • • • • • • • • •
• • • • • • • • • • • • •
• • • • • • • • • • • • •
• • • • • • • • • • • • •
• • • • • • • • • • • • •
© 2008 National Council of Teachers of Mathematics http://illuminations.nctm.org
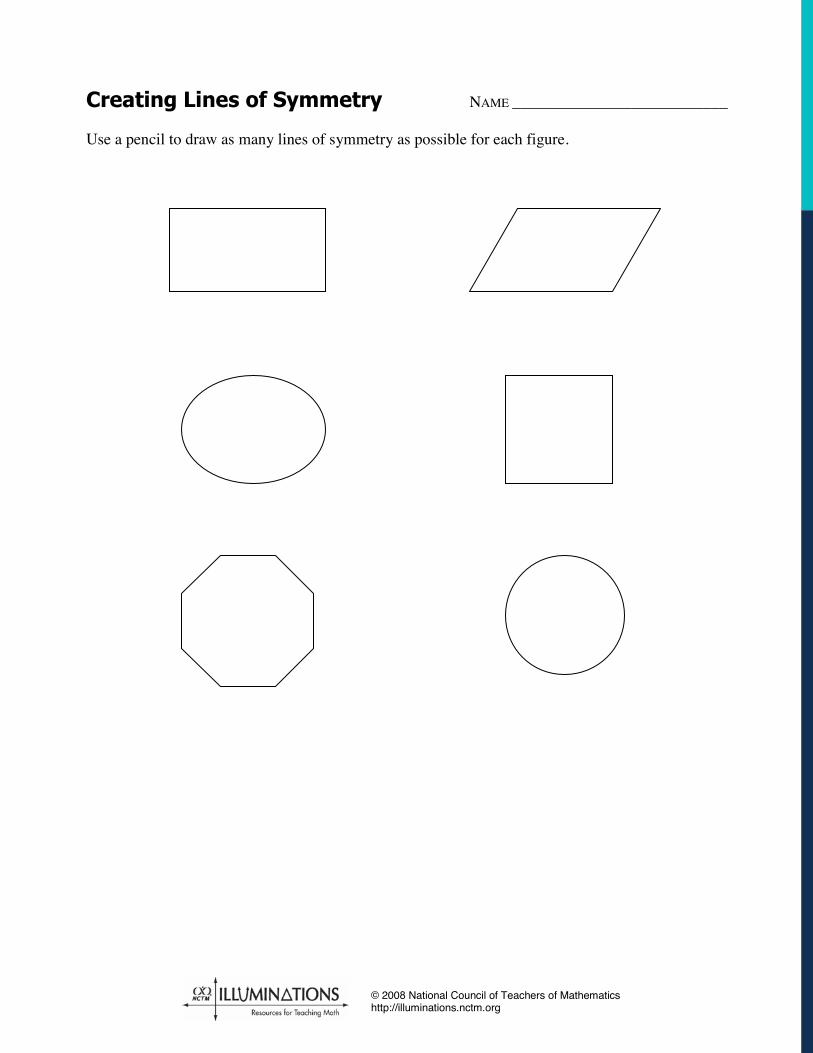
Creating Lines of Symmetry NAME ___________________________ Use a pencil to draw as many lines of symmetry as possible for each figure.
© 2008 National Council of Teachers of Mathematics http://illuminations.nctm.org
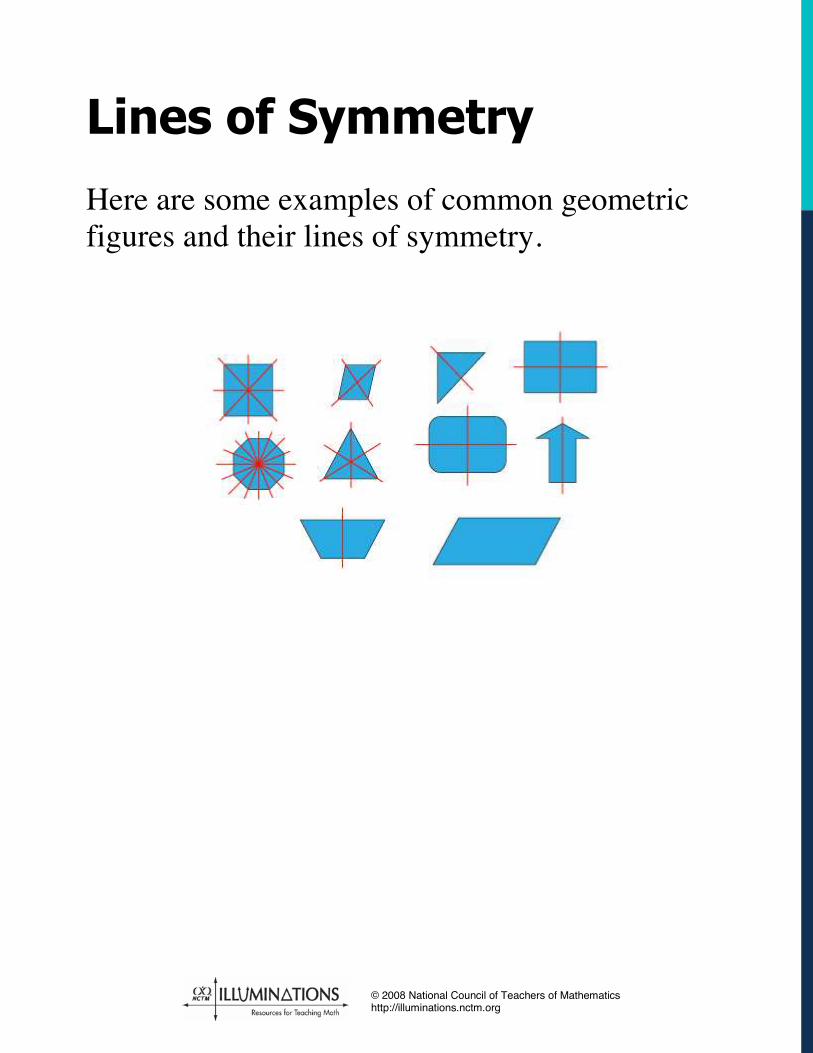
Lines of Symmetry
Here are some examples of common geometric figures and their lines of symmetry.
© 2008 National Council of Teachers of Mathematics http://illuminations.nctm.org
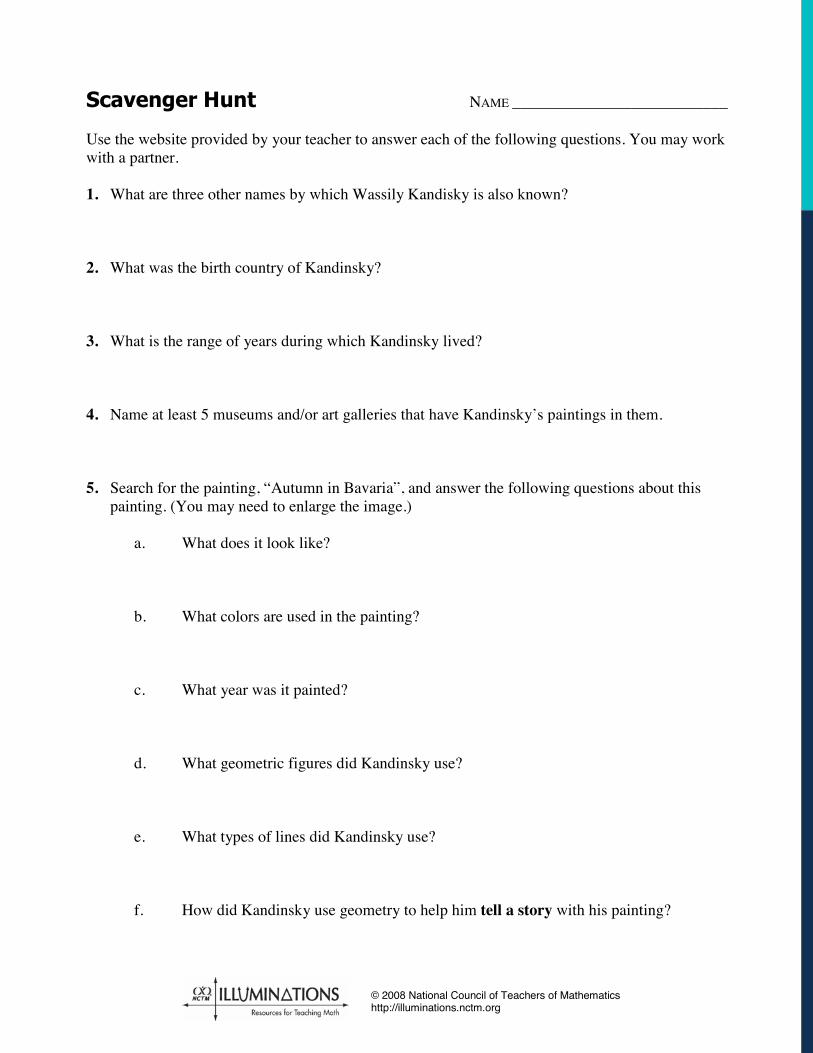
Scavenger Hunt NAME ___________________________ Use the website provided by your teacher to answer each of the following questions. You may work with a partner. 1. What are three other names by which Wassily Kandisky is also known? 2. What was the birth country of Kandinsky? 3. What is the range of years during which Kandinsky lived? 4. Name at least 5 museums and/or art galleries that have Kandinsky’s paintings in them. 5. Search for the painting, “Autumn in Bavaria”, and answer the following questions about this
painting. (You may need to enlarge the image.) a. What does it look like? b. What colors are used in the painting? c. What year was it painted? d. What geometric figures did Kandinsky use? e. What types of lines did Kandinsky use? f. How did Kandinsky use geometry to help him tell a story with his painting?
© 2008 National Council of Teachers of Mathematics http://illuminations.nctm.org
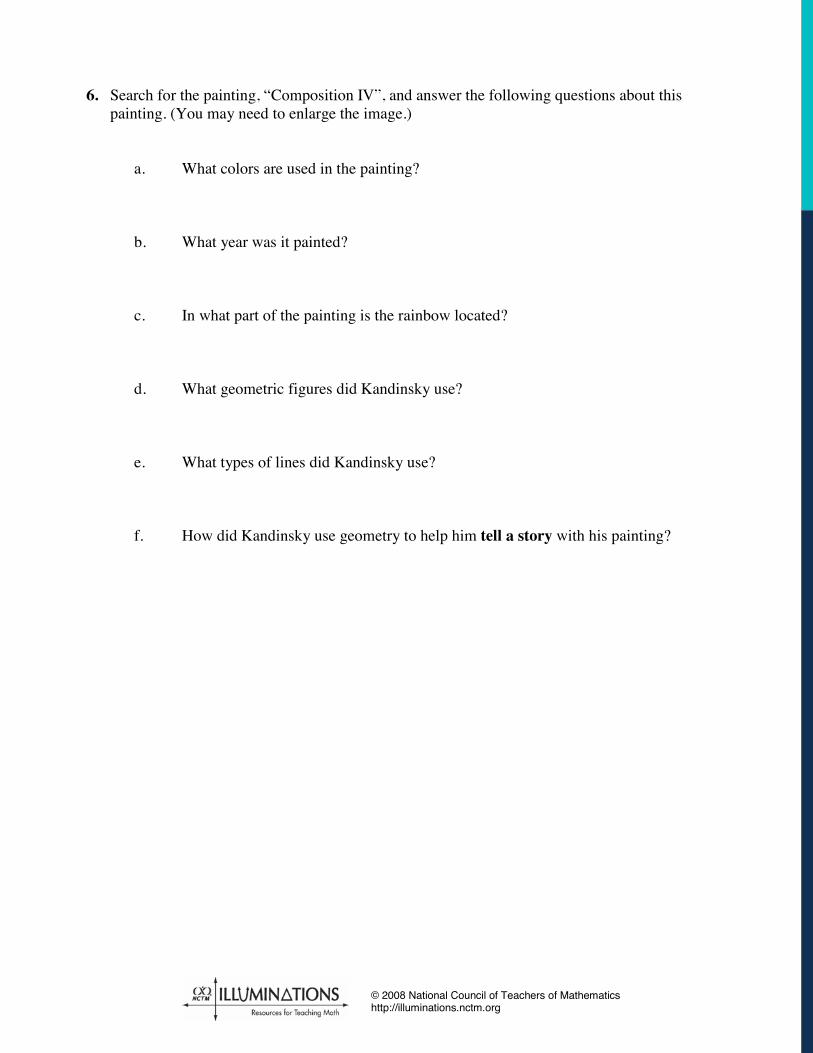
6. Search for the painting, “Composition IV”, and answer the following questions about this painting. (You may need to enlarge the image.)
a. What colors are used in the painting? b. What year was it painted? c. In what part of the painting is the rainbow located? d. What geometric figures did Kandinsky use? e. What types of lines did Kandinsky use? f. How did Kandinsky use geometry to help him tell a story with his painting?
© 2008 National Council of Teachers of Mathematics http://illuminations.nctm.org
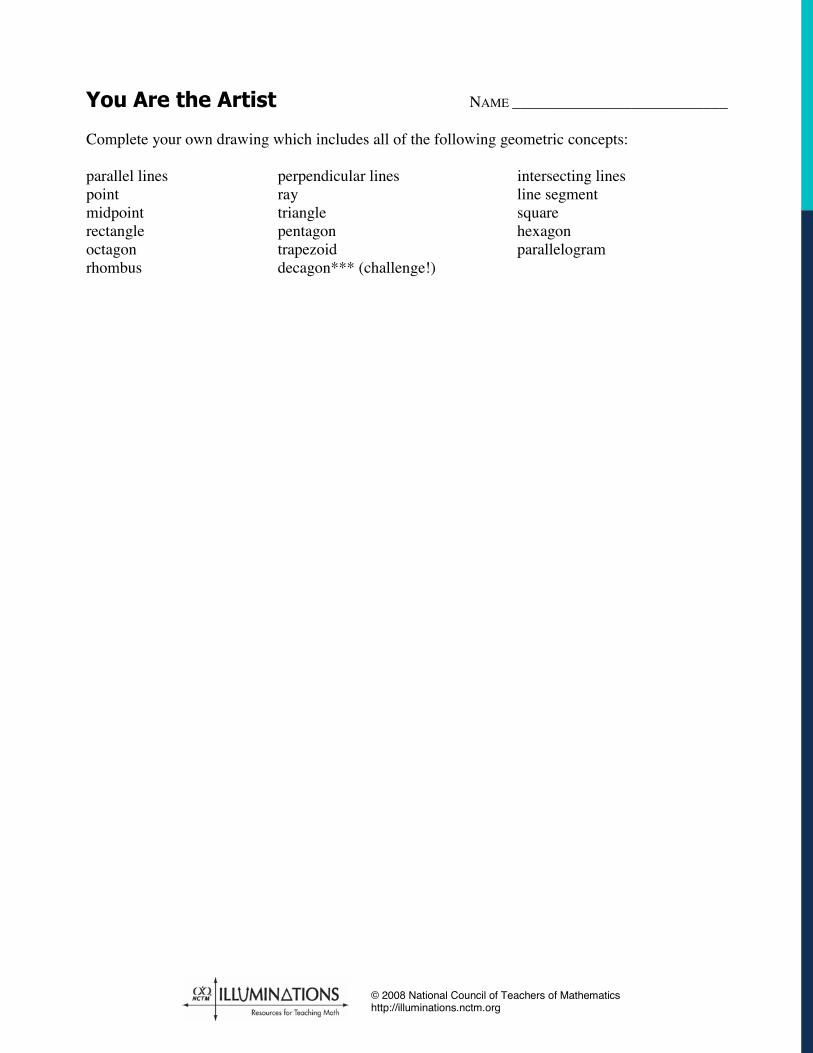
You Are the Artist NAME ___________________________ Complete your own drawing which includes all of the following geometric concepts: parallel lines perpendicular lines intersecting lines point ray line segment midpoint triangle square rectangle pentagon hexagon octagon trapezoid parallelogram rhombus decagon*** (challenge!)

© 2008 National Council of Teachers of Mathematics http://illuminations.nctm.org
Class Notes Mathematical Idea: _____________________________ Date: _____________________
NAME OF STUDENT COMMENTS ABOUT UNDERSTANDING
© 2008 National Council of Teachers of Mathematics http://illuminations.nctm.org
Thinking About My Drawing NAME ___________________________ Use the following chart to record your thoughts for the essay you will write.
BEFORE DRAWING DURING DRAWING AFTER DRAWING

© 2008 National Council of Teachers of Mathematics http://illuminations.nctm.org
Questions for Writing About Kandinsky
Be sure your essay answers most of the following questions. 1. How did you plan your drawing?
2. What did you consider when choosing shapes to include in your drawing?
3. Did you include more quadrilaterals than any other shape? Why or why not? 4. How did the first shape you placed on your drawing suggest what should come next? 5. Describe the similarities between your drawing and Kandinsky’s paintings. Which of Kandinsky’s works most closely matches yours?

© 2008 National Council of Teachers of Mathematics http://illuminations.nctm.org
6. What is the favorite part of your drawing and why? 7. Describe how you used symmetry in your
drawing.
8. Did you use any congruent shapes? Did you use any similar shapes? What function did they serve?
9. Did you use any figures with more than six sides? Why or why not?
10. What did you learn from this lesson that you did not know before?