gcc puma iii vinyl cutter training resource-new · 800.4.stahls!(800.478.2457)stahls.com! !...
TRANSCRIPT
1 | P a g e 800.4.STAHLS (800.478.2457) STAHLS.COM
GCC Puma III Vinyl Cutter Training Resource
Driver Installation 1) Insert disk into disk drive Installation and Registration (for software) Instructions can be found within two guides located in the cutters box.
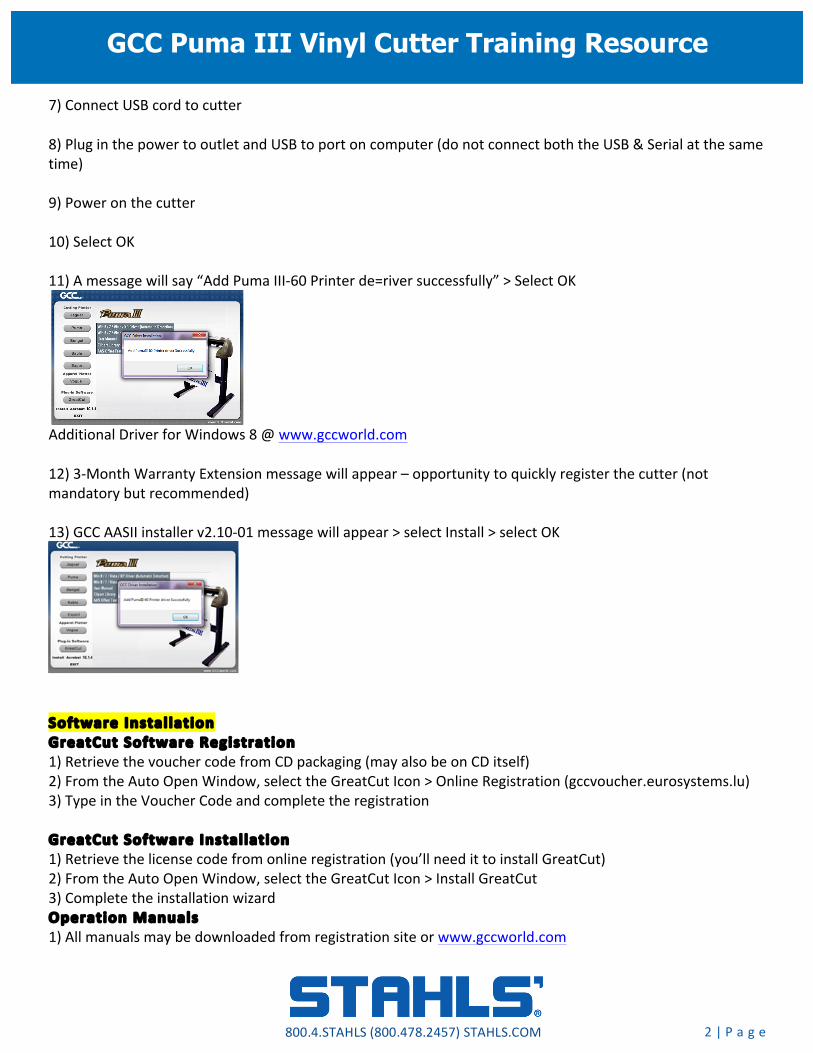
Note: serial cables are no longer included with GCC vinyl cutters 2) Auto Open Window shown below (automatically opens when you insert the disk or browse to the disk drive via Start > Computer > AutoRun) 3) Select English
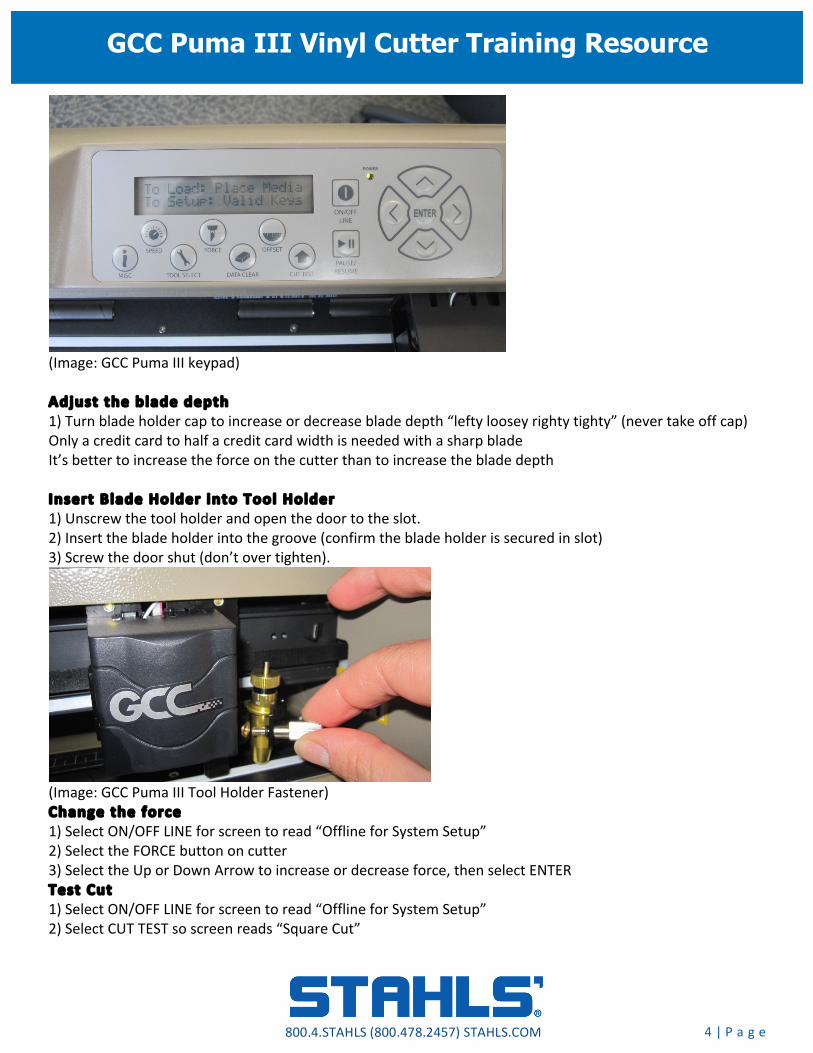
4) Select Puma > Win 8/7/Vista/XP Driver (Automatic Detection)
5) Disable Windows Updates > Select OK -‐ The installation wizard will bring up a window and suggest to disable Windows Update to allow successful driver installation for Win 7/8 (with link to step by step instructions on how to disable it) 6) Connect power cord to cutter
2 | P a g e 800.4.STAHLS (800.478.2457) STAHLS.COM
GCC Puma III Vinyl Cutter Training Resource
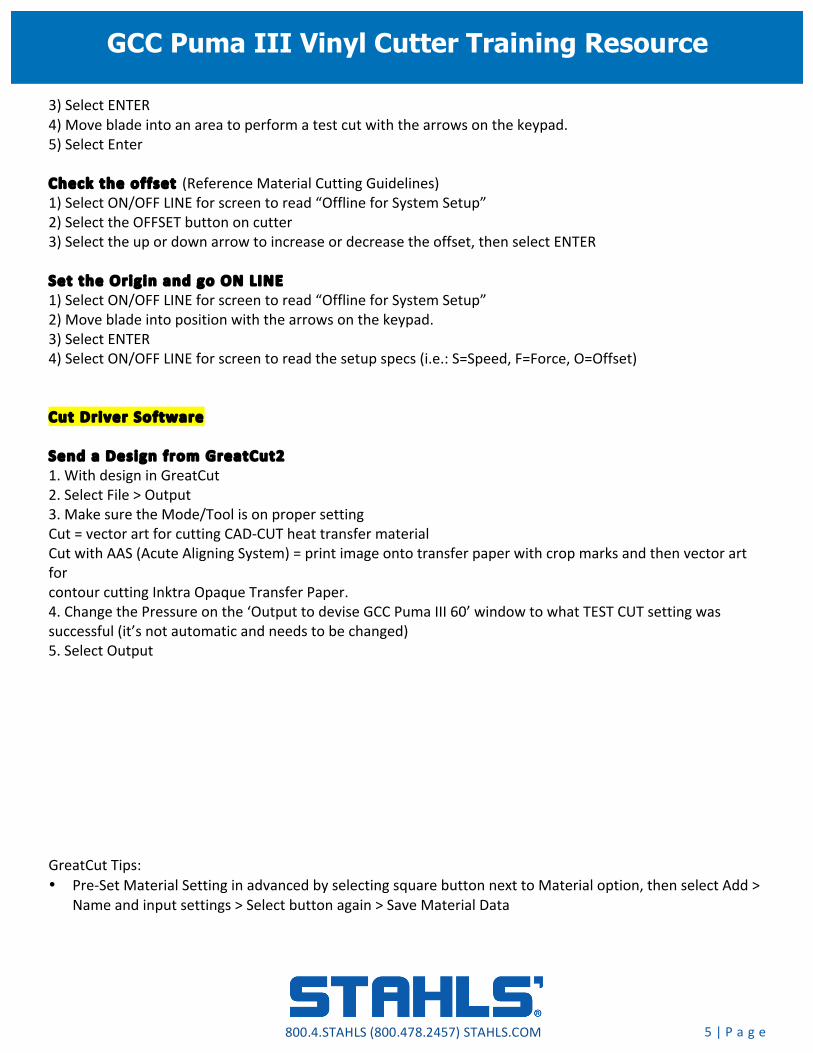
7) Connect USB cord to cutter 8) Plug in the power to outlet and USB to port on computer (do not connect both the USB & Serial at the same time) 9) Power on the cutter 10) Select OK 11) A message will say “Add Puma III-‐60 Printer de=river successfully” > Select OK
Additional Driver for Windows 8 @ www.gccworld.com 12) 3-‐Month Warranty Extension message will appear – opportunity to quickly register the cutter (not mandatory but recommended) 13) GCC AASII installer v2.10-‐01 message will appear > select Install > select OK
Software Installation GreatCut Software Registration 1) Retrieve the voucher code from CD packaging (may also be on CD itself) 2) From the Auto Open Window, select the GreatCut Icon > Online Registration (gccvoucher.eurosystems.lu) 3) Type in the Voucher Code and complete the registration GreatCut Software Installation 1) Retrieve the license code from online registration (you’ll need it to install GreatCut) 2) From the Auto Open Window, select the GreatCut Icon > Install GreatCut 3) Complete the installation wizard Operation Manuals 1) All manuals may be downloaded from registration site or www.gccworld.com

3 | P a g e 800.4.STAHLS (800.478.2457) STAHLS.COM
GCC Puma III Vinyl Cutter Training Resource
GreatCut Plug-‐in for CorelDraw The Plug-‐in must be attached to CorelDraw; it does not attach automatically in CorelDraw 1) Open Corel with a new page > select Tools > Customization > Commands > change “File” to “Macros” > click and drag “CoCut13Prof” to top property bar > select OK
Getting Started Load material and check alignment 1) Load material onto the machine and lock pinch wheels Make sure pinch wheels are under white section 2) Power ON the machine Media Measurement Options (automatic on screen) Roll: measures the distance between the two pinch wheels (cutting width). Edge: measures the distance between the two pinch wheels (cutting width) and maneuvers the blade to corner edge. Single: measures the distance between the two pinch wheels (cutting width) and the distance between the front and back sensor cutting length). The back sensor must always be covered, so you lose about 2 inches of cutting length. 3) Feed material in and out by selecting the up and down arrows to ensure a straight alignment Note: To re-‐measure the sheet without powering off the cutter: raise the media lever up & down again.
4 | P a g e 800.4.STAHLS (800.478.2457) STAHLS.COM
GCC Puma III Vinyl Cutter Training Resource
(Image: GCC Puma III keypad) Adjust the blade depth 1) Turn blade holder cap to increase or decrease blade depth “lefty loosey righty tighty” (never take off cap) Only a credit card to half a credit card width is needed with a sharp blade It’s better to increase the force on the cutter than to increase the blade depth Insert Blade Holder into Tool Holder 1) Unscrew the tool holder and open the door to the slot. 2) Insert the blade holder into the groove (confirm the blade holder is secured in slot) 3) Screw the door shut (don’t over tighten).
(Image: GCC Puma III Tool Holder Fastener) Change the force 1) Select ON/OFF LINE for screen to read “Offline for System Setup” 2) Select the FORCE button on cutter 3) Select the Up or Down Arrow to increase or decrease force, then select ENTER Test Cut 1) Select ON/OFF LINE for screen to read “Offline for System Setup” 2) Select CUT TEST so screen reads “Square Cut”
5 | P a g e 800.4.STAHLS (800.478.2457) STAHLS.COM
GCC Puma III Vinyl Cutter Training Resource
3) Select ENTER 4) Move blade into an area to perform a test cut with the arrows on the keypad. 5) Select Enter Check the offset (Reference Material Cutting Guidelines) 1) Select ON/OFF LINE for screen to read “Offline for System Setup” 2) Select the OFFSET button on cutter 3) Select the up or down arrow to increase or decrease the offset, then select ENTER Set the Origin and go ON LINE 1) Select ON/OFF LINE for screen to read “Offline for System Setup” 2) Move blade into position with the arrows on the keypad. 3) Select ENTER 4) Select ON/OFF LINE for screen to read the setup specs (i.e.: S=Speed, F=Force, O=Offset) Cut Driver Software Send a Design from GreatCut2 1. With design in GreatCut 2. Select File > Output 3. Make sure the Mode/Tool is on proper setting Cut = vector art for cutting CAD-‐CUT heat transfer material Cut with AAS (Acute Aligning System) = print image onto transfer paper with crop marks and then vector art for contour cutting Inktra Opaque Transfer Paper. 4. Change the Pressure on the ‘Output to devise GCC Puma III 60’ window to what TEST CUT setting was successful (it’s not automatic and needs to be changed) 5. Select Output GreatCut Tips: • Pre-‐Set Material Setting in advanced by selecting square button next to Material option, then select Add >
Name and input settings > Select button again > Save Material Data
6 | P a g e 800.4.STAHLS (800.478.2457) STAHLS.COM
GCC Puma III Vinyl Cutter Training Resource
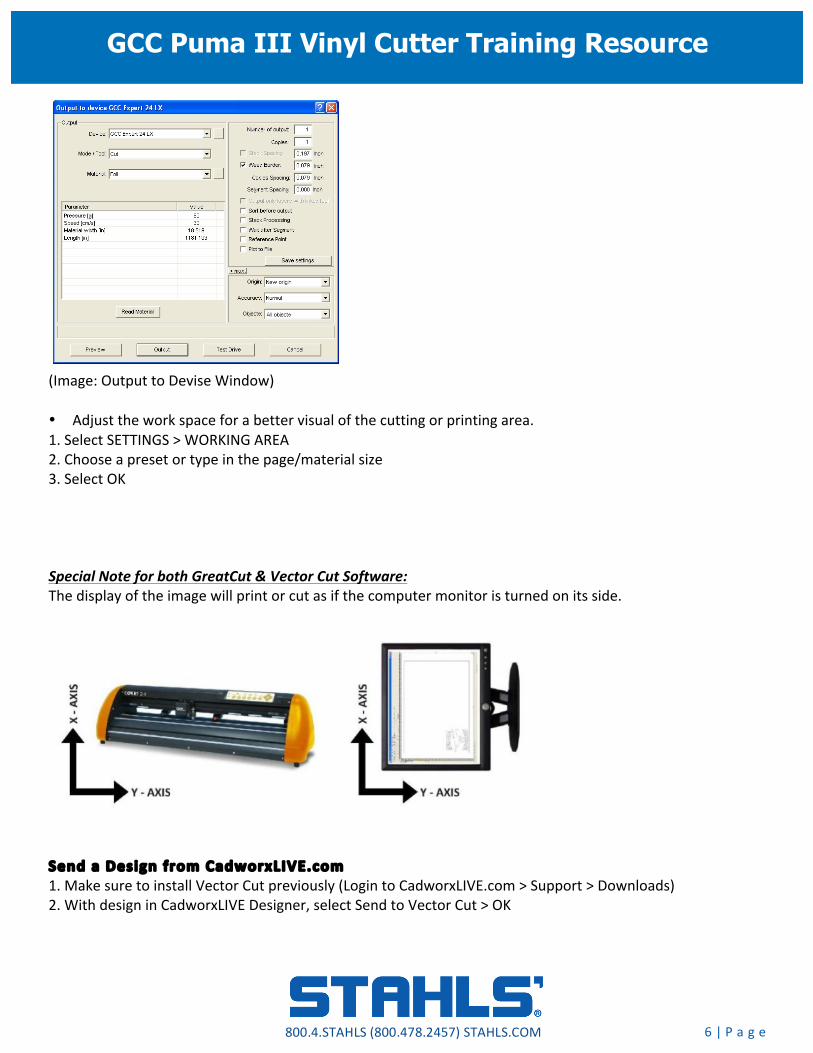
(Image: Output to Devise Window) • Adjust the work space for a better visual of the cutting or printing area. 1. Select SETTINGS > WORKING AREA 2. Choose a preset or type in the page/material size 3. Select OK Special Note for both GreatCut & Vector Cut Software: The display of the image will print or cut as if the computer monitor is turned on its side.
Send a Design from CadworxLIVE.com 1. Make sure to install Vector Cut previously (Login to CadworxLIVE.com > Support > Downloads) 2. With design in CadworxLIVE Designer, select Send to Vector Cut > OK

7 | P a g e 800.4.STAHLS (800.478.2457) STAHLS.COM
GCC Puma III Vinyl Cutter Training Resource
3. Open the download (click on the download at the bottom of screen) and Vector Cut will open.
Vector Cut may only appear as an icon on the toolbar ( ) > click on the icon.
(Image: Vector Cut Window) 4. Set Cutter to GCC Puma 3 To confirm port setting: 1. Select Properties 2. Select Port Tab 3. Printer Port / Name: GCC Puma III-‐60 > OK 4. Select Send To Cutter (when ready)