first file naming convensions - universitetet i · pdf filewithout checking with us first!...
TRANSCRIPT

22.02.2016
1
Microsystems, electronic packaging and
interconnection technologies
Lecture 3 – Transfer to PCB, getting started with layout
FYS4260 2016
First – File naming convensions
• All files should be named as
– «uio username» - «Project name» – versionx
– Where version is
• a number for the schematics, ex v1, and
• for the pcb it is the corresponding number AND a charachter, ex v1A
– Ex for me doing a FM Transmitter:
• halvorst - FMTX - v1.sch AND halvorst – FMTX – v1A.pcb
• If I then do updates to my pcb without changing the schematics next
pcb version will be v1B. If I do updates to the schematics next version
will be v2A.
• When delivering files always include the schematics
as well. That is, if you deliver a pcb version 5x, send
in the corresponding schematics version 5 as well.
• Do not zip files!

22.02.2016
2
In this lecture - Agenda
• First, reload all parts to catch library updates.
– See next slide
• Transfer design to pcb.
– On Design tab -> choose «transfer to pcb»
• Mechanical layout
– Do mechanical design and Place components in
CadSTAR
• Start with routeing the design using PREditor
XR
– On Tools tab -> PREditor XR
Reload Parts • On Symbols tab, select Reload
• Select All -> OK, then Accept.
This will reload
all parts from
the library,
catching all
updates to the
parts since
they were
added to the
design.
22.02.2016
3
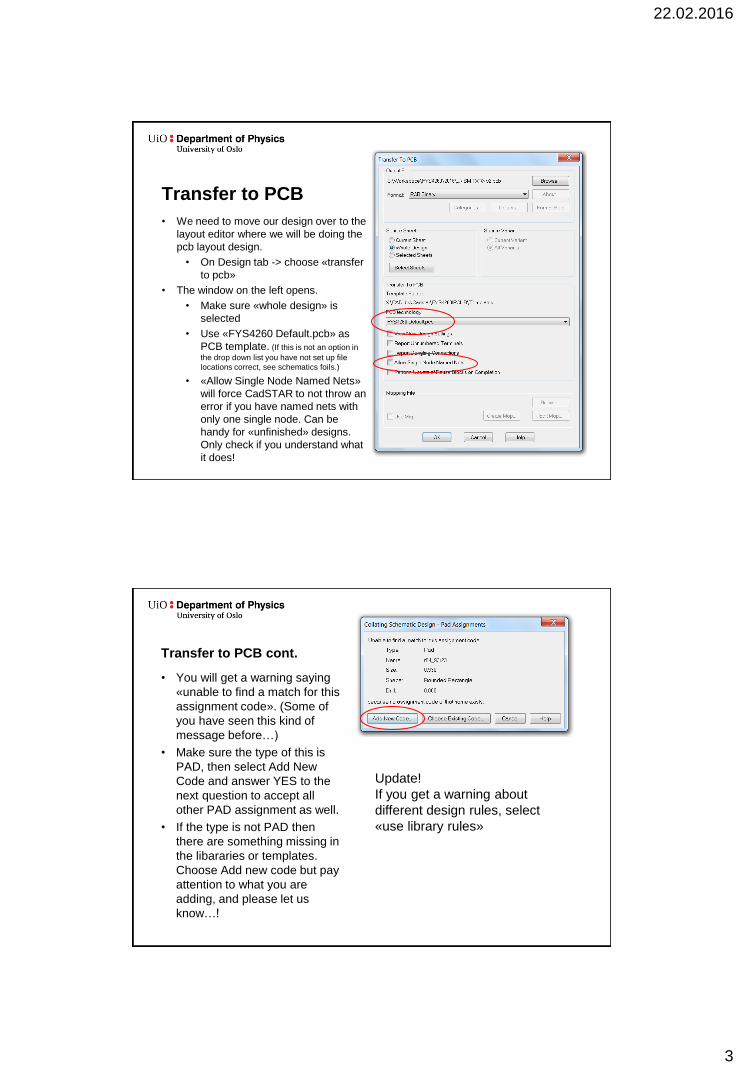
Transfer to PCB
• We need to move our design over to the
layout editor where we will be doing the
pcb layout design.
• On Design tab -> choose «transfer
to pcb»
• The window on the left opens.
• Make sure «whole design» is
selected
• Use «FYS4260 Default.pcb» as
PCB template. (If this is not an option in
the drop down list you have not set up file
locations correct, see schematics foils.)
• «Allow Single Node Named Nets»
will force CadSTAR to not throw an
error if you have named nets with
only one single node. Can be
handy for «unfinished» designs.
Only check if you understand what
it does!
Transfer to PCB cont.
• You will get a warning saying
«unable to find a match for this
assignment code». (Some of
you have seen this kind of
message before…)
• Make sure the type of this is
PAD, then select Add New
Code and answer YES to the
next question to accept all
other PAD assignment as well.
• If the type is not PAD then
there are something missing in
the libararies or templates.
Choose Add new code but pay
attention to what you are
adding, and please let us
know…!
Update!
If you get a warning about
different design rules, select
«use library rules»

22.02.2016
4
Transfer finished – Master view • The PCB design will start up with a black screen showing the
board outline in the upper part of the screen, and all components
in a pile in the bottom left corner. (ALT-F8 to View all).
• This is CadSTARs «Master View», where we manage our design.
Here we can
– do our «mechanical» layout, f.ex adjust the board outline and place
components.
– Export the design to other tools, f.ex to Pspice simulations, 3D model
constraints viewer, and also to PREditor XR where we will do our routing.
– Set up the layer stack, and the properties of each layer.
– Define our design rules and design elements.
– Run design verification, reports, and a lot more…
• Notice that nominal connections have a white colour, GND
connections are pink and Power connections are blue.
• The layers and design rules are set up for you, do not make
changes unless you understand what you are doing and we have
approved it!
FYS4260 PCB Definition
• In this course we are going to design a 4 layer
board, where we use the two outer layers for signal
routing, and the two inner layers for GND and Power.
See the example on the next foil
• Only through hole vias are allowed.
• The minimum track width and spacings allowed are
already defined, as well as via codes and layer pairs.
• Do not change anything on the assignments tab
without checking with us first!

22.02.2016
5
4 layer pcb basics
Conductor, trace,
track, route
Connections
between different
layers are done
through Vias
A layer filled with
copper are called
a Plane 1 mil =
1 thousandths of an inch =
25.4mm/1000 =
0.0254mm
A signal moves
in a conductor
A signalpath is
the path a signal
takes in a plane
or conductor.
Mechanical layout
• Arrange components on the Component tab can be
usefull in the beginning for spreading the components
out. See next slide.
• Start with the mechanical constraints.
– Define your board outline. (The starting point for
your design is a 7x5cm rectangle, but you may
change this slightly if you need to.)
– Do you plan to mount the board in a box, placement
of mounting holes etc…
– Connector placement, think from a user perspective.
– Other components with mechanical or user
constraints (ex LEDs, jumpers, switches).

22.02.2016
6
• Continue with component placement
– Select components that belongs togheter in the
schematics, cross-probing will highlight them as
selected in the pcb as well. I usually start with
grouping all components from one sheet in the
schematics togheter, and do a rough placement
based on this to get started. (CTRL-A to select all
components on a sheet, activate the pcb, then move
the group with F2).
• Time spent on component placement are
always saved on simplified routing!
Arrange components
Component tab -> Arrange components. Experiment your way, this is only
a suggestion to arrange componets around the board outline.

22.02.2016
7
Routing • It is possible to do the routing in the embedded router in
CadSTAR, but we are going to use PREditor XR.
• PREditor is a much more powerfull tool, but has a slightly
different user interface. You will get used to it…
• When you have placed most of your components and feel you
have a starting point for your layout start PREditor from the
Tools tab.
• You will go back and forth between CadSTAR and PREditor as
you switch between working on routing and more «mechanical»
layout and design changes.
PREditor -
First use
Use these settings
when opening
PREditor the first
time.
If you change colour settings in PREditor later,
uncheck «Always Transfer Colours» the next
time you start to not overwrite the changes
you have done.

22.02.2016
8
Setup PREditor – First use
Select Configure -> Routing Setup
Recomended settings
• Manual / Autorouter tab
– Errors allowed will allow you to make illegal routes
– On Line DRC will mark illigal routes in white colour.
– Use optimal track width (Required)
– No vias in pads (Required)
– 45 degree routing
– Active 45 -> Test and see if you like it.
• Pusher tab
– Test it, use if you like.
– Recomend to enable springback if you use pusher.
• Grid tab
– Change 0.0254mm to 0.025mm.

22.02.2016
9
Short on routing in PREditor
• Use Manual route tool to route signals.
• Start a route by clicking on a connection (not
holdinge down). Depending on your active-45 setting
routing are done by moving the mouse in the
direction you want, or by clicking for each segment
you want to add.
• Dobbleclick to insert via and continue routing on
another layer.
• Unroute tool to delete route segments. Do not use
DEL key, this will delete the net in CadSTAR!
• Change active layer with F5 / F6
• Route GND and Power on layers 2 and 3 as a start, signals are
on layer 1 and 4.
• There are no rules as to how many vias one can use, but try to
make the designs as neat as possible.
• Hold the pointer over an area to show all possible selections,
TAB to loop through (shown in statusbar).
• Save and exit PREditor, changes are exported to your
CadSTAR design.
• Play around to get to know the different functions.
• Try to keep the routing as tidy and neat as possible. This will
not only lead to a nice looking design, but it will have better
signal integrity, it is easier to debug and locate «bad» areas.
• More on routing next week!
22.02.2016
10
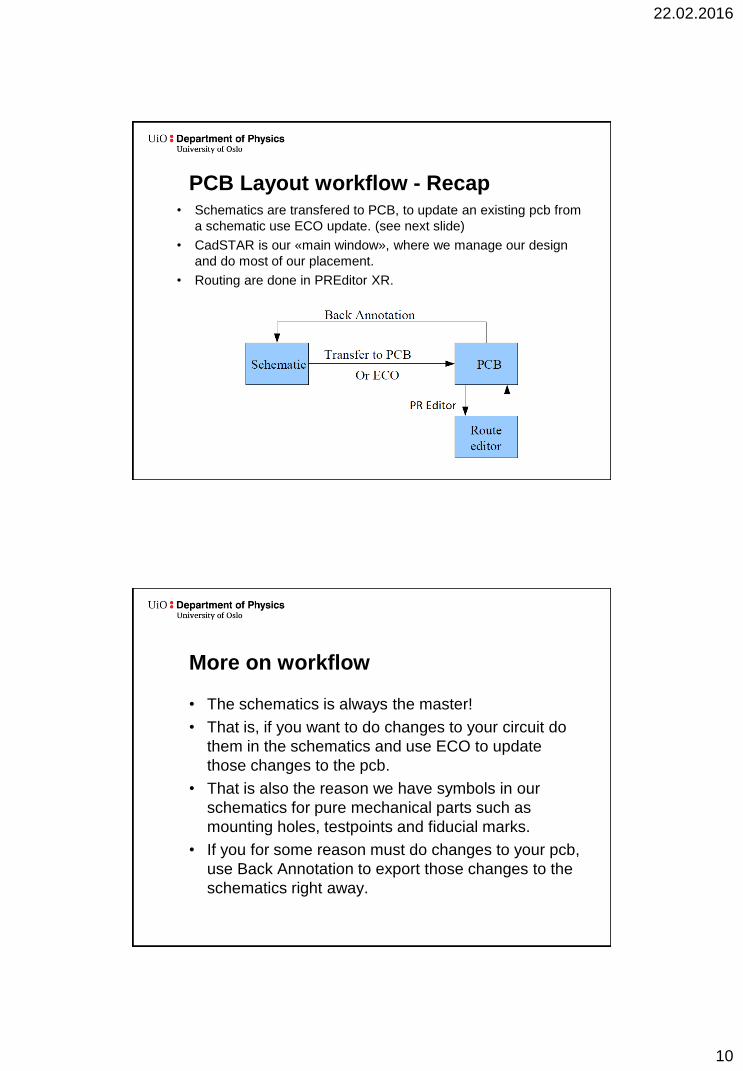
• Schematics are transfered to PCB, to update an existing pcb from
a schematic use ECO update. (see next slide)
• CadSTAR is our «main window», where we manage our design
and do most of our placement.
• Routing are done in PREditor XR.
PCB Layout workflow - Recap
More on workflow
• The schematics is always the master!
• That is, if you want to do changes to your circuit do
them in the schematics and use ECO to update
those changes to the pcb.
• That is also the reason we have symbols in our
schematics for pure mechanical parts such as
mounting holes, testpoints and fiducial marks.
• If you for some reason must do changes to your pcb,
use Back Annotation to export those changes to the
schematics right away.
22.02.2016
11
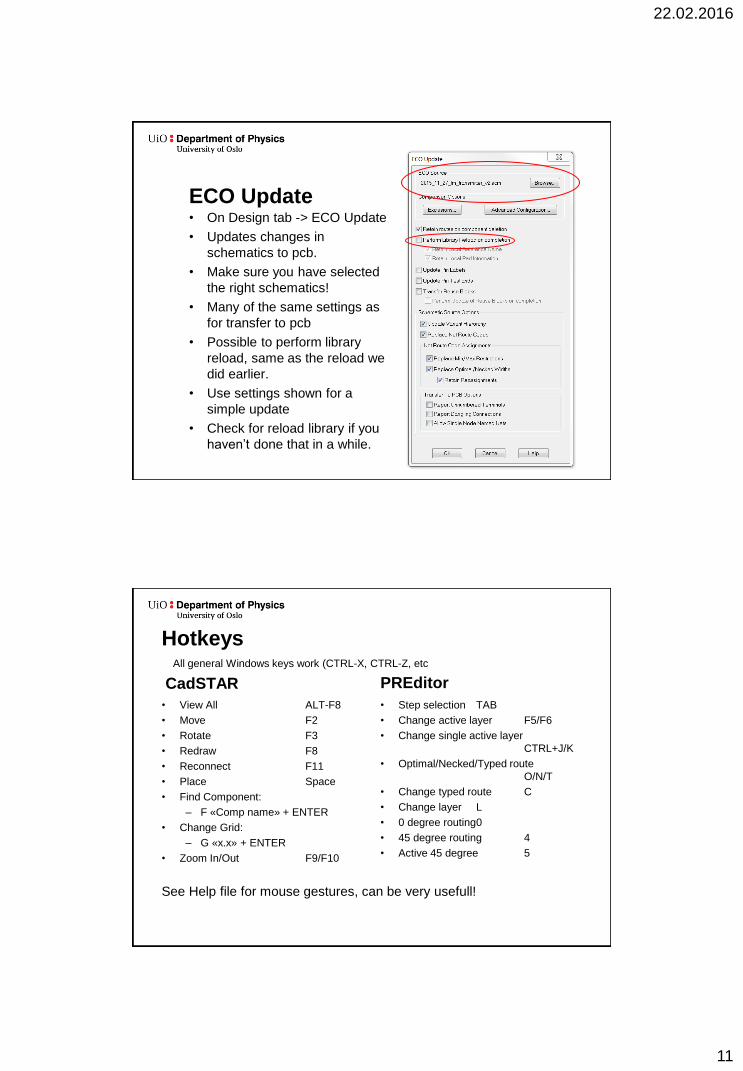
ECO Update • On Design tab -> ECO Update
• Updates changes in
schematics to pcb.
• Make sure you have selected
the right schematics!
• Many of the same settings as
for transfer to pcb
• Possible to perform library
reload, same as the reload we
did earlier.
• Use settings shown for a
simple update
• Check for reload library if you
haven’t done that in a while.
Hotkeys
CadSTAR
• View All ALT-F8
• Move F2
• Rotate F3
• Redraw F8
• Reconnect F11
• Place Space
• Find Component:
– F «Comp name» + ENTER
• Change Grid:
– G «x.x» + ENTER
• Zoom In/Out F9/F10
PREditor
• Step selection TAB
• Change active layer F5/F6
• Change single active layer
CTRL+J/K
• Optimal/Necked/Typed route
O/N/T
• Change typed route C
• Change layer L
• 0 degree routing 0
• 45 degree routing 4
• Active 45 degree 5
All general Windows keys work (CTRL-X, CTRL-Z, etc
See Help file for mouse gestures, can be very usefull!