finale tips and tricks - wordpress.com · finale tips and tricks for music teachers launch window...
TRANSCRIPT
1
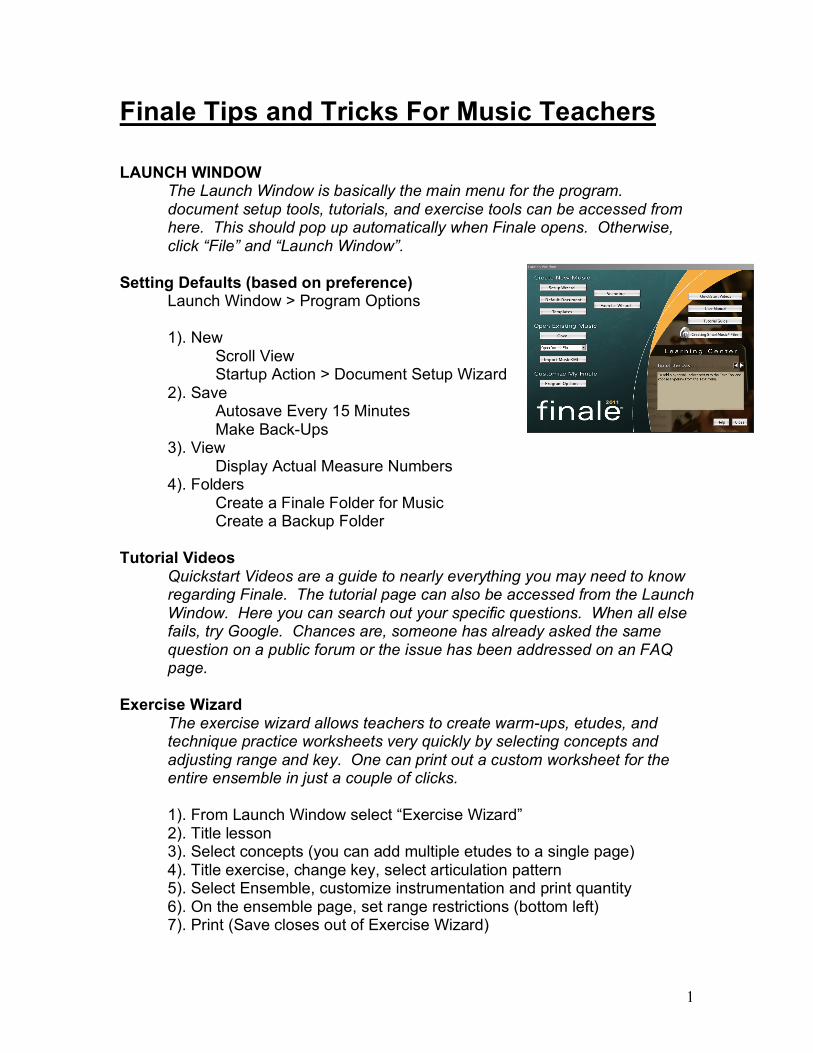
Finale Tips and Tricks For Music Teachers LAUNCH WINDOW
The Launch Window is basically the main menu for the program. document setup tools, tutorials, and exercise tools can be accessed from here. This should pop up automatically when Finale opens. Otherwise, click “File” and “Launch Window”.
Setting Defaults (based on preference) Launch Window > Program Options
1). New Scroll View Startup Action > Document Setup Wizard
2). Save Autosave Every 15 Minutes Make Back-Ups
3). View Display Actual Measure Numbers
4). Folders Create a Finale Folder for Music Create a Backup Folder Tutorial Videos
Quickstart Videos are a guide to nearly everything you may need to know regarding Finale. The tutorial page can also be accessed from the Launch Window. Here you can search out your specific questions. When all else fails, try Google. Chances are, someone has already asked the same question on a public forum or the issue has been addressed on an FAQ page.
Exercise Wizard
The exercise wizard allows teachers to create warm-ups, etudes, and technique practice worksheets very quickly by selecting concepts and adjusting range and key. One can print out a custom worksheet for the entire ensemble in just a couple of clicks.
1). From Launch Window select “Exercise Wizard” 2). Title lesson 3). Select concepts (you can add multiple etudes to a single page) 4). Title exercise, change key, select articulation pattern 5). Select Ensemble, customize instrumentation and print quantity 6). On the ensemble page, set range restrictions (bottom left)
7). Print (Save closes out of Exercise Wizard)
2
Setup Wizard Setup Wizard is the best way to begin a new project. It allows you to set instrumentation, tempo, key, meter, font, and other document options before working on your project.
1). Create Custom Ensemble In order to streamline the process, it would be a good idea to save the instrumentation of your group.
A. Set ensemble as “Concert Band (Full)”, “SATB and Piano”, or “Orchestra (String)” for Band, Choir, Orchestra respectively B. Adjust instrumentation by adding or removing parts. Does your sixth grade band include Piccolo or Oboe?
C. Save as new ensemble
(This can be used for small group ensembles, combos, trios, and so on…) 2). Title, Credits
Title, Subtitle, and Arranger will default to (Title), (Subtitle), and (Arranger) when left blank. You can later delete these with the text tool.
3). Select a meter, concert key, expression marking, pick-up note.
Number of measures is not important as it is easy to add/remove them from document as you are composing
Toolbars
Finale has lots of options in default toolbars. You can do just about everything with these six alone…
Mass Mover Click and drag to highlight measures (or shift/click) Drag and drop to copy and paste highlighted measure Right click to cut/copy highlighted measures and to paste/insert Right click to change meter/key signature Highlight groups of measures for transposition (see below)
Smart Shape Tool Opens up expression toolbar which includes:
Crescendo/Decrescendo (click and drag left/right) Slurs (click and drag from first to last note head) Also Octava, Octava Basso, Trills, Glissando
Articulation Tool Opens up menu with articulation options Click and drag with Articulation Tool to change dynamics for multiple notes
3
Toolbars (continued)
Repeat Tool Double click on measure of choice to add: Repeat First/Second ending (check/uncheck back repeat for second ending) D.S., D.C., Coda
Expression Tool (The fact that this one shows a dynamic is a little misleading. It covers much more than dynamics.) Double click on measure of choice to add: Dynamic Markings Tempo/Expression Markings (and custom performance instructions) Tempo Alterations (rit, accel, and custom) Technique Text (mutes, stickings, pizzicato, and custom) Rehearsal Markings (letters or numbers)
Text Tool Double click on text to edit and delete Double click to add text (this may only appear in score and not parts
and is not anchored to measures-Expression Tool should be used for customizable playing instructions/tempo/expression)
Hot Keys Entering each note using only a mouse can take a very long time. A computer keyboard has quite a few shortcuts or “hot keys” that will make this process a lot easier.
I find it most effective to hover the mouse arrow over the note length toolbar (on the left of the screen) while keying in notes.
: Raise/lower highlighted note
: Navigate left/right through the score
+ : Navigate up/down between notes/staffs
+ : Raise/lower highlighted note by one octave
: Add a flat (-) or sharp (+) to highlighted note
4
Hot Keys (continued)
: Add a natural sign to highlighted note
: Add a courtesy accidental to highlighted note (with parenthesis)
: Add a courtesy accidental with no parenthesis
: Beam or un-beam to previous note
: Tie note to following note
: Highlighted note becomes a rest of the same length
: Reverse note stem (up/down) Note Hot Keys
through (alphabetically): Place nearest note of given pitch
through : Place note of given interval from highlighted note Transposition
For quick and easy transposition, there are two options. 1). Instrument Transposition
Highlight a section of music and use the Mass Mover ( ) to drag and drop it in another instrument’s staff. Finale will automatically transpose.
2). Interval/Register Transposition
Highlight a section of music and right click then chose “transpose”. A menu will pop up with interval choices.
5
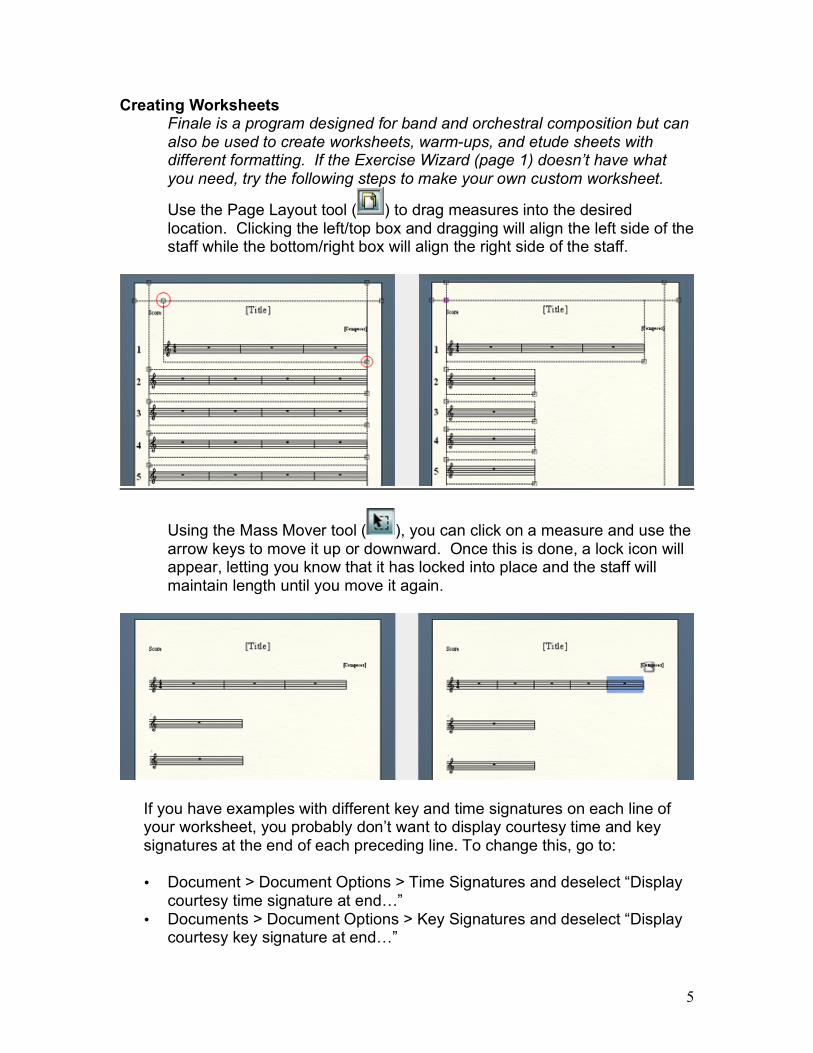
Creating Worksheets Finale is a program designed for band and orchestral composition but can also be used to create worksheets, warm-ups, and etude sheets with different formatting. If the Exercise Wizard (page 1) doesn’t have what you need, try the following steps to make your own custom worksheet.
Use the Page Layout tool ( ) to drag measures into the desired location. Clicking the left/top box and dragging will align the left side of the staff while the bottom/right box will align the right side of the staff.
Using the Mass Mover tool ( ), you can click on a measure and use the arrow keys to move it up or downward. Once this is done, a lock icon will appear, letting you know that it has locked into place and the staff will maintain length until you move it again.
If you have examples with different key and time signatures on each line of your worksheet, you probably don’t want to display courtesy time and key signatures at the end of each preceding line. To change this, go to:
• Document > Document Options > Time Signatures and deselect “Display courtesy time signature at end…”
• Documents > Document Options > Key Signatures and deselect “Display courtesy key signature at end…”
6
Midi Files
Finale can open Midi (or .mid) files. Midi is a type of file that can both be played in applications like Quicktime and other media players but maintains the information necessary to convert to notation. Many people who compose music or make arrangements of music export their files as Midi files to share with others online. For this reason, there are numerous Midi databases where these types of files can be found.
Some good Midi databases include: http://mididb.com/ or http://www.free-midi.org/ To open MIDI files in Finale as sheet music: 1). Save Midi files to desktop (may need to right click and “save as”) 2). In Finale, click File > Open 3). At the bottom of the window, click the “Files of type” drop down menu 4). Select “MIDI File (*.mid)” 5). Locate and open file 6). Experiment with either “Channels Become Staves” or “Tracks Become Staves” boxes. One may work better than another depending on the way the file was created. Miscellaneous Tips Start Finale Playback at Desired Measure Finale defaults to starting playback at the beginning of a piece whenever you click play. In order to select the measure in which playback starts each time, try the following:
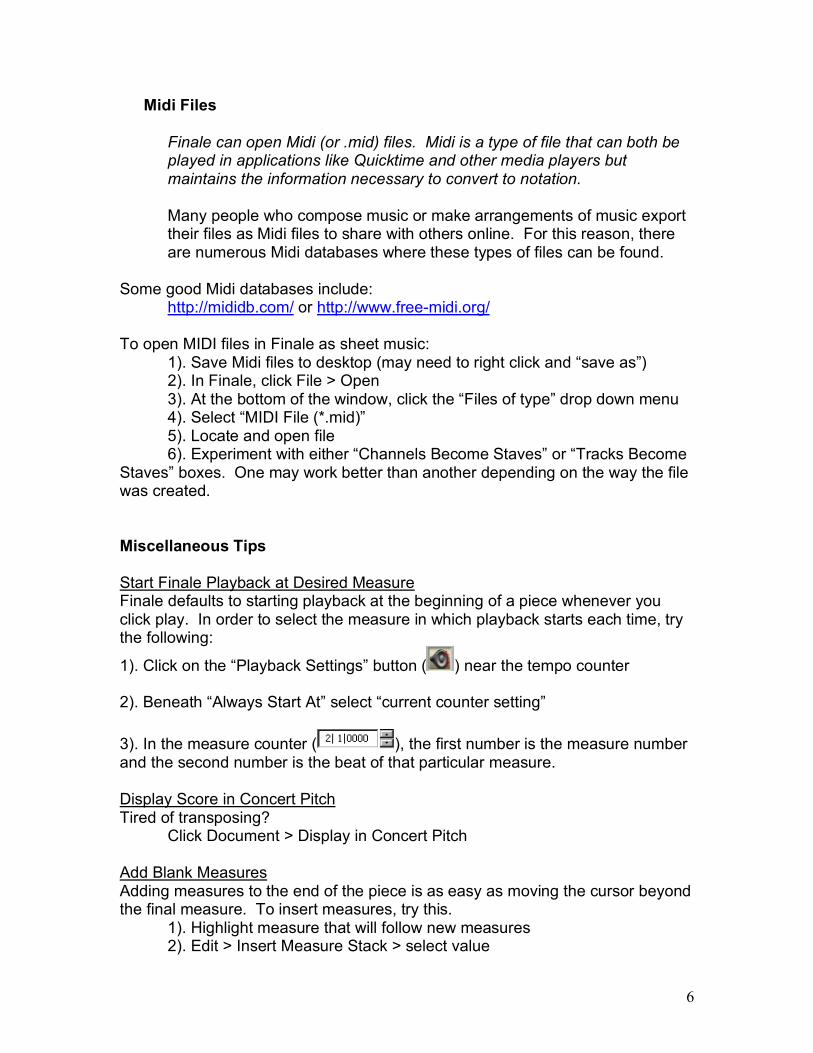
1). Click on the “Playback Settings” button ( ) near the tempo counter 2). Beneath “Always Start At” select “current counter setting” 3). In the measure counter ( ), the first number is the measure number and the second number is the beat of that particular measure. Display Score in Concert Pitch Tired of transposing? Click Document > Display in Concert Pitch Add Blank Measures Adding measures to the end of the piece is as easy as moving the cursor beyond the final measure. To insert measures, try this. 1). Highlight measure that will follow new measures 2). Edit > Insert Measure Stack > select value
7
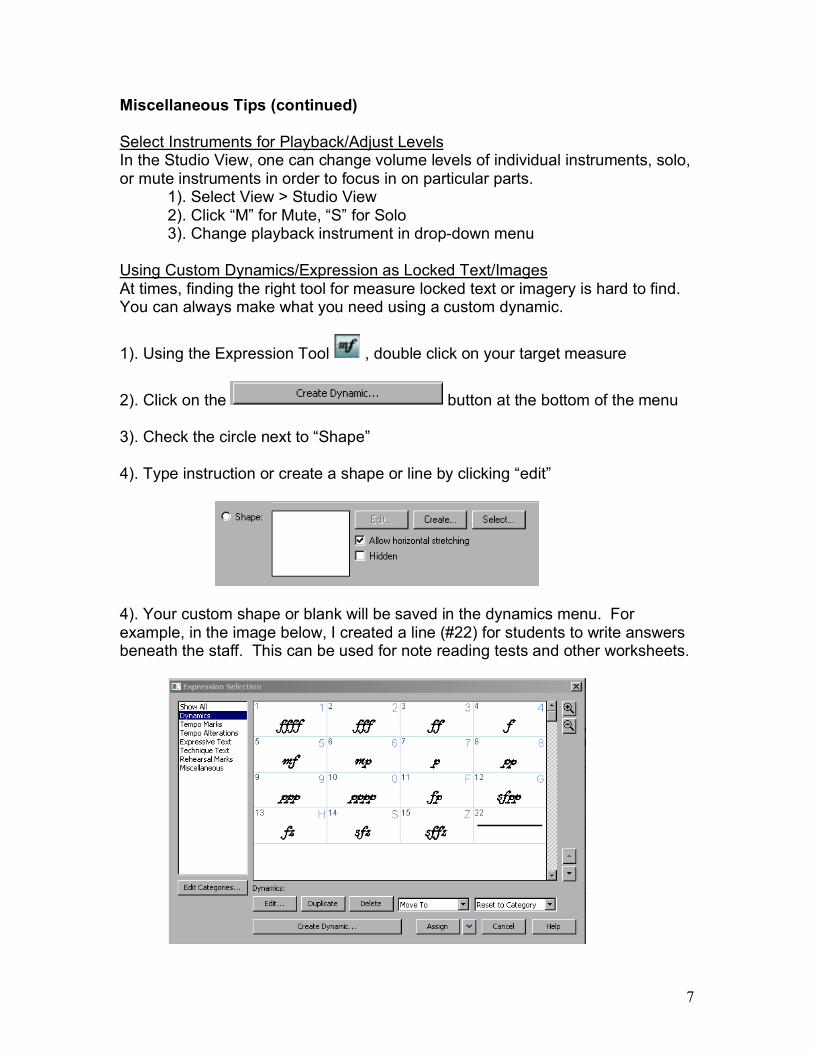
Miscellaneous Tips (continued) Select Instruments for Playback/Adjust Levels In the Studio View, one can change volume levels of individual instruments, solo, or mute instruments in order to focus in on particular parts. 1). Select View > Studio View 2). Click “M” for Mute, “S” for Solo 3). Change playback instrument in drop-down menu Using Custom Dynamics/Expression as Locked Text/Images At times, finding the right tool for measure locked text or imagery is hard to find. You can always make what you need using a custom dynamic.
1). Using the Expression Tool , double click on your target measure
2). Click on the button at the bottom of the menu 3). Check the circle next to “Shape” 4). Type instruction or create a shape or line by clicking “edit”
4). Your custom shape or blank will be saved in the dynamics menu. For example, in the image below, I created a line (#22) for students to write answers beneath the staff. This can be used for note reading tests and other worksheets.