ferrari 328 battery replacement & maintenance charger ...ferrari.cdyn.com/carl_rose_docs/ferrari...
TRANSCRIPT

Ferrari 328 Battery Replacement &Maintenance/Trickle Charger InstallationCarl Rose & Mark FoleyApril 2006 v1.0
With a mean modern battery lifespan of 4-5 years, this is relatively common & simpleprocedure. Given that an 1% loss of charge every 24 hours, installing a maintenancecharger is good prophylaxis for an infrequently-driven car; disconnecting the bodyground connector cancels all clock & radio presets (328s do not “re-learn” the engineECU parameters when battery is disconnected). I have a storage lift which allows foreasy underside access, but jack stands would certainly be adequate.
Example shown is a US 1988.5 car, but all 328s are identical in this regard.
Note: if some of the photos seem suboptimal…consider they were taken at night in anunheated garage with outside temperature –1F…!
Time: Approximately 2 hours, including harness construction.
Tools required:
13mm deep socket, ¼ ratchet, and 8-12” extension bar 10mm combination wrench Battery strap (can use one supplied in factory tool kit or purchase at local parts
store for <$5) Terminal cleaner Terminal remover tool (possibly)
Sidecutter & needle-nose pliers Matches or disposable lighter Multimeter (optimal) Soldering iron (optional)
Parts required:
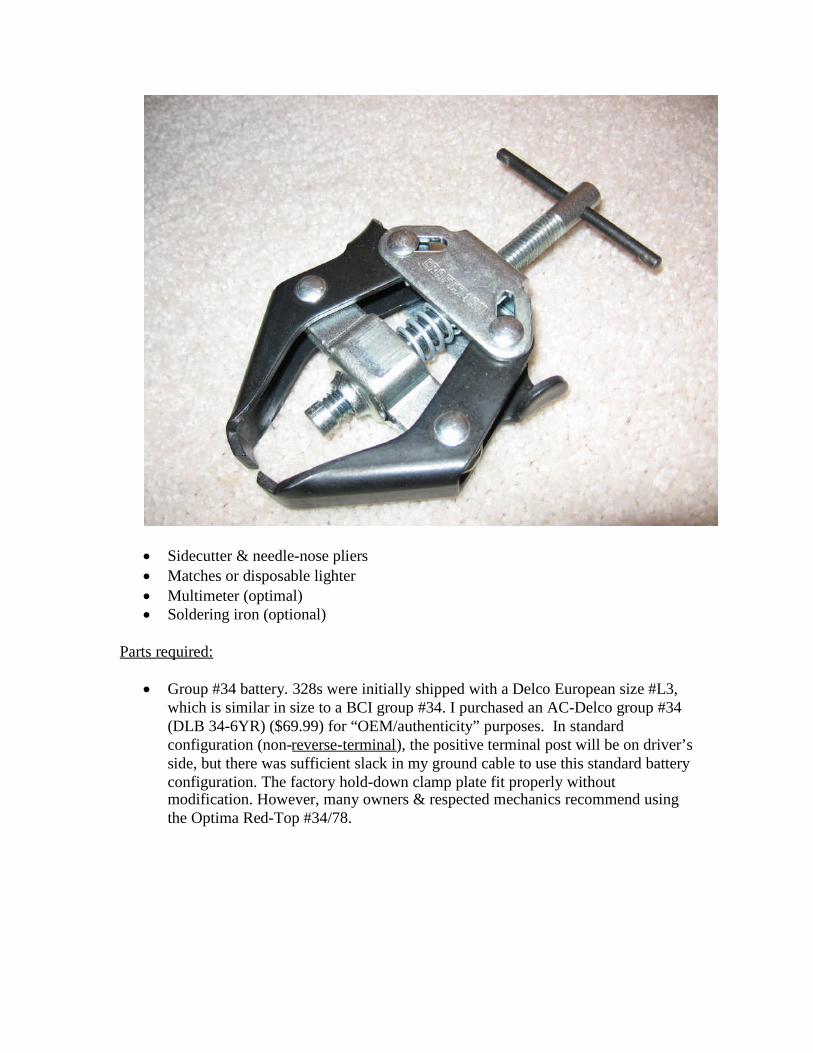
Group #34 battery. 328s were initially shipped with a Delco European size #L3,which is similar in size to a BCI group #34. I purchased an AC-Delco group #34(DLB 34-6YR) ($69.99) for “OEM/authenticity” purposes. In standardconfiguration (non-reverse-terminal), the positive terminal post will be on driver’sside, but there was sufficient slack in my ground cable to use this standard batteryconfiguration. The factory hold-down clamp plate fit properly withoutmodification. However, many owners & respected mechanics recommend usingthe Optima Red-Top #34/78.
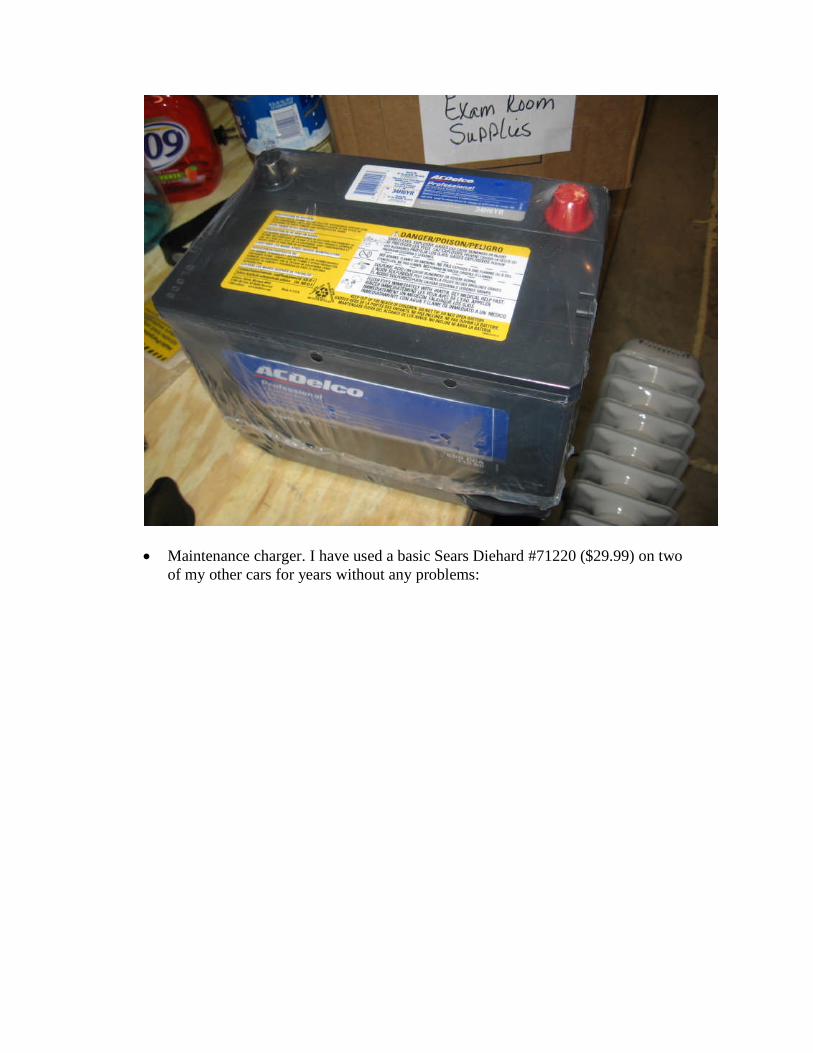
Maintenance charger. I have used a basic Sears Diehard #71220 ($29.99) on twoof my other cars for years without any problems:
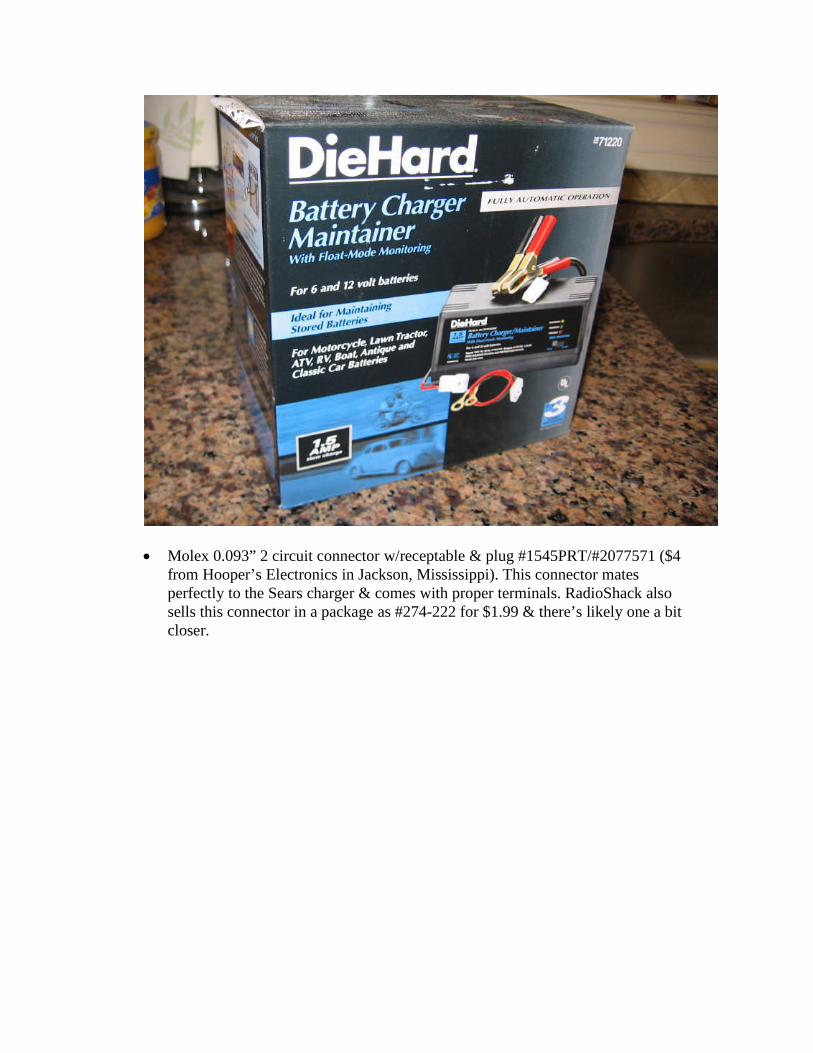
Molex 0.093” 2 circuit connector w/receptable & plug #1545PRT/#2077571 ($4from Hooper’s Electronics in Jackson, Mississippi). This connector matesperfectly to the Sears charger & comes with proper terminals. RadioShack alsosells this connector in a package as #274-222 for $1.99 & there’s likely one a bitcloser.
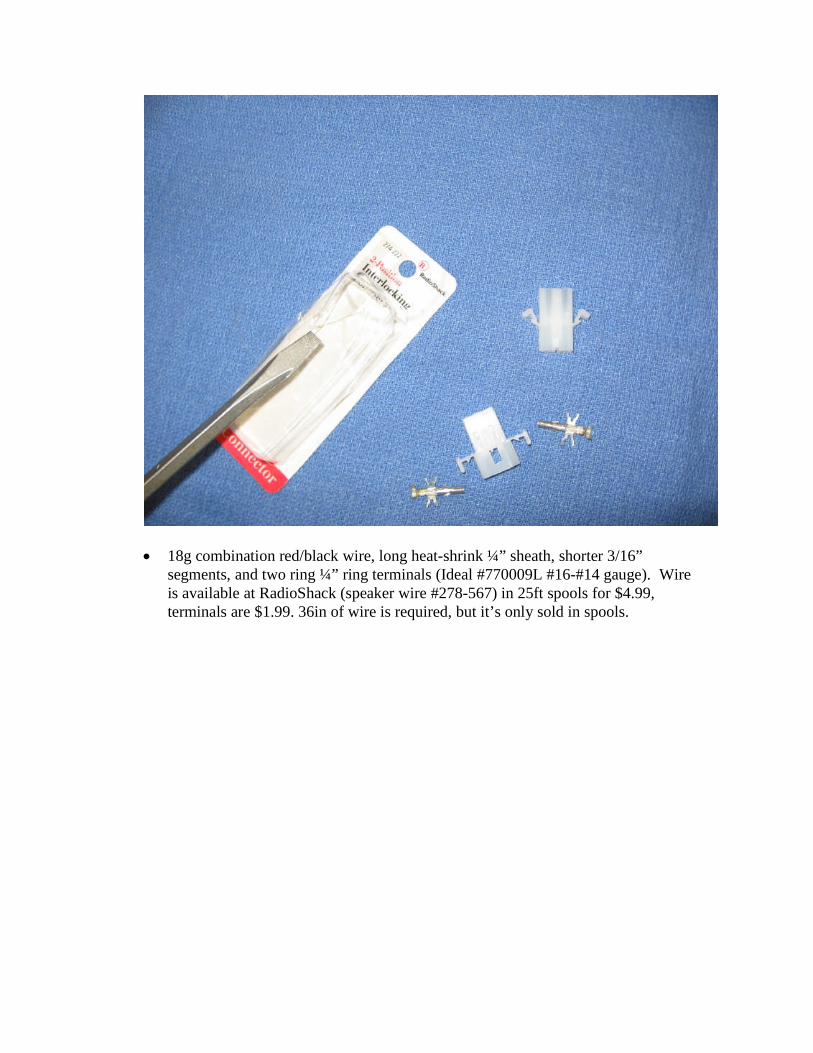
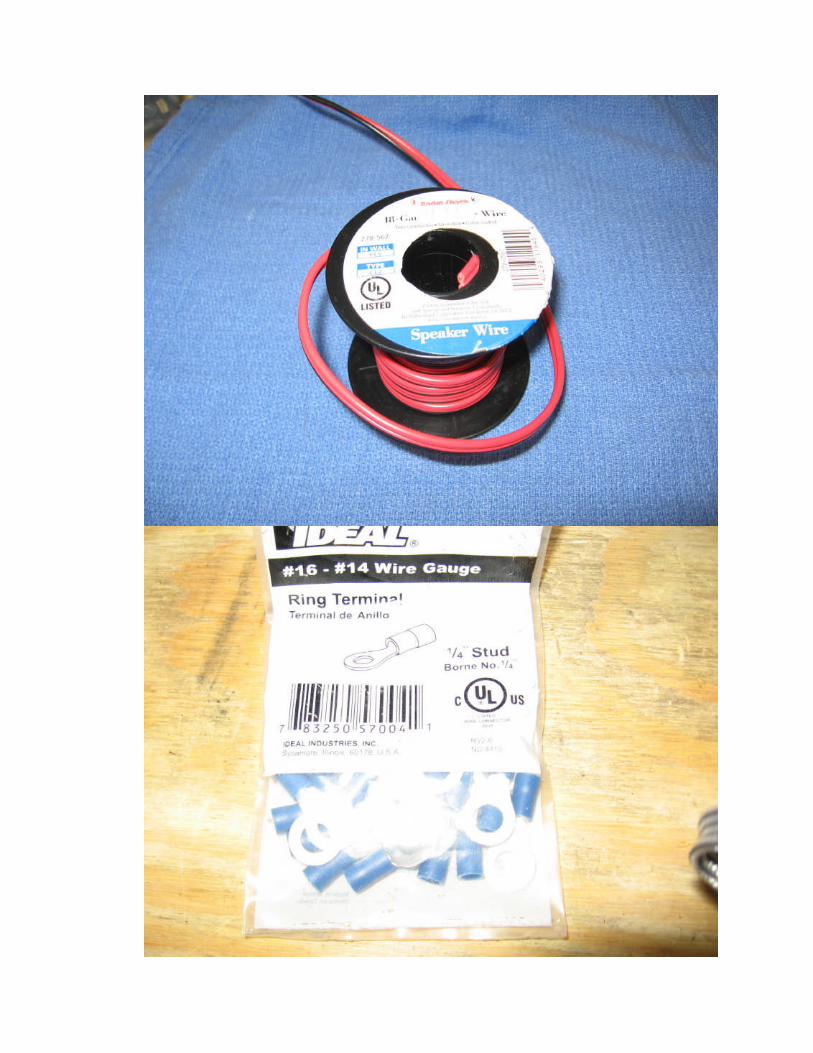
18g combination red/black wire, long heat-shrink ¼” sheath, shorter 3/16”segments, and two ring ¼” ring terminals (Ideal #770009L #16-#14 gauge). Wireis available at RadioShack (speaker wire #278-567) in 25ft spools for $4.99,terminals are $1.99. 36in of wire is required, but it’s only sold in spools.
5mm flat or lock washers (2) Zip ties (black)
Procedure:
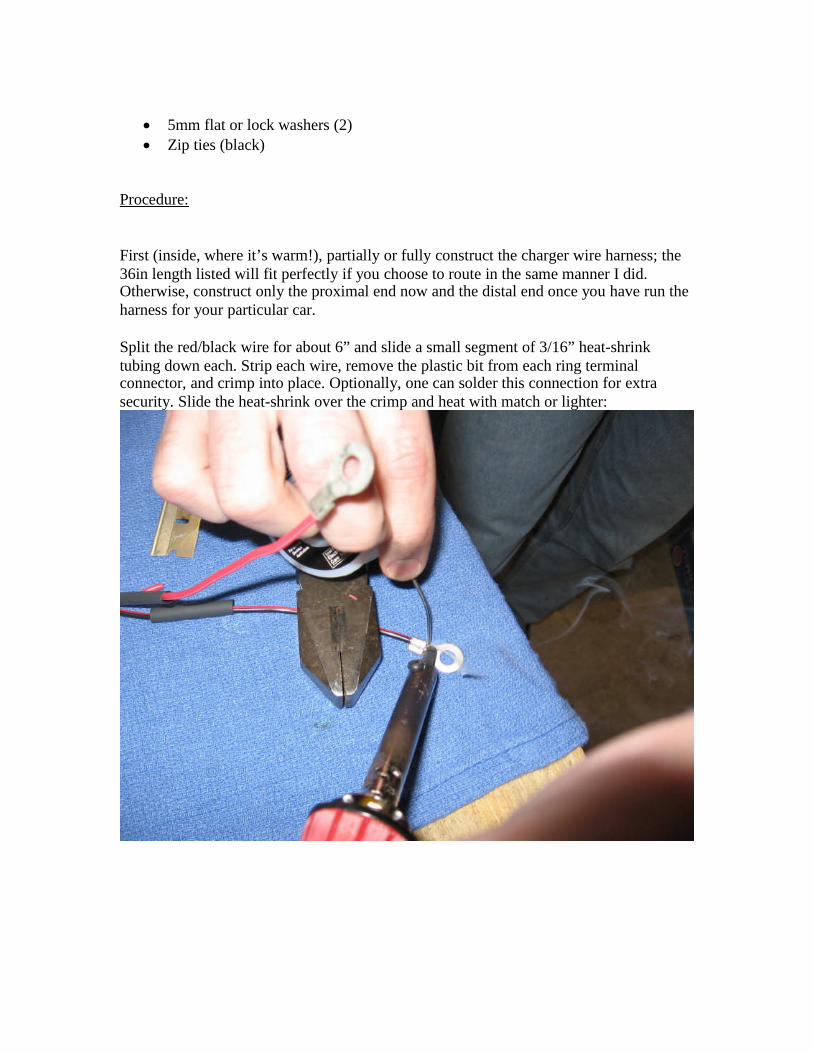
First (inside, where it’s warm!), partially or fully construct the charger wire harness; the36in length listed will fit perfectly if you choose to route in the same manner I did.Otherwise, construct only the proximal end now and the distal end once you have run theharness for your particular car.
Split the red/black wire for about 6” and slide a small segment of 3/16” heat-shrinktubing down each. Strip each wire, remove the plastic bit from each ring terminalconnector, and crimp into place. Optionally, one can solder this connection for extrasecurity. Slide the heat-shrink over the crimp and heat with match or lighter:
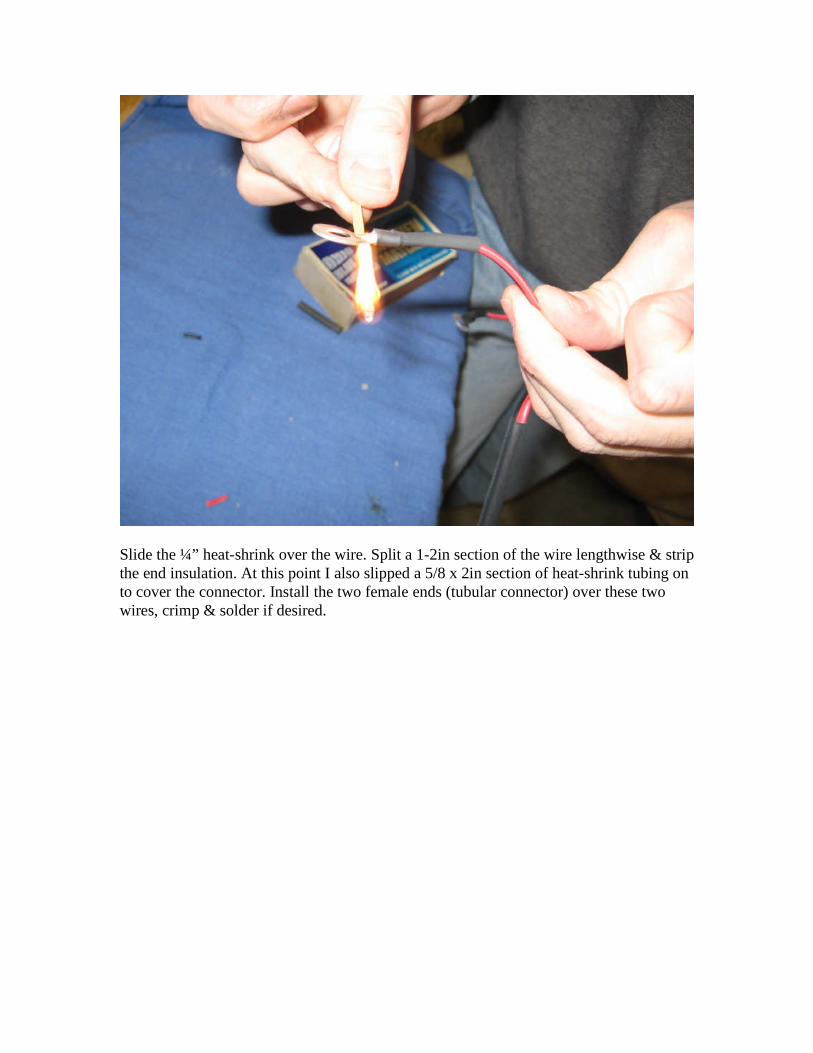
Slide the ¼” heat-shrink over the wire. Split a 1-2in section of the wire lengthwise & stripthe end insulation. At this point I also slipped a 5/8 x 2in section of heat-shrink tubing onto cover the connector. Install the two female ends (tubular connector) over these twowires, crimp & solder if desired.
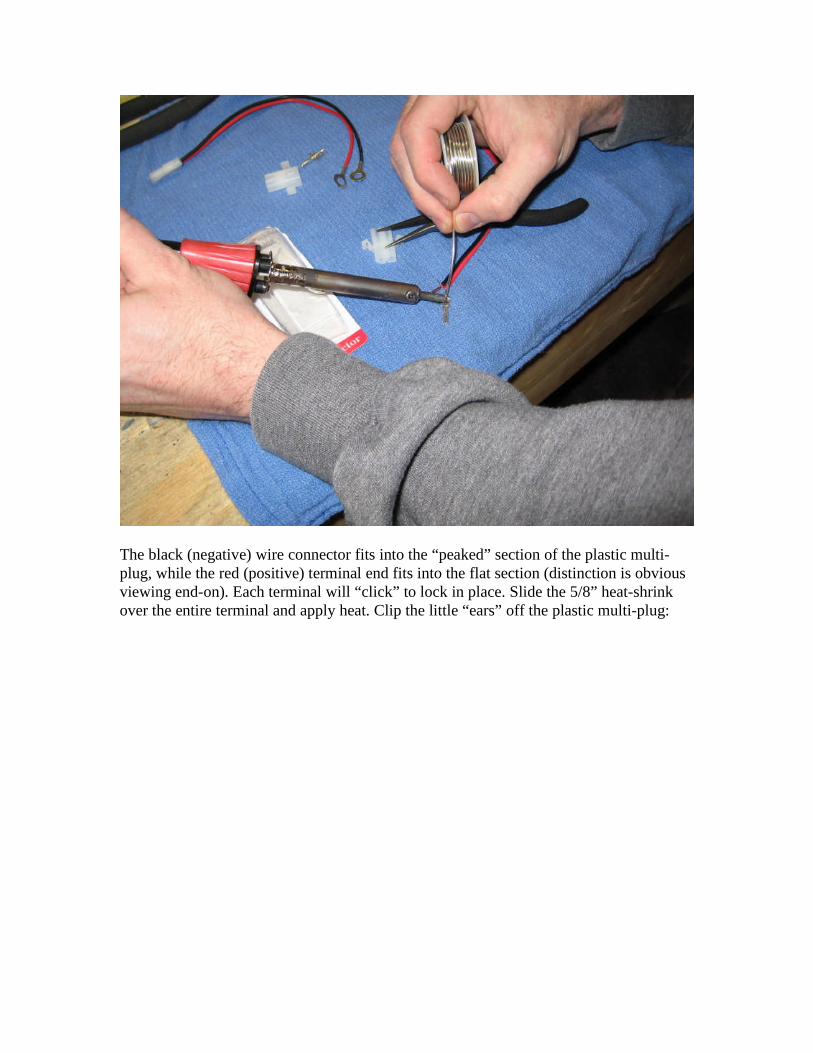
The black (negative) wire connector fits into the “peaked” section of the plastic multi-plug, while the red (positive) terminal end fits into the flat section (distinction is obviousviewing end-on). Each terminal will “click” to lock in place. Slide the 5/8” heat-shrinkover the entire terminal and apply heat. Clip the little “ears” off the plastic multi-plug:
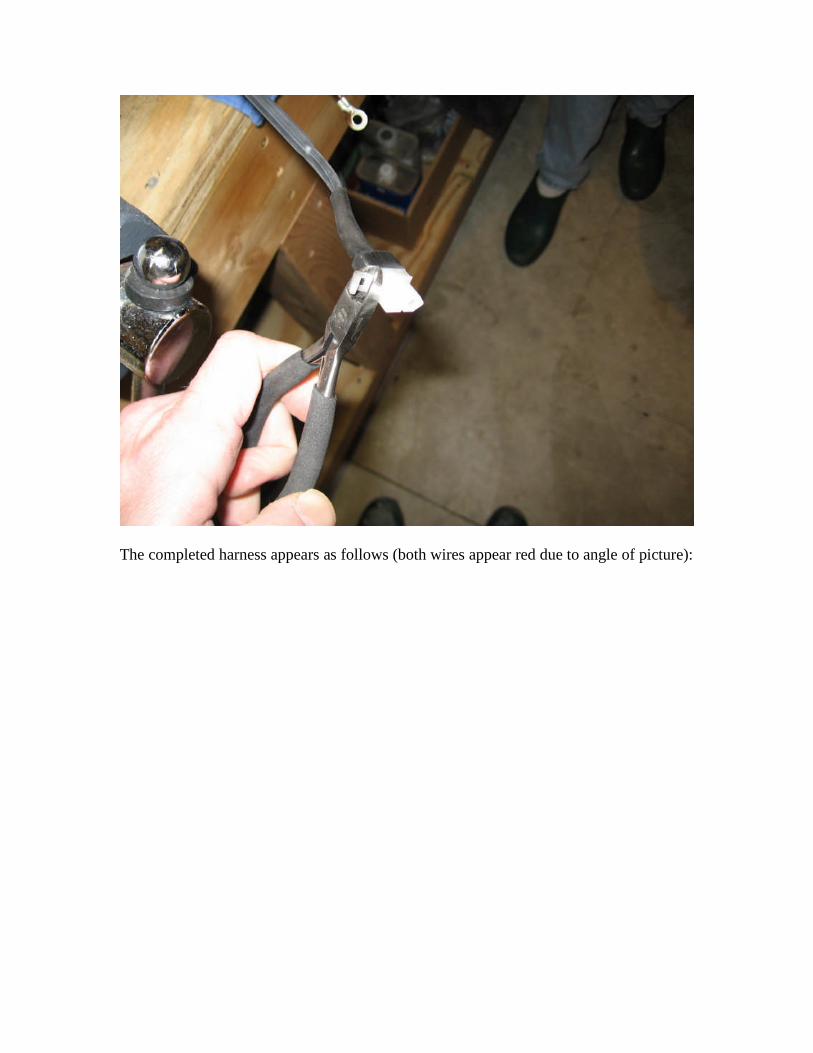
The completed harness appears as follows (both wires appear red due to angle of picture):
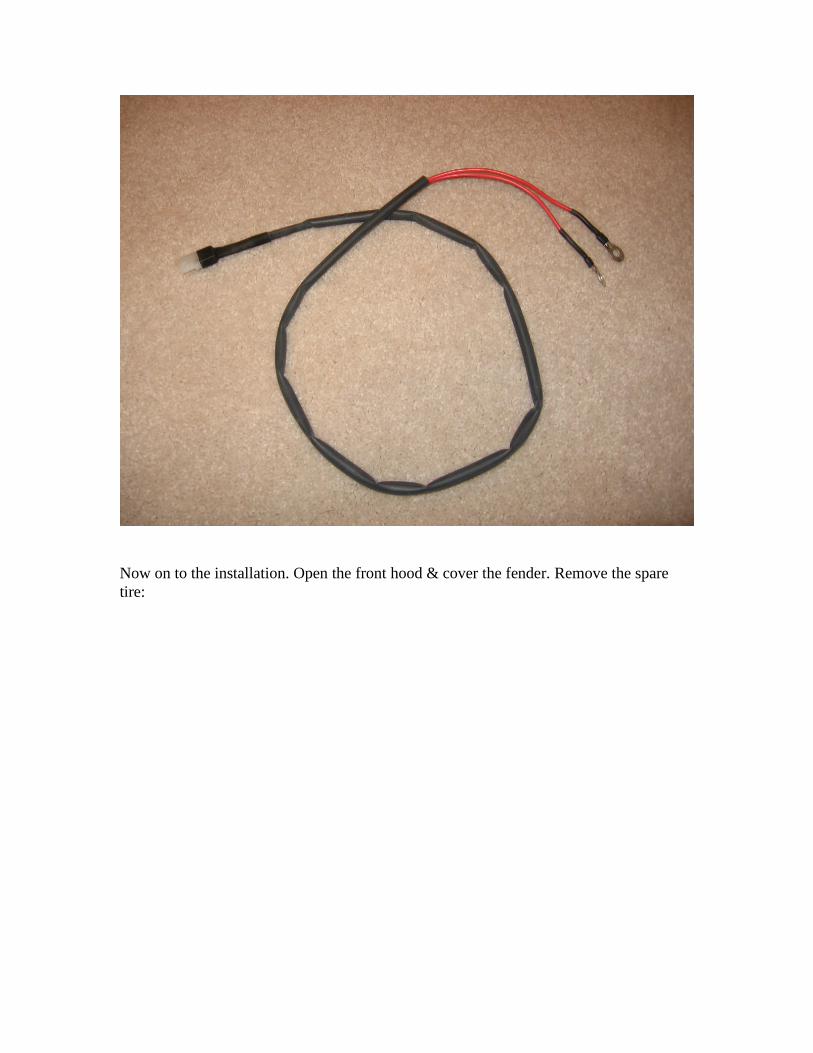
Now on to the installation. Open the front hood & cover the fender. Remove the sparetire:

Battery is concealed under the center well access panel. Remove both knurled nuts (don’tdrop or they can fall through tray drain hole [~10 o’clock in photo] into underbody) andlift away cover:
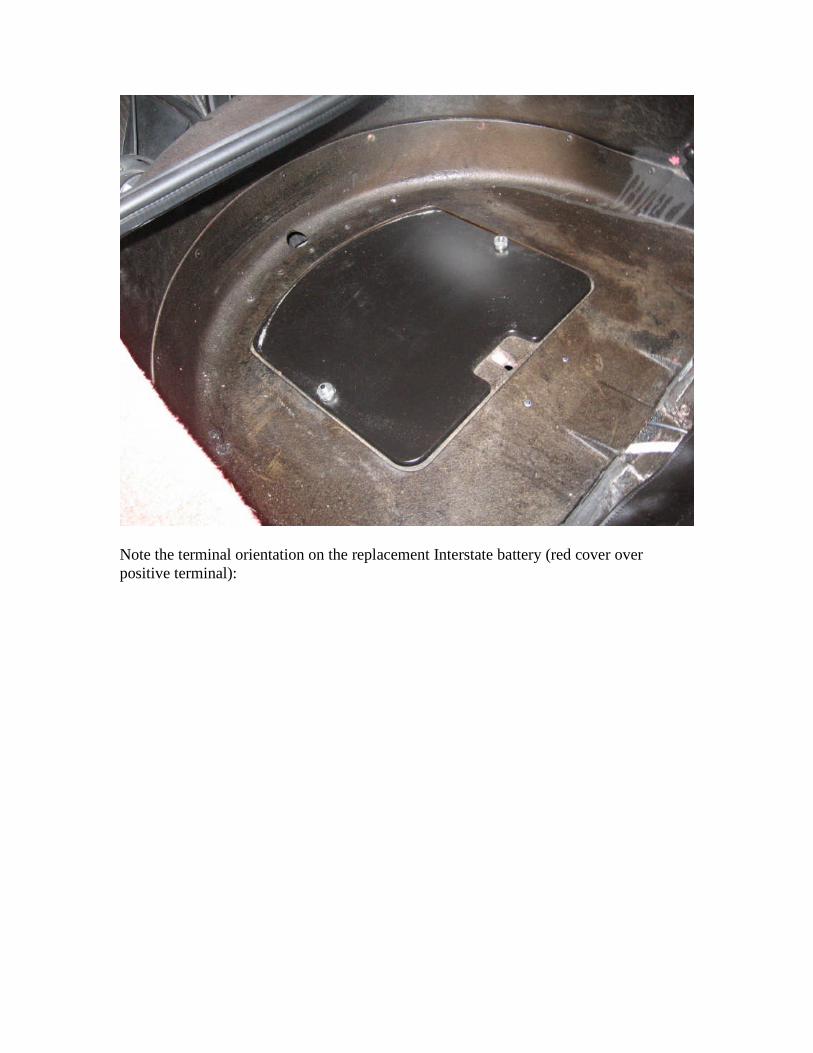
Note the terminal orientation on the replacement Interstate battery (red cover overpositive terminal):
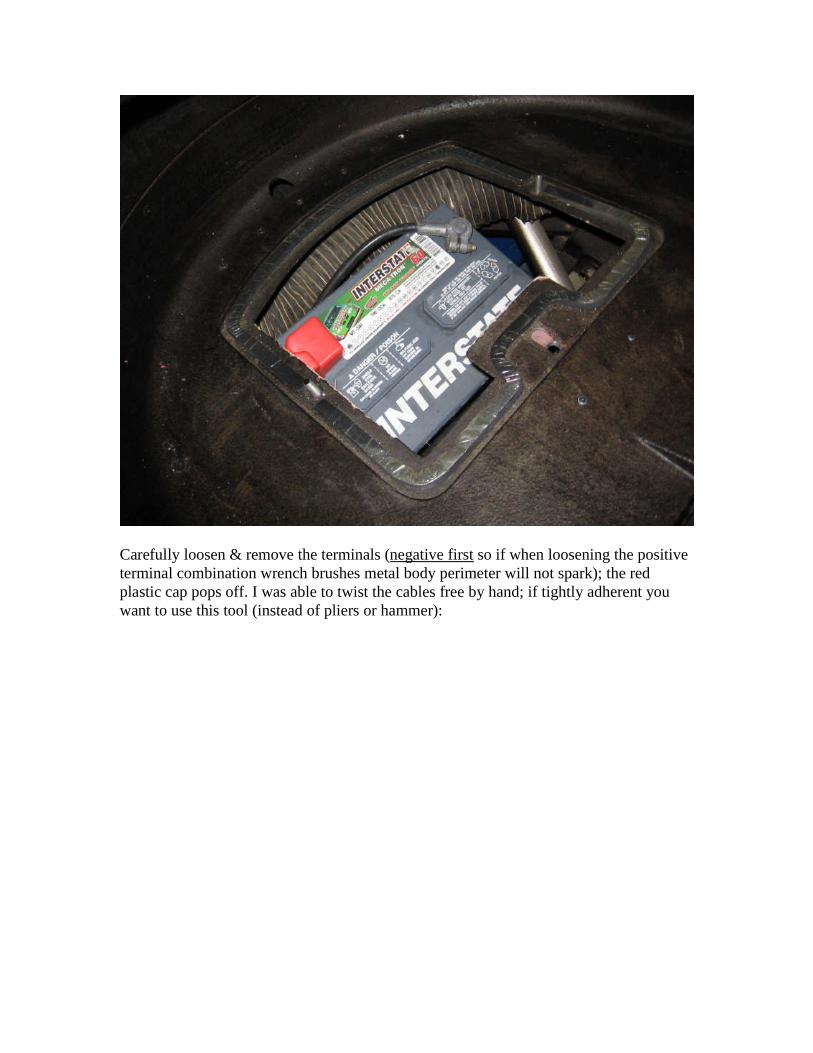
Carefully loosen & remove the terminals (negative first so if when loosening the positiveterminal combination wrench brushes metal body perimeter will not spark); the redplastic cap pops off. I was able to twist the cables free by hand; if tightly adherent youwant to use this tool (instead of pliers or hammer):

The hold-down clamp is located in the front center. Using a 13mm deep socket on a longextension, loosen and remove the clamp plate, nut, and lockwasher:
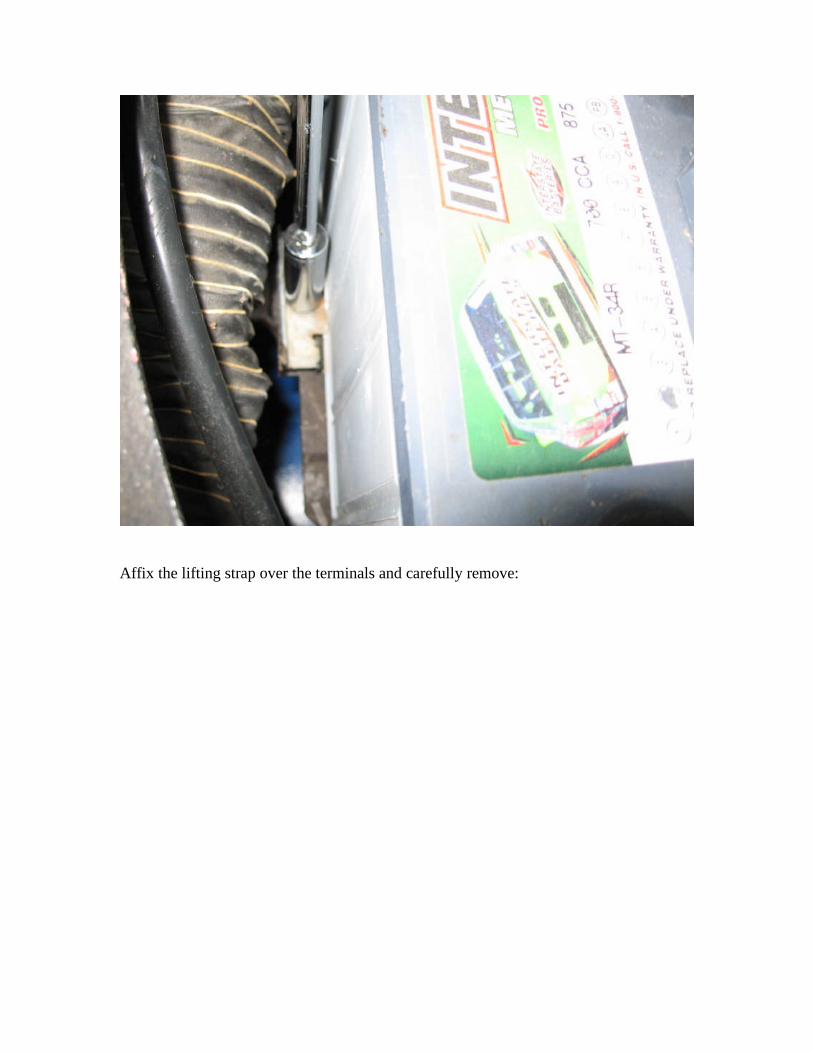
Affix the lifting strap over the terminals and carefully remove:
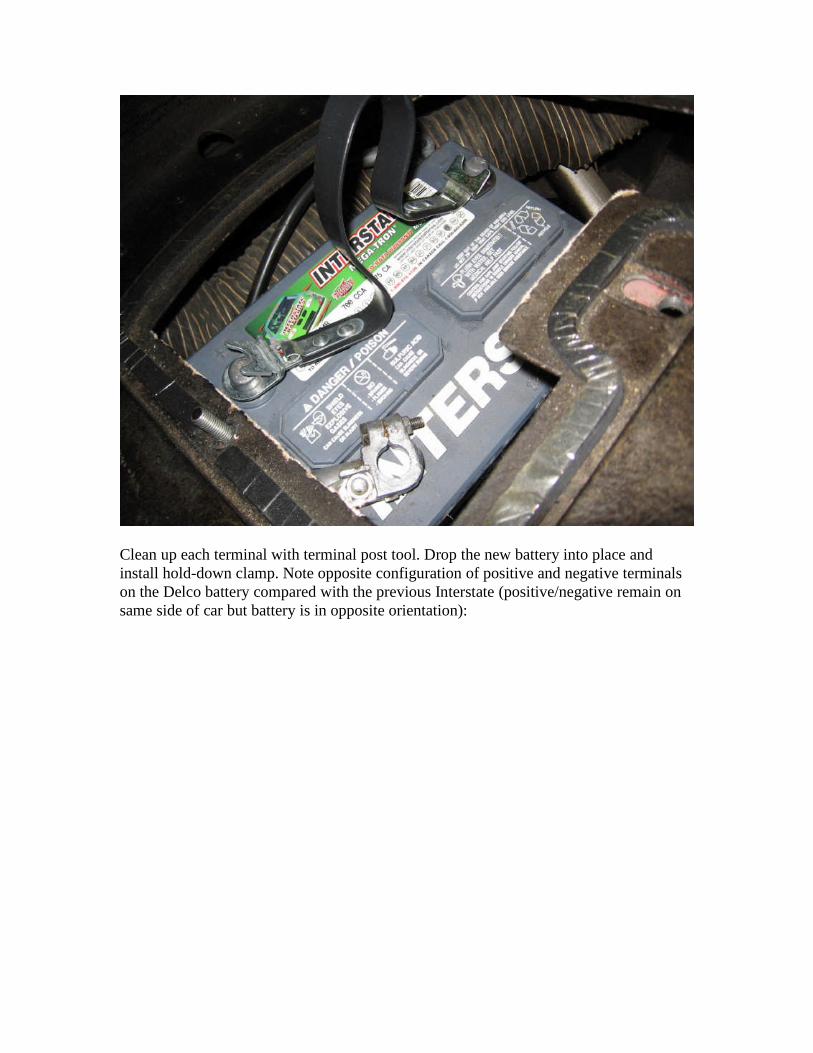
Clean up each terminal with terminal post tool. Drop the new battery into place andinstall hold-down clamp. Note opposite configuration of positive and negative terminalson the Delco battery compared with the previous Interstate (positive/negative remain onsame side of car but battery is in opposite orientation):

The charger harness attaches to to each terminal directly. Some authorities recommendattaching the ground lead to a chassis ground instead of directly to the battery (ala jump-starting), but the instructions accompanying the charger clearly show direct wiring. I putthe ring terminal directly against the lead terminal, followed by a washer, then the nut:
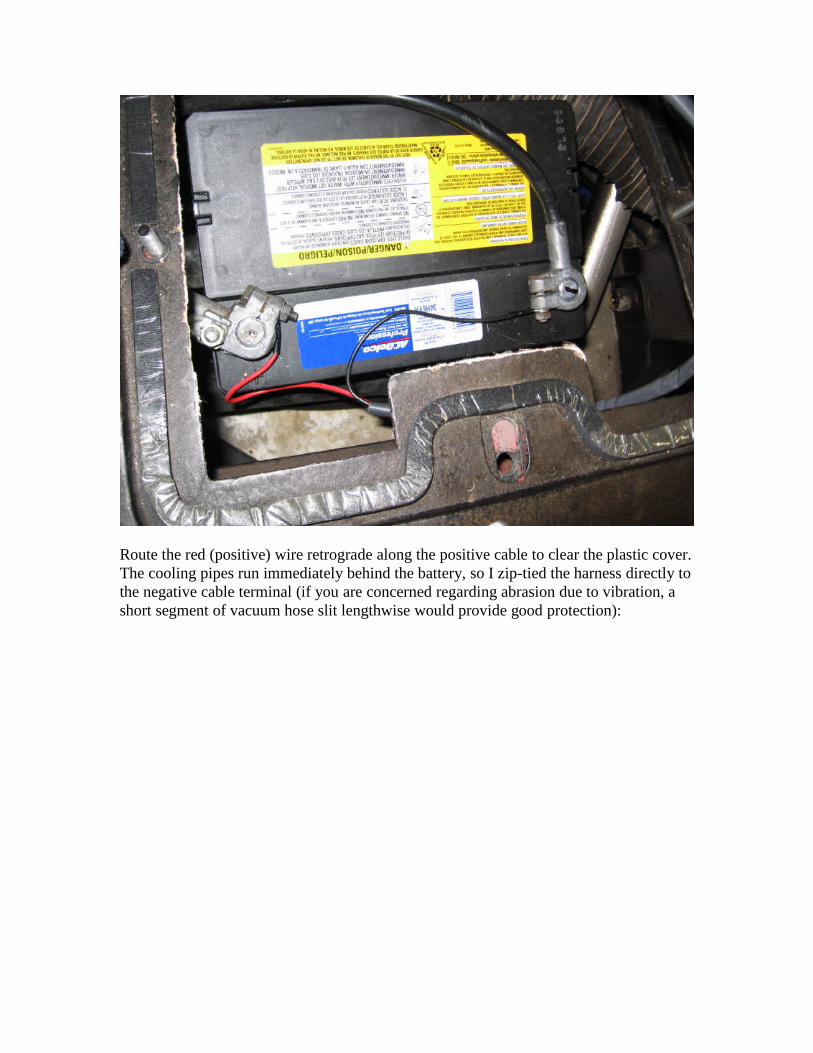
Route the red (positive) wire retrograde along the positive cable to clear the plastic cover.The cooling pipes run immediately behind the battery, so I zip-tied the harness directly tothe negative cable terminal (if you are concerned regarding abrasion due to vibration, ashort segment of vacuum hose slit lengthwise would provide good protection):
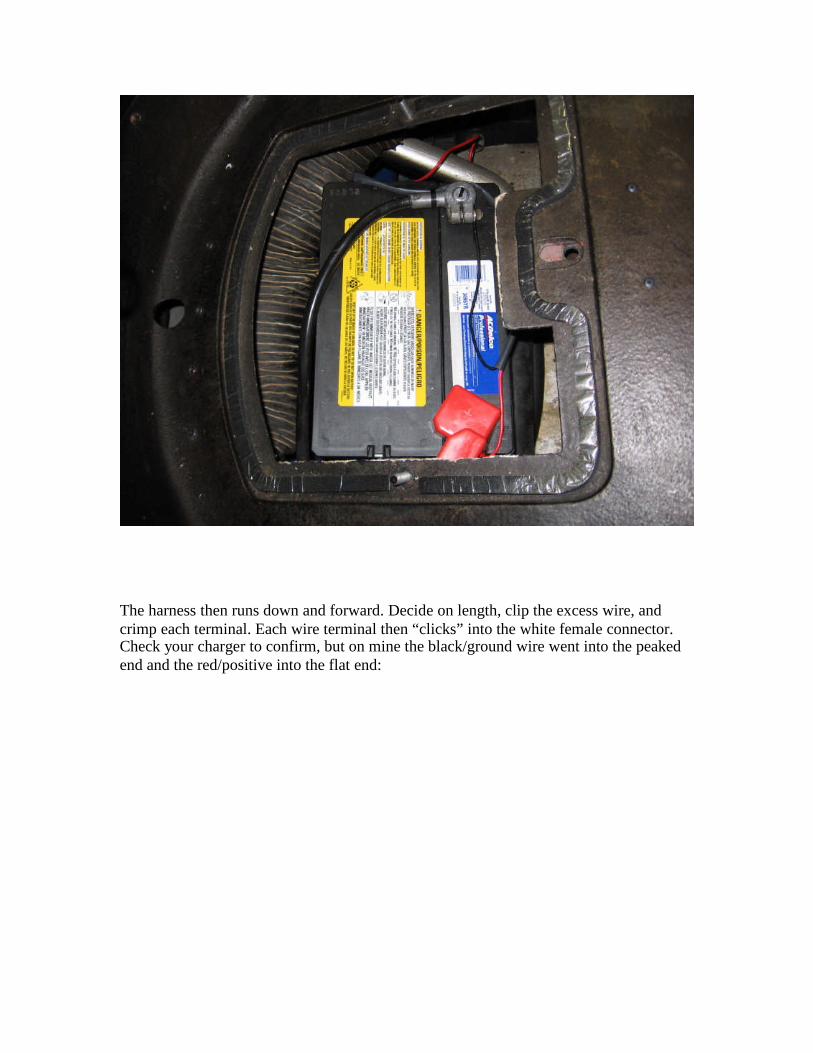
The harness then runs down and forward. Decide on length, clip the excess wire, andcrimp each terminal. Each wire terminal then “clicks” into the white female connector.Check your charger to confirm, but on mine the black/ground wire went into the peakedend and the red/positive into the flat end:
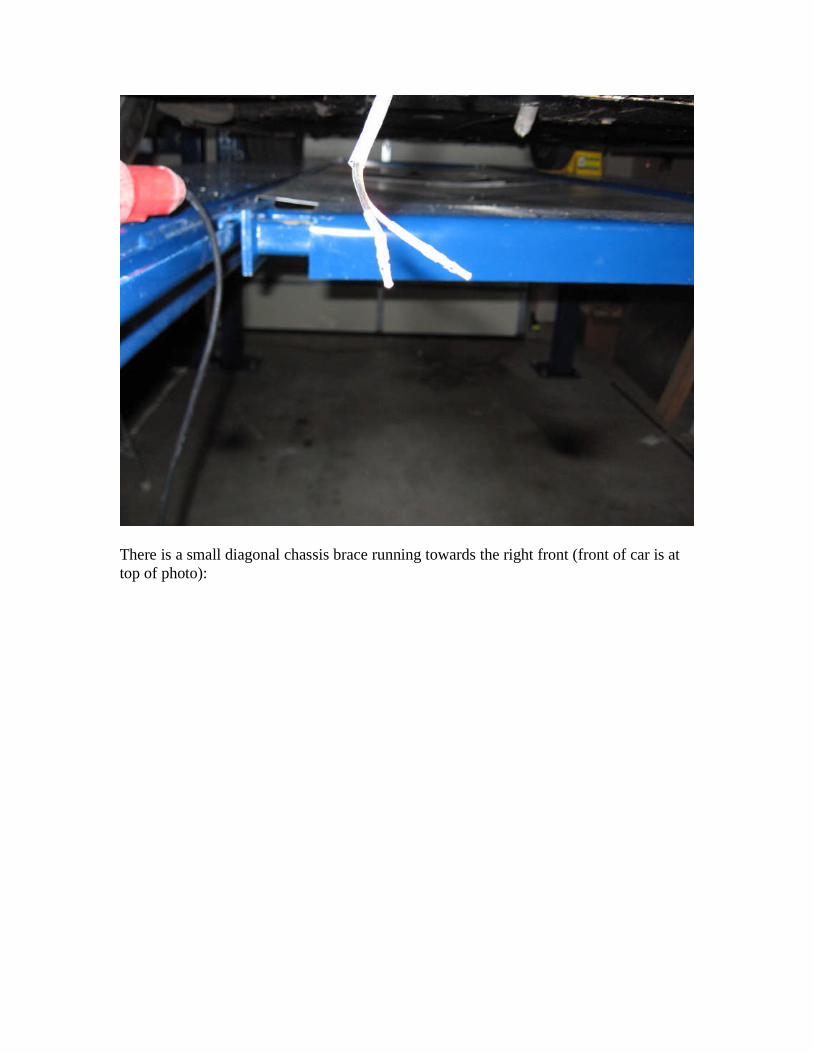
There is a small diagonal chassis brace running towards the right front (front of car is attop of photo):
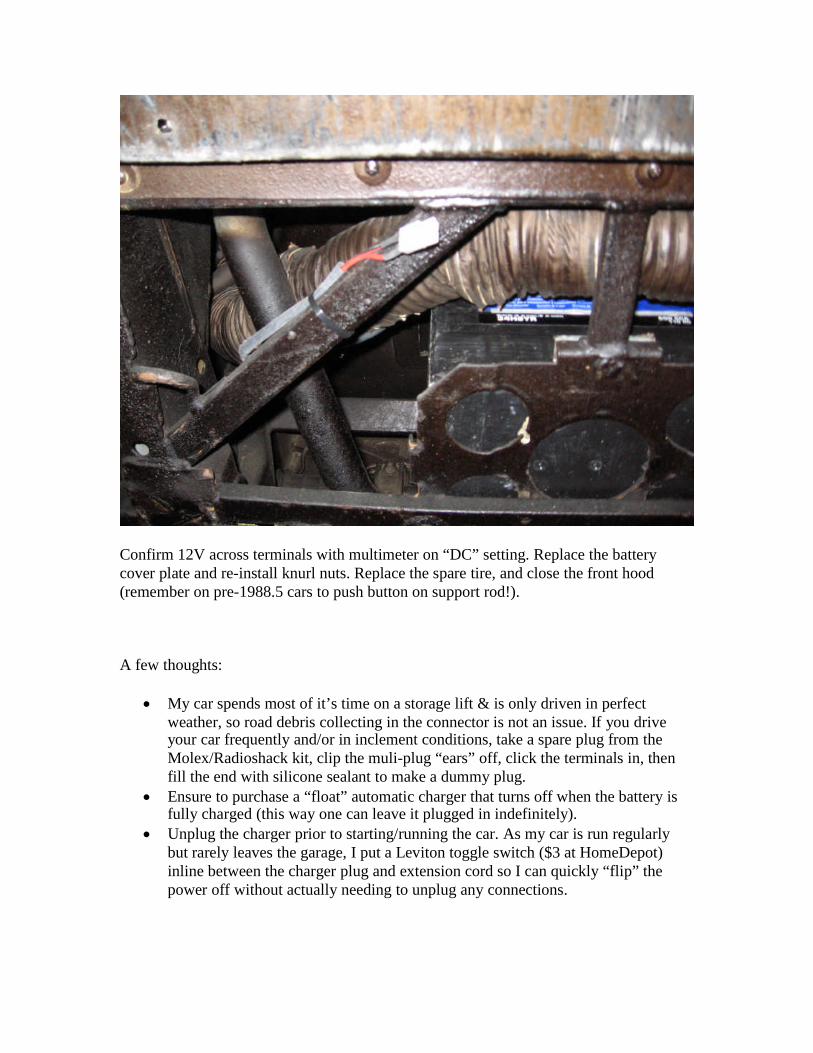
Confirm 12V across terminals with multimeter on “DC” setting. Replace the batterycover plate and re-install knurl nuts. Replace the spare tire, and close the front hood(remember on pre-1988.5 cars to push button on support rod!).
A few thoughts:
My car spends most of it’s time on a storage lift & is only driven in perfectweather, so road debris collecting in the connector is not an issue. If you driveyour car frequently and/or in inclement conditions, take a spare plug from theMolex/Radioshack kit, clip the muli-plug “ears” off, click the terminals in, thenfill the end with silicone sealant to make a dummy plug.
Ensure to purchase a “float” automatic charger that turns off when the battery isfully charged (this way one can leave it plugged in indefinitely).
Unplug the charger prior to starting/running the car. As my car is run regularlybut rarely leaves the garage, I put a Leviton toggle switch ($3 at HomeDepot)inline between the charger plug and extension cord so I can quickly “flip” thepower off without actually needing to unplug any connections.