fcpx-burning a disc - bates college | lewiston, maine · pdf file ·...
TRANSCRIPT

Bates | Digital Media Studios Helpsheet
How to Burn a DVD in FCPX 1 2015.ed
Burning a DVD in Final Cut Pro X It’s easy to burn a DVD in Final Cut Pro X. Both the edit suites and the 121 lab are equipped with DVD burners. This illustrated step-‐by-‐step guide will get you through the process!
Let’s Get Started First open up your project in Final Cut Pro X (FCPX). This is your project window. Click in it.
Now, on your keyboard, press the Command key and the “A” key at the same time. This selects everything in your project – it’s not a required step, but it’s an easy way to ensure your project burns correctly.
With everything selected, we’re ready to burn your project to DVD.
Burning the Disc This is the center bar.
Bates | Digital Media Studios Helpsheet
2 How to Burn a DVD in FCPX
This is the right hand side of the center bar.
This is the Share button.
Click the share button to see your “sharing” options. It is important that it says “Share Project” at the top of the menu.
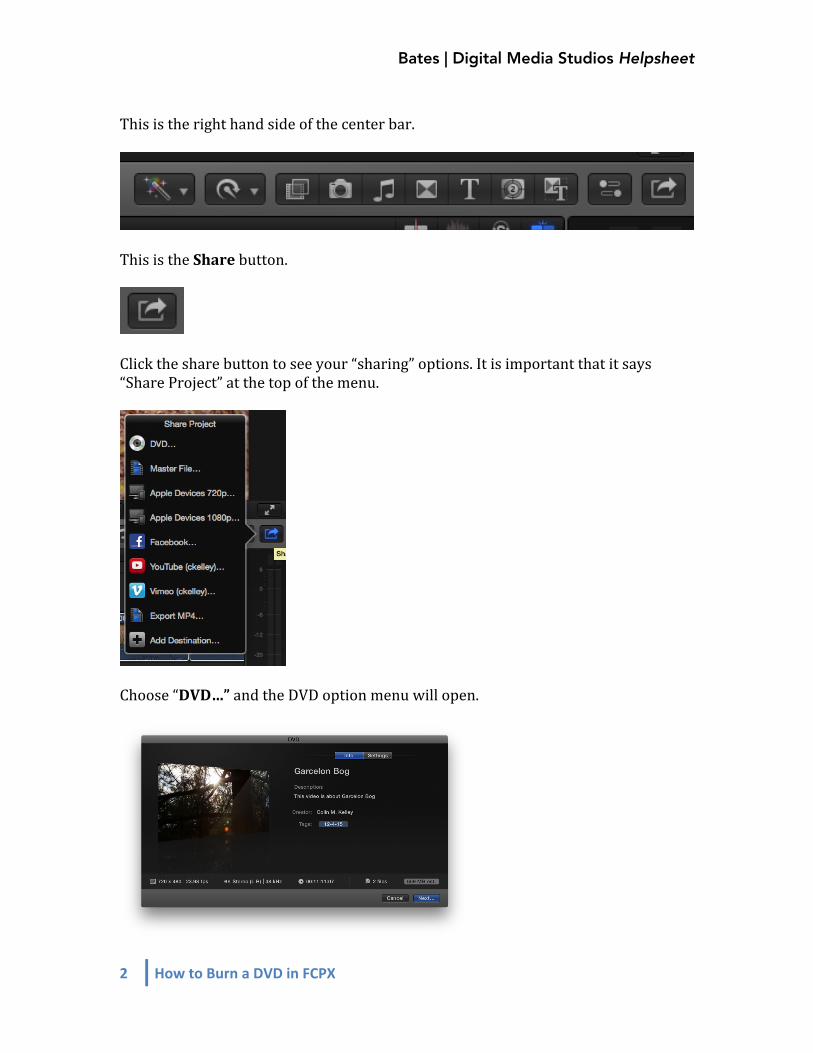
Choose “DVD…” and the DVD option menu will open.

Bates | Digital Media Studios Helpsheet
How to Burn a DVD in FCPX 3 2015.ed
At this point, double check that the image on the left and the title at the top match the project you’re attempting to burn to disc. If you’d like to change the title or description (and if either contains something you wouldn’t want your professor to see, I’d recommend changing it), you can simply click once on the title or description and you’ll be allowed to edit the text.
Next, let’s make sure you’re burning the disc using the correct burner. At the top of DVD menu, select Settings.
In the settings menu, make sure your output device is the DVD burner and NOT the Hard Drive.
It is important that you always check your Output Device. Generally, at the DMS you’ll have one of two options for DVD burners:
• Pioneer BD-‐RW • HL_DT_ST DVDRW (Apple
brand)

Bates | Digital Media Studios Helpsheet
4 How to Burn a DVD in FCPX
Great. At this point, it’s okay to leave the rest of the settings alone. Click the “Share” button to begin the DVD burn.
When you click the Share button, the DVD menu dialog will go away. That doesn’t mean your disc is finished burning! Have patience! Take a look at the center bar. Note the Background Task indicator. It’s blue (doesn’t look blue in this screen shot, but it will for you) and says (at the moment) 12%. That’s an indication that FCPX has begun the process of burning your disc. Until the Background Task indicator says 100%, it’s not finished burning. Have patience – it can take awhile!
If that’s not enough info for you, click on the indicator and it will open up the Background Task head’s up display (HUD). Now you can follow along with the burning process. First it must “write” (aka transcode) your project into a format a DVD can read.
Share button.

Bates | Digital Media Studios Helpsheet
How to Burn a DVD in FCPX 5 2015.ed
Next, it will burn this format (it’s actually two different files, one for audio, one for video) on to the disc.
Finally, it will “finish” your disc – which involves writing some universal code so that any DVD player can read it. This can take some more time. And at long last, your DVD is done! You’ll know because the DVD will eject from the burner and this message will appear.
Congrats! You’re finished. ###