fast grade lessons north fayette elementary turn the projector off! turn the student responders on!...
TRANSCRIPT


FAST
GRADE LESSONS
NORTH FA
YETT
E ELE
MENTARY

TURN THE PROJECTOR OFF!TURN THE STUDENT RESPONDERS ON!
Presenters:Jacqueline Fawaz Atiya ParsonSharon Pugh
5th Grade TeamNorth Fayette Elementary SchoolFayetteville, GA

CPS STUDENT RESPONDERS
• Hand held devices students use to enter answers.
• Answers are delivered and analyzed
immediately and viewed either on screen or the desktop.
• Questions can be on the spot; verbal questions where everyone answers at the same time.
• Questions can also be student paced where students input answers at their own speed.
• The student-paced lesson is the focus of this session.

WHY FASTGRADE STUDENT-PACED LESSONS?
TEACHER ADVANTAGES:
–Real time view of responses.–Opportunity to immediately redirect a student.–Use of 21st Century Learning –Time Saver!–Immediate grades!–CPS Assessments can be shared!
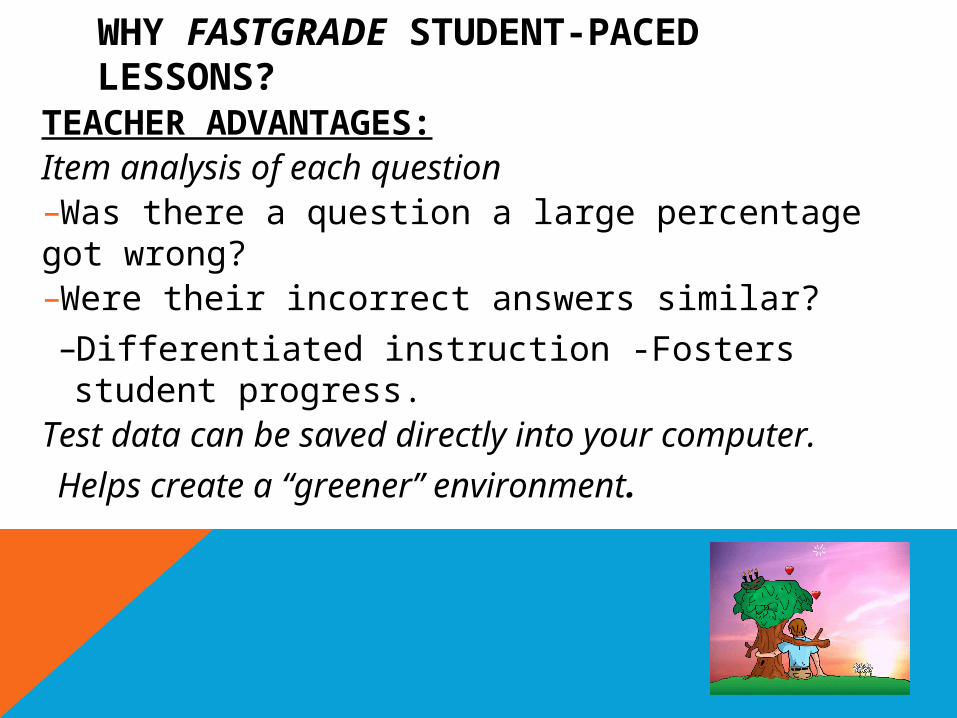
WHY FASTGRADE STUDENT-PACED LESSONS?
TEACHER ADVANTAGES:Item analysis of each question–Was there a question a large percentage got wrong?–Were their incorrect answers similar?–Differentiated instruction -Fosters student progress.
Test data can be saved directly into your computer.
Helps create a “greener” environment.

WHY FASTGRADE STUDENT-PACED LESSONS?
• STUDENT ADVANTAGES:–Information from item analysis fosters direct instruction.• This is especially helpful to the struggling student
–Use of technology keeps students engaged. –Entering answers is fun and easy!–Immediate results with the ability to compare their outcome to the class.–Fosters better student progress.

RESULTS OF STUDENT SURVEY
WHY FASTGRADE STUDENT-PACED LESSONS?
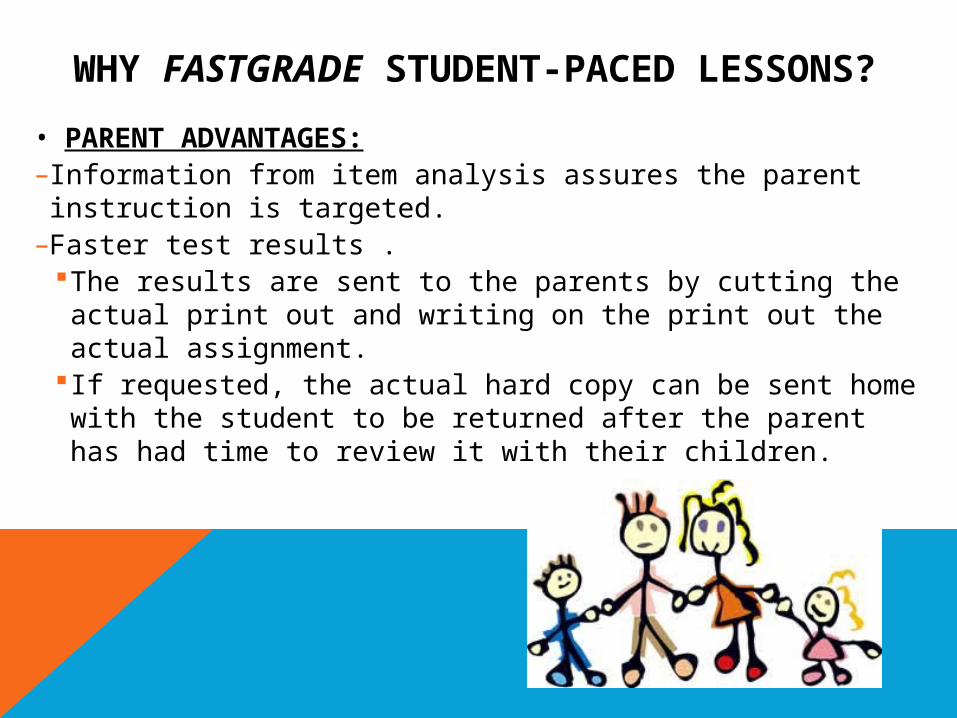
• PARENT ADVANTAGES:–Information from item analysis assures the parent instruction is targeted.–Faster test results .
The results are sent to the parents by cutting the actual print out and writing on the print out the actual assignment.
If requested, the actual hard copy can be sent home with the student to be returned after the parent has had time to review it with their children.

RESULTS OF PARENT SURVEY

ASSESSMENT POSSIBILITIES IN SELF-PACED MODE
• Classwork• Worksheets• Textbooks• Workbooks• Tests (across all subjects)• North Fayette uses self-paced assessment in math,
social studies and spelling. We use them to input answers on homework assignments as they arrive at school, including math and science workbooks. Our Science tests and English Language Arts tests are already online assessment ready through other programs.
• THE USES OF STUDENT PACED LESSON ARE ENDLESS!
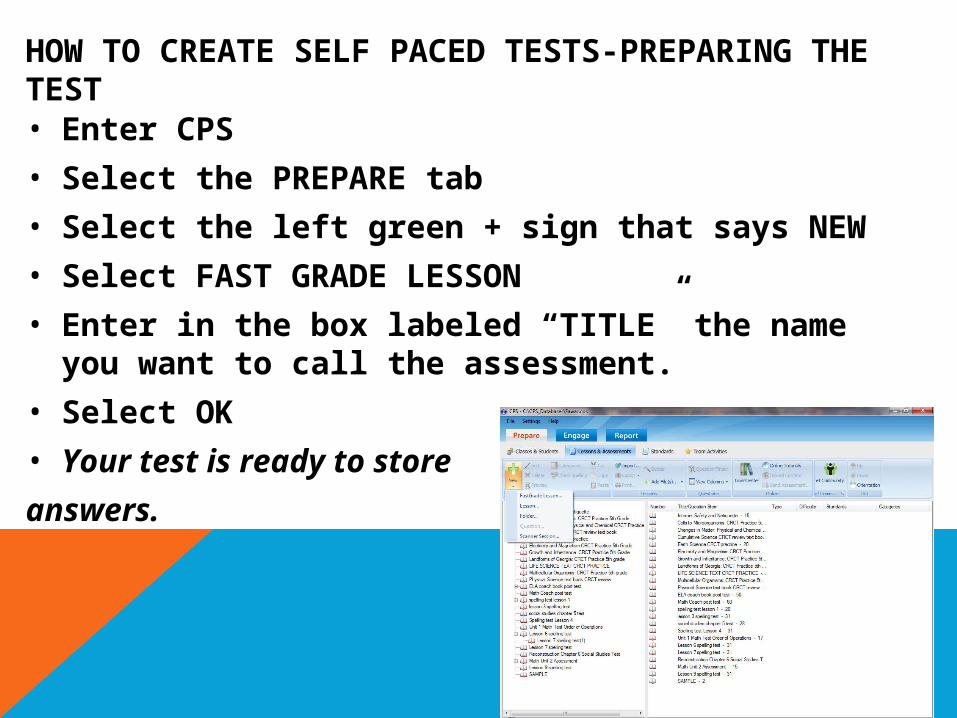
HOW TO CREATE SELF PACED TESTS-PREPARING THE TEST• Enter CPS
• Select the PREPARE tab
• Select the left green + sign that says NEW
• Select FAST GRADE LESSON
• Enter in the box labeled “TITLE” the name you want to call the assessment.
• Select OK
• Your test is ready to store
answers.

HOW TO CREATE SELF-PACED TESTS-CHOOSING THE GENRE OF QUESTIONS
• Using CPS responders allows flexibility in all question types in one assessment.
• For each question, you are allowed to select a question type.
• MC-multiple choice –CPS allows multiple choice from 2-10 choices (A-J).

HOW TO CREATE SELF-PACED TESTS-CHOOSING THE GENRE OF QUESTIONS• Short Answer
–This allows the student to “text” their answer using the CPS responder keys.–If there is a specific word that is the answer, enter that word in the box provided for that answer.–If answers may vary, leave the box blank, these answers will have to be manually recorded and the report adjusted accordingly.
• Numeric –Answers can be with or without symbols–If there is a specific number that is the answer, enter that word in the box provided for that answer.–If answers may vary, leave the box blank, these answers will have to be manually recorded and the report adjusted accordingly.
• True/False• Yes/No

HOW TO INPUT THE ANSWER KEY• Multiple Choice is First-Choose which letter
answer.
• T/F, Y/N then Numeric are next on the top.
• Short Answer on the right.
• At the top right it lets you know how many answers you have already put in.
• On the bottom right, in RED, is the current question you are in; indicating you haven’t entered an answer yet.
• If you need to review an answer, use the PREVIOUS button on the bottom left.
• When all answers have been input, select OK.
• Your assessment will now show up on the left
of your screen with the questions on the right.

HOW TO INPUT THE ANSWER KEY

HOW TO MAKE AN ANSWER KEY
• To ensure your answers were transferred correctly into CPS and for other benefits, you may want a hard copy of the answer key to your assessment.
• Select the assessment you want an answer key for.
• In the second section of the menu bar is the PRINT option.
• A screen will come up with choices at the bottom.
• Click SELECT ALL
• Choose ANSWER KEY ONLY and PREVIEW.
• Print out the key.

CREATING AN ANSWER KEY

HOW TO START A SELF-PACED LESSON• You have now created an assessment and have input the
answers and the students are ready to enter their answers.
• Before we ENGAGE the assessment, we require the students to use loose leaf paper or scrap paper to record their answers BEFORE using the responders for insurance.
–Encourages them to take their time.–Prevents confusion on which number they are answering from the
test.–Allows the teacher a back up in case the student had the correct
answer on their sheet, but accidentally entered the wrong answer in the responder.–Allows the teacher a back up in case the computer freezes right
before you can end a test. You can restart the test and the students simply have to re-enter their answers.

HOW TO START A SELF-PACED LESSON
• Open up CPS• Select the ENGAGE tab• Select LESSONS AND ASSESSMENTS• Select the assessment you are using
from your list under the menu bar.• Select ASSESSSMENT
SET-UP/STUDENT PACED• Select ENGAGE

HOW TO START A SELF-PACED LESSON
• Once you have selected ENGAGE, your computer will indicate “SCANNING FOR RECEIVER” and will be turning on the responders.
• There will be a message to you in a white box to TURN OFF YOUR PROJECTOR before you enter start so the students don’t see the answers.
• Select START
• The students are now ready to enter their answers into the responders.

STUDENT RESPONDER
• The LCD screen tells the student which question they are on.
It also tells them what answer they entered.
• The black left and right arrows allow the student to go
from question to question.
• The curved blue arrow allows them to go back or UNDO.
• The blue 90 degree left angle arrow is how the store their
answer once it’s been entered.
• You can see the letters A-J as MC answers.
• Underneath each letter starting with B, has the letters used to enter short answers.–Remind students; when entering letters as text, the 1A is not “a”. A is entered using the 2B button.
• There are symbols available as well.
• The bottom blue tab is the ON/OFF button.

HOW TO MONITOR A SELF-PACED LESSON• Your screen will now have all the
student names along with their answers as they input them.
• At the bottom of the screen is a box with the option to COLOR CODE the answers; green for correct, red for incorrect.
• This allows the teacher to see “real- time results”.

HOW TO END THE SESSION
• You can determine if everyone is done through visual observation of the class or from your computer screen.
• Once everyone has keyed in their answers, click CLOSE at the bottom of your screen.
• The assessment is now complete and you are ready to analyze the results!

HOW TO CREATE REPORTS
• DOUBLE CLICK on the assessment you want to create a report for.
• Choose from a variety of reports.
• It will create the report and you can print and/or save the report• Note; the SAVE key is to the left of the PRINT key

EXAMPLES OF REPORTS

ITEM ANALYSIS
• The item analysis portion of the report is important for review and seeing which students missed a particular question.
• The * indicates the correct answer. • View questions that were missed by the
majority of students• Prepare review sessions for deeper
understanding

ITEM ANALYSIS

SAVING RESULTSSTEPS
• Reports• Study guide-class summary or your report choice• Click the black down arrow to the left of the print
key• Acrobat (PDF)• Save in….. (your document save choice)• File name• PDF export set up• OK

GRADING SHORT ANSWERS/ADJUSTING ANSWERS
• Some short answers will vary so the grading of the test has to be adjusted.
• Example; text a word that has our Greek Root Word of the week in it.
• When the answers vary, leave the answer block blank when creating a key.
• When grading the test, if they got the short answer correct, you will have to manually adjust the grade.

STORAGE AND DISTRIBUTION OF RESPONDERS
• Each teacher has their own method for storing and distributing the responders
• Examples:•baskets at each table•students distribute and collect•responders kept at student work stations

HOW TO SHARE FAST GRADE LESSONS• Once an assessment has been created for a self-paced lesson, it can be
shared with your team!
• Select EXPORT in the second tab in the menu and select OTHER.
• Select a shared file folder where you want it to be saved.
• Name the test you want to save.
• Click Save

HOW TO IMPORT FAST GRADE LESSONS
• In CPS, select IMPORT and then BROWSE
• Go to the files where your team has agreed to save the lessons
• Make sure the file search is CXM FILES
• Select the assessment you want to import into CPS
• Select OPEN
• This FAST GRADE LESSON is now in your CPS files!

DON’T FORGET TO COMPLETE EVALUATION!