express linux tutorial learn basic commands in an hour€¦ · · 2014-12-15express linux...
TRANSCRIPT

Express Linux Tutorial Learn Basic Commands in an Hour
Ritu Arora
Email: [email protected]
October 27, 2014
1

Overview
• Definition of Operating System (slide 3)
• Remote Access (slide 6-14 )
• Basic Commands (slide 16-27)
• Other Useful Commands (slides 29-32)
• More information (File Permissions) (slides 33- 42 )
2

What is an Operating System (OS)?
• Software interface between the user and the computer hardware
• Controls the execution of other programs
• Responsible for managing multiple computer resources (CPU, memory, disk, display, keyboard, etc.)
• Examples of OS: Windows, Unix/Linux, OS X
3

How does the Linux OS work?
Hardware
Kernel
Shell, editors, etc.
Com
pile
r com
ponents
Com
pile
r
Other utilities
• Linux has a kernel and one or more shells
• The shell is the command line interface through which the user interacts with the OS. Most commonly used shell is “bash”
• The kernel sits on top of the hardware and is the core of the OS; it receives tasks from the shell and performs them
4

Overview
• Definition of Operating System
• Remote Access
• Basic Commands
• Other Useful Commands
5
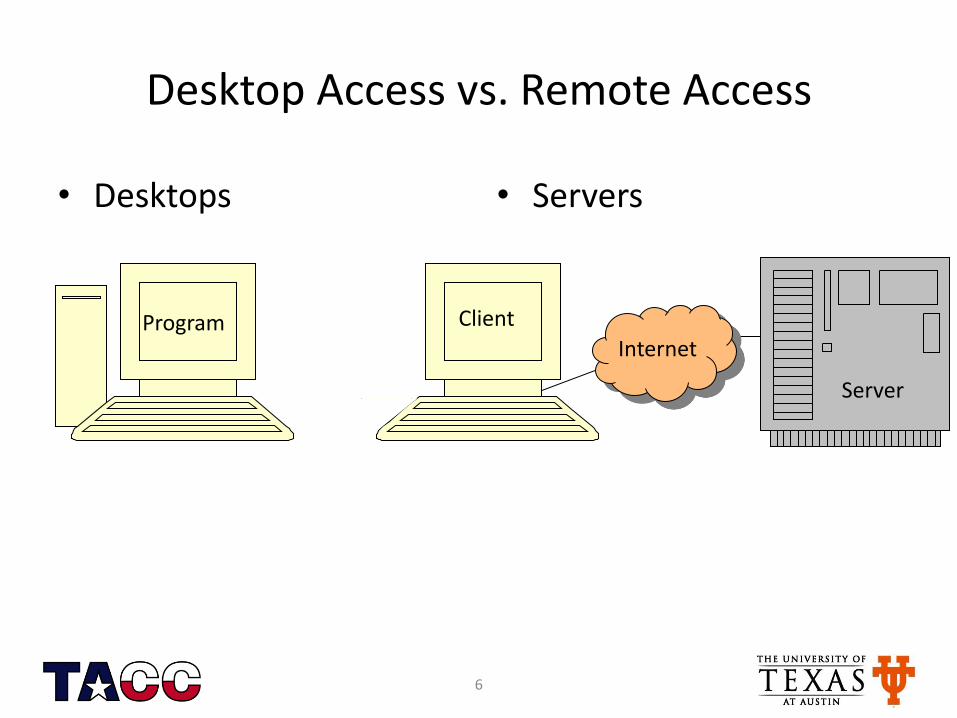
Desktop Access vs. Remote Access
• Desktops • Servers
Program Client
Internet
Server
6

For Connecting to Remote Servers
• For secure (encrypted communication), including the data transfer across networks, you can use an SSH Secure Shell Client
• Next few slides show how to do this from a Windows or Mac computer
7
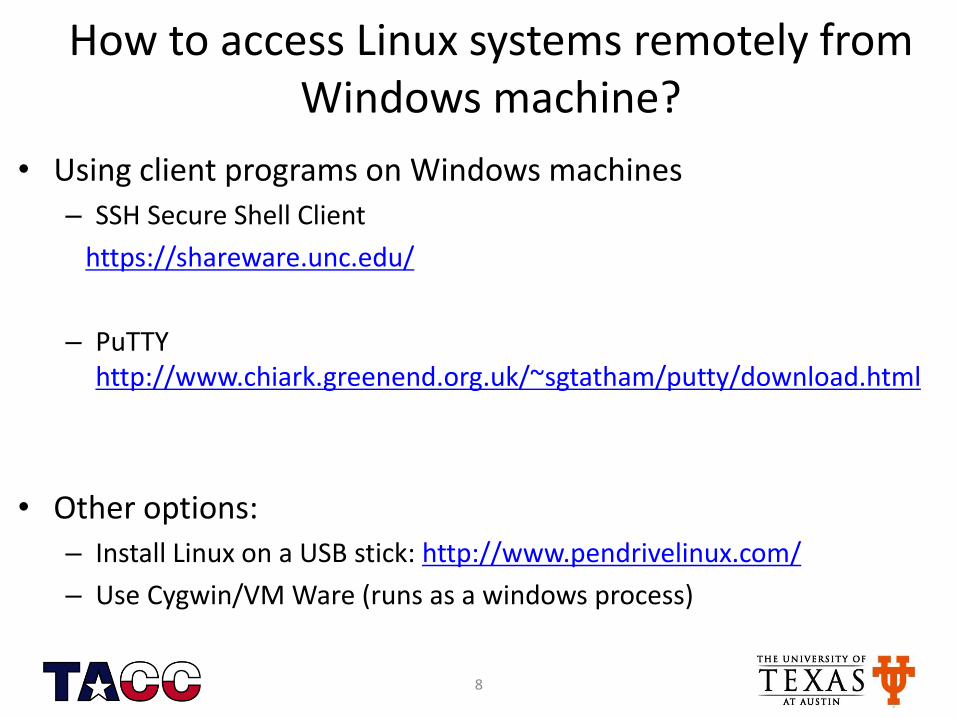
How to access Linux systems remotely from Windows machine?
• Using client programs on Windows machines
– SSH Secure Shell Client
https://shareware.unc.edu/
– PuTTY http://www.chiark.greenend.org.uk/~sgtatham/putty/download.html
• Other options:
– Install Linux on a USB stick: http://www.pendrivelinux.com/
– Use Cygwin/VM Ware (runs as a windows process)
8

• On Windows, double click on the SSH Secure Shell Client, the following window will appear
Using SSH Secure Shell Client - Step 1
9

• Click on “Quick Connect”, enter “Host Name” and “Username”
Using SSH Secure Shell Client - Step 2
10

• Click on “Quick Connect”, enter “Host Name”, “Username”, click “Connect”, enter password, click on “OK” for “Enter Authentication…”
Using SSH Secure Shell Client - Step 3
11

• Enter commands at the command prompt
Using SSH Secure Shell Client - Step 4
12

For Mac Users
• You can have remote access to servers through your “Terminal” application
• After opening the terminal type the SSH command below after replacing username with the one provided to you – you will be prompted for password after that
staff$ ssh [email protected]
13

Interacting with the Shell
• Type a command (ls) at the prompt (login3$ ) and press ENTER
Example: login3$ ls
• Shell starts a new process for executing the requested command , the
new process executes the command and the shell displays any output
generated by the command
• When the process completes, the shell displays the prompt and is
ready to take the next command
• Specific information is passed to the command via more arguments
• The shell is killed by “exit” or CTRL-D
login3$ exit
logout
14

Overview
• Definition of Operating System
• Remote Access
• Basic Commands
• Other Useful Commands
15

Basic Commands (1)
• To print the name of the current/working directory, use the pwd command
login4$ pwd
/share/home/01698/rauta
• To make a new directory, use the mkdir command
login4$ mkdir workshop
• To change your working directory, use the cd command
login4$ cd workshop
16
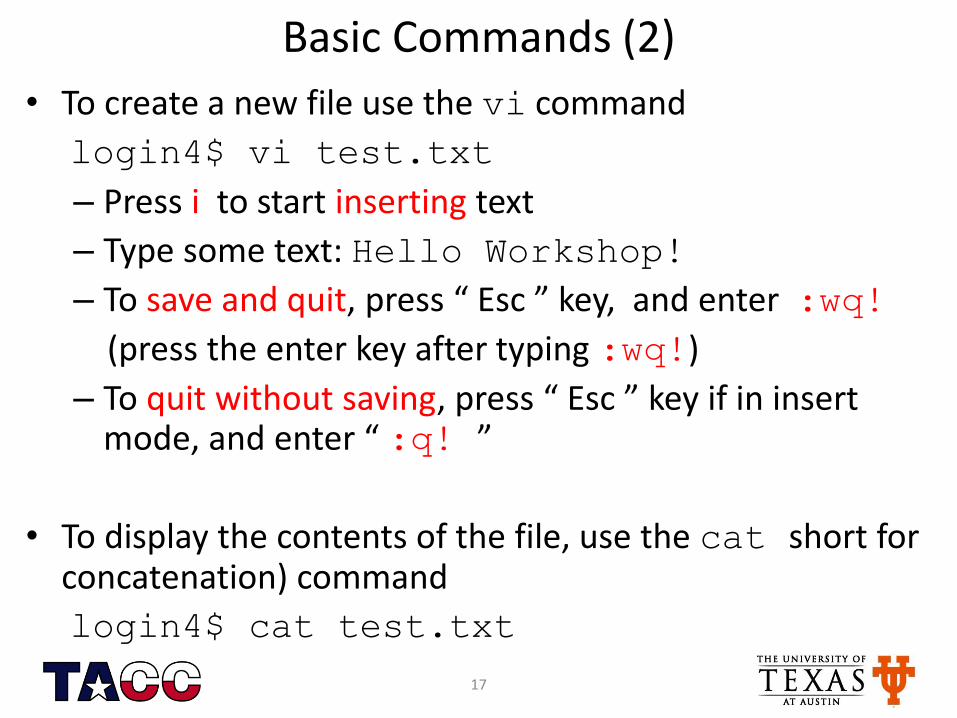
Basic Commands (2)
• To create a new file use the vi command
login4$ vi test.txt
– Press i to start inserting text
– Type some text: Hello Workshop!
– To save and quit, press “ Esc ” key, and enter :wq!
(press the enter key after typing :wq!)
– To quit without saving, press “ Esc ” key if in insert mode, and enter “ :q! ”
• To display the contents of the file, use the cat short for concatenation) command
login4$ cat test.txt
17

Basic Commands (3) • To list the contents of a directory, use the ls
command
login4$ ls
• To see all files and directories, including hidden ones use the -a flag with the ls command. Hidden files have a “.” infront of them
login4$ ls –a
18
Note: your current working directory can be checked by using the pwd command.

Basic Commands (4) • To copy contents of one file to another, use the cp command
login4$ cp test.txt copytest.txt
login4$ cp test.txt test3.txt
One more example:
login4$ mkdir junk
login4$ cp test.txt ./junk/test2.txt
(The command above copies a file to the sub-directory junk)
login4$ cd junk
login4$ ls
login4$ cd ..
• To go a level up from the current working directory
login4$ cd ..
19
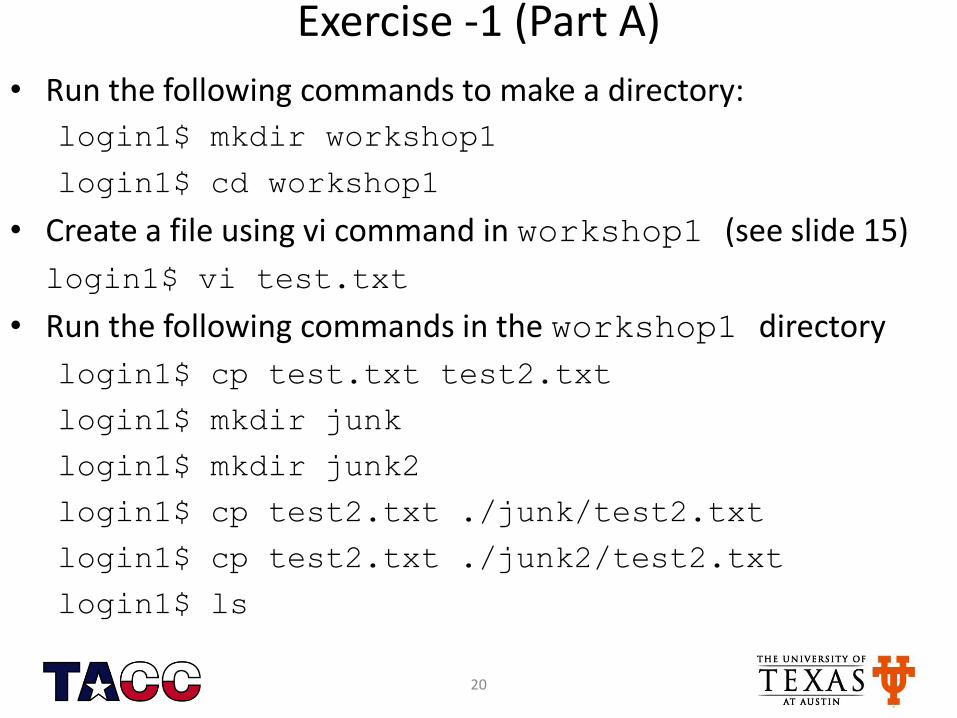
Exercise -1 (Part A)
• Run the following commands to make a directory:
login1$ mkdir workshop1
login1$ cd workshop1
• Create a file using vi command in workshop1 (see slide 15)
login1$ vi test.txt
• Run the following commands in the workshop1 directory
login1$ cp test.txt test2.txt
login1$ mkdir junk
login1$ mkdir junk2
login1$ cp test2.txt ./junk/test2.txt
login1$ cp test2.txt ./junk2/test2.txt
login1$ ls
20
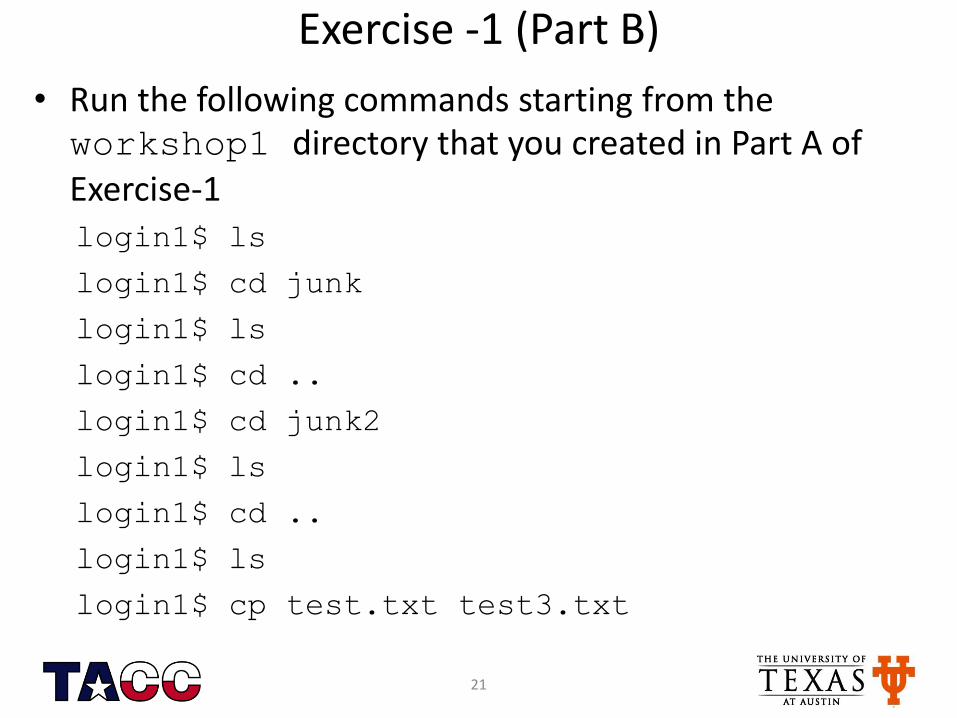
Exercise -1 (Part B)
• Run the following commands starting from the workshop1 directory that you created in Part A of Exercise-1 login1$ ls
login1$ cd junk
login1$ ls
login1$ cd ..
login1$ cd junk2
login1$ ls
login1$ cd ..
login1$ ls
login1$ cp test.txt test3.txt
21

Basic Commands (5)
• To remove a file, use the rm command
login4$ rm test2.txt
• To remove a directory, use the “ –r ” option with the rm command
login4$ rm –r junk2
• You can also use the rmdir command to remove an empty directory
login4$ rmdir junk2
Note: rmdir command does not have –r option
22

Basic Commands (6)
• A file can be renamed by moving it. The same can be achieved by using the mv command
login4$ mv test3.txt newtest3.txt
• Use the man command to get more information about a command – it is like using help in Windows
login4$ man rmdir
• Use the diff command to see the differences in two files
login4$ diff test.txt newtest3.txt
23
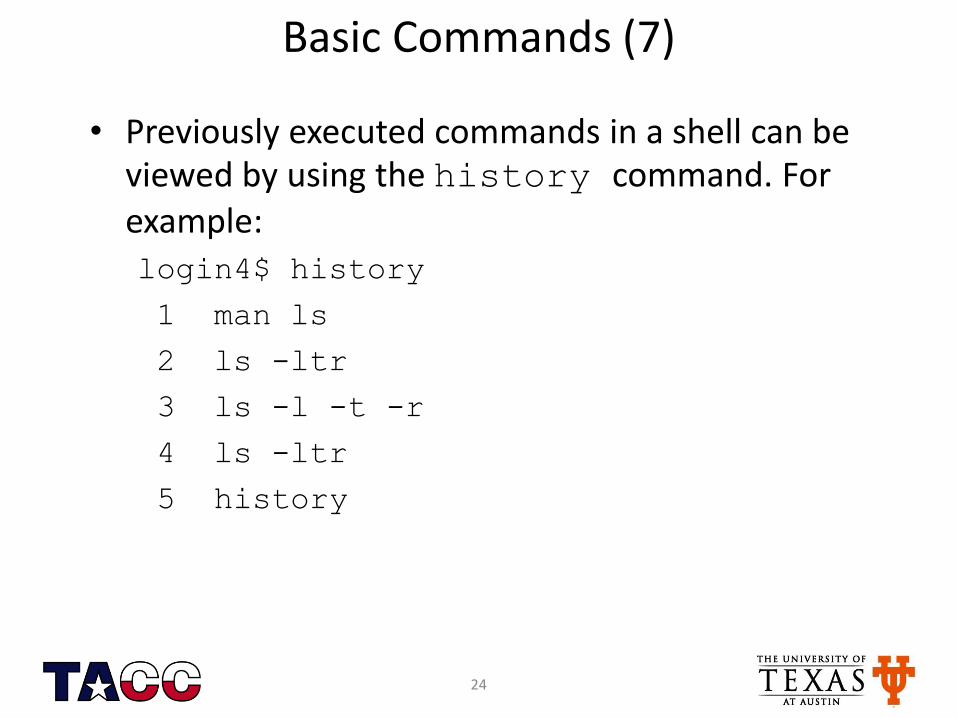
Basic Commands (7)
• Previously executed commands in a shell can be viewed by using the history command. For example: login4$ history
1 man ls
2 ls -ltr
3 ls -l -t -r
4 ls -ltr
5 history
24

Basic Commands (8)
• If the contents to display are more than one page, you could use the more/less command for paging through text a screenful at a time
login4$ more test.txt
login4$ less test.txt
(less allows both fwd and bwd movement)
25

Basic Commands (9) Creating a tarball
• TAR (Tape Archive) command bundles files and sub-directories together and creates an archive (known as tar file or tarball)
• To create a tarball of all the files and sub-directories in the directory workshop1 that you created in Exercise 1, use c flag:
tar -cvf mytar.tar *
• To extract the contents of a tar file use x flag:
login1$ tar -xvf mytar.tar
26

Basic Commands (10) Creating a Compressed tarball
• To compress the tar file as it is being created use z flag with c flag :
login1$ tar -cvzf mytar.tar.gz *
• To extract the contents of a compressed tar file use x flag:
login1$ tar -xvf mytar.tar.gz
27
Note: the c, v, and f flags mean create a new archive, be verbose so that the files being archived are listed, and write the archive to a file.

Overview
• Definition of Operating System
• Remote Access
• Basic Commands
• Other Useful Commands
28

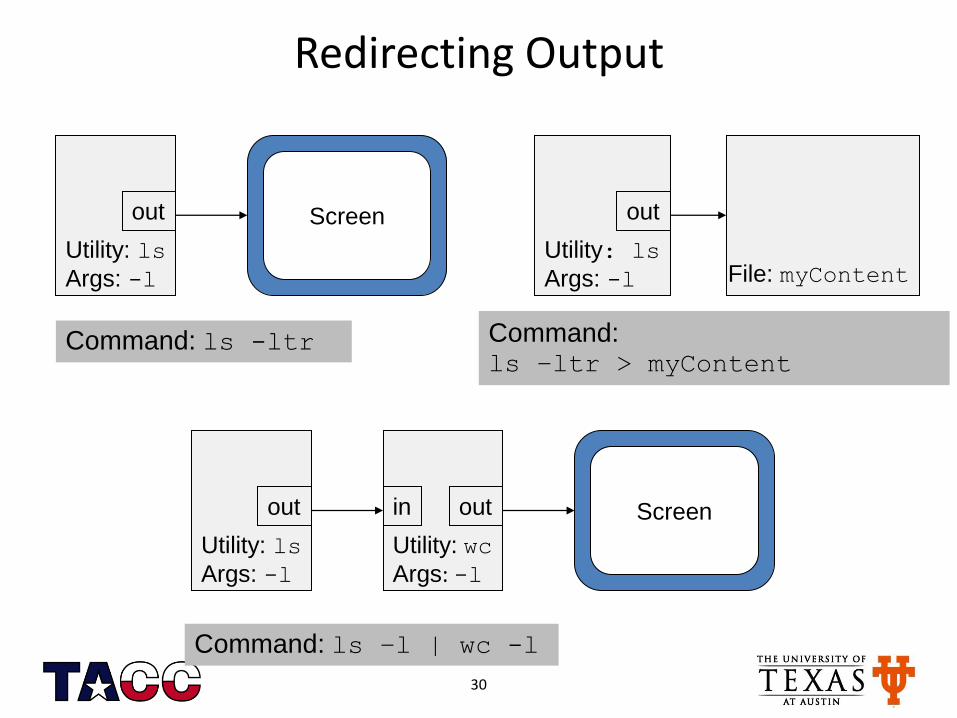
Redirecting Output
• By default, the output is displayed on the screen
• “ > ” symbol can be used to redirect the output to a file or a utility (e.g., ls). Example:
ls -ltr > myContent
• The “ | “ symbol is used to connect the output of one process to the input of another process
ls -l | wc -l
wc counts the number of lines
29
Redirecting Output
Screen out
Utility: ls
Args: -l
out
Utility: ls
Args: -l File: myContent
out
Utility: ls
Args: -l
out
Utility: wc Args: -l
in Screen
Command: ls -ltr Command: ls –ltr > myContent
Command: ls –l | wc -l
30

Other Directives
• “ < ” symbol is used for input redirection mail -s "SSC 322/392" [email protected] < test.txt
• “ >> ” symbol is used for appending output to a file
login4$ cat test3.txt >> test.txt
• “ ; ” is used to execute multiple commands in one step
login4$ clear;date
31

Adding Content to a File
• You can also add content to a file (or create it) as follows
login4$ cat > test.txt
This is what I am entering from the console
CTRL-D
login4$ cat test.txt
This is what I am entering from the console
• You can append content to a file as follows
login4$ cat >> test.txt
Appending more lines
CTRL-D
32

References
• http://www.tacc.utexas.edu/documents/13601/118360/LinuxIntro_HPC_09+11+2011_hliu.pdf
• http://www.cs.jhu.edu/~joanne/unixRC.pdf
33

Additional Notes
34
Linux File System
• A directory in Linux is similar to a “Folder” in Windows OS
• Files are organized into directories and sub-directories
• In Linux, paths begin at the root directory which is the top-level of the file system and is represented as a forward slash ( / )
• Forward slash is used to separate directory and file names
35

Editing in Unix
• Text-mode editors that do not require an X-server to be running on your PC – pico is easiest editor to learn
– emacs is most powerful editor and has a built-in tutorial
– vi is present on essentially all Unix systems
– GNU nano was supposed to be a free replacement of the pico editor
• If you have an X-server running – textedit
– xedit
36

Check Username and Group
• Three types of users: owner or user, group, all others
• To check the login name use the command whoami or echo $USER
• To check the groups you are a member of use the command groups
• To check your user id, or group id use the command id
37

File Permissions (1)
• Users typically perform the following operations on files: – Read files (using more, cat, etc.)
– Write files (using >, vi, etc.)
– Execute commands in a file (executables, etc.)
• Each file has three permissions – read, write and execute (rwx)
• Person creating the file is the owner or user and can modify permissions as desired – Owner can modify permissions on files to grant or revoke
access to other users
38

File Permissions (2)
• To check the file permissions use the -l flag with the ls command
login4$ ls -l
total 24
drwx------ 2 rauta G-25072 4096 Jan 17 14:07 junk
drwx------ 2 rauta G-25072 4096 Jan 17 14:15 junk2
-rw------- 1 rauta G-25072 65 Jan 17 13:59 test.txt
39
File Permissions (3)
• chmod command is used to change permissions on a file • To add specific permission use chmod +
– To add write permission to all users use: chmod a+w filename
– To add read permission to only the users in your group use: chmod g+r filename
– To make a file executable and runnable by any user chmod a+x myfile
• To remove specific permission use chmod –
• Add and remove permissions can be combined in a single step – chmod u+x,g+r,o-rwx filename
40 Note: u = user or owner, g = group, o = other

File Permissions (4)
• Instead of using alphabets u, g, o for user, group, and others we can use numbers to specify file permissions rwx = 111 = 7
rw- = 110 = 6
r-x = 101 = 5
r-- = 100 = 4
-wx = 011 = 3
-w- = 010 = 2
--x = 001 = 1
--- = 000 = 0
• chmod go+rx filename = chmod 755 filename
(assuming the user already has the r, w, and x permissions.)
41

Directory Permissions
• To check the contents of a file with ls command, you would need read permission
• To add or remove files in a directory, you would need
write and execute permission
• To change to a directory or to go through its contents, you would need execute permission
• To list files in a directory using ls –l command you would need read and execute permissions
42
For Further Information
• TACC resources
– checkout the resource-specific user-guides at TACC website, example, below if the link to the Stampede user-guide
https://www.tacc.utexas.edu/user-services/user-guides/stampede-user-guide
– Submit tickets through the TACC portal https://portal.tacc.utexas.edu/
• Linux: Google search, or check the man (short for “manual” ) pages, or use the help option with the commands
– login4$ man ls
• Note: press “q” to exit the man pages
– login4$ ls --help
43