editing images
TRANSCRIPT

To start off my image effects I changed the brightness into a higher number and contrast of the photograph, this lights my image and makes my model stand out
I then used the middle dial on the Levels window, where the Input Levels is.
I used the Exposure option to change the exposure, offset and gamma correction of the image
I then used the Hue/Saturation window to change the Hue, Saturation, Lightness on each of the edit options from the drop down menu named ‘Master’
I then added more Brightness and Contrast on the Brightness/Contrast window
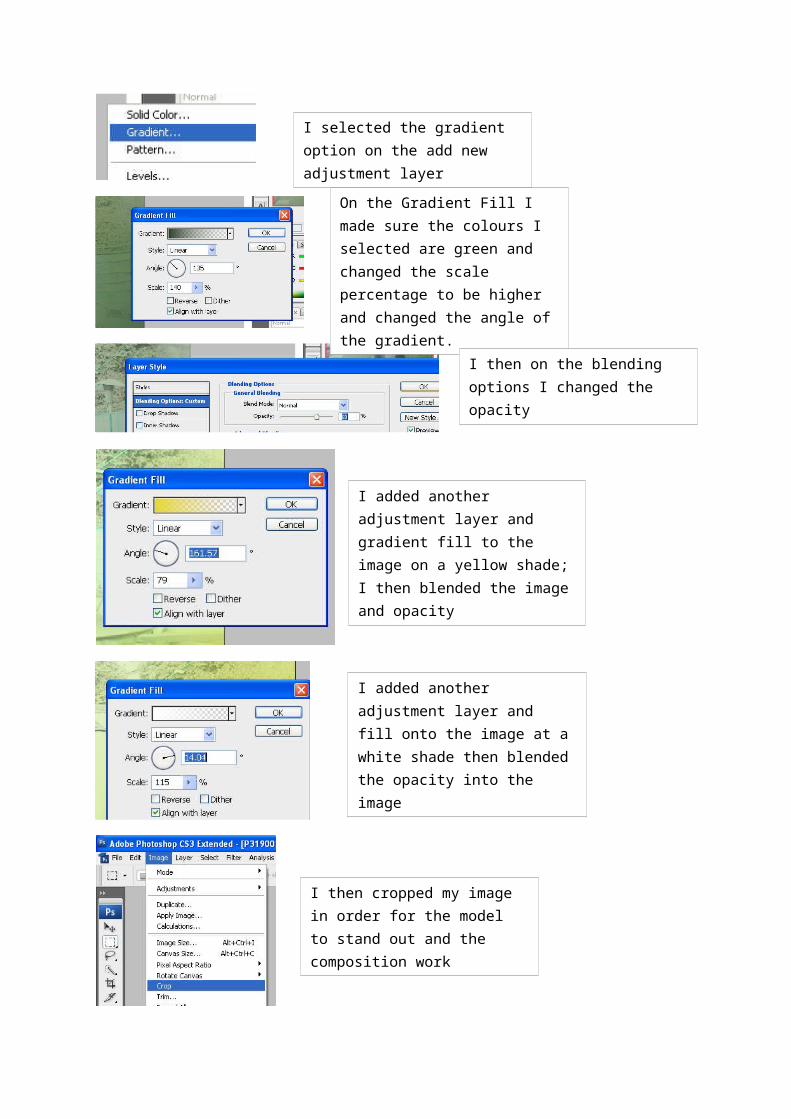
I selected the gradient option on the add new adjustment layer
On the Gradient Fill I made sure the colours I selected are green and changed the scale percentage to be higher and changed the angle of the gradient.
I then on the blending options I changed the opacity
I added another adjustment layer and gradient fill to the image on a yellow shade; I then blended the image and opacity
I added another adjustment layer and fill onto the image at a white shade then blended the opacity into the image
I then cropped my image in order for the model to stand out and the composition work
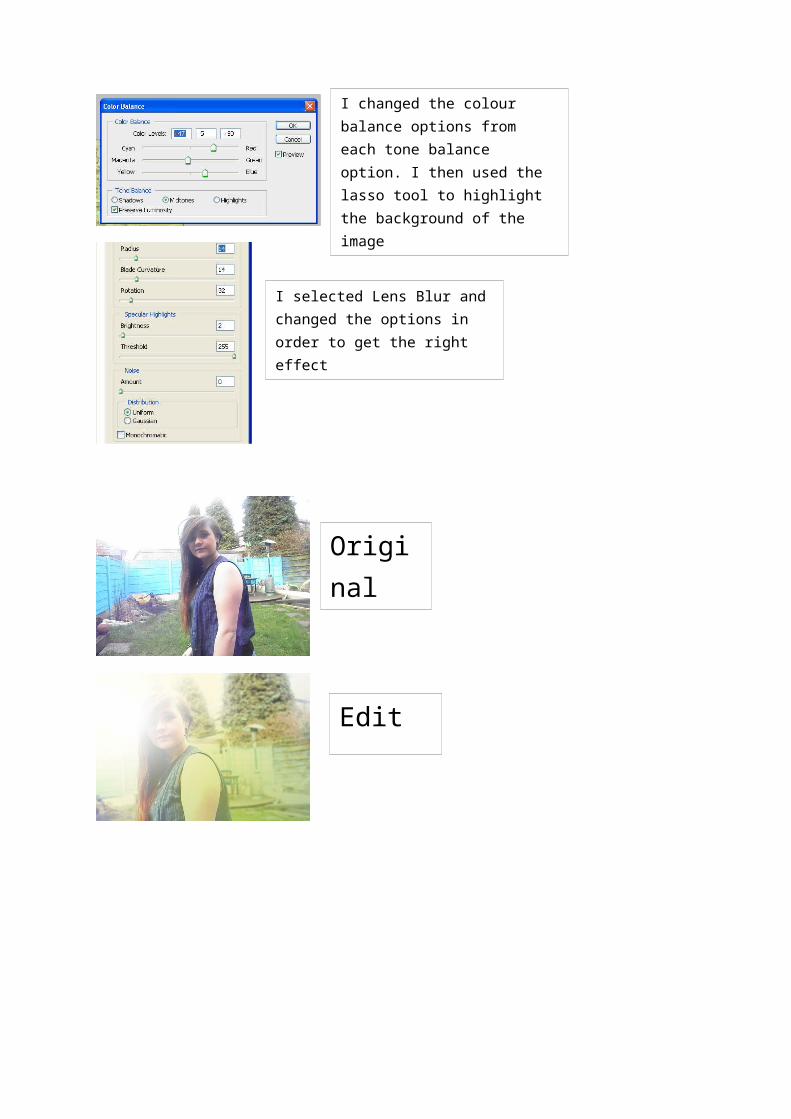
I changed the colour balance options from each tone balance option. I then used the lasso tool to highlight the background of the image
I selected Lens Blur and changed the options in order to get the right effect
Original
Edit