editing blog
TRANSCRIPT
Here I am going to explain all the steps I did in order to create my thriller trailer.
Step 1:
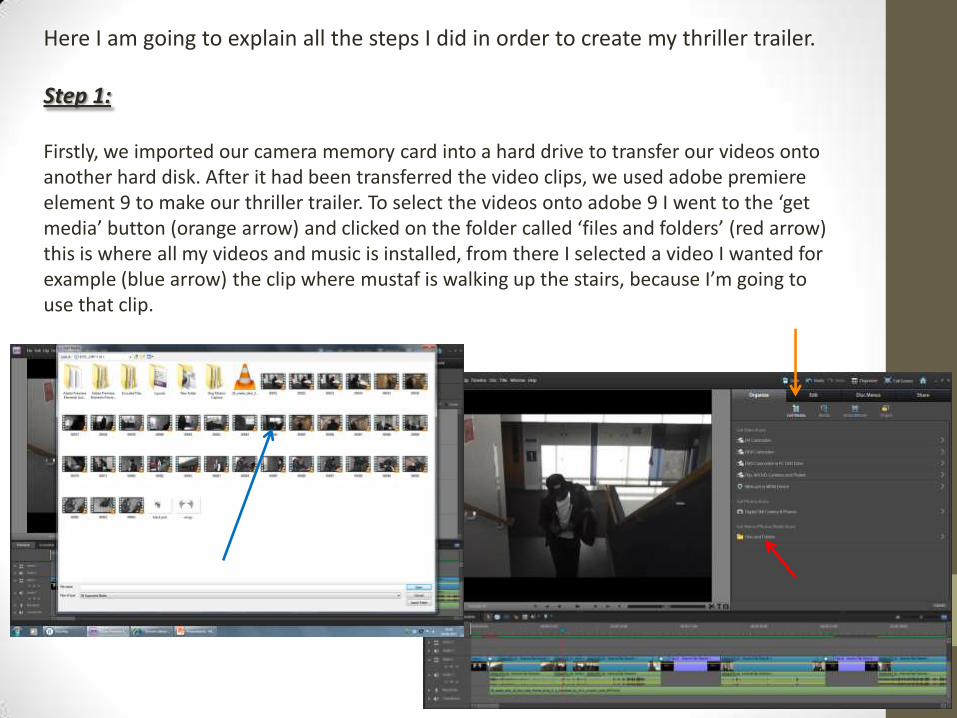
Firstly, we imported our camera memory card into a hard drive to transfer our videos onto another hard disk. After it had been transferred the video clips, we used adobe premiere element 9 to make our thriller trailer. To select the videos onto adobe 9 I went to the ‘get media’ button (orange arrow) and clicked on the folder called ‘files and folders’ (red arrow) this is where all my videos and music is installed, from there I selected a video I wanted for example (blue arrow) the clip where mustaf is walking up the stairs, because I’m going to use that clip.
Step 2:
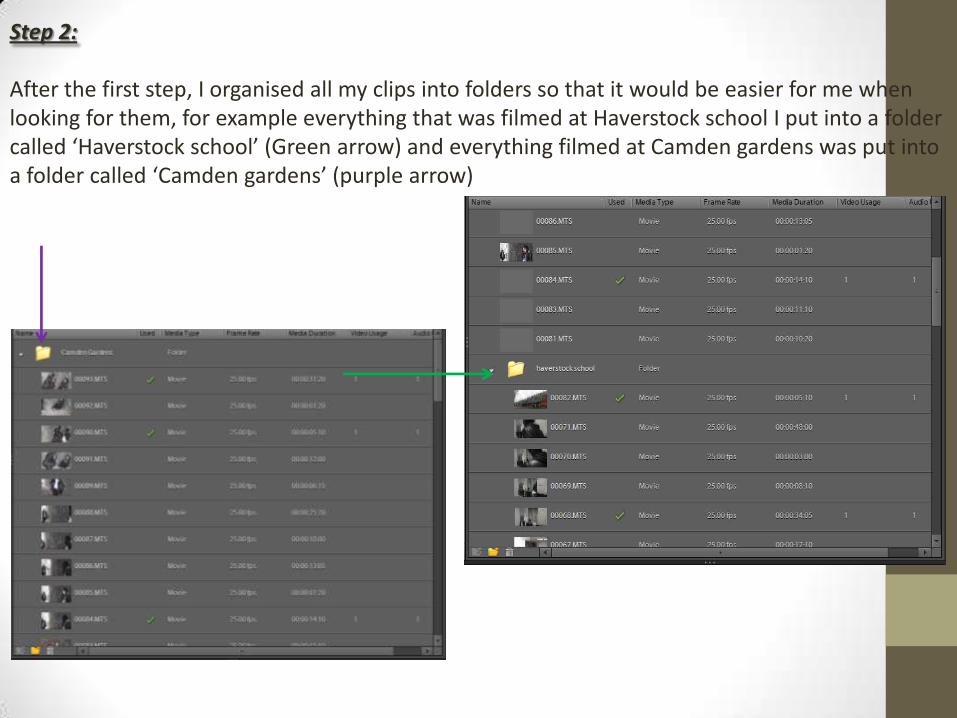
After the first step, I organised all my clips into folders so that it would be easier for me when looking for them, for example everything that was filmed at Haverstock school I put into a folder called ‘Haverstock school’ (Green arrow) and everything filmed at Camden gardens was put into a folder called ‘Camden gardens’ (purple arrow)
Step 3:
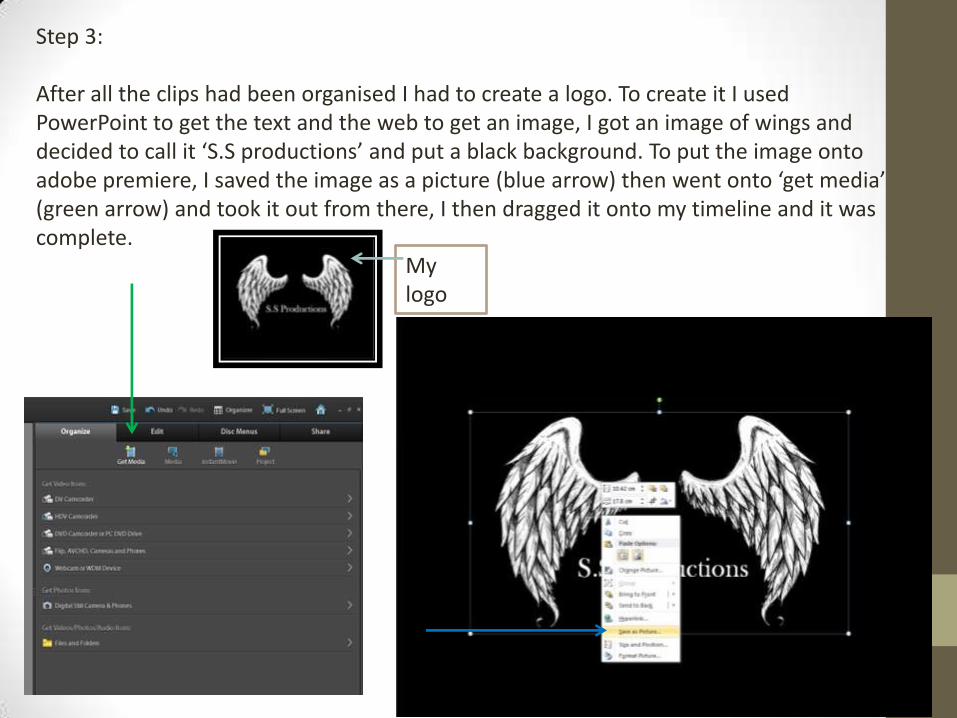
After all the clips had been organised I had to create a logo. To create it I used PowerPoint to get the text and the web to get an image, I got an image of wings and decided to call it ‘S.S productions’ and put a black background. To put the image onto adobe premiere, I saved the image as a picture (blue arrow) then went onto ‘get media’ (green arrow) and took it out from there, I then dragged it onto my timeline and it was complete.
My logo
Step 4:
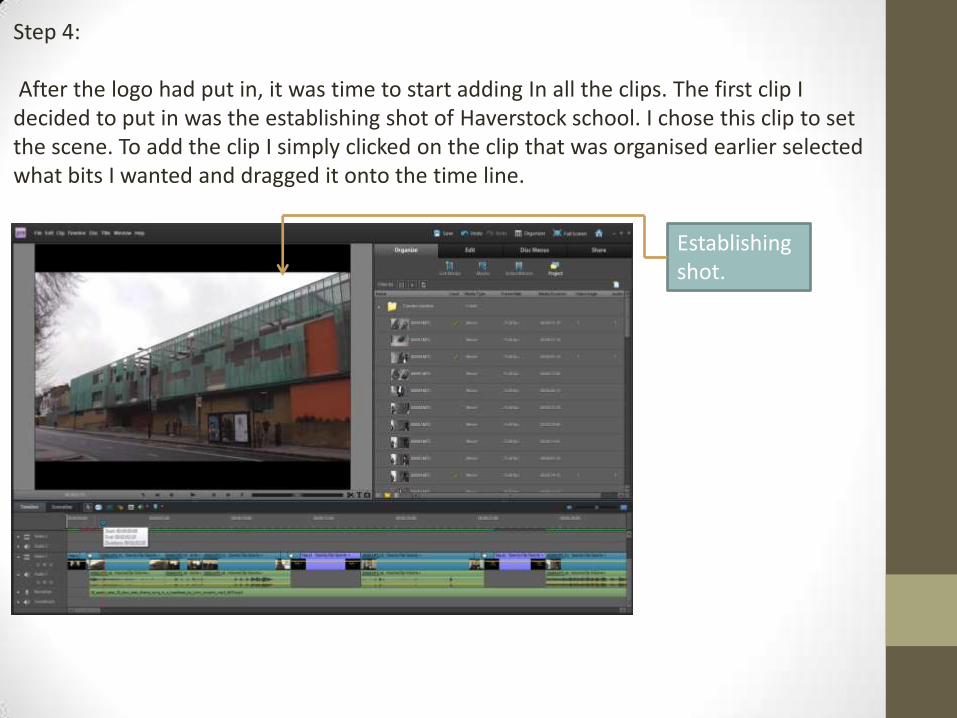
After the logo had put in, it was time to start adding In all the clips. The first clip I decided to put in was the establishing shot of Haverstock school. I chose this clip to set the scene. To add the clip I simply clicked on the clip that was organised earlier selected what bits I wanted and dragged it onto the time line.
Establishing shot.
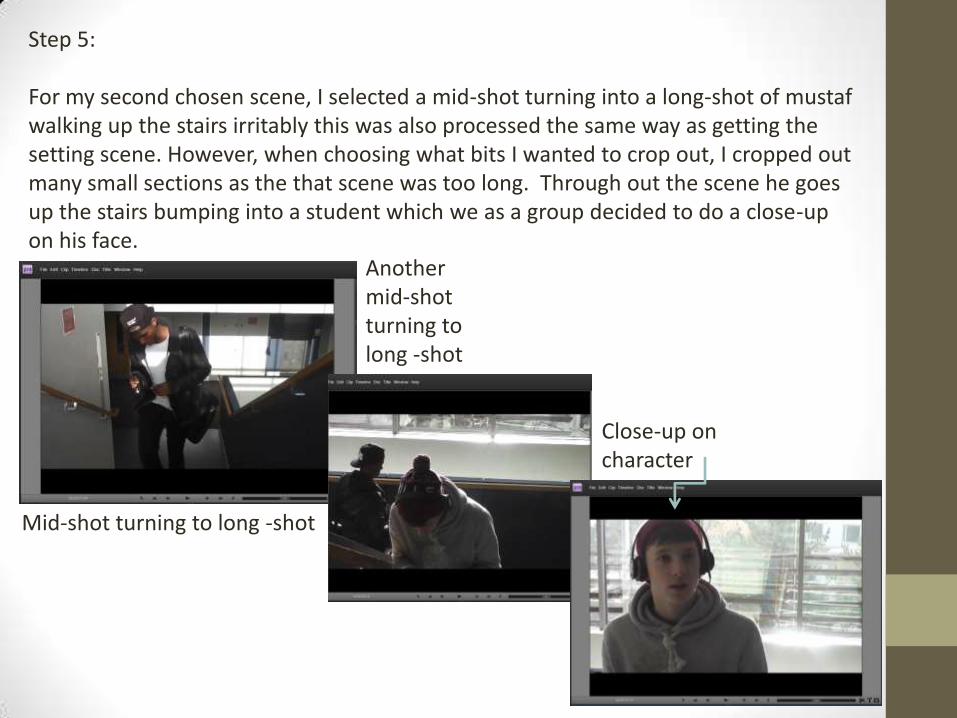
Step 5:
For my second chosen scene, I selected a mid-shot turning into a long-shot of mustaf walking up the stairs irritably this was also processed the same way as getting the setting scene. However, when choosing what bits I wanted to crop out, I cropped out many small sections as the that scene was too long. Through out the scene he goes up the stairs bumping into a student which we as a group decided to do a close-up on his face.
Close-up on character
Another mid-shot turning to long -shot
Mid-shot turning to long -shot
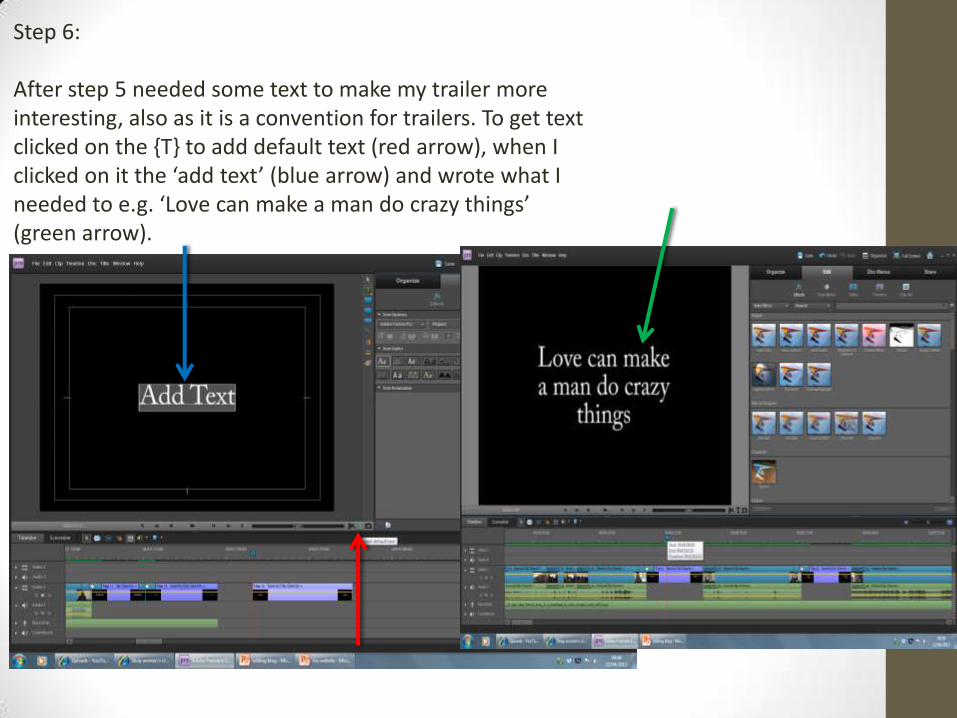
Step 6:
After step 5 needed some text to make my trailer more interesting, also as it is a convention for trailers. To get text clicked on the {T} to add default text (red arrow), when I clicked on it the ‘add text’ (blue arrow) and wrote what I needed to e.g. ‘Love can make a man do crazy things’ (green arrow).
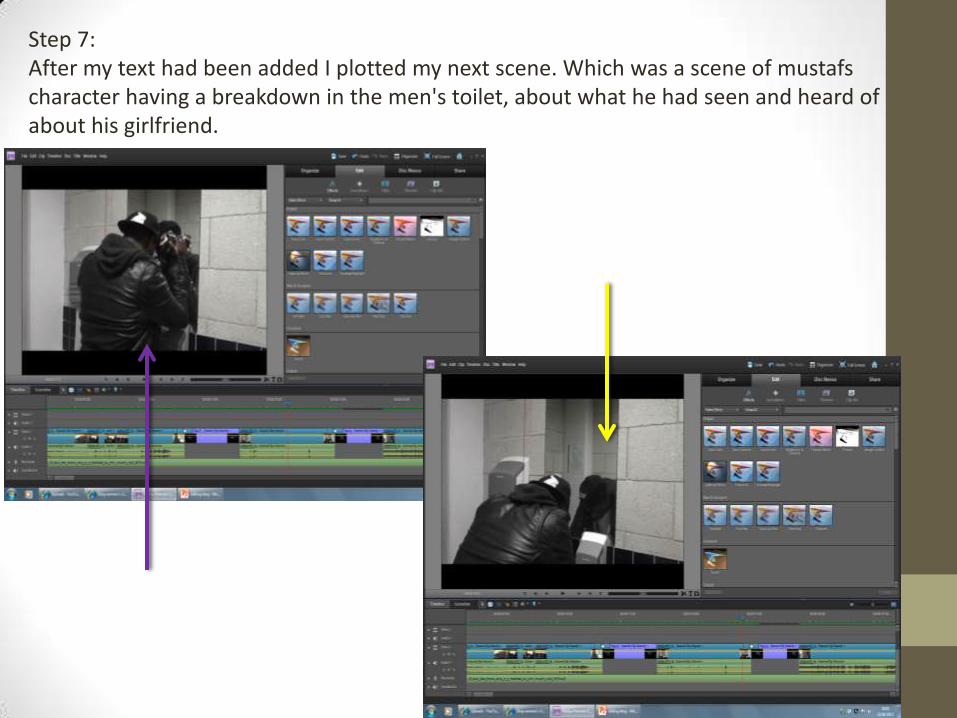
Step 7:After my text had been added I plotted my next scene. Which was a scene of mustafs character having a breakdown in the men's toilet, about what he had seen and heard of about his girlfriend.
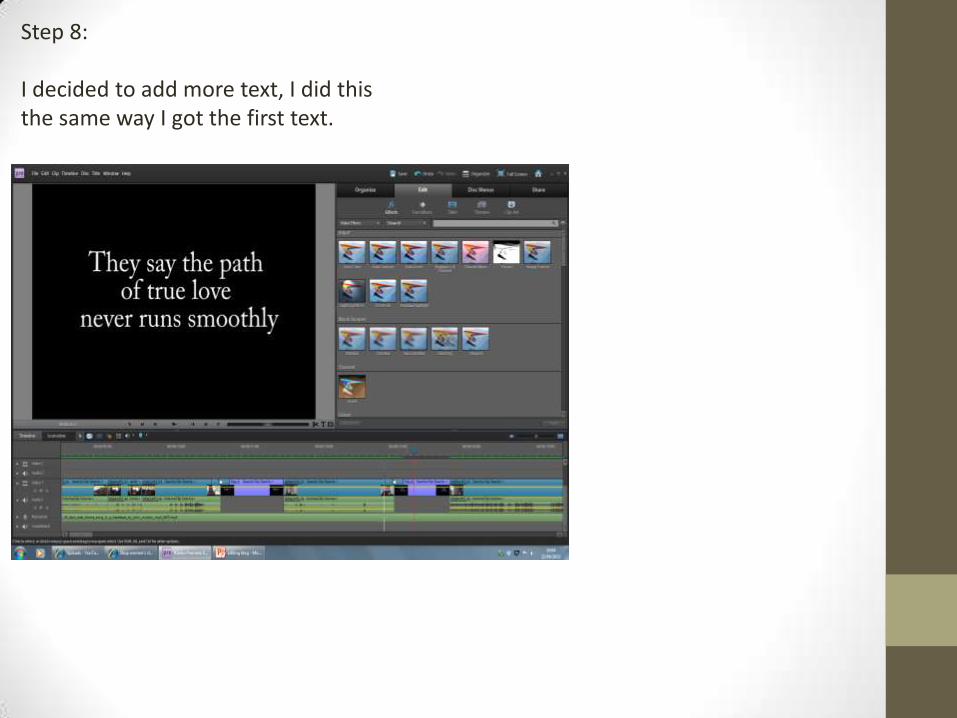
Step 8:
I decided to add more text, I did this the same way I got the first text.
Step 9:
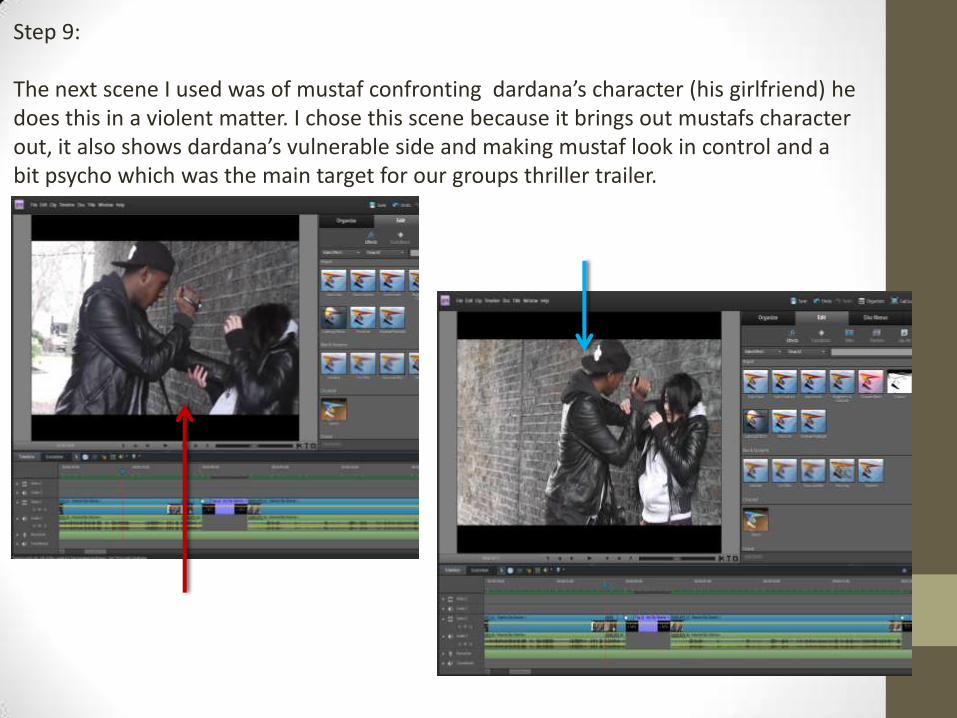
The next scene I used was of mustaf confronting dardana’s character (his girlfriend) he does this in a violent matter. I chose this scene because it brings out mustafs character out, it also shows dardana’s vulnerable side and making mustaf look in control and a bit psycho which was the main target for our groups thriller trailer.
Step 10:
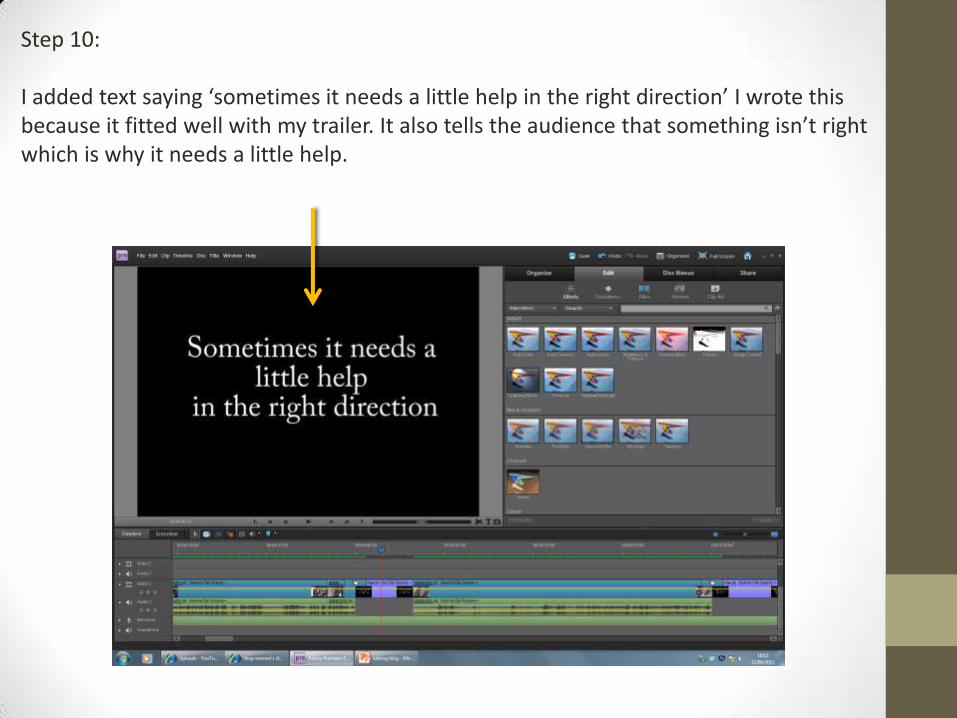
I added text saying ‘sometimes it needs a little help in the right direction’ I wrote this because it fitted well with my trailer. It also tells the audience that something isn’t right which is why it needs a little help.
Step 11:
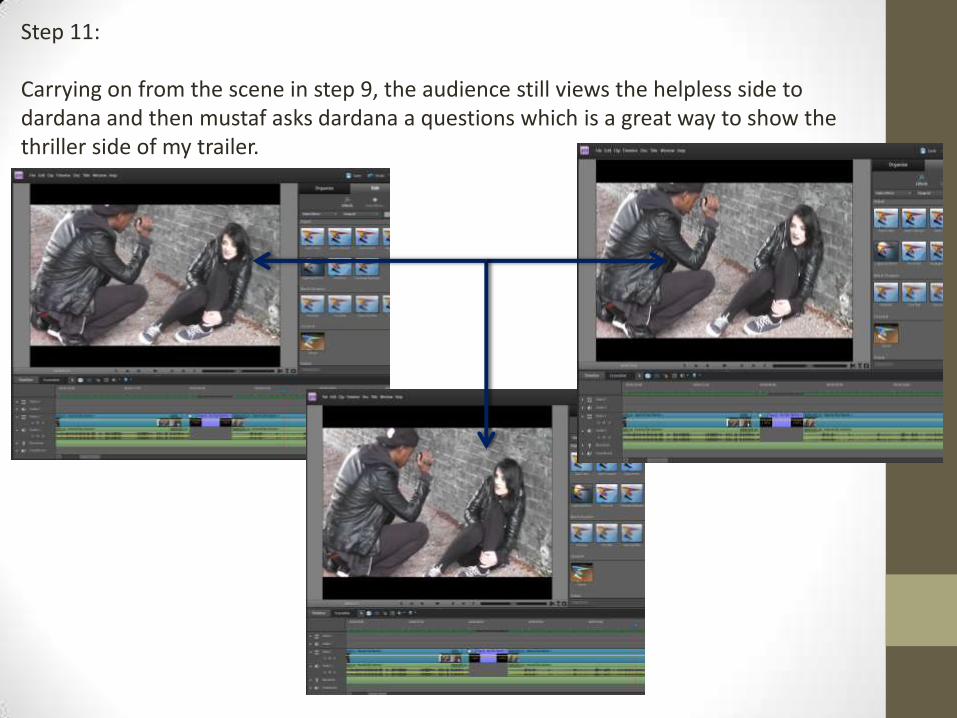
Carrying on from the scene in step 9, the audience still views the helpless side to dardana and then mustaf asks dardana a questions which is a great way to show the thriller side of my trailer.
Step 12:
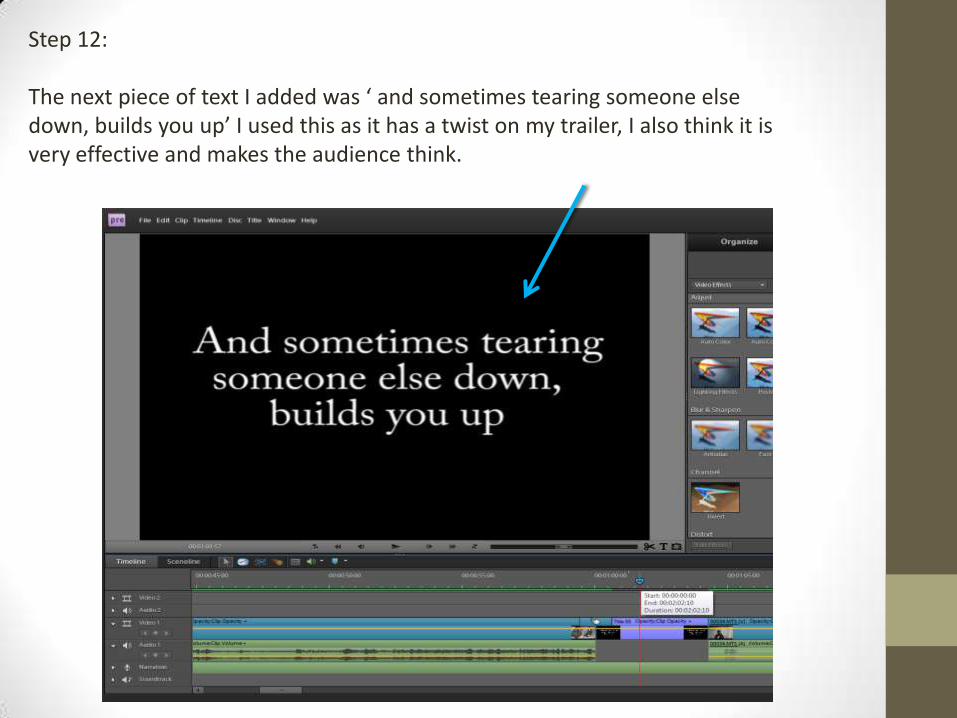
The next piece of text I added was ‘ and sometimes tearing someone else down, builds you up’ I used this as it has a twist on my trailer, I also think it is very effective and makes the audience think.
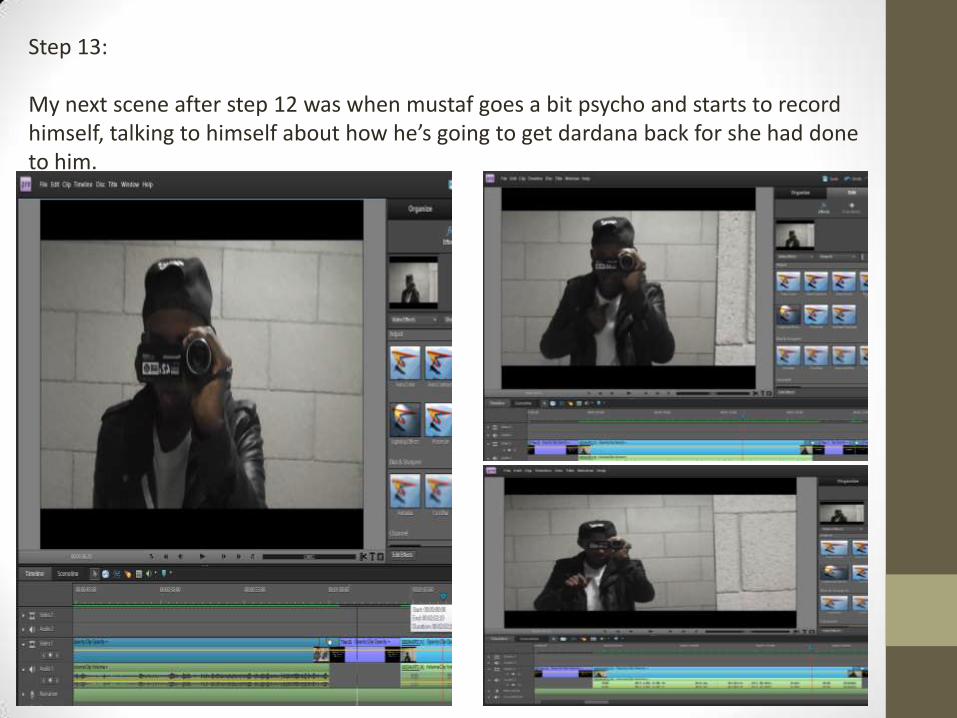
Step 13:
My next scene after step 12 was when mustaf goes a bit psycho and starts to record himself, talking to himself about how he’s going to get dardana back for she had done to him.
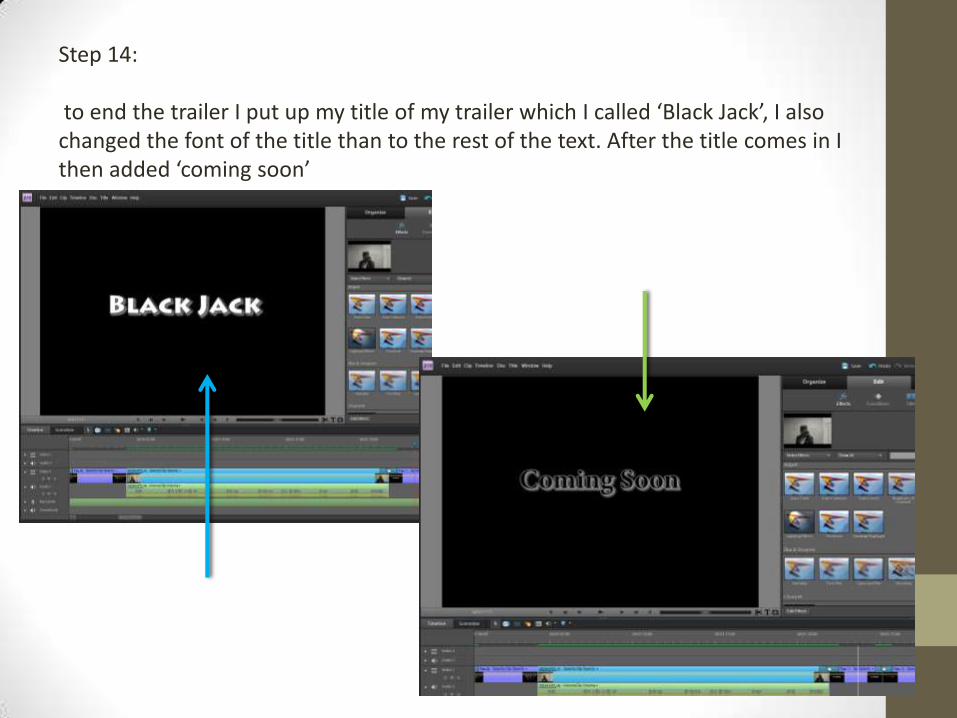
Step 14:
to end the trailer I put up my title of my trailer which I called ‘Black Jack’, I also changed the font of the title than to the rest of the text. After the title comes in I then added ‘coming soon’
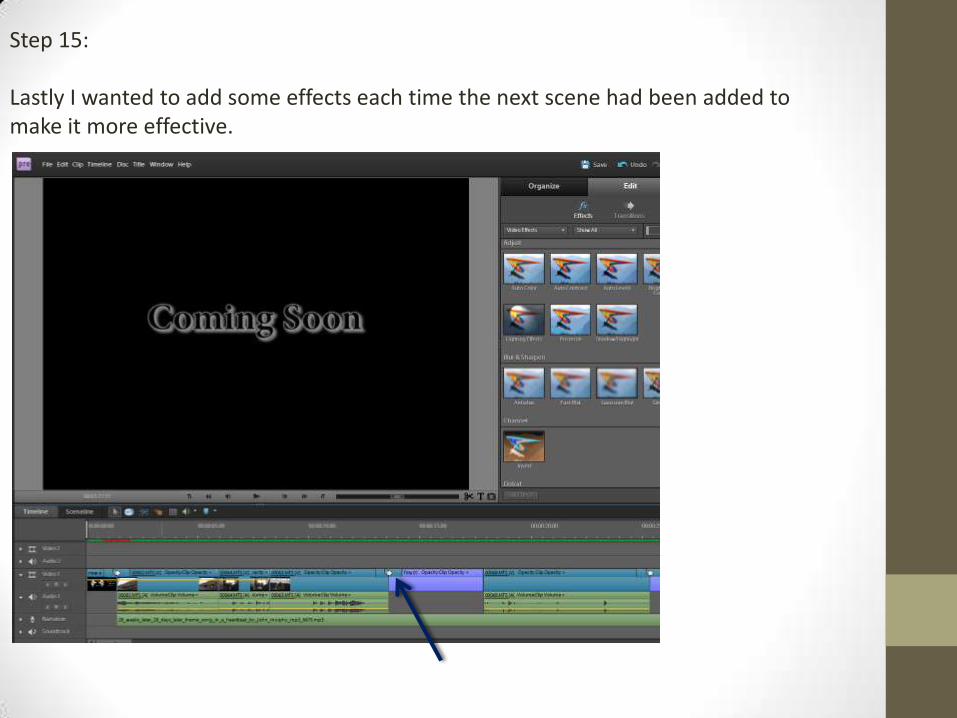
Step 15:
Lastly I wanted to add some effects each time the next scene had been added to make it more effective.