ece 477 design review team 7 spring 2009
DESCRIPTION
ECE 477 Design Review Team 7 Spring 2009. Jason Cray. Joseph Mundackal. Ryan Sherlock. Michael Warsco. Outline. Project overview Project-specific success criteria Block diagram Component selection rationale Packaging design Schematic and theory of operation PCB layout - PowerPoint PPT PresentationTRANSCRIPT

ECE 477 DESIGN REVIEW TEAM 7
SPRING 2009
Jason Cray Joseph Mundackal
Michael WarscoRyan Sherlock

Outline Project overview Project-specific success criteria Block diagram Component selection rationale Packaging design Schematic and theory of operation PCB layout Software design/development status Project completion timeline Questions / discussion

Project Overview
The Legacy Video Game Console Load games via USB Output to VGA Monitor Digital audio output Game controllers (Nintendo 64)
Fourteen Buttons Analog Stick Serial Interface
High score submission using 802.11b wireless protocol

Project-Specific Success Criteria
1. An ability to display output onto a monitor connected through VGA
2. An ability to load game data through USB
3. An ability to manipulate the game using a controller
4. An ability to play sound files digitally5. An ability to send high scores using
wireless technology

Block Diagram

1. TinCan Tools Hammeri. Positive
a. Embedded Linux environmentb. Required I/O features plus GPIO availabilityc. DIP-module (40-pin) d. Internal voltage regulator output
ii. Negativea. 5V input requirementb. Price $$c. Size (chip with board)
Hammer Evaluation

uVGA Evaluation
1. 4D Systems uVGA Picaso-MD1i. Positive
a) Displays 8 bit bitmap datab) Outputs to VGA through a specified resistor DACc) Supports a data rate of 30 Hzd) Has a 512kB SRAM buffer
ii. Negativea) Nonstandard pin layoutb) Needs a DAC to communicate with VGA

Other Components
Audio DAC - Cirrus Logic - CS433x 8 or 16 bit digital audio conversion
Wireless Transmitter – Roving Networks – Wifly Cheap

Packaging Design
Hard Plastic Casing Durable Manipulatable Cheap
Lid Unscrewable Ease of debugging
Dimensions 9 in x 9 in x 2 in 1/8th in thickness

Schematic/Theory of Operation
Hammer 40 pin dip module Samsung S3C2410A
microprocessor + ARM 920T core (200 MHz)
16MB NOR flash and a 32MB SDRAM
Embedded LinuxHammer
+5V
2
Controller 1SPI
Controller 2SPI
RS232 AudioI2S
VGAGPIO
WiFlyGPIO
USB
33
2 3 5 4

Schematic/Theory of Operation

Schematic/Theory of Operation
µVGA – PICASO MD1 Graphics Controller 512 KB - onboard
SRAM Double Buffering
Serial Interface – 1 Mbps
Outputs Digital Video DAC – used to get
analog output for VGA
µVGA3
Input -Hammer
11DAC
2 VG
A
Connect
or
3

Schematic/Theory of Operation
Schematic/Theory of Operation
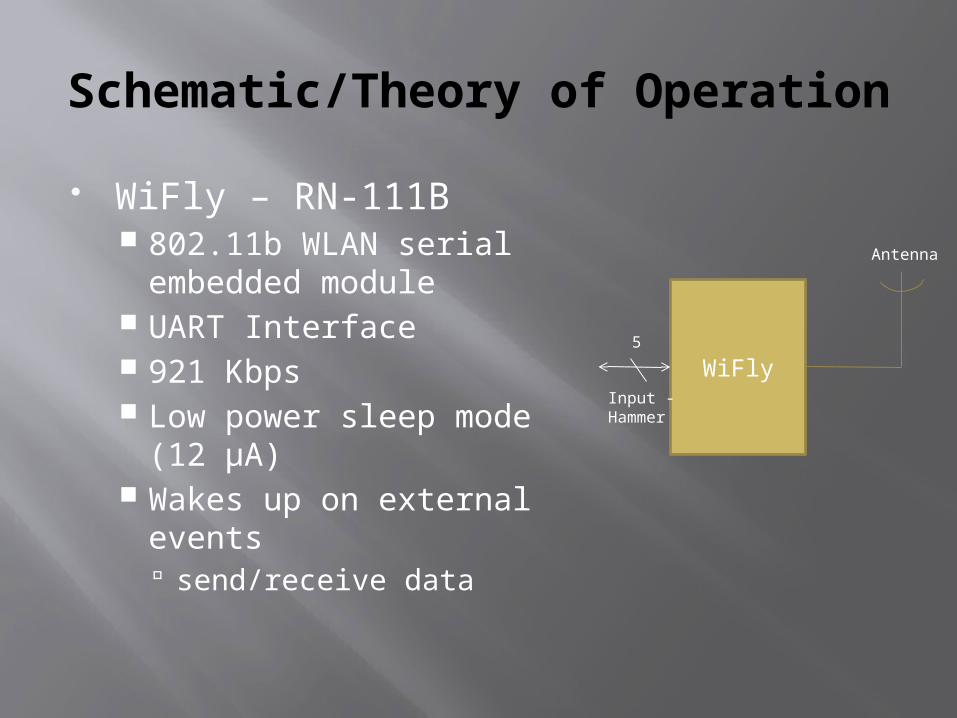
WiFly – RN-111B 802.11b WLAN serial
embedded module UART Interface 921 Kbps Low power sleep mode
(12 µA) Wakes up on external
events send/receive data
WiFly5
Input -Hammer
Antenna

Schematic/Theory of Operation

Schematic/Theory of Operation
Audio – CS4334 Audio DAC I2S (Inter IC Sound)
interface
Source : I2S bus specification specifications
Audio4
Input -Hammer
Left Channel
Right Channel

Schematic/Theory of Operation

Schematic/Theory of Operation
N64 Controllers Uses non standard
protocol Start/Stop bits pet bit
of data Bi-directional interface
Data = 1 Data = 0
N64 Controller
Switch Circuit
SIMO MISO
Bi-directionalinterface

Schematic/Theory of Operation
Switch
N64 Controller Interface

Schematic/Theory of Operation
USB Type A Interface
RS232Circuit

Schematic/Theory of Operation
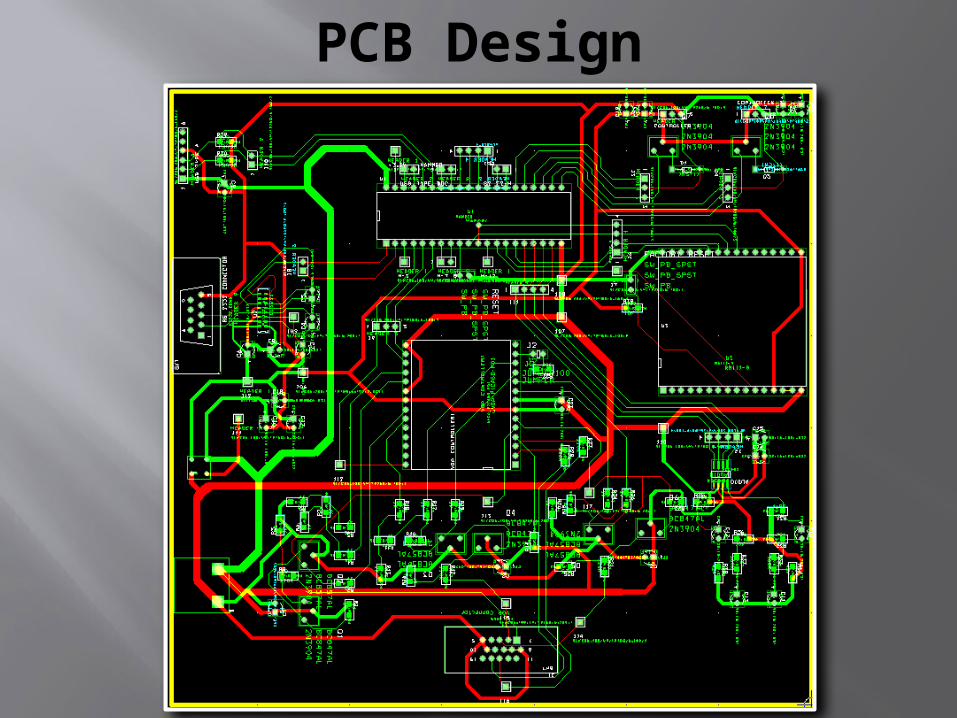
PCB Design
Schematic Figures
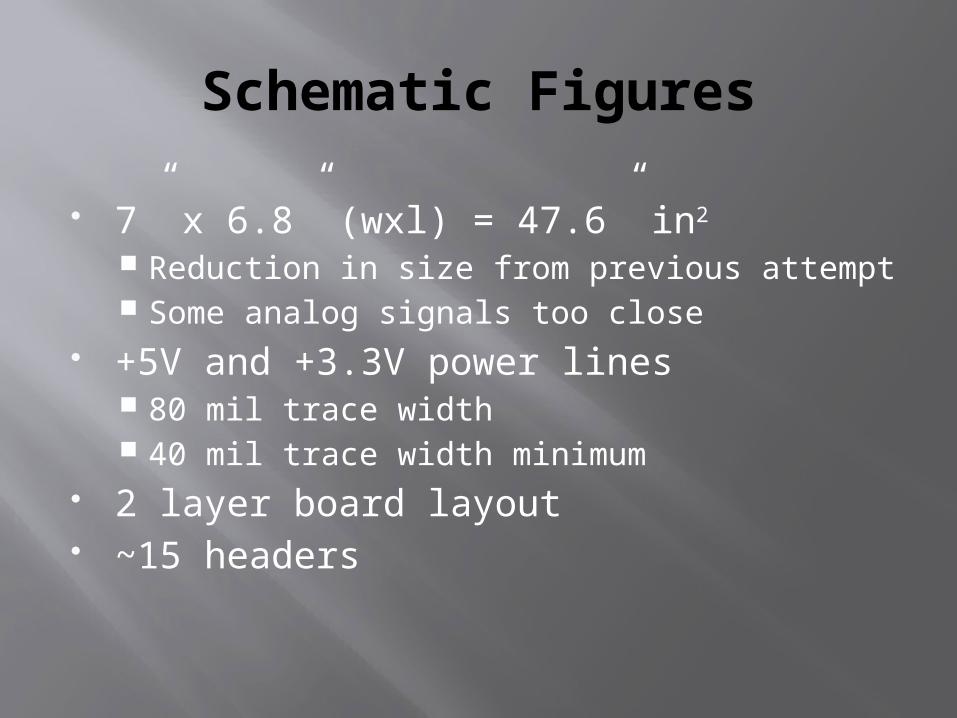
7” x 6.8” (wxl) = 47.6” in2
Reduction in size from previous attempt Some analog signals too close
+5V and +3.3V power lines 80 mil trace width 40 mil trace width minimum
2 layer board layout ~15 headers
Design Planning
Separate analog signals (video, audio, and wireless) Some components are closer due to size
limitation (i.e., wireless micro to N64 controllers)
Placement of peripherals Controllers and USB up front Video, Audio, and Wireless in the back Power supply on the side with RS-232
Digital-to-Analog conversion for RGB video output needs the most room

PCB Design – Controllers & USB

PCB Design – Controllers & USB
USB requirements: 2 line bus (D+,D-) +5V Up to five devices @ 200mA each
N64 Controllers Bidirectional serial bus +3.3V @ ~1A

PCB Design – Power & RS-232

PCB Design – Power & RS-232
Power: Single +5V power line +3.3V regulator supplying ~800mA
RS-232 transceiver +3.3V UART interface requires two lines from
Hammer module

PCB Design – Video

PCB Design – Video
4-D Systems uVGA +3.3V @ ~80mA, max 110mA 8-bit RGB (3-bit red, 3-bit green, 2-bit blue)
plus three blank RGB values (reference values) and Horizontal and Vertical Sync signals
RGB Digital-Analog Converter +5.0V with minimal current Uses the blank values as references to determine
the gain of the analog signal from the RGB values

PCB Design – Wireless & Audio

PCB Design – Wireless& Audio
Wireless +3.3V @ ~110mA, max 180mA UART interface, hardware reset (factory
defaults), and two bits for send and receive flags, total of 6 lines
Big concern is analog noise being so close to both Hammer module and N64 controller
Audio +5.0V with minimal current Analog noise not as large an issue since outputs
are far in the right corner away from any other digital signals

Software Requirements
Drivers for peripherals USB – Reading files Audio – Outputting WAV files Wifi – Sending data to a web server Controllers – Accepting controller data uVGA – send bitmap images to VGA controller
Game coding

Software Design
All software written in C or C++ Compiled on outside machine and
transferred to Hammer as executable files.
Games read through USB

Timeline
March 9-13 Start work on drivers for peripherals Finish and verify PCB design
March 23-29 Place power components on PCB Continue work on drivers for peripherals
March 30-April 5 Place microcontroller on PCB Complete drivers for peripherals

Timeline – Cont.
April 6-12 Begin coding games Add the peripherals to PCB
April 13-19 Verify all components on PCB work properly Finish coding games Write user manual
April 20-26 Debug system Prepare for demonstration

QUESTIONS / DISCUSSION