dspace developers documentation -...
TRANSCRIPT
DSpace Developer Documentation
http://www.dspace.org/
Version: 1.1Author: Richard Jones ([email protected])DSpace Version: 1.3.2/1.4 (transitional)
This work is licensed under the Creative Commons AttributionNonCommercialShareAlikeLicense. To view a copy of this license, visit http://creativecommons.org/licenses/byncsa/2.5/
or send a letter to Creative Commons, 559 Nathan Abbott Way, Stanford, California 94305,USA.

Table of Contents1 Introduction...........................................................................................................................32 The DSpace Environment......................................................................................................4
2.1 The DSpace build process..............................................................................................42.1.1 Overview of install processes.................................................................................42.1.2 Detailed treatment of installation process...............................................................5
2.2 Deploying DSpace..........................................................................................................62.2.1 Manually unpacking war files.................................................................................62.2.2 Deploying as the ROOT application.......................................................................6
2.3 Tomcat configuration......................................................................................................62.3.1 server.xml configuration.........................................................................................72.3.2 web.xml configuration.............................................................................................7
3 Essential DSpace component use..........................................................................................93.1 Configuration management.............................................................................................93.2 Context...........................................................................................................................93.3 Database access..........................................................................................................10
3.3.1 Inserting records..................................................................................................103.3.2 Updating records..................................................................................................113.3.3 Deleting records...................................................................................................11
3.4 Servlets.........................................................................................................................123.4.1 web.xml configuration...........................................................................................123.4.2 Creating servlets..................................................................................................133.4.3 Calling JSPs.........................................................................................................13
3.5 JSPs.............................................................................................................................143.5.1 Obtaining objects from the response object.........................................................143.5.2 Inserting java code into the JSP...........................................................................143.5.3 Java Tag Libraries................................................................................................15
3.6 JSP Tags......................................................................................................................163.6.1 dspacetags.tld configuration...............................................................................163.6.2 Creating custom tags...........................................................................................17
3.7 Content Management objects.......................................................................................183.7.1 Assembling a hierarchy........................................................................................183.7.2 Locating content...................................................................................................20
3.8 Logging.........................................................................................................................213.9 Metadata and Metadata Schemas................................................................................21
3.9.1 Metadata in and out of items................................................................................213.9.2 Working with metadata values..............................................................................22
3.10 Plugin management....................................................................................................233.10.1 Plugin types........................................................................................................243.10.2 Configuring Plugins............................................................................................253.10.3 Reusable plugins................................................................................................273.10.4 Using the PluginManager...................................................................................273.10.5 Plugin Development...........................................................................................28
2

1 Introduction
This document covers the details of what you need to know in order to write code for theDSpace system, either as part of the core, or producing an installable component. For detailsof the DSpace system architecture see also the system documentation, as packaged with thesource code.
It should be noted that this documentation is not a complete guide to the DSpace codebase,as this is continually in change, and constitutes many separate parts. Instead it attempts tomake clear the most core components and features. It is also in transition between DSpace1.3.2 and 1.4, since some of the API is undergoing change during that update.
1.1 Notation and fonts for this document
Normal SansSerif Font The main body of the text of this document
Italic SansSerif Font Notes that should be paid attention to.
Fixed-Width Font Examples of commands or items that you might see on the computerscreen. For example, directory and file names as well as installation commands.
Italic Fixed-Width Font The user that you should be logged in as when performing tasks.You should always be logged in as the user most recently specified on the lefthandside of the page in the current section.
% Indicates that the following text is to be entered at the command line interface
3

2 The DSpace Environment
2.1 The DSpace build process
The DSpace build process can be entered into in 3 main ways:
% ant
will simply compile the source code: it will not create the war files, and it will not deploy any ofthe parts of the system. This is therefore mostly useful when checking new code for compilererrors, without necessarily wanting to proceed with a full installation or update.
% ant fresh_install
This will do a full installation from scratch of the DSpace system, including configuration,database settings and so forth. The process is described in detail below.
% ant update
If there is an existing DSpace installation, this option allows it to be updated with the latestcode without damaging existing database structures and configuration. This process is asubset of ant fresh_install, and is described below. It should be noted that upgradingbetween major versions (i.e. 1.x to 1.y) may require more than just the update, since therecould be database schema changes.
2.1.1 Overview of install processes
The following are the general processes that are gone through during a DSpace installation.These process map approximately, although not exactly, onto the build targets in the DSpacebuild.xml file.
ant fresh_install:
A) Compile sourceB) Deploy components to live directoriesC) Create and deploy the dspace.jar fileD) Create the dspace.war and dspace-oai.war files in the build directoryE) Deploy the configuration filesF) Initialise the databaseG) Load the Dublin Core and Bitstream Format registriesH) Update the template configuration filesI) Index the database contents
4
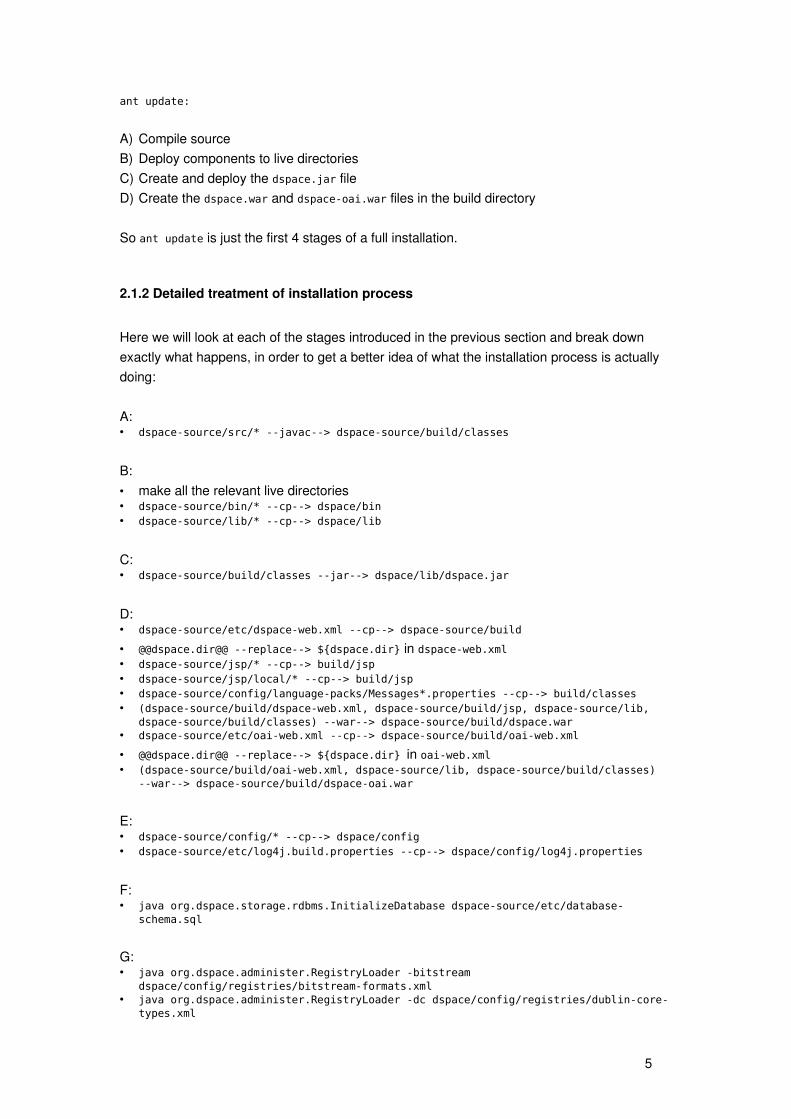
ant update:
A) Compile sourceB) Deploy components to live directoriesC) Create and deploy the dspace.jar fileD) Create the dspace.war and dspace-oai.war files in the build directory
So ant update is just the first 4 stages of a full installation.
2.1.2 Detailed treatment of installation process
Here we will look at each of the stages introduced in the previous section and break downexactly what happens, in order to get a better idea of what the installation process is actuallydoing:
A:• dspace-source/src/* --javac--> dspace-source/build/classes
B:• make all the relevant live directories• dspace-source/bin/* --cp--> dspace/bin• dspace-source/lib/* --cp--> dspace/lib
C:• dspace-source/build/classes --jar--> dspace/lib/dspace.jar
D:• dspace-source/etc/dspace-web.xml --cp--> dspace-source/build
• @@dspace.dir@@ --replace--> ${dspace.dir} in dspace-web.xml• dspace-source/jsp/* --cp--> build/jsp• dspace-source/jsp/local/* --cp--> build/jsp• dspace-source/config/language-packs/Messages*.properties --cp--> build/classes• (dspace-source/build/dspace-web.xml, dspace-source/build/jsp, dspace-source/lib,
dspace-source/build/classes) --war--> dspace-source/build/dspace.war• dspace-source/etc/oai-web.xml --cp--> dspace-source/build/oai-web.xml
• @@dspace.dir@@ --replace--> ${dspace.dir} in oai-web.xml• (dspace-source/build/oai-web.xml, dspace-source/lib, dspace-source/build/classes)
--war--> dspace-source/build/dspace-oai.war
E:• dspace-source/config/* --cp--> dspace/config• dspace-source/etc/log4j.build.properties --cp--> dspace/config/log4j.properties
F:• java org.dspace.storage.rdbms.InitializeDatabase dspace-source/etc/database-
schema.sql
G:• java org.dspace.administer.RegistryLoader -bitstream
dspace/config/registries/bitstream-formats.xml• java org.dspace.administer.RegistryLoader -dc dspace/config/registries/dublin-core-
types.xml
5
H:• java org.dspace.core.ConfigurationManager -installTemplates
I:• java org.dspace.browse.InitializeBrowse• java org.dspace.search.DSIndexer
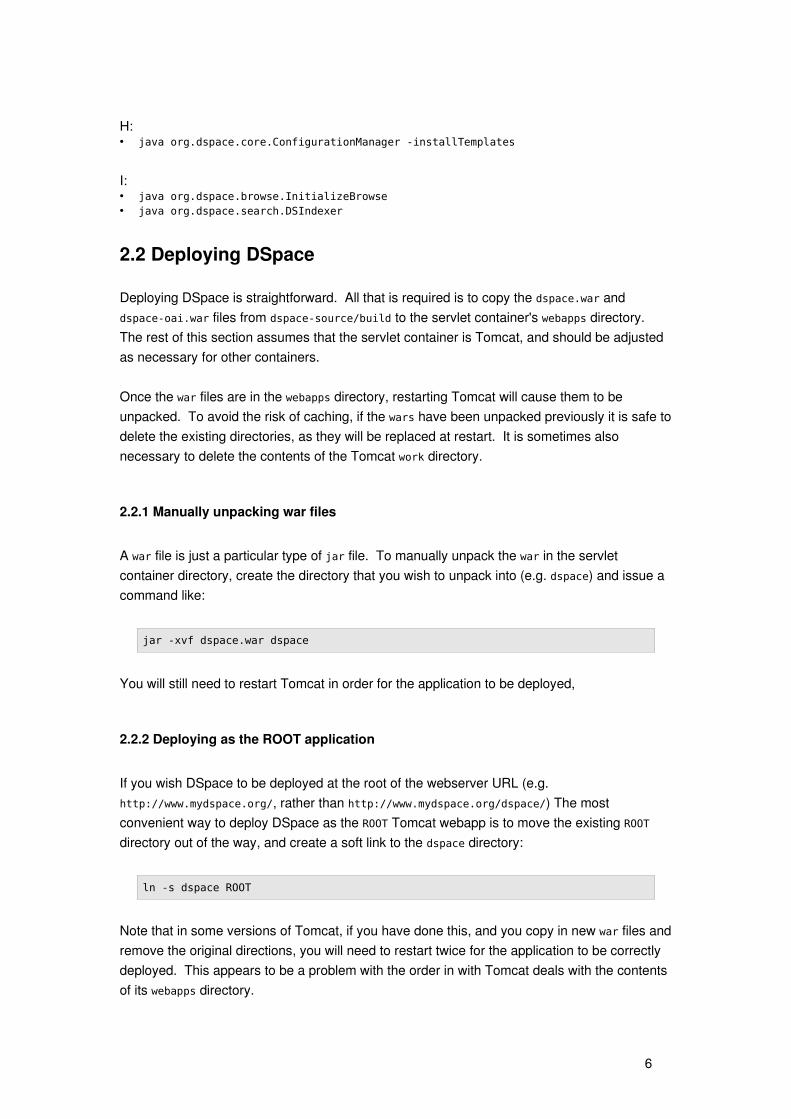
2.2 Deploying DSpace
Deploying DSpace is straightforward. All that is required is to copy the dspace.war anddspace-oai.war files from dspace-source/build to the servlet container's webapps directory.The rest of this section assumes that the servlet container is Tomcat, and should be adjustedas necessary for other containers.
Once the war files are in the webapps directory, restarting Tomcat will cause them to beunpacked. To avoid the risk of caching, if the wars have been unpacked previously it is safe todelete the existing directories, as they will be replaced at restart. It is sometimes alsonecessary to delete the contents of the Tomcat work directory.
2.2.1 Manually unpacking war files
A war file is just a particular type of jar file. To manually unpack the war in the servletcontainer directory, create the directory that you wish to unpack into (e.g. dspace) and issue acommand like:
jar -xvf dspace.war dspace
You will still need to restart Tomcat in order for the application to be deployed,
2.2.2 Deploying as the ROOT application
If you wish DSpace to be deployed at the root of the webserver URL (e.g.http://www.mydspace.org/, rather than http://www.mydspace.org/dspace/) The mostconvenient way to deploy DSpace as the ROOT Tomcat webapp is to move the existing ROOTdirectory out of the way, and create a soft link to the dspace directory:
ln -s dspace ROOT
Note that in some versions of Tomcat, if you have done this, and you copy in new war files andremove the original directions, you will need to restart twice for the application to be correctlydeployed. This appears to be a problem with the order in with Tomcat deals with the contentsof its webapps directory.
6

2.3 Tomcat configuration
Tomcat configuration for DSpace is relatively straight forward. The most important parts areensuring that you are able to deliver the user content over HTTPS where appropriate.
2.3.1 server.xml configuration
The server.xml file controls the behaviour of the tomcat application. Here we need to ensurethat we have the correct connectors for HTTP and HTTPS. Note that we run tomcat on ports8080 and 8443 rather than 80 and 443 because we do not wish to run it as the root user (thisposes a potential security risk, and it is not possible to start Tomcat processes as nonrootusers below port 1024 as it is with Apache). The following configuration is from Tomcat 5.5.9:
<!-- Define a non-SSL HTTP/1.1 Connector on port 8080 -->
<Connector port="8080" maxHttpHeaderSize="8192"
maxThreads="150" minSpareThreads="25" maxSpareThreads="75"
enableLookups="false" redirectPort="8443" acceptCount="100"
connectionTimeout="20000" disableUploadTimeout="true"
URIEncoding="UTF-8" />
<!-- Define a SSL HTTP/1.1 Connector on port 8443 -->
<Connector port="8443" maxHttpHeaderSize="8192"
maxThreads="150" minSpareThreads="25" maxSpareThreads="75"
enableLookups="false" disableUploadTimeout="true"
acceptCount="100" scheme="https" secure="true"
clientAuth="false" sslProtocol="TLS"
keystorePass="changeit" URIEncoding="UTF-8" />
2.3.2 web.xml configuration
The web.xml file is used to load properties for all applications running in tomcat. If we wish toapply security constraints to applications, we can either do it for all applications here, or in theindividual web.xml files. Either way, to ensure that an entire application is served over HTTPS,you should place at the end of this file:
<security-constraint>
<web-resource-collection>
<web-resource-name>Protected Context</web-resource-name>
<url-pattern>/*</url-pattern>
</web-resource-collection>
<user-data-constraint>
<transport-guarantee>CONFIDENTIAL</transport-guarantee>
</user-data-constraint>
</security-constraint>
7
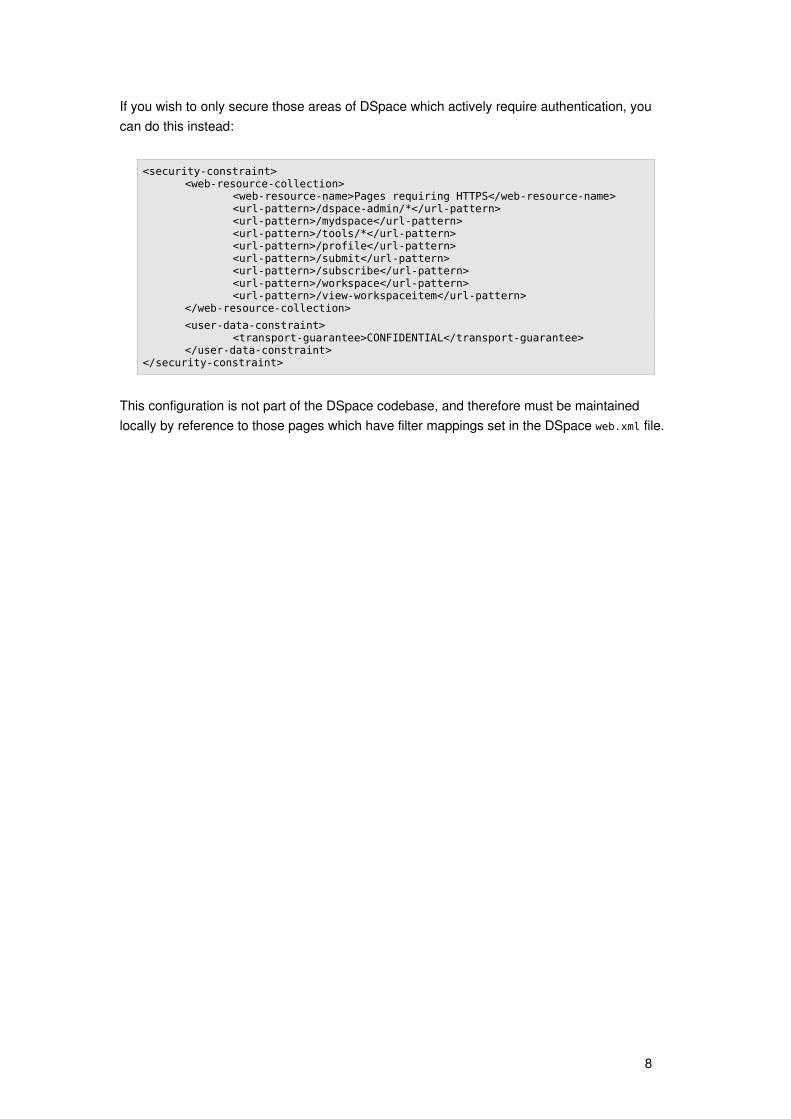
If you wish to only secure those areas of DSpace which actively require authentication, youcan do this instead:
<security-constraint><web-resource-collection>
<web-resource-name>Pages requiring HTTPS</web-resource-name><url-pattern>/dspace-admin/*</url-pattern><url-pattern>/mydspace</url-pattern><url-pattern>/tools/*</url-pattern><url-pattern>/profile</url-pattern><url-pattern>/submit</url-pattern><url-pattern>/subscribe</url-pattern><url-pattern>/workspace</url-pattern><url-pattern>/view-workspaceitem</url-pattern>
</web-resource-collection>
<user-data-constraint><transport-guarantee>CONFIDENTIAL</transport-guarantee>
</user-data-constraint></security-constraint>
This configuration is not part of the DSpace codebase, and therefore must be maintainedlocally by reference to those pages which have filter mappings set in the DSpace web.xml file.
8
3 Essential DSpace component useThis section describes some of the most common and useful objects and related APIs (andtheir usage) for the DSpace codebase.
3.1 Configuration management
Management of configuration options in dspace.cfg is done through the ConfigurationManagerclass. The configuration file is loaded as a System property at server startup, and thereforeany changes to dspace.cfg require a servlet container restart to take effect. When usingDSpace classes from the command line or via ant it is necessary to specify thedspace.configuration system property so that the configuration may be loaded by thatprocess.
Basic use of the ConfigurationManager is to simply call:
String prop = ConfigurationManager.getProperty(“property.name”);
This will return the property as a String value. You may also ask the ConfigurationManager toreturn different data types, using other method calls:
// integer value of the property
int prop = ConfigurationManager.getIntProperty(“property.name”);
// boolean value of the property
boolean prop = ConfigurationManager.getBooleanProperty(“property.name”);
See the API documentation for a full list of methods available on this class.
Example:
// determine whether the item tag should display the licence information
// webui.licence_bundle.show is a true or false value in dspace.cfg
if (ConfigurationManager.getBooleanProperty("webui.licence_bundle.show"))
{
showLicence();
}
3.2 Context
The context object is the most pervasive of all objects in the DSpace codebase. It holdsinformation about the user's state, as well as the user's assigned transactionsafe databaseconnection. Almost every method call in the DSpace API requires a context, so that the
9

method can determine what actions to take under certain circumstances. It also knows whichuser (Eperson) created it, and holds a cache of all the user's objects to increase performance.
The Context object for a particular request may be obtained in two ways:
// create the context from the HttpServletRequest
Context context = UIUtil.obtainContext(request);
// create a blank context
Context context = new Context();
If you are working inside a servlet, a readymade context will be passed to your doDSGet anddoDSPost methods, so there is no need to create one.
3.3 Database access
Database access is mediated by the DatabaseManager class. There are various options withregard to how to request database operations. You can, for example, construct the SQL andpass the whole query string to the DatabaseManager for execution, but this is not therecommended method, as it will cause problems for database abstraction later (e.g.supporting other databases). Most of the objects in DSpace have their own find methods, soyou should not generally need to perform SELECT queries on the database directly, and shouldavoid doing so especially in the servlet/controller layer.
Here we will look primarily at inserting, updating and deleting database records via theDatabaseManager.
Note that all database interactions are cached during requests, and will all be actioned againstthe database in a transactionsafe operation when the user's context is completed.
The context can be forced to write all its database changes and so forth during operation thus:
context.commit();
The context can also be forced to complete during the operation, which does the same ascommit(), but also closes the context object so that it cannot be used again:
context.complete();
See also the API documentation for the package org.dspace.storage.rdbms for information onthe full list of methods available.
3.3.1 Inserting records
Inserting records can be done using:
10

DatabaseManager.insert(Context, TableRow);
Here, the context is the usual DSpace context object, and TableRow is an object which holdsinformation about the particular entry in the database tables. Before calling the insertmethod, then, it is necessary to construct the TableRow object thus:
// Create a new TableRow object for the database table “mytable”, and
// with the ArrayList of columns.
TableRow tr = TableRow.create(context, "mytable");
// Populate the column values. If a column is not populated it will be
// left blank or the default value will be used. In this case, the “id”
// field is the primary key, and will be automatically set based on the
// mytable_seq sequence
tr.setColumn("fieldA", “Some value”);
tr.setColumn("fieldB", “Some other value”);
Now we can insert this into the database with:
DatabaseManager.insert(context, tr);
3.3.2 Updating records
Updating a record can be done by using:
DatabaseManager.update(Context, TableRow)
In order for the update to succeed, the TableRow object must contain a value for the primarykey of the table being updated. The most common way that this might be used is when aTableRow has been created from the database, updated, and then needs to be written backinto the data. We could obtain the initial TableRow thus:
// obtain a row from the database via a SELECT query
String query = “SELECT * FROM mytable WHERE fieldA = 'Some value'”;
TableRow tr = DatabaseManager.querySingle(context, query);
// update a column
tr.setColumn(“fieldA”, “A new value”);
// run the update query through the DatabaseManager
DatabaseManager.update(context, tr);
11

3.3.3 Deleting records
To delete a record, the most reliable way is to do it through the id (primary key). Obtain theTableRow as before, and pass this to the delete method of the DatabaseManager:
DatabaseManager.delete(Context, TableName, PrimaryKey);
A common example would be:
// obtain a row from the database via a SELECT query
String query = “SELECT * FROM mytable WHERE fieldA = 'A new value'”;
TableRow tr = DatabaseManager.querySingle(context, query);
DatabaseManager.delete(context, “mytable”, tr.getIntColumn(“id”));
3.4 Servlets
Servlets provide the controller layer in Java Servlet Framework (JSF) applications. They areinvoked automatically based on the servlet mappings in the application's web.xml file. AllDSpace servlets should extend the DSpaceServlet class, which performs some additionalenvironment work before delivering control to the specific servlet.
3.4.1 web.xml configuration
Servlets can be configured in the application's web.xml file to be invoked at certain url patterns.This is done by declaring the servlet and the servlet mapping thus:
<servlet>
<servlet-name>myservlet</servlet-name>
<servlet-class>org.dspace.app.webui.servlets.MyServlet</servlet-class>
</servlet>
<servlet-mapping>
<servlet-name>myservlet</servlet-name>
<url-pattern>/my-url-pattern</url-pattern>
</servlet-mapping>
Now, when the user request a URL such as http://www.mydspace.edu/my-url-pattern, theservlet specified will be executed by the JSF.
As an advanced configuration option, you may also specify security filters at this stage foryour servlets, by defining a filter class and url patterns to which to apply those filters, thus:
<filter>
<filter-name>myfilter</filter-name>
12

<filter-class>org.dspace.app.webui.filter.MyFilter</filter-class>
</filter>
<filter-mapping>
<filter-name>myfilter</filter-name>
<url-pattern>/my-url-pattern</url-pattern>
</filter-mapping>
Note that you may apply the same filter to many url patterns by repeating the filtermappingelement with different url patterns.
3.4.2 Creating servlets
The basic structure of the servlet is shown here:
public class MyServlet extends DSpaceServlet
{
public void init() { }
protected void doDSGet(
Context context,
HttpServletRequest request,
HttpServletResponse response)
throws ServletException
{ }
protected void doDSPost(
Context context,
HttpServletRequest request,
HttpServletResponse response)
throws ServletException
{ }
}
When the servlet is initialised, the init method will be run. Many of the DSpace servlets donot implement this option, but an example where it is used would be the BrowseServlet.
The JSF then calls doGet and doPost which are methods implemented in the DspaceServlet;they should not, in general, be overridden by the extending servlet. In the superclass, theseinitial methods set up some more of the environment and then call doDSGet and doDSPostrespectively. If you do not care particularly whether a request comes in via GET or POST, youcan forward from one to the other so as not to duplicate code:
protected void doDSGet(Context, Request, Response)
{
doDSPost(Context, Request, Response);
}
13

Once you have this template set out for your servlet, you are free to write the controller codeas you see fit.
3.4.3 Calling JSPs
Once you have finished processing the request, you will probably want to deliver a page backto the user. This can be done by requesting that a JSP take over and generate the displaycode. Depending on the operation undertaken, you may need to add some objects to theHttpResponse object to be used in the page rendering process. For example, this code fromthe BrowseServlet calls a JSP to tell the user that their search in community and/or collectionhas returned no results:
// add the community and collection objects to the response attributes.
request.setAttribute("community", community);
request.setAttribute("collection", collection);
// call the JSPManager to render the JSP and cease processing the servlet.
JSPManager.showJSP(request, response, "/browse/no-results.jsp");
Here, the JSP displayed is in the path relative to the root of the web application in the servletcontainer (e.g. /opt/tomcat/webapps/dspace). See the next section for more information onJSPs. Meanwhile, the community and collection variables are instances of the Community andCollection objects as discussed in section 3.7.
3.5 JSPs
JSPs provide the user interface pages for JSF applications. They are called by the controller(servlet) to render the output of an operation; see the previous section for information on howJSPs are called by the servlet.
3.5.1 Obtaining objects from the response object
The servlet can place attributes in the response object for the JSP to use, which is similar ineffect to passing them in a method call. The JSP must lift out of the response object thosewhich it is interested in using for rendering thus (from mydspace/main.jsp):
EPerson user = (EPerson) request.getAttribute("mydspace.user");
WorkspaceItem[] workspaceItems =
(WorkspaceItem[]) request.getAttribute("workspace.items");
Now the JSP can use these when preparing the page for the user.
14

3.5.2 Inserting java code into the JSP
Java code is delimited by <% and %> in the JSP. There is also a shortcut to output the stringvalue of a variable/object using <%= and %>. For example:
<table>
<%
int numItems = workspaceItems.length;
%>
<tr>
<td>
Total number of workspace items: <%= numItems %>
</td>
</tr>
</table>
3.5.3 Java Tag Libraries
In order to make laying pages out easier, we can define JSP Tags to render standard blocksof the user interface. The tag libraries and implementing classes are defined in the WEB-INFdirectory in dspace-tags.tld and fmt.tld. The former is the native dspace tag library, and thelatter is the library for the i18n features. For more information on how JSP Tags work seesection 3.6.
To use a JSP tag in the JSP, you need to simply wrap the tags around the content that youwish to be used, or place the standalone tag with the relevant parameters in the document.
For example, the DSpace page layout is achieved thus:
<dspace:layout locbar="link"
parentlink="/mydspace"
parenttitlekey="jsp.mydspace"
titlekey="jsp.mydspace.perform-task.title"
nocache="true">
<!-- Page content here -->
</dspace:layout>
This will invoke the layout tag in the dspace tag namespace, and pass to it the attributes setout in the opening tag. The effect of this is to wrap the page content in the default DSpacelayout, along with a breadcrumb.
The following shows how to render an entire item on the page, which is a tag that does nottake any content:
15

<dspace:item item="<%= item %>"
collections="<%= collections %>"
style="<%= displayStyle %>" />
Here, item and collections are objects or arrays of objects, and displayStyle is either full oran empty string (depending on how much metadata you want to display).
Meanwhile, in order to comply with internationalisation requirements, we use the FMT taglibrary to allow us to remove human languages from the user interface documents. The tagthen is a representation of the message, so that different languages can be loaded withoutmodifying the code. To insert a message from the i18n system, use:
<fmt:message key="jsp.my.key"/>
You can also use this tag with embedded parameters, thus:
<fmt:message key="jsp.key.with.params">
<fmt:param>Param 1</fmt:param>
<fmt:param>Param 2</fmt:param>
</fmt:message>
This will output the message with the relevant parameters in the key replaced by the values inthe parameters. They may come, for example, from item metadata fields.
3.6 JSP Tags
JSP tags allow chunks of the user interface to be encapsulated in a compiled java class, andinvoked from the JSP (see the section on JSPs for more information on how to do this). Tocreate and implement a new tag it needs to be added to the dspace-tags.tld file in WEB-INF,and extend the TagSupport class.
3.6.1 dspacetags.tld configuration
To add a new tag to the DSpace system, you must add a reference to it in the WEB-INF/dspace-tags.tld file. A tag's entry looks much like this:
<tag>
<name>mytag</name>
<tagclass>org.dspace.app.webui.jsptag.MyTag</tagclass>
<info>
This is my custom tag
</info>
<attribute>
<name>param</name>
16

<required>true</required>
<rtexprvalue>true</rtexprvalue>
</attribute>
</tag>
When the tag identified by the name is called in the JSP, the related class is executed on thepassed parameters. If the tag contains content, then the results of the tag are wrappedaround this content, as explained in the next section. The attribute section of this declarationtells the tag the name of the parameter it could be passed, whether it is required or not, andwhether the value that it can be passed can be a runtime expression (leave this to true formaximum flexibility).
This tag can now be invoked in the JSP thus (without content):
<dspace:mytag param=”<%= someValue %>” />
3.6.2 Creating custom tags
A custom tag must extend the TagSupport class, and declare methods if it wishes to use them.A basic skeleton for the custom tag would look like this:
public class MyTag extends TagSupport
{
public MyTag()
{
super();
}
public int doStartTag() throws JSPException
{ }
public int doEndTag() throws JSPException
{ }
}
When the tag is called it is constructed, which prepares its environment, then doStartTag anddoEndTag are called. There are other operations that the tag is capable of, and a full list can befound with the TagSupport API documentation. The results of doStartTag are output beforeany content contained in the tag, and the results of doEndTag are output after that content.
Each attribute that is associated with the tag must have a member variable, as well as get andset methods associated with it.
To produce the output, we obtain the output stream from the PageContext object as providedby the TagSupport class. We can then pass our strings to be included in the final document tothis. For example:
17

// get the output writer
JspWriter out = pageContext.getOut();
// output a message
out.println(“here is my message”);
3.7 Content Management objects
The package org.dspace.content contains all of the content management objects in use byDSpace. Here we will discuss only the primary objects in what is effectively the objecthierarchy: Community, Collection, Item, Bundle, Bitstream
These classes represent the general structure of the the DSpace archive. Communities cancontain other communities and collections, collections can contain items, items can containbundles which in turn contain Bitstreams.
3.7.1 Assembling a hierarchy
Here we provide code segments which assemble a full object hierarchy in DSpace.
// create a community with no parent
Community community = Community.create(null, context);
// add a description to the community
community.setMetadata("short_description", "This is a short description");
// write the community to the database
community.update();
// now we create a sub community
Community subcommuntiy = Community.create(community, context);
// this can also be written:
// Community subcommunity = community.createSubcommunity();
subcomminty.setMetadata(“short_description”,
“This is another short description”);
subcommunity.update();
Once we have created a community and a sub community, we can add collections to them,thus:
// create a child collection directly
Collection collection = community.createCollection();
18

// This can also be done alternatively:
// Collection collection = Collection.create(context);
// community.addCollection(collection);
// add some metadata
collection.setMetadata("short_description", "Yet another short description");
collection.update();
Now we have the main archive structural elements created, we can create Items to go into thearchive. Creation of full Items is quite complicated, because it involves providing all themetadata using the metadata objects API (which is also in the content management package),and attaching files to the item. We will not look too hard at working with these elements,although we will look at Bundle and Bitstream creation. Metadata handling is discussed inmore detail in section 3.9.
First, we look at the most basic case:
// Create an item from scratch
Item item = Item.create(context);
// add to the relevant collection
collection.addItem(item);
Most commonly you will get the item from the workspace, or you will be creating a workspaceitem:
// create the item (the final argument of the first line indicates that
// no template is used)
WorkspaceItem wsi = WorkspaceItem.create(context, collection, false);
Item item = wsi.getItem();
To add metadata to an item, you can do the following:
// add a metadata element value
String schema =”dc”; // dublin core schema
String element=”contributor”; // dc contributor element
String qualifier=”author”; // dc author element
String lang = “en”; // english language
String value =”Some Name”; // the value of the metadata element
item.addMetadata(schema, element, qualifier, lang, value);
// we could also set the value to be an array
// String value = new String[2];
// value[0] = “First author”;
// value[1] = “Second author”;
// item.addMetadata(schema, element, qualifier, lang, value);
19
To add a file to the item, it is necessary to create a Bundle in which to put the Bitstream. Ifthere is only one file to be added, then there is a shortcut for doing this:
// create a single bitstream from a given InputStream
File file = new File(“/some/file/path”);
InputStream is = new FileInputStream(file);
item.createSingleBitstream(is);
To perform this operation more formally, we must create the bundle for the item, and createbitstreams for it as follows:
// create a bundle with the name “BUNDLE” (usually you would use “ORIGINAL”)
Bundle bundle = item.createBundle(“BUNDLE”);
// you can also write this:
// Bundle bundle = Bundle.create(context);
// bundle.setName(“BUNDLE”);
// item.addBundle(bundle);
// now create the InputStream, and create a bitstream from it:
File file = new File(“/some/file/path”);
InputStream is = new FileInputStream(file);
Bitstream bitstream = bundle.createBitstream(context, is);
// you can also write this
// Bitstream bitstream = Bitstream.create(context, is);
// bundle.addBitstream(bitstream);
There are lots of other operations you can perform on these objects during the create process,and especially with items that are in some stage of the submission, supervision or workflowprocedures. See the API documentation for org.dspace.content for more details on theseclasses.
3.7.2 Locating content
Most of the content management objects support a primitive find method. In the most basiccase, this finds and instantiates the object with the given database id:
Community community = Community.find(context, 12);
Collection collection = Collection.find(context, 23);
Item item = Item.find(context, 45);
Bundle bundle = Bundle.find(context, 67);
Bitstream bitstream = Bitstream.find(context, 98);
Some of the more complex objects support find operations on other conditions. For example:
20

// locate an item by it's submitter
ItemIterator ii = Item.findBySubmitter(context, eperson);
// locate which collections the user is authorised to do the given action with
Collection[] collections =
Collection.findAuthorized(context, community, action);
// locate all of the top level communities
Community[] communities = Community.findAllTop(context);
3.8 Logging
DSpace uses the log4j system to manage it's logging output. To enable a logger for aparticular class, declare a static member variable containing the logger:
private static Logger log = Logger.getLogger(MyClass.class);
Now log records can be written by simply calling, for example:
log.info(LogManager.getHeader(context, “my message”));
You may also use debug, warn, error and fatal method calls.
3.9 Metadata and Metadata Schemas
The metadata system in DSpace is in a period of transition. It is moving from being gearedtoward Qualified Dublin Core style metadata to being more generic in its treatment of allschemas which can be expressed as an element.qualifier pair. Therefore there aremetadata handling objects which are generic, and metadata value handling objects which arelabelled as being DC specific, although which will be of use to most metadata schemas.
3.9.1 Metadata in and out of items
The most common interaction with metadata will be through the Item class for most uses. Inthis case, when creating metadata, it is unnecessary to know much about the underlyingimplementation:
// add a metadata element value
String element=”contributor”; // dc contributor element
String qualifier=”author”; // dc author element
String lang = “en”; // english language
String value =”Some Name”; // the value of the metadata element
item.addDC(element, qualifier, lang, value);
21
String schema =”dc”; // dublin core schema
item.addMetadata(schema, element, qualifier, lang, value);
// we could also set the value to be an array
// String value = new String[2];
// value[0] = “First author”;
// value[1] = “Second author”;
// item.addDC(element, qualifier, lang, value);
// String schema =”dc”; // dublin core schema
// item.addMetadata(schema, element, qualifier, lang, value);
In order to be futureproof, new code should always use the addMetadata method, not theaddDC method.
Getting metadata out of items requires a little more knowledge of the metadata managementmodel. To obtain an array of DCValue objects, you can use:
DCValue[] values = item.getMetadata(schema, element, qualifer, lang);
The values of each of the arguments can be obtained from a number of constants locations.The schema should be obtained from the MetadataSchema class:
MetadataSchema.DC_SCHEMA
The element, qualifier and lang can be filled with the wildcard taken from the Item class:
Item.ANY
Meanwhile, qualifier and lang may also be specified null, which for qualifier means anyunqualified metadata element, and for lang means any record with no language set.Therefore, a valid invokation of this method might look like this:
DCValue[] values =
item.getMetadata(MetadataSchema.DC_SCHEMA, “title”, null, Item.ANY);
This will then populate the values array with a set of DCValue objects for each of the dc.titleelements of any language in the database. It will not find metadata elements of the tyledc.title.* such as dc.title.alternative.
3.9.2 Working with metadata values
DCValue is the class which acts as a wrapper for all the information you need about the currentmetadata value. You can ask DCValue for the schema, element, qualifier, language and valueattributes thus:
22
String schema = DCValue.schema
String element = DCValue.element
String qualifier = DCValue.qualifier
String lang = DCValue.language
String value = DCValue.value
In addition, there are 4 datatypes available: DCDate, DCPersonName, DCLanguage andDCSeriesNumber. These datatypes can be used to convert into and out of the text formatsrequired by DCValue. We will look at the first three, being the most common. First, using theDCDate:
// get just one date value
DCValue[] dateVals = item.getMetadata(“dc”, “date”, “accessioned”, Item.ANY);
DCValue dateDC = dateVals[0];
// create a real date object from the dc value
String dateString = dateDC.value;
DCDate dcDate = new DCDate(dateString);
Date realDate = dcDate.toDate();
// create a correctly formatted date string for DCValue
Date realDate = new Date();
DCDate dcDate = new DCDate(realDate);
String dateString = dcDate.toString();
Using DCLanguage:
// get just one value
DCValue[] langVals = item.getMetadata(“dc”, “title”, “alternative”, Item.ANY);
DCValue dc = langVals[0];
// create a language object, and use it to print to stdout the display
// name of the language
String lang = dc.lang;
DCLanguage language = new DCLanguage(lang);
System.out.print(language.getDisplayName());
Using DCPersonName:
// get just one value
DCValue[] authVals = item.getMetadata(“dc”, “contributor”, “author”, Item.ANY);
DCValue dcAuth = authVals[0];
// create a DCPersonName object and use it to print the name to stdout
String auth = dcAuth.value;
DCPersonName name = new DCPersonName(auth);
System.out.print(“First: “ + name.getFirstNames() +
“ Last: “ + name.getLastName());
23
// create a DCPersonName and use it to prepare a metadata value
String fn = “Richard”;
String ln = “Jones”;
DCPersonName name = new DCPersonName(fn, ln);
String value = name.toString();
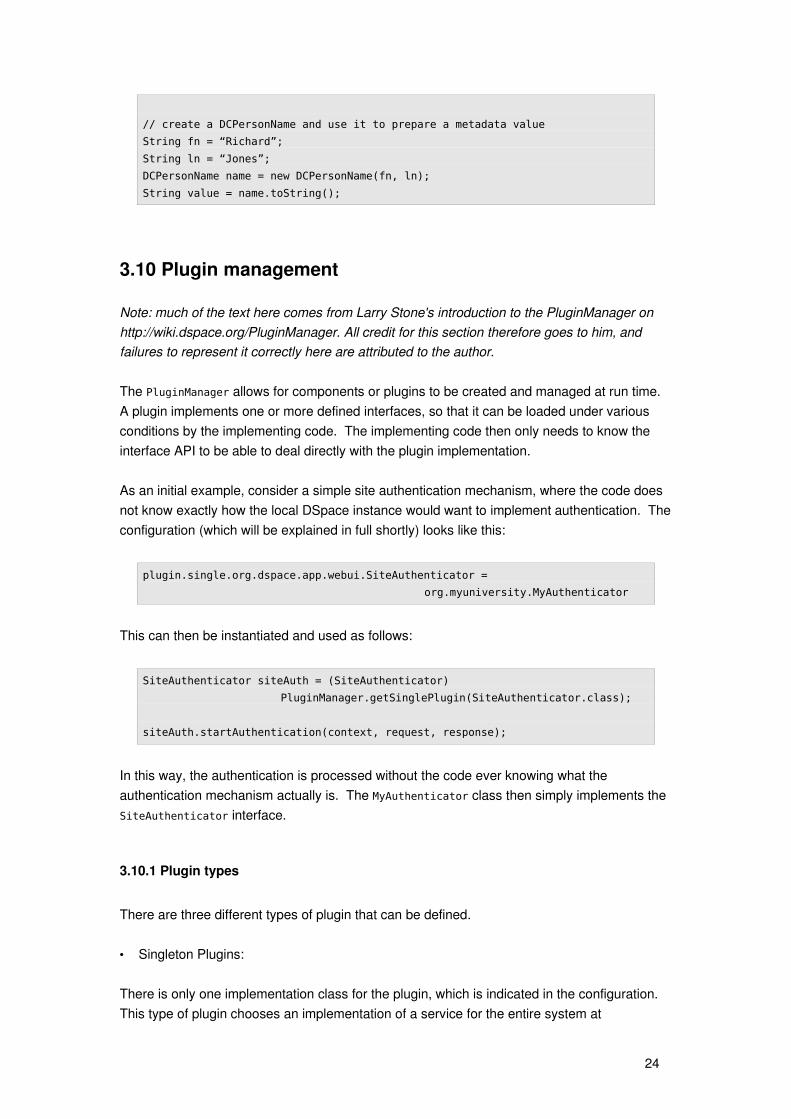
3.10 Plugin management
Note: much of the text here comes from Larry Stone's introduction to the PluginManager onhttp://wiki.dspace.org/PluginManager. All credit for this section therefore goes to him, andfailures to represent it correctly here are attributed to the author.
The PluginManager allows for components or plugins to be created and managed at run time.A plugin implements one or more defined interfaces, so that it can be loaded under variousconditions by the implementing code. The implementing code then only needs to know theinterface API to be able to deal directly with the plugin implementation.
As an initial example, consider a simple site authentication mechanism, where the code doesnot know exactly how the local DSpace instance would want to implement authentication. Theconfiguration (which will be explained in full shortly) looks like this:
plugin.single.org.dspace.app.webui.SiteAuthenticator =
org.myuniversity.MyAuthenticator
This can then be instantiated and used as follows:
SiteAuthenticator siteAuth = (SiteAuthenticator)
PluginManager.getSinglePlugin(SiteAuthenticator.class);
siteAuth.startAuthentication(context, request, response);
In this way, the authentication is processed without the code ever knowing what theauthentication mechanism actually is. The MyAuthenticator class then simply implements theSiteAuthenticator interface.
3.10.1 Plugin types
There are three different types of plugin that can be defined.
• Singleton Plugins:
There is only one implementation class for the plugin, which is indicated in the configuration.This type of plugin chooses an implementation of a service for the entire system at
24

configuration time. Your application just fetches the plugin for that interface and gets theconfiguredin choice. The example above was of this kind.
• Sequence Plugins
You need a sequence or series of plugins, to implement a mechanism like stackableauthentication methods or a pipeline, where each plugin is called in order to contribute itsimplementation of a process to the whole.
The PluginManager supports this by letting you configure a sequence of plugins for a giveninterface.
• Named Plugins
Use a named plugin when the application has to choose one plugin implementation out ofmany available ones. Each implementation is bound to one or more names (symbolicidentifiers) in the configuration.
The name is just a string to be associated with the combination of implementation class andinterface. It may contain any characters except for comma (,) and equals (=). It may containembedded spaces. Comma is a special character used to separate names in the configurationentry.
Names must be unique within an interface: No plugin classes implementing the same interfacemay have the same name.
Think of plugin names as a controlled vocabulary: for a given plugin interface, there is a set ofnames for which plugins can be found. The designer of a Named Plugin interface isresponsible for deciding what the name means and how to derive it; for example, names ofmetadata crosswalk plugins may describe the target metadata format.
3.10.2 Configuring Plugins
Plugin configurations are supplied in the dspace.cfg file.
• Singleton Plugins:
To tell the PluginManager about a singleton plugin, use the following configuration line:
plugin.single.<interface> = <classname>
For example, this configures the class org.dspace.app.webui.SimpleAuthenticator as theplugin for interface org.dspace.app.webui.SiteAuthenticator:
25

plugin.single.org.dspace.app.webui.SiteAuthenticator =
org.dspace.app.webui.SimpleAuthenticator
• Sequence Plugins
To define the sequence of plugins, use the following configuration line:
plugin.sequence.<interface> = <classname> [, <classname> ...]
The plugins should be listed in the order in which they should be applied when used.
For example, this entry configures the stackable authentication process with threeimplementation classes:
plugin.sequence.org.dspace.eperson.AuthenticationMethod = \
org.dspace.eperson.X509Authentication, \
org.dspace.eperson.PasswordAuthentication, \
org.myuniversity.MySpecialAuthentication
• Named Plugins
There are two ways to configure named plugins, depending on whether the plugin is beingnamed in the configuration, or whether the plugin will name itself.
To configure the plugin to be named in the configuration use the following configuration line:
plugin.named.<interface> = <classname> = <name>[, <name>...] \
[<classname>=<name>... ]
That is, to define the class name and all names that it will respond to as a list, followed byother classes and their respective names. The names must be unique within the scope of theinterface.
For example, this entry creates one plugin with the names GIF, JPEG, and image/png, andanother with the name TeX:
plugin.named.org.dspace.app.mediafilter.MediaFilter = \
org.dspace.app.mediafilter.JPEGFilter = GIF, JPEG, image/png \
org.dspace.app.mediafilter.TeXFilter = TeX
This next plugin is bound to the names Adobe PDF, PDF, and Portable Document Format.
plugin.named.org.dspace.app.mediafilter.MediaFilter = \
org.dspace.app.mediafilter.TeXFilter = TeX \
26

org.dspace.app.mediafilter.PDFFilter =
Adobe PDF, PDF, Portable Document Format
If the plugin is going to define its own name, then it must be declared a selfnamed plugin. Thiscan be done using the following configuration line:
plugin.selfnamed.<interface> = <classname>[, <classname>...]
In the following example, configuration optons are defined for using theXsltDisseminationCrosswalk and this plugin defines for itself the two names MODS andDublinCore
crosswalk.dissemination.stylesheet.DublinCore = xwalk/TESTDIM-2-DC_copy.xsl
crosswalk.dissemination.stylesheet.MODS = xwalk/mods.xsl
plugin.selfnamed.org.dspace.content.metadata.DisseminationCrosswalk = \
org.dspace.content.metadata.MODSDisseminationCrosswalk, \
org.dspace.content.metadata.XsltDisseminationCrosswalk
3.10.3 Reusable plugins
Plugins are reused by default. That is, once a plugin has been instantiated, it is cached by thePluginManager and if requested again are simply passed back again. This behaviour can beturned off using the configuration line:
plugin.reusable.<classname> = ( true | false )
For example, this marks the PDF plugin from above as nonreusable:
plugin.reusable.org.dspace.app.mediafilter.PDFFilter = false
This configuration can be omitted entirely if you are happy for the plugin to be reused.
3.10.4 Using the PluginManager
• Singleton Plugin
The example we provided at the start of this section to introduce the plugin manager is anexample of how you use the PluginManager.getSinglePlugin() method to instantiate the oneand only implementation of the relevant interface:
SiteAuthenticator siteAuth =
(SiteAuthenticator) PluginManager.getSinglePlugin(SiteAuthenticator.class);
27
siteAuth.startAuthentication(context, request, response);
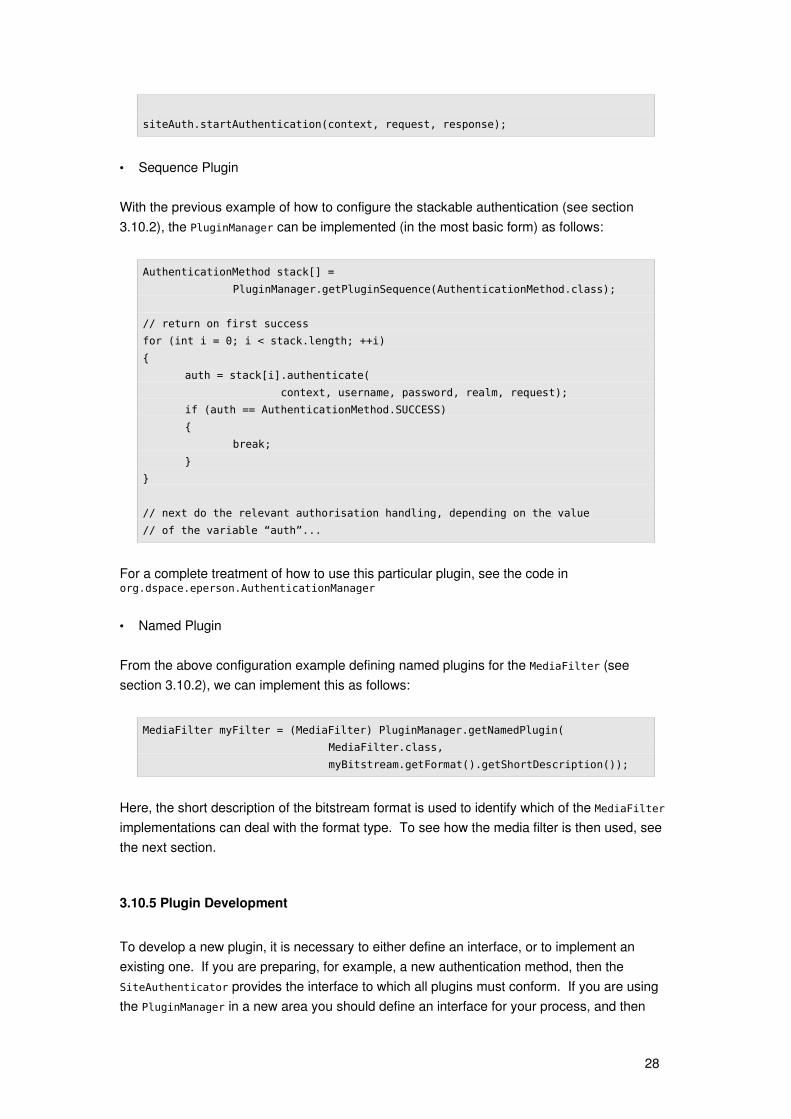
• Sequence Plugin
With the previous example of how to configure the stackable authentication (see section3.10.2), the PluginManager can be implemented (in the most basic form) as follows:
AuthenticationMethod stack[] =
PluginManager.getPluginSequence(AuthenticationMethod.class);
// return on first success
for (int i = 0; i < stack.length; ++i)
{
auth = stack[i].authenticate(
context, username, password, realm, request);
if (auth == AuthenticationMethod.SUCCESS)
{
break;
}
}
// next do the relevant authorisation handling, depending on the value
// of the variable “auth”...
For a complete treatment of how to use this particular plugin, see the code inorg.dspace.eperson.AuthenticationManager
• Named Plugin
From the above configuration example defining named plugins for the MediaFilter (seesection 3.10.2), we can implement this as follows:
MediaFilter myFilter = (MediaFilter) PluginManager.getNamedPlugin(
MediaFilter.class,
myBitstream.getFormat().getShortDescription());
Here, the short description of the bitstream format is used to identify which of the MediaFilterimplementations can deal with the format type. To see how the media filter is then used, seethe next section.
3.10.5 Plugin Development
To develop a new plugin, it is necessary to either define an interface, or to implement anexisting one. If you are preparing, for example, a new authentication method, then theSiteAuthenticator provides the interface to which all plugins must conform. If you are usingthe PluginManager in a new area you should define an interface for your process, and then
28

implement it. In this section we will look briefly at the code to define some of the plugins forthe common operations that we have used previously.
• AuthenticationMethod
This is a basic outline of the AuthenticationMethod interface. See the API documentation formore complete details:
public interface AuthenticationMethod
{
public static final int SUCCESS = 1;
public static final int BAD_CREDENTIALS = 2;
public static final int CERT_REQUIRED = 3;
public static final int NO_SUCH_USER = 4;
public static final int BAD_ARGS = 5;
public boolean canSelfRegister(
Context context, HttpServletRequest request, String username)
throws SQLException;
public void initEPerson(
Context context, HttpServletRequest request, EPerson eperson)
throws SQLException;
public boolean allowSetPassword(
Context context, HttpServletRequest request, String username)
throws SQLException;
public boolean isImplicit();
public int[] getSpecialGroups(Context context, HttpServletRequest request);
public int authenticate(
Context context, String username, String password, String realm,
HttpServletRequest request)
throws SQLException;
public String loginPageURL(
Context context, HttpServletRequest request,
HttpServletResponse response);
public String loginPageTitle(Context context);
}
The PasswordAuthentication process, then simply implements this interface:
public class PasswordAuthentication
implements AuthenticationMethod
{
// implementation
}
29
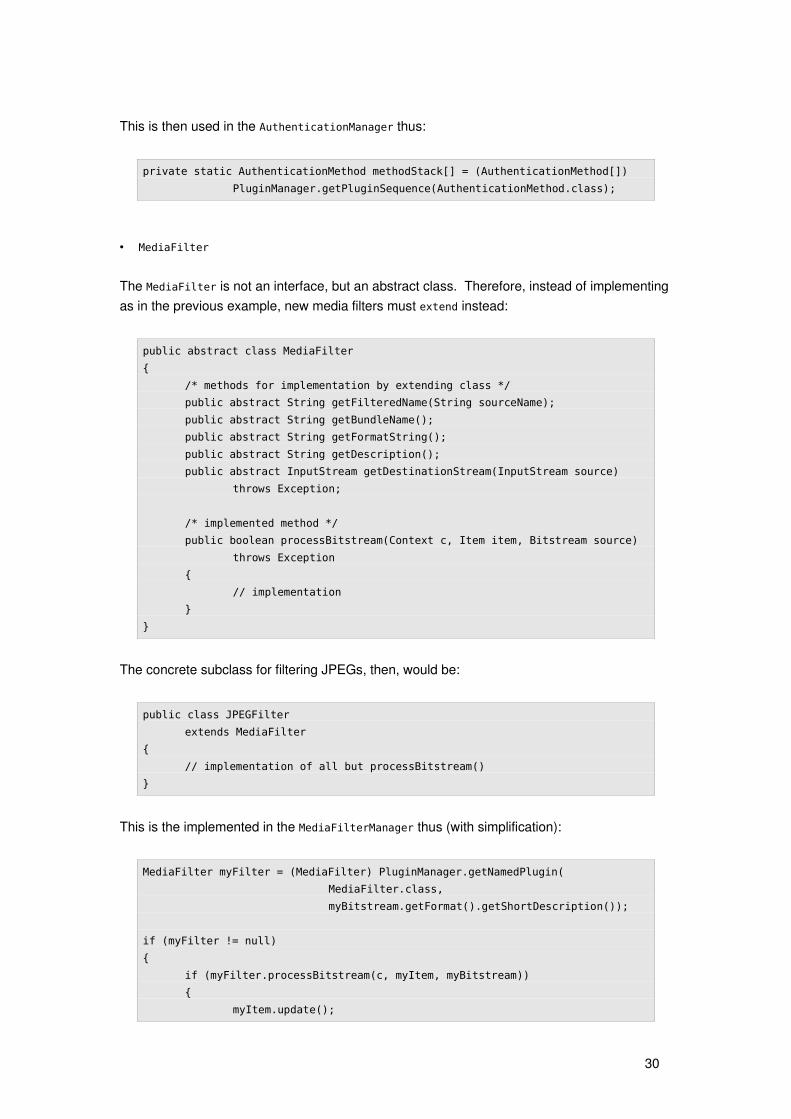
This is then used in the AuthenticationManager thus:
private static AuthenticationMethod methodStack[] = (AuthenticationMethod[])
PluginManager.getPluginSequence(AuthenticationMethod.class);
• MediaFilter
The MediaFilter is not an interface, but an abstract class. Therefore, instead of implementingas in the previous example, new media filters must extend instead:
public abstract class MediaFilter
{
/* methods for implementation by extending class */
public abstract String getFilteredName(String sourceName);
public abstract String getBundleName();
public abstract String getFormatString();
public abstract String getDescription();
public abstract InputStream getDestinationStream(InputStream source)
throws Exception;
/* implemented method */
public boolean processBitstream(Context c, Item item, Bitstream source)
throws Exception
{
// implementation
}
}
The concrete subclass for filtering JPEGs, then, would be:
public class JPEGFilter
extends MediaFilter
{
// implementation of all but processBitstream()
}
This is the implemented in the MediaFilterManager thus (with simplification):
MediaFilter myFilter = (MediaFilter) PluginManager.getNamedPlugin(
MediaFilter.class,
myBitstream.getFormat().getShortDescription());
if (myFilter != null)
{
if (myFilter.processBitstream(c, myItem, myBitstream))
{
myItem.update();
30

}
}
31