dremel 3d printer 3d20 workflow -...
TRANSCRIPT

Dremel 3D Printer 3D20 WorkflowComputation + Construction Lab | Iowa State University

Dremel Idea Builder 3D20
Build Volume 9” x 5.9” x 5.5”If you have any technical issues with this 3D printer please contact Dremel 3D Idea Builder Support or the CCL Associate.

Only Dremel PLA Filament 1.75mm Diameter, 0.5 kg can be used in these printers.
Material

Hardware
1. 4mm Allen wrench2. Unclogging Tool3. Needle Nose Pliers4. Scraper5. USB A to USB B cable6. Phillips Screwdriver7. Toothbrush8. Scissors
12
3
4
5
67
8
After using these tools please make sure to return them to the grey container labeled Dremel Tools.
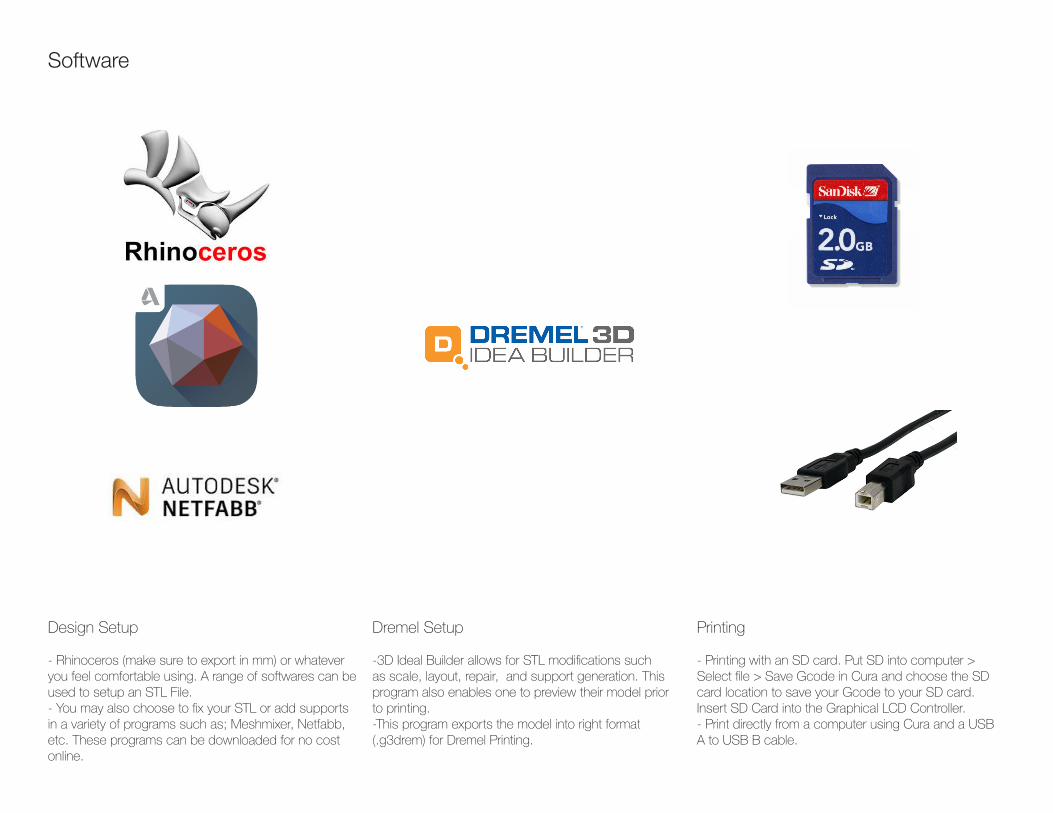
Dremel Setup
-3D Ideal Builder allows for STL modifications such as scale, layout, repair, and support generation. This program also enables one to preview their model prior to printing.-This program exports the model into right format (.g3drem) for Dremel Printing.
Software
Printing
- Printing with an SD card. Put SD into computer > Select file > Save Gcode in Cura and choose the SD card location to save your Gcode to your SD card. Insert SD Card into the Graphical LCD Controller.- Print directly from a computer using Cura and a USB A to USB B cable.
Design Setup
- Rhinoceros (make sure to export in mm) or whatever you feel comfortable using. A range of softwares can be used to setup an STL File. - You may also choose to fix your STL or add supports in a variety of programs such as; Meshmixer, Netfabb, etc. These programs can be downloaded for no cost online.

Creating a Mesh in Rhinoceros1. BooleanUnion your model. Then select your
3D model.2. Type mesh to convert your polysurface.
-Choose more polygons-Tip save a copy of your polysurface.
3. Select your mesh, type check.-If your mesh is bad, type unifymeshnormals
4. Change your units to millimeters! Export the mesh as a binary .stl file.
Tip: This example model was made quickly and was just an example of a model that would need support material. If your model is super basic like this consider hand cutting or using a laser cutter.
3.2.
4.

3D Idea Builder Software1. Make an account on the Dremel 3D Idea
Builder website.2. Download and install the Autodesk PrintStudio
Software from the Dremel 3D Idea Builder Website.
3. When opening the software it will ask you a variety of questions including which printer you are using. Select Dremel Idea Builder 3D20 or 3D40.
4. Import your model 5. In Layout you will be adjusting your model(s) to
fit on the build plate.-Tools along the lefthand side will allow you to select, move, scale, measure and rotate your model(s).
6. After you are finished laying out your model(s) select Repair at the top of the window.
-Select the hammer and screwdriver icon on the left to analyse and repair your STL
3.
4.
5.
6.

7. Select Supports-If you have a model without large overhangs you probably can get away with using no supports.
8. Preview allow you to view your sliced model.9. Final export your model to an SD card or USB
flashdrive. You can upload directly from your laptop with a USB A to USB B cable but it is less reliable.
Tip: This example model was made quickly and was just an example of a model that would need support material. If your model is super basic like this consider hand cutting or using a laser cutter.
8. 9.
7.

Filament Dremel 3D20Installation
1. Cut filament2. Remove the lid, spool lock, filament, and build
platform.3. Turn on the printer (power button is on the right
side of the printer)4. Press TOOLS > FILAMENT > LOAD OR
UNLOAD. Wait for the extruder to reach the proper heat.
1. 2.
3. 4.

5. Trim tip of filament at slight angle with scissors.6. Insert Spool lock into Spool and turn 90
degrees7. Take strip of filament and insert into guide
tube. Once at proper heat, remove existing filament by pushing the lever down and pulling the filament out. Then guide filament from the guide tube into the extruder.
8. Replace lid on the top of the machine and return the build platform back inside. Throw any filament scraps into recycling.
5. 6.
7. 8.

Leveling Build Platform 3D20
1. Turn on the 3D printer. The switch is on the right side of the machine.
2. On touch screen press Tools > Level. Wait for the printer to align.
3. Place sheet of 8.5”x11” paper between the extruder and build platform. Turn knob left to raise and right to lower the build platform.
4. Adjust left side of platform.There should be a slight resistance when pulling the paper.Tap next on the touch screen to move platform toward the right knob & adjust resistance. There should be a slight resistance when pulling the paper.
5. Tap next on the touch screen to move platform toward the rear knob and adjust resistance. There should be a slight resistance when pulling the paper.
6. Once adjusted press “Finish”
1. 2.
2. 3.
4. 5.
6. 7.

Build Platform Tape 3D20
1. Cover Build Platform with Painter’s tape. wrapping it underneath the build platform.
2. Make sure to push the platform down all the way until it snaps shut.
2.
1.

3D Printing 3D20
1. Load File onto SD Card provided with machine. (Please keep SD File with Dremel at all times when not in use)
2. Insert SD card into appropriate location on the right side of the printer.
3. Turn on the printer.4. On touch screen press Build > SD Card >
scroll with up/down arrows to find your model. In the accompanying images, the file is Boxes, but instead select the file you created.
5. Allow the extruder to heat up6. Once the proper temperature is reached model
will begin to print.Wait for object to cool before removing it from the build platform.
7. Remove model by picking it up while pressing down on build plate. Sometimes a scraper is needed to remove a print.
8. If your model required support material remove it with a needle nose pliers. After using these tools please make sure to return them to the grey container labeled Dremel Tools.
6.
2. 4.
4. 4.
6. 7. 8.

Clogged Extruder 3D20IF YOU DO NOT FEEL COMFORTABLE PERFORMING THE FOLLOWING STEPS FIND SOMEONE WHO DOES OR CONTACT THE CCL ASSOCIATE.
Deep Clean1. Remove the top cover & open front door.
Cut filament in extruder from the reel. Turn off power, unplug power cord.
2. Begin Pre-Heat mode, TOOLS > PREHEAT > START.
3. Move, by hand, the extruder to the center of the Idea Builder. CAUTION: Use care when moving the extruder. Excessive force or pressure may damage the guide rails and belt. Do not force the extruder to move. If strong resistance is met when moving the extruder please call the Dremel Service Center.
4. Using the allen wrench, loosen the two screws on the front fan. Careful not to hit the fan with the allen wrench.
5. Remove the fan exposing the drive gear.6. Remove the clogged filament with a needle
nose pliers. You will need to depress the filament lever to open up the space between the gear and the roller to remove filament.Note: Make sure to remove all remnants of the clogged filament and discard in the filament recycling containers. Any remaining filament may cause the printer to not work properly.
7. Push the unclogging tool through the hot end. Remove any plastic that is left on the tip of the unclogging tool.
8. Replace the stepper motor and fan. Tighten the 2 fan screws in place. Note: Screws should be hand tightened. Do not over tighten or you may damage the extruder fan. CAUTION: Do not lean on or apply excessive force to the extruder head assembly. Doing this may bend or damage the guide rails.

9. Load filament into the extruder. 10. Level the build platform.11. Run a Dremel test print found on the machine.
The TREE FROG file is a good test print.