
Fax and SMS Quickguide LEAP Office Documents v10.1
Page 1 of 7
INTRODUCTION
U2 Fax and SMS allow faxes and SMS to be sent directly from a user’s workstation via the Internet using U2
Webservices. This improves staff efficiency by removing the need to physically fax a document. It also provides a
convenient method for contacting clients.
SENDING A FAX
There are three ways to send a fax in LEAP Office Documents v10.1:
1. From the Containers list
2. From the Precedents lists
3. Triggered from an Agenda Item
LEAP’s Content department has created default Fax Containers, supplied to all LEAP Office Documents v10.1
installations via an Online Update.
Select the New Document button on a Matter, and then choose the Fax document relevant to the task:
The chosen Container will then be opened in Word for your fax to be written:

Fax and SMS Quickguide LEAP Office Documents v10.1
Page 2 of 7
The LEAP Fax toolbar allows the user to choose the phone number for the recipient by clicking the ‘Fax To’ button
next to the phone number box:
Once the phone number details are correct, click the Send Fax button in the LEAP Fax toolbar. This returns the
merged document to LEAP Office Documents v10.1 for dispatch as a fax. LEAP Documents sends the fax
immediately, and places it in the Matter’s document list.
LEAP Office Documents v10.1 interfaces with the U2 Server to track the progress of the fax as it is being sent. The
status of fax transitions through the following stages:
Status Icon Description
Sending
The server is attempting to deliver the fax. If delivery fails, the status changes to
Failure. If it succeeds, the status changes to Success.
Success
The fax has been delivered successfully.
Failure
The fax failed to be delivered.
You can also check the status of your faxes through the Faxes Received and Sent window form the Utilities menu:

Fax and SMS Quickguide LEAP Office Documents v10.1
Page 3 of 7
RECEIVING A FAX
Faxes are received via email. An email address is configured on the U2 website to receive faxes for the firm.
Faxes are assigned to LEAP Office Documents v10.1 in a similar way to assigning emails, via a button in Outlook. The
‘Assign Fax to LEAP’ button opens the following window:
Once a matter is selected and the OK button is pressed, the PDF attachment on the selected email is saved to the
matter with the date selected. The email is left in the same folder (unlike assigning to LEAP as an email).
SENDING AN SMS
Like faxes, there are three ways to send an SMS message in LEAP Office Documents v10.1:
1. From the Containers list
2. From the Precedents lists
3. Triggered from an Agenda Item
LEAP’s Content department has created default SMS Containers, supplied to all LEAP Office Documents v10.1
installations via an Online Update.
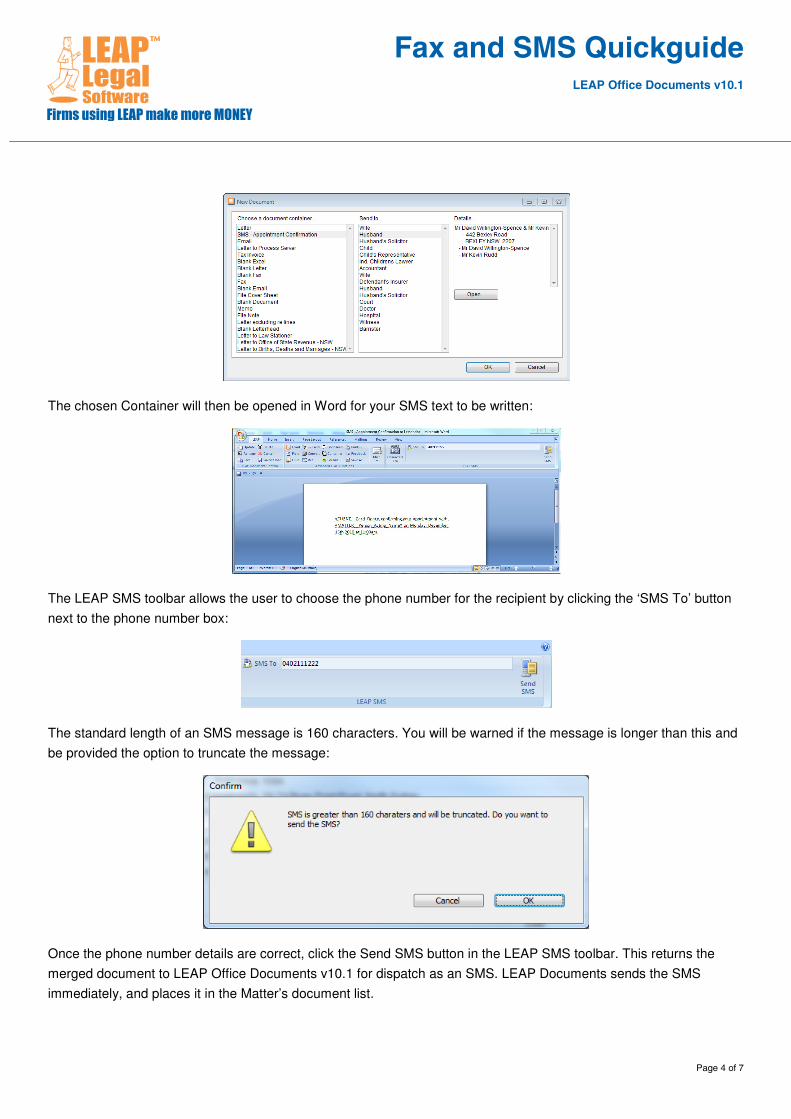
Select the New Document button on a Matter, and then choose the SMS document relevant to the task:
Fax and SMS Quickguide LEAP Office Documents v10.1
Page 4 of 7
The chosen Container will then be opened in Word for your SMS text to be written:
The LEAP SMS toolbar allows the user to choose the phone number for the recipient by clicking the ‘SMS To’ button
next to the phone number box:
The standard length of an SMS message is 160 characters. You will be warned if the message is longer than this and
be provided the option to truncate the message:
Once the phone number details are correct, click the Send SMS button in the LEAP SMS toolbar. This returns the
merged document to LEAP Office Documents v10.1 for dispatch as an SMS. LEAP Documents sends the SMS
immediately, and places it in the Matter’s document list.

Fax and SMS Quickguide LEAP Office Documents v10.1
Page 5 of 7
LEAP Office Documents v10.1 interfaces with the U2 Server to track the progress of the SMS as it is being sent. The
status of a message transitions through the following stages:
Status Icon Description
Sending
The server is attempting to deliver the message. If delivery fails, the status changes
to Failure. If it succeeds, the status changes to Success.
Success
The message has been delivered successfully.
Failure
The message failed to be delivered.
CREATING A NEW SMS CONTAINER
To add a new SMS Container or modify an existing one, navigate to the Documents & Precedent Containers screen:
Click the ‘New’ button, and select the container you would like to base this new container on (for example, ‘Letter’).
You can then use the ‘Modify’ button to setup your container in Microsoft Word, adding fields and text to the message
as required, using the LEAP Office Documents Word toolbar.
When finished, use the ‘Properties’ button to access the Fax/Email tab and set the containers Send Type to be ‘SMS:
‘Save’ the container and it will be accessible from any matter from the list of Containers.

Fax and SMS Quickguide LEAP Office Documents v10.1
Page 6 of 7
CREATING A NEW SMS PRECEDENT
Select ‘Use Precedent’ then ‘Edit Precedent/New Precedent’ from the main menu bar of LEAP Documents. Select an
SMS container as the basis for the precedent. LEAP Office Documents opens the precedent in Word for you to edit
text and add or remove fields and other items as required. When the precedent is completed, click the ‘Save & Close’
button in the LEAP Word toolbar, and name your new precedent:
It will then be available for you to use from your list of precedents:

Fax and SMS Quickguide LEAP Office Documents v10.1
Page 7 of 7
TRIGGERING AN SMS PRECEDENT FROM AN AGENDA ITEM
To set an SMS Precedent to be triggered by an Agenda Item, the Precedent must exist first. Simply select it from the
Matter Agenda Item screen:
LEAP Office Documents will then trigger the Precedent according to the rules set in the Agenda Item.
If you have any further questions regarding this LEAP Office Documents v10.1 feature, please contact the National
Help Desk by logging call online at www.leap.com.au.


